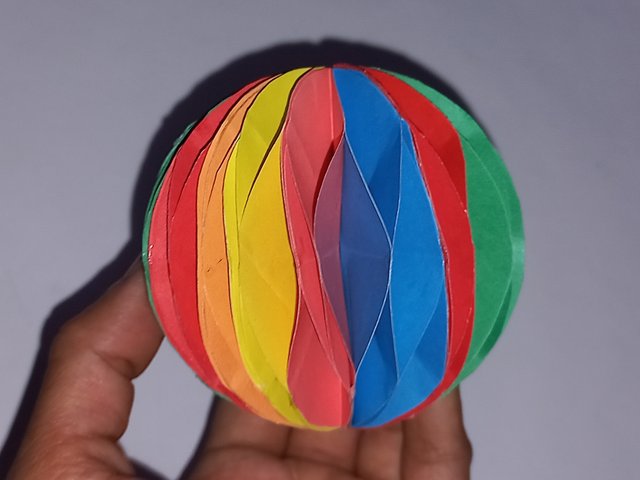
Paper craft tutorial : A nice honeycomb💗
Greetings friends!!
This is @urmilanath650 from @bangladesh
How are you going on my friends?? Hope all of my steemian friends are doing very well in their respective fields by the grace of Almighty Krishna. I am also well by His mercy. Today I am here in this nice community to share a beautiful paper craft with you. I have prepared a eye-catching paper honeycomb today by following some easy steps. It is really creative and useful for our home decoration. So let's see how to make it with ease...


- Blue color paper
- Sky blue color paper
- Yellow color paper
- Green color paper
- Pink color paper
- Orange color paper
- Red color paper
- Compass
- Pencil
- Scissor
- Glue
- Thick thread
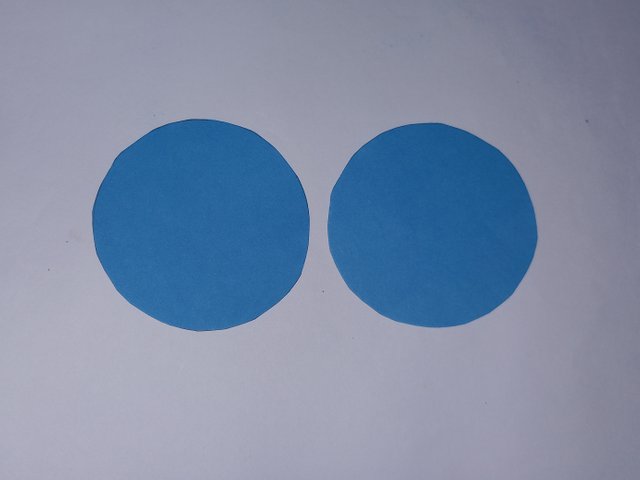
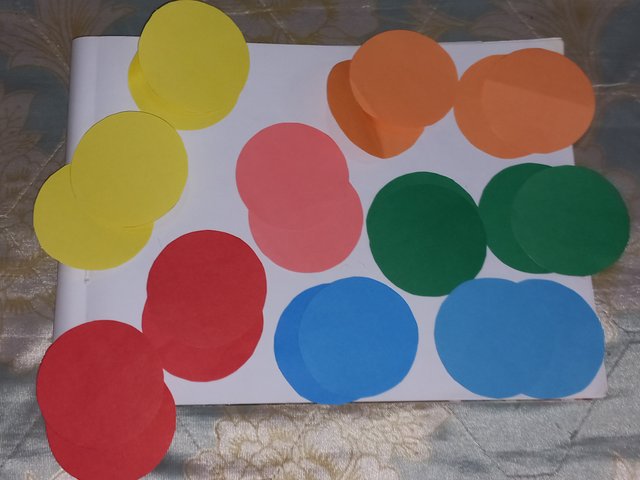
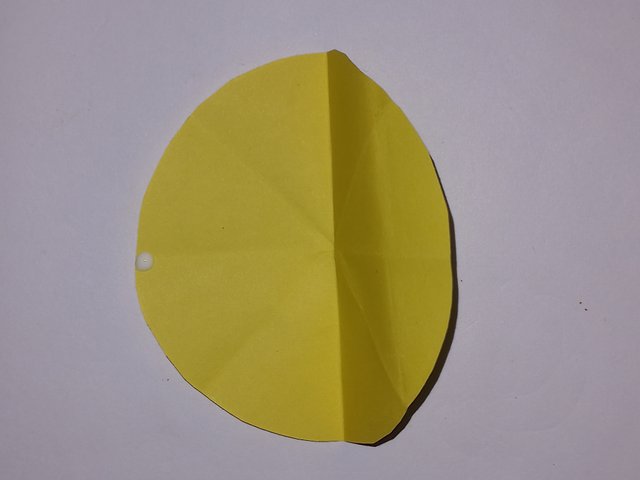
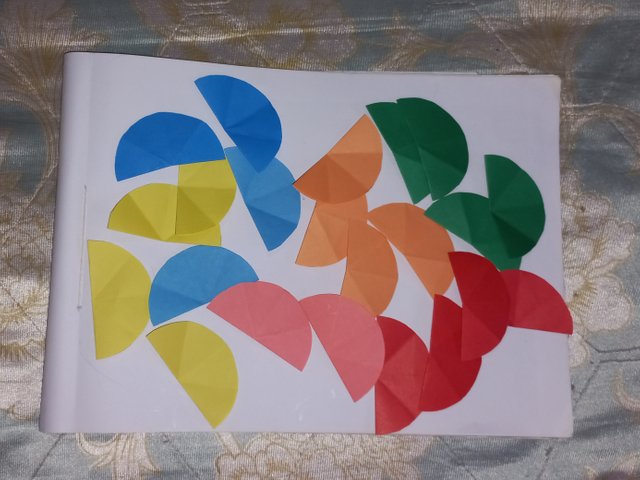
At first take a sky blue color paper and draw a circle on it using pencil and compass or a simple bangle. Fold the paper of circle portion and then cut the circle to get two round structures. Cut other color papers in this way to make many round shapes of same sizes. I have made four round shape from each of the yellow, red, green and orange color papers. Make total 22 round shapes as shown in the picture.
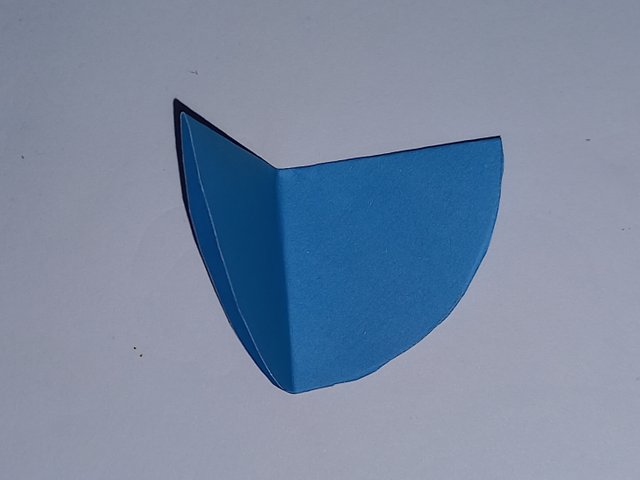
Now fold the circle shape at the middle position that makes two equal halves. Then fold it at the middle again from the other side. Fold this paper from the left and right sides equally upto the middle fold. Fold all the paper in this way.
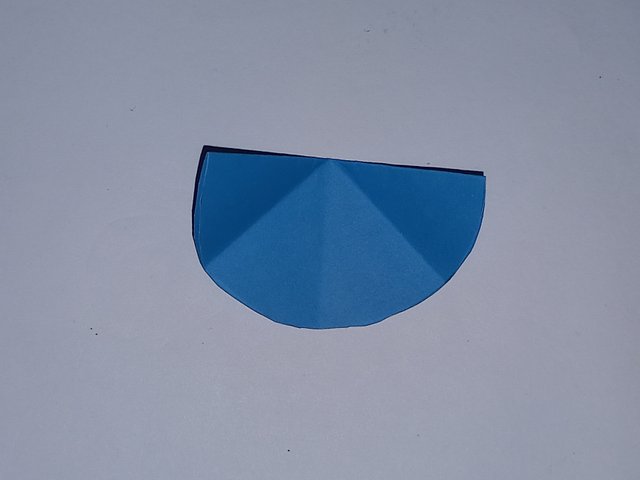

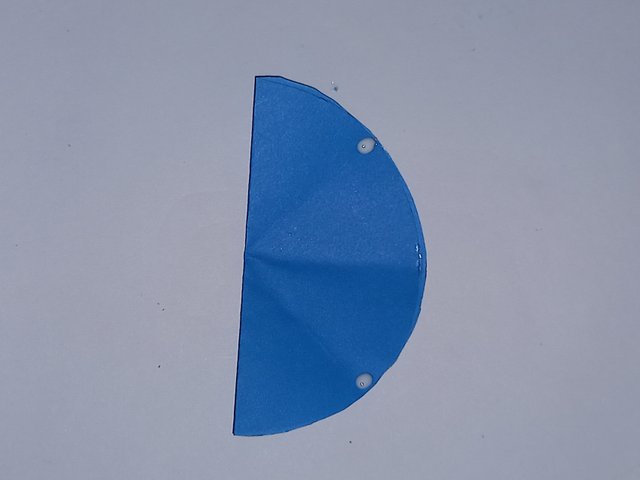
Next place a small point of glue on the edge of the middle fold inside the very first fold and attach the two parts of the paper. Do the same process for each papers and let these dry.
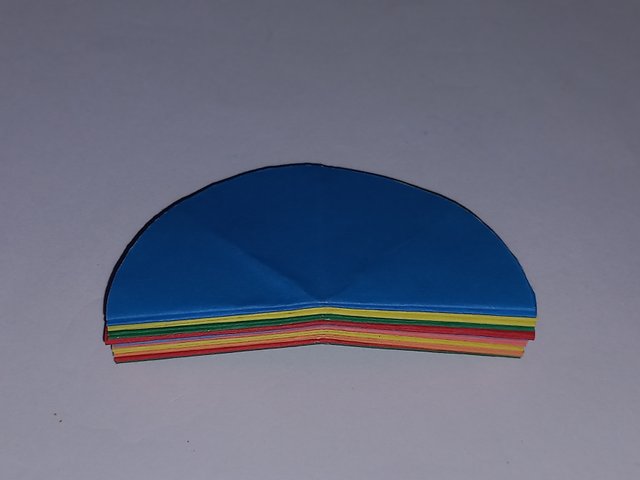
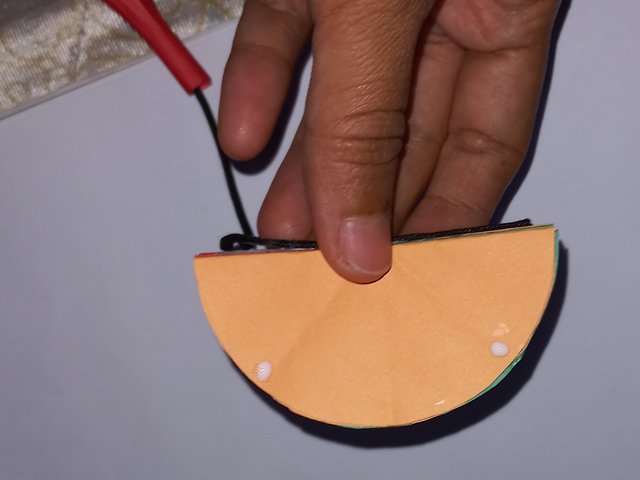
Then place two points of glue at the edge of the two side folds outside the very first fold. Attach another paper's same points with the glue points. Maintain the color matching by orienting a pair of each color at a time. Slightly press the papers so that they become well attached. When the glue is dry we get a honeycomb box structure by stretching the paper parts.
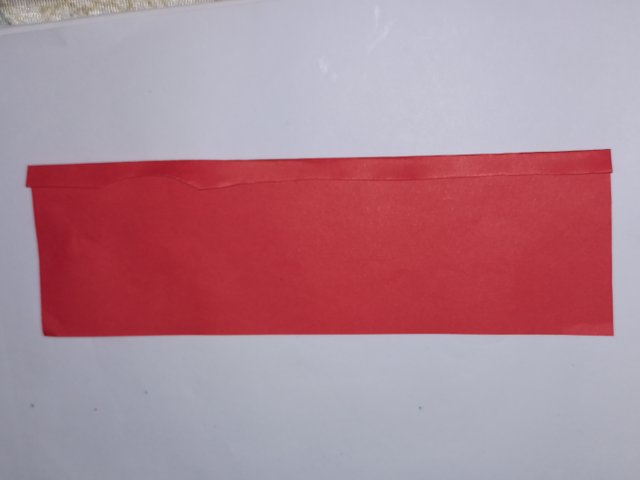
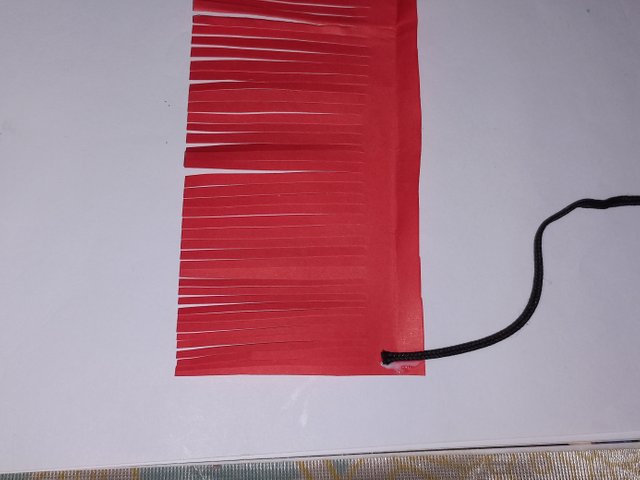
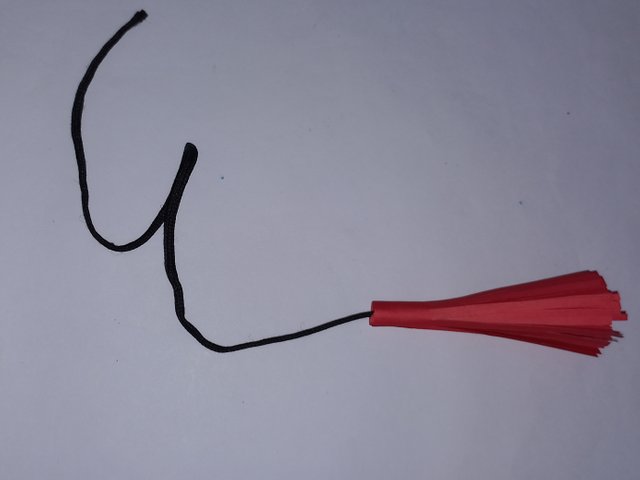
- Now cut a rectangular red color paper and make a small fold at its one edge. Cut the paper into many small segments upto the edged fold. Open the fold and attach a black thread's end with glue and then roll the paper. After attaching the ends we get a red designing structure. Then attach the other end of the thread with the folded edge side of the papers.
- Place two points of glue on the left and right fold positions of the last paper and attach as like as step 4. Let the glue dry.
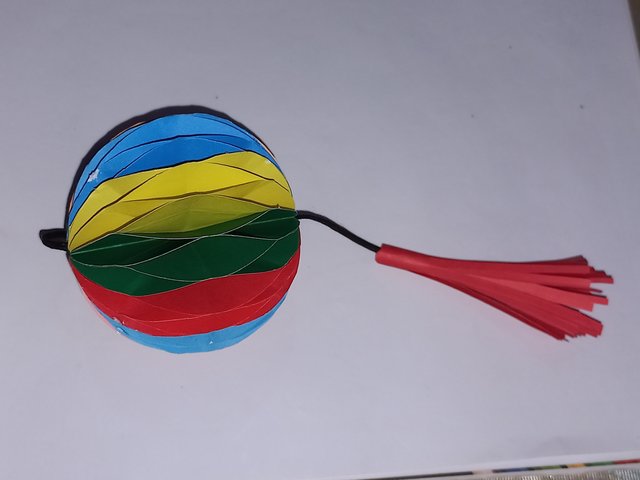

This beautiful paper honeycomb preparation is done. I have explained details of this work in the above five steps. Hope you all can easily understand this and must try at home.


I have got the idea of this beautiful paper craft from a pinterest reel. Hope you all can make it easily.


X share https://x.com/urmilanath55/status/1860648013116649695
TEAM 06
Congratulations!!!
your post has been supported. We support quality posts, good comments anywhere and any tags.
Curated By : @wirngo
Thank you so much sir..