SEC20/WK6: Graphic Design Hands - On practical 3
 |
|---|
Glad to see this very amazing creative task this week 2. Last week, I enjoyed a lot. So, I thought to participate in this week too. Thank you to Professor @lhorgic for teaching us about these valuable Principles that make us a professional Graphic Designer.
Let me share my home work task enthusiastically. This is the final week. So let me appreciate my instructor who shared his valuable knowledge with us. Today, I'm able to show my creativity just because of you. Salute to you. A lot of appreciation for you. Fingers Crossed 🤞
 |  |  |
|---|
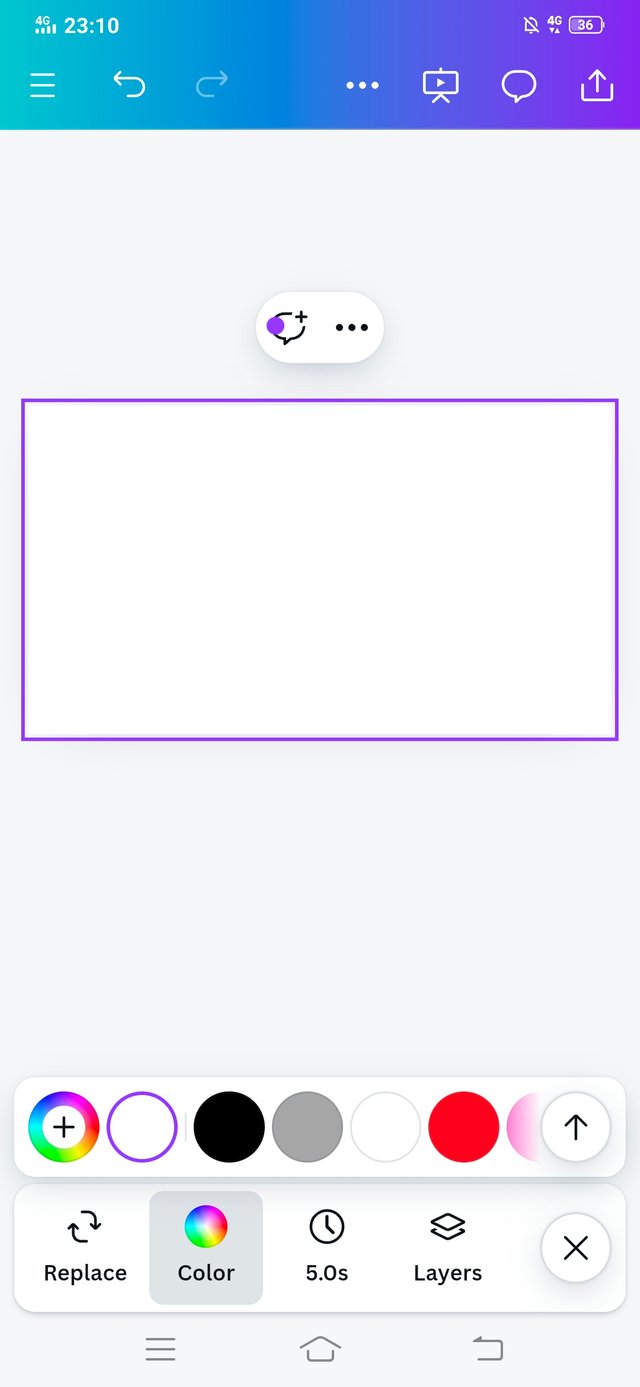
- I have clicked on Create Design. And created a design of width 210mm and length 300mm. Some templates appear on my screen. I selected a template.
In the next step, I made that design clear. And I started my own creativity.
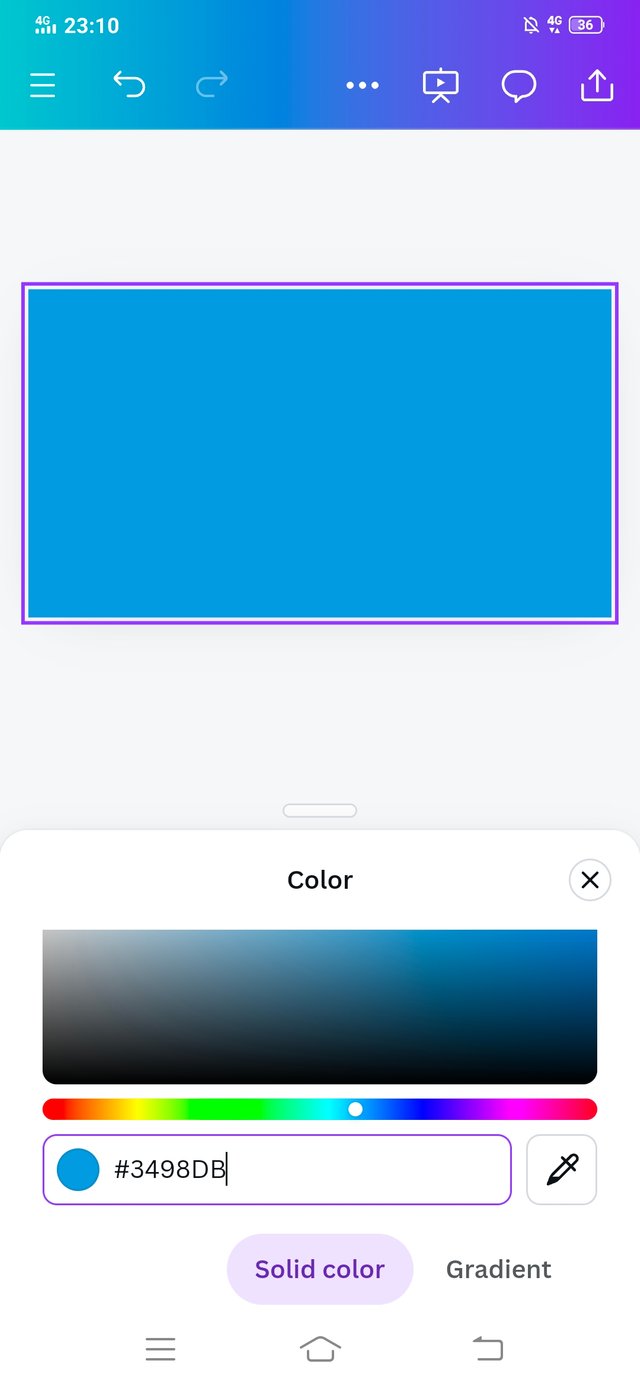
Now my background is white, I selected a colour code #3498db for background.
 |  |  |
|---|
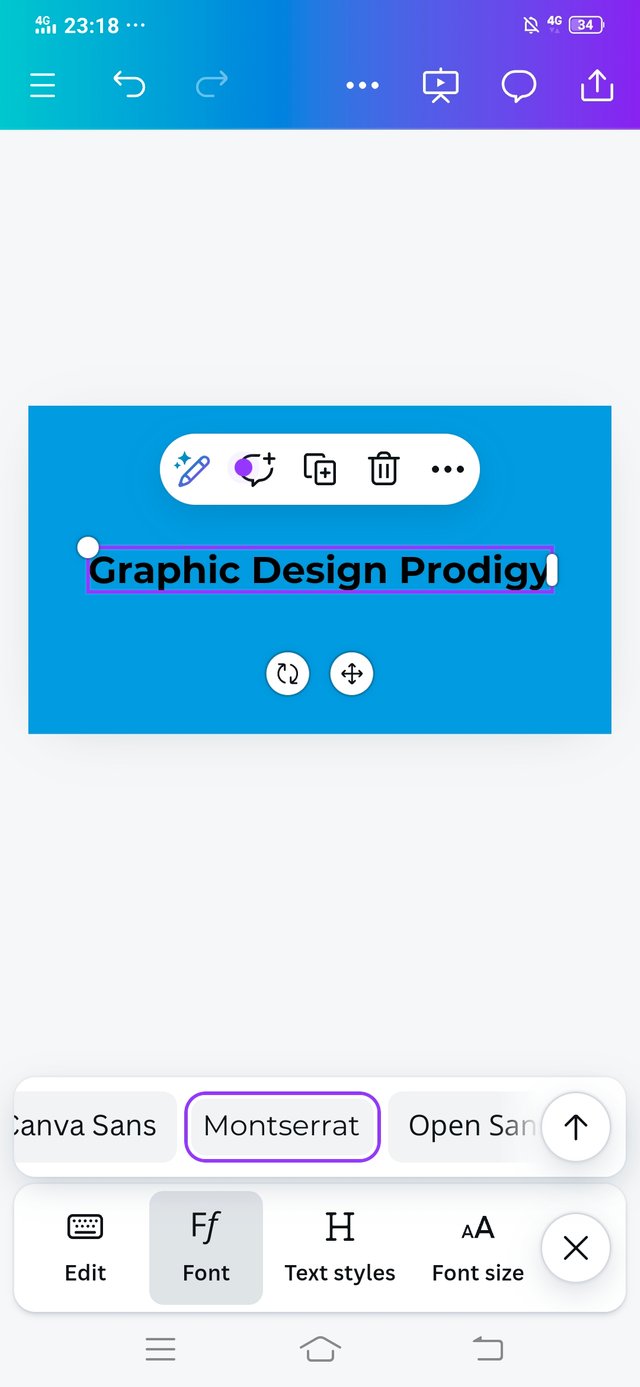
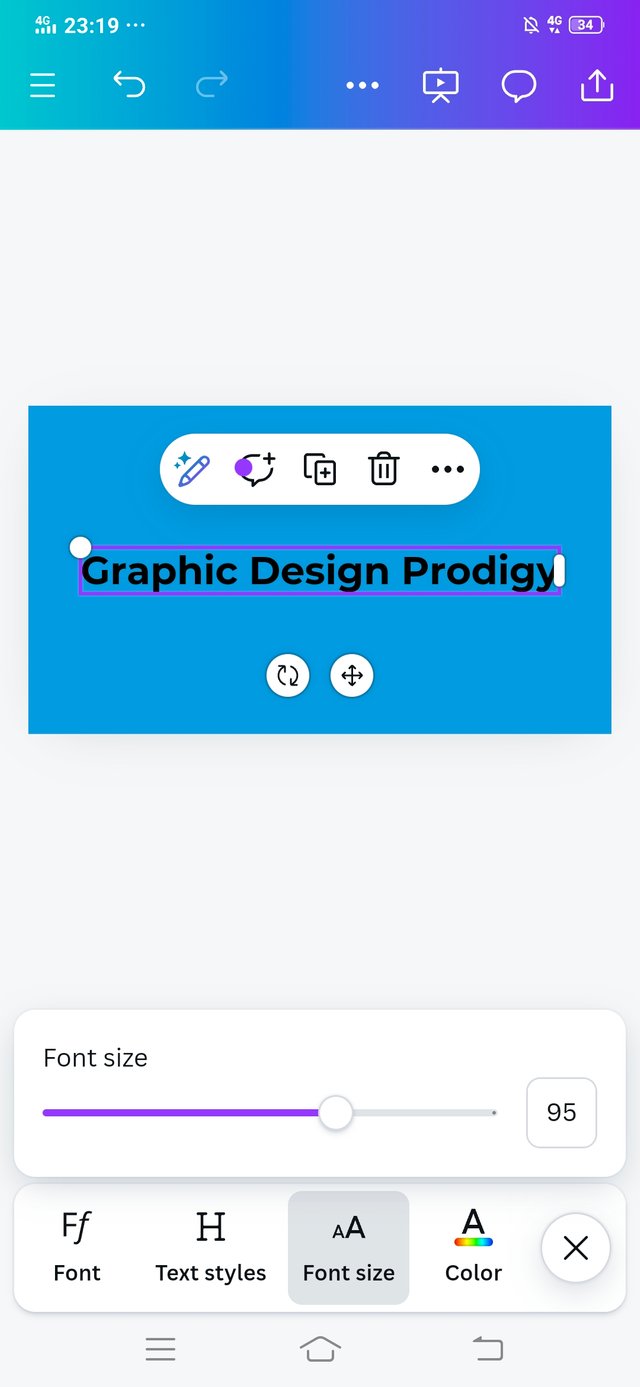
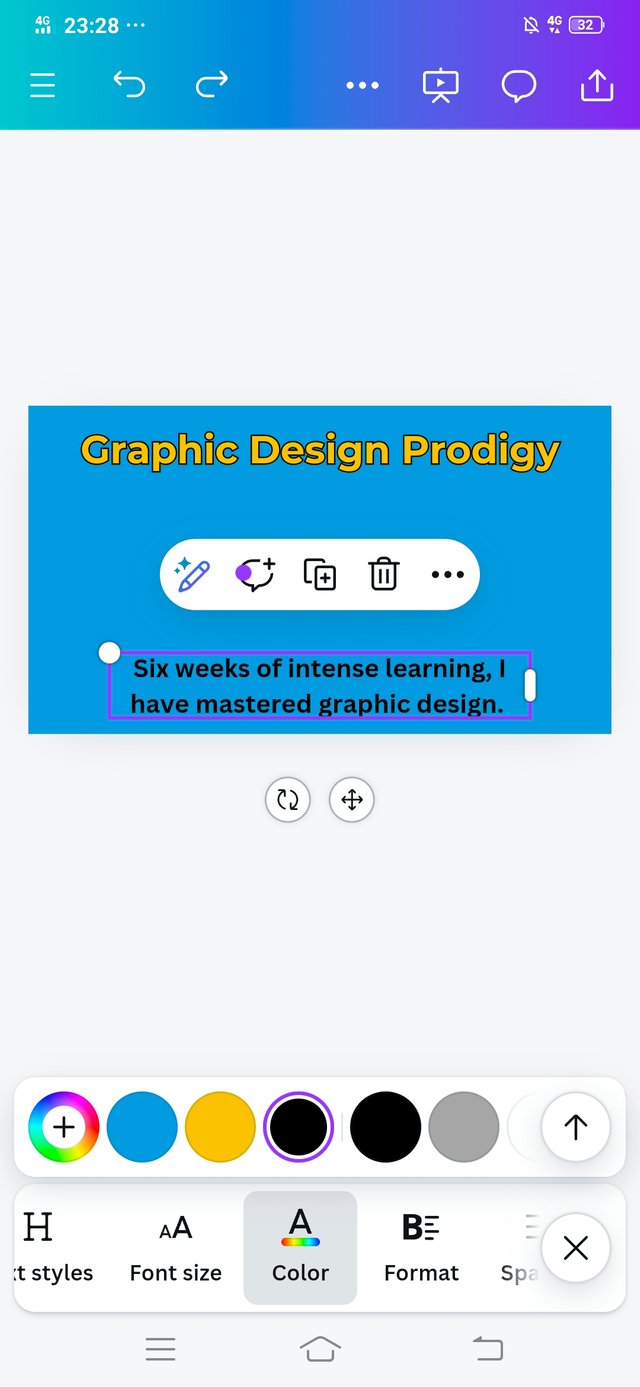
- I clicked on the Text and added a text.
- I added this textGraphic Design Prodigy. Because it's our final practice.
- The font style that i used is Montserrat.
- The font Size is 95.
 |  |  |
|---|
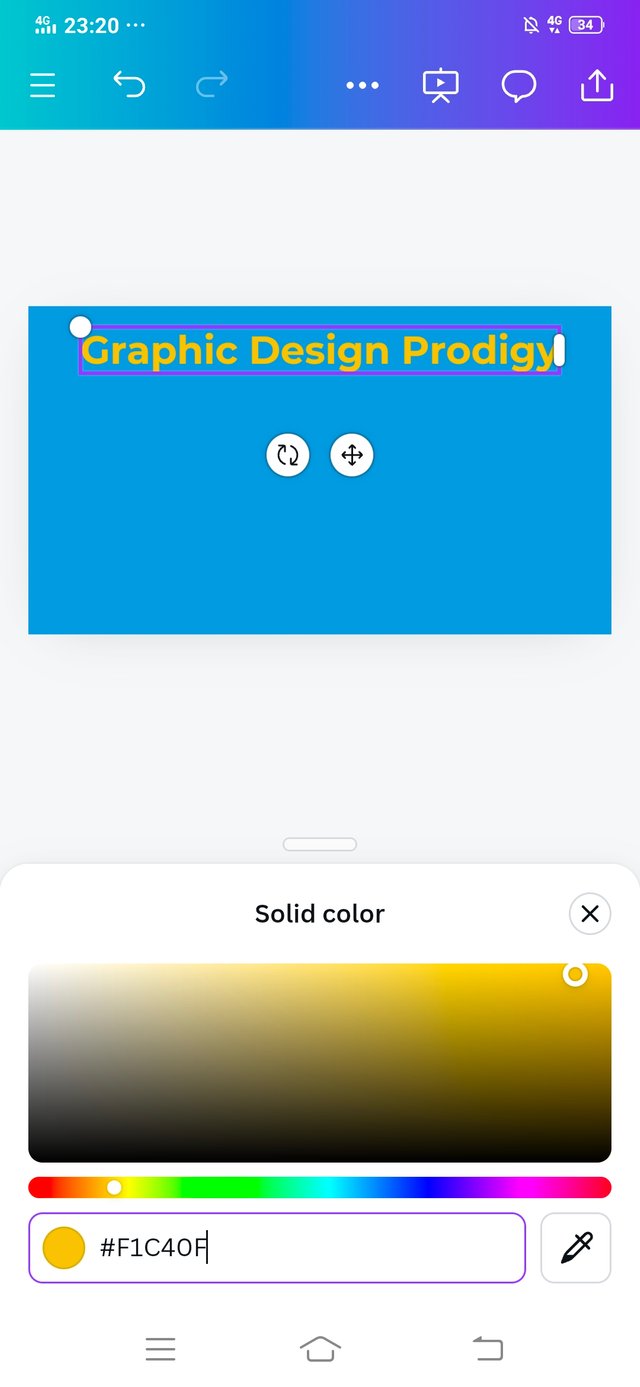
For my title text, I used a colour code of #f1c40f. Colour combination, contrast are very important. I tried my best to made my design attractive.
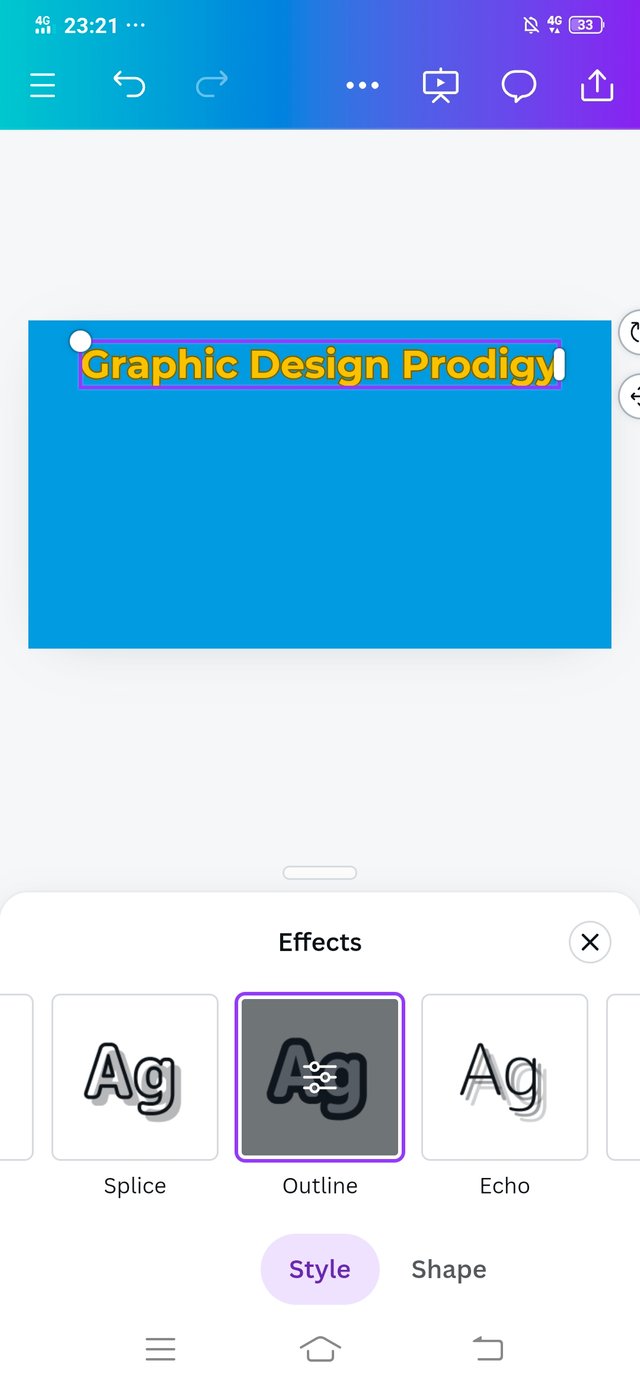
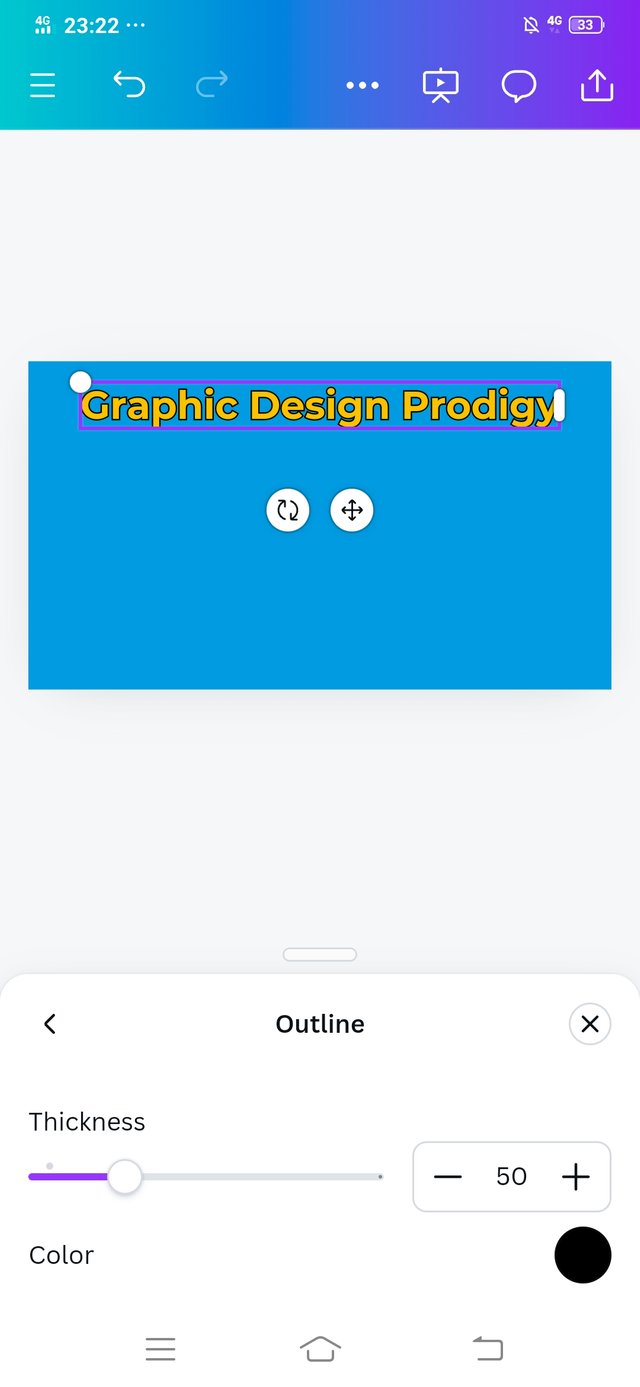
Then I scroll for the option Effects where is choose the option Outline.
I choose balck colour for outline so my title text should be bold enough. And thickness is 50.
 |  |  |
|---|
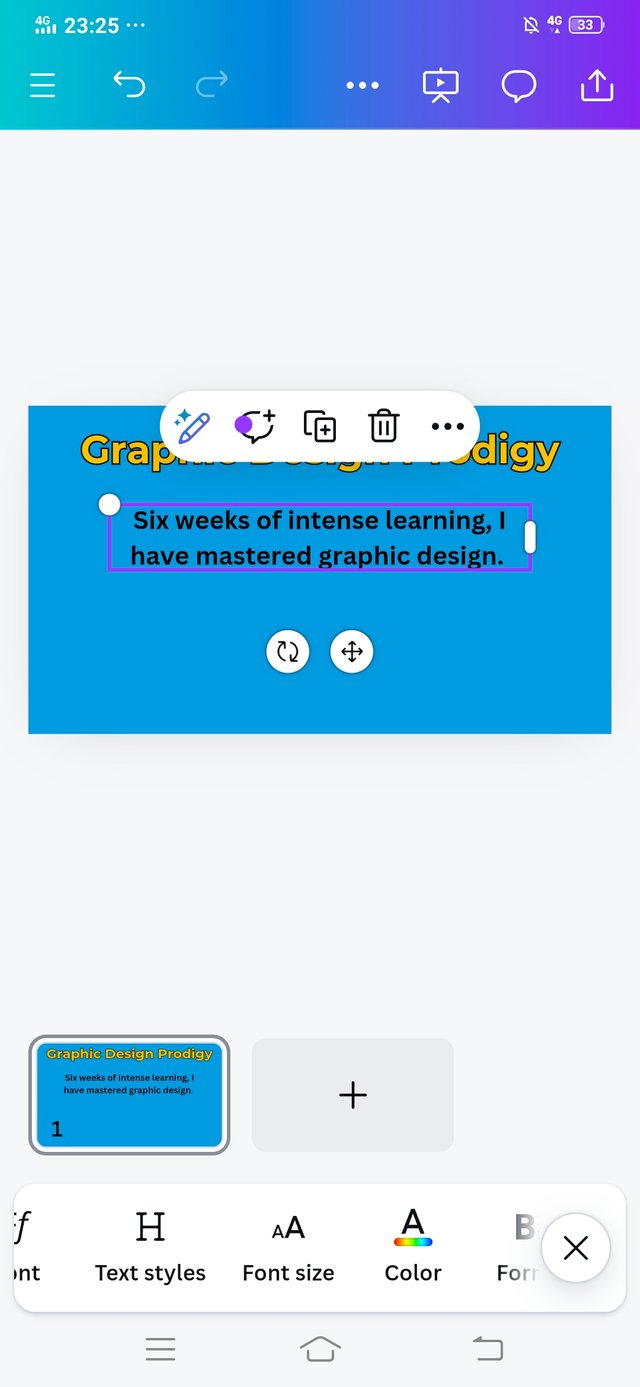
Added the text, at this time I chose heading text.
I added the text , Six weeks of intense learning, I have mastered graphic design. But in the end, I though that I should appreciate our instructor so I added a senetence more. Six weeks of intense learning, I have mastered graphic design. Thanks to @lhorgic boss. This is how I tried to show my appreciation to my instructor.
Then I positioned the text. Picked the text and pasted in the last.
 |  |  |
|---|
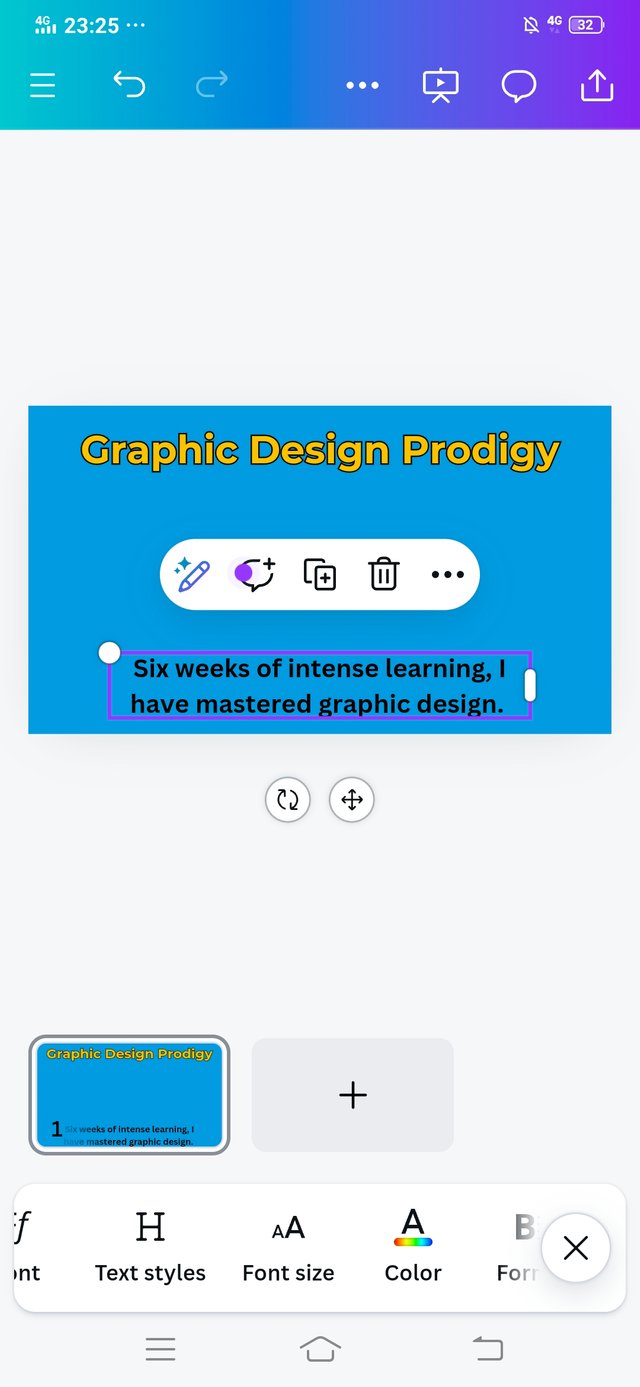
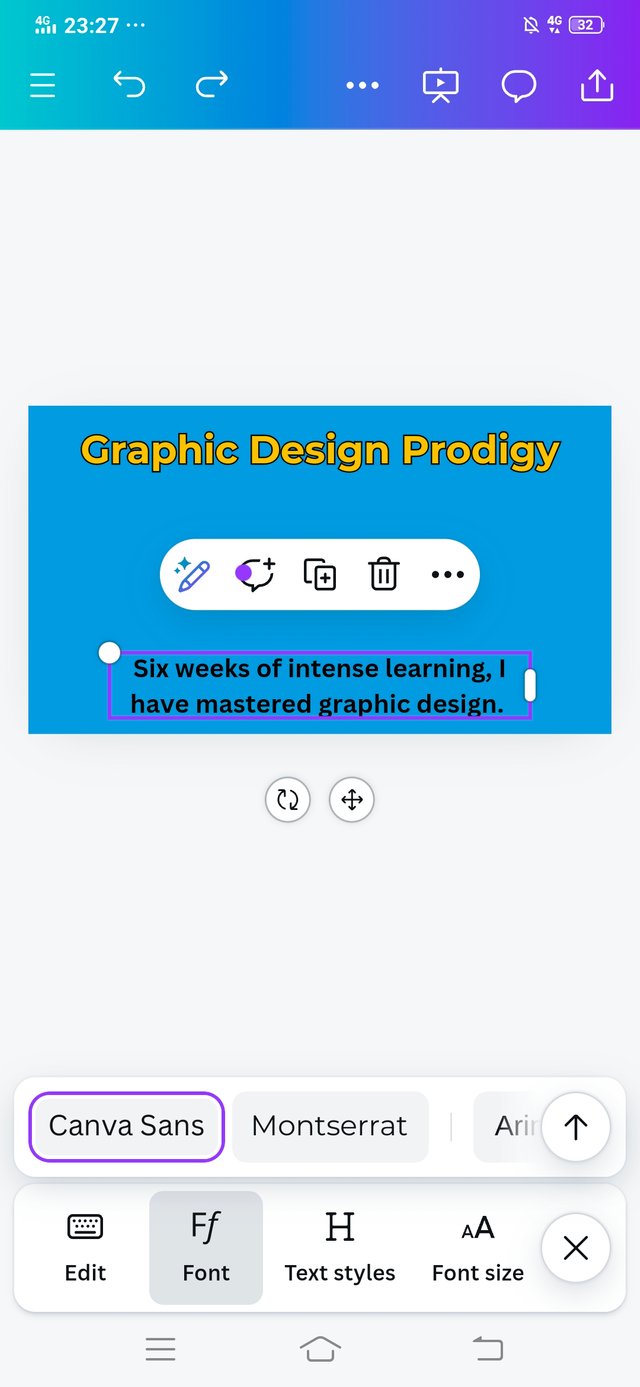
- Canva Sans, this is a font style that i used for my text.
- The font size is 62.1.
- I used the same colour for the text. And repeated the same procedure that I did for the title text.
 |  |  |
|---|
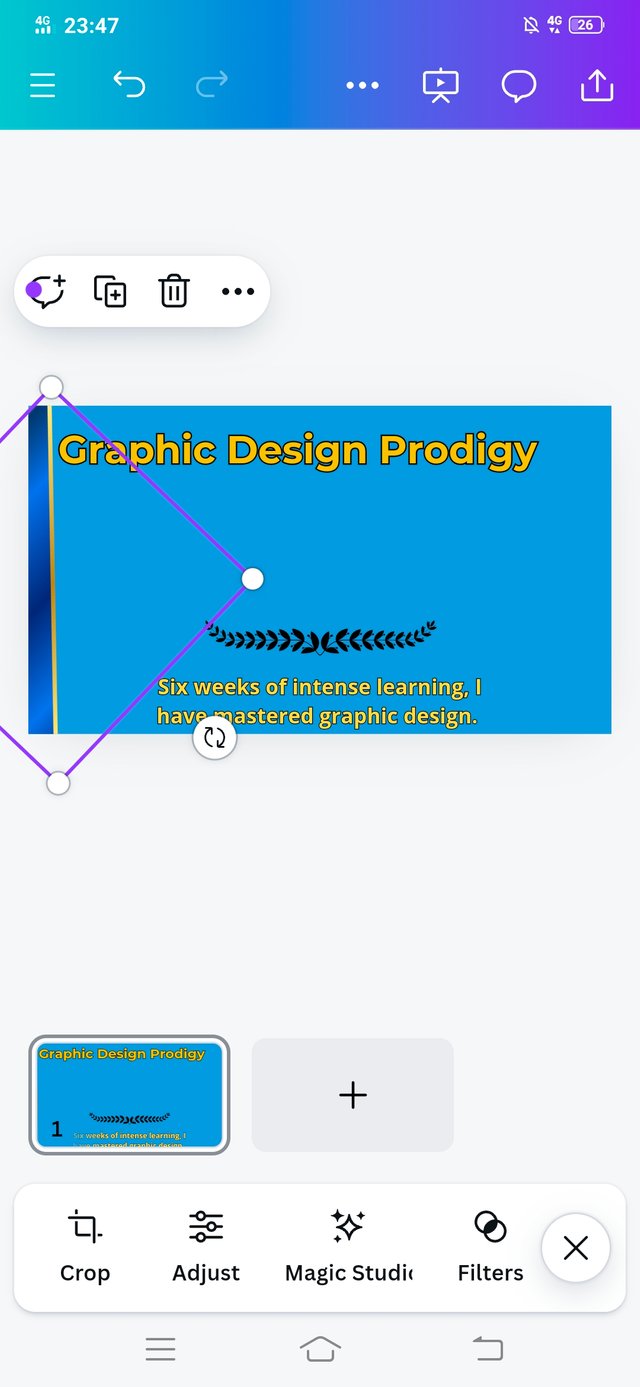
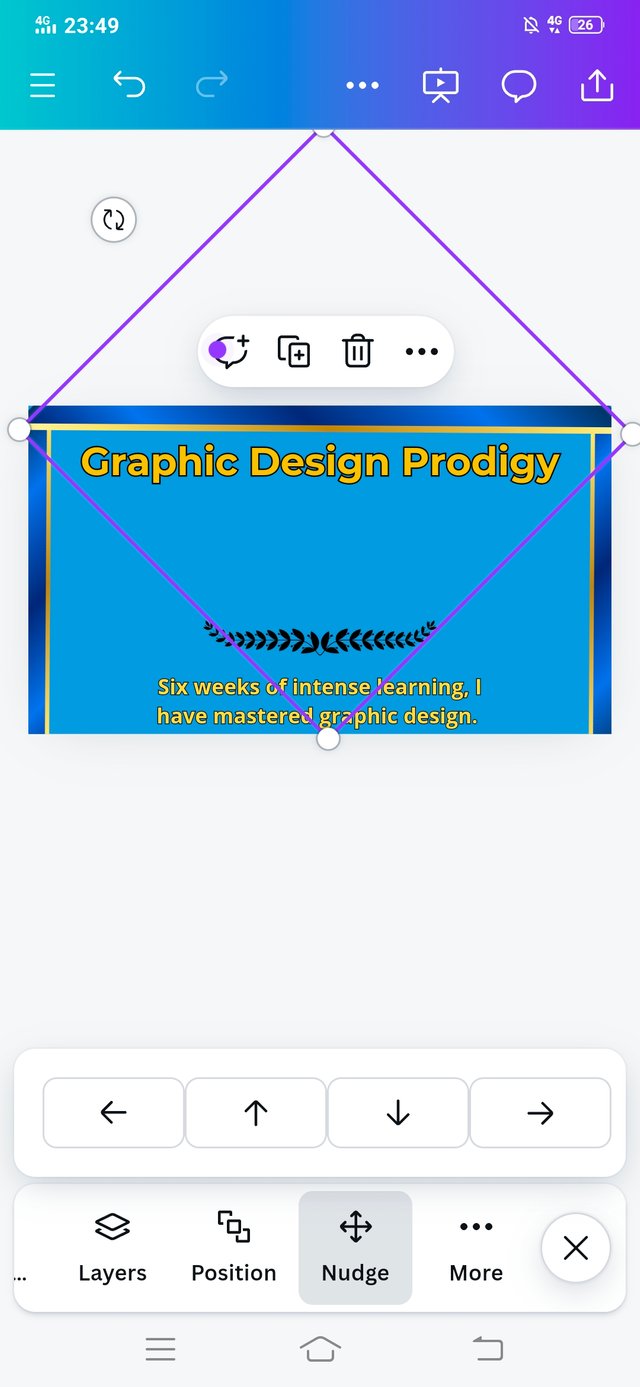
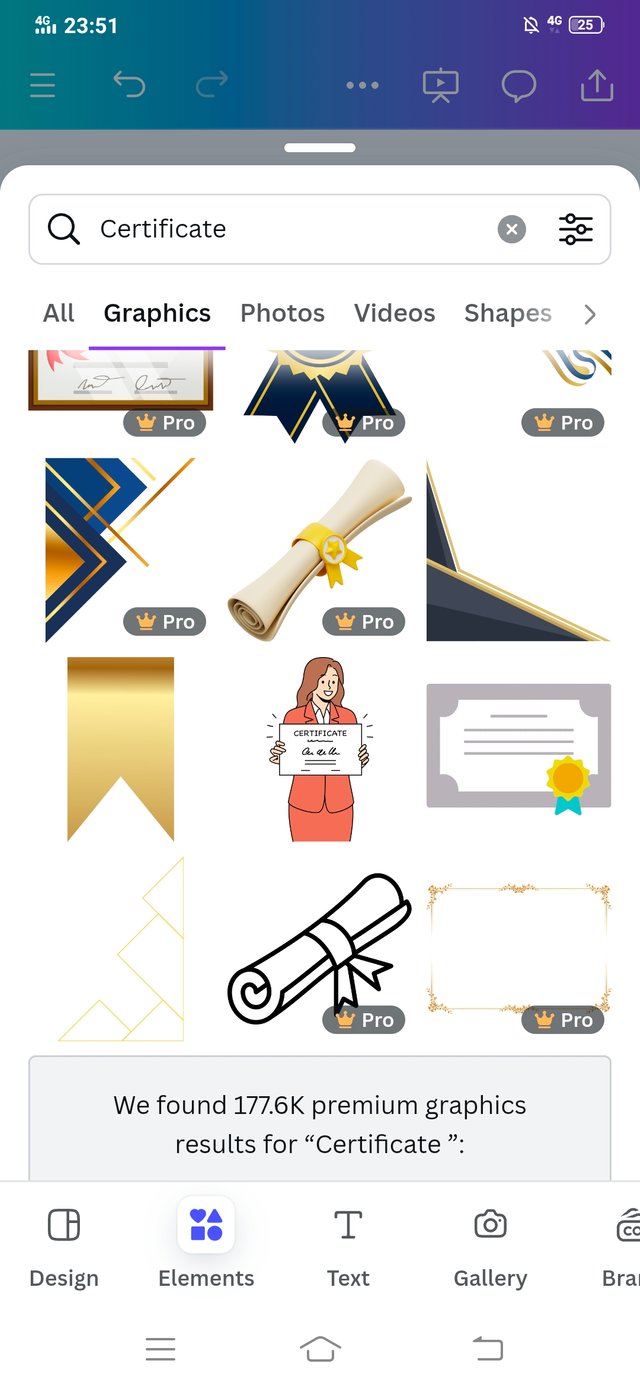
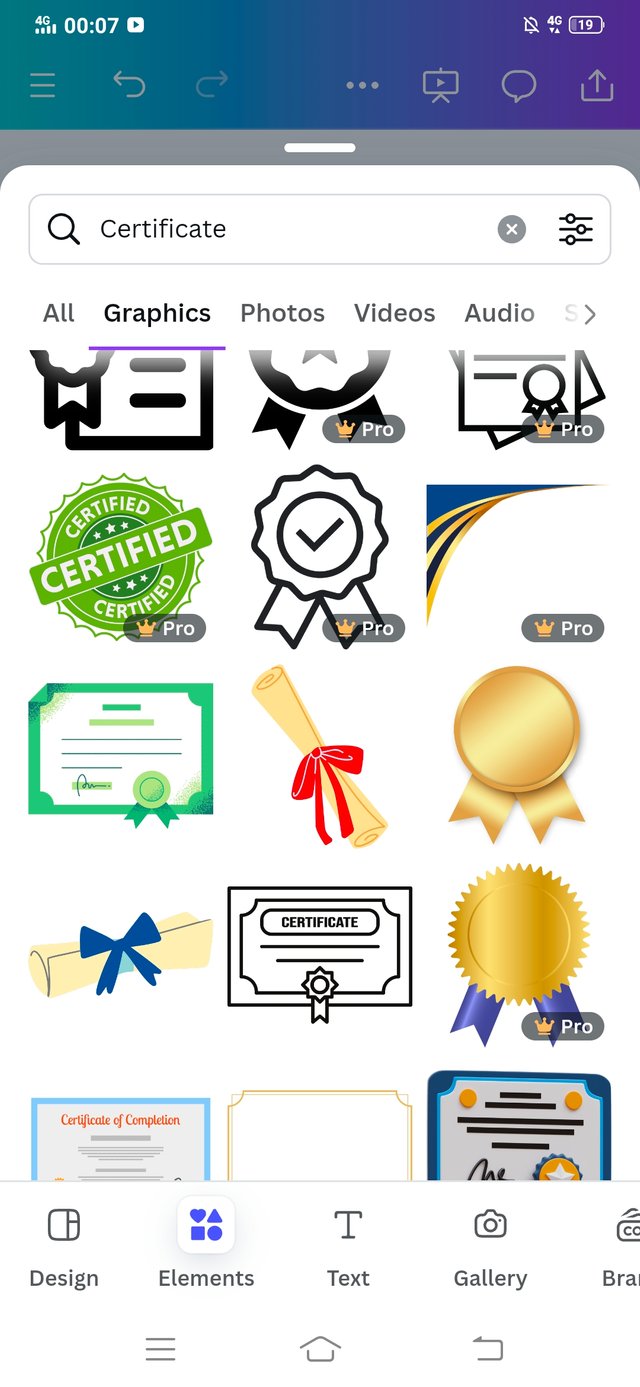
- I selected the option Elements and search for Certificate where is got a element having a blue border with yellow belt. It was delicate. So I picked and tried to use it.
- Finally, I was succeeded to make border line by using that element. I copied that element and design four borders. 3 at the same time and one in the end. Because I have to add so many elements so I disappear one border. But in the end you'll see all edges are well presented.
 |  |  |
|---|
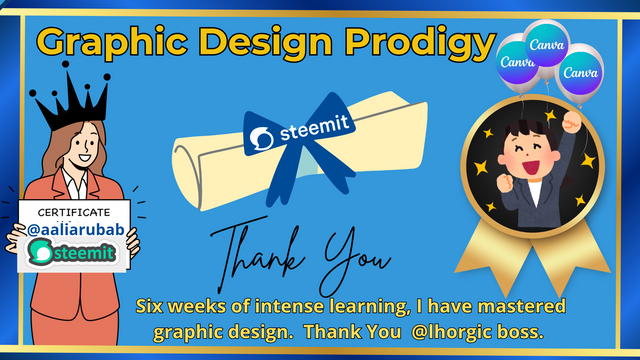
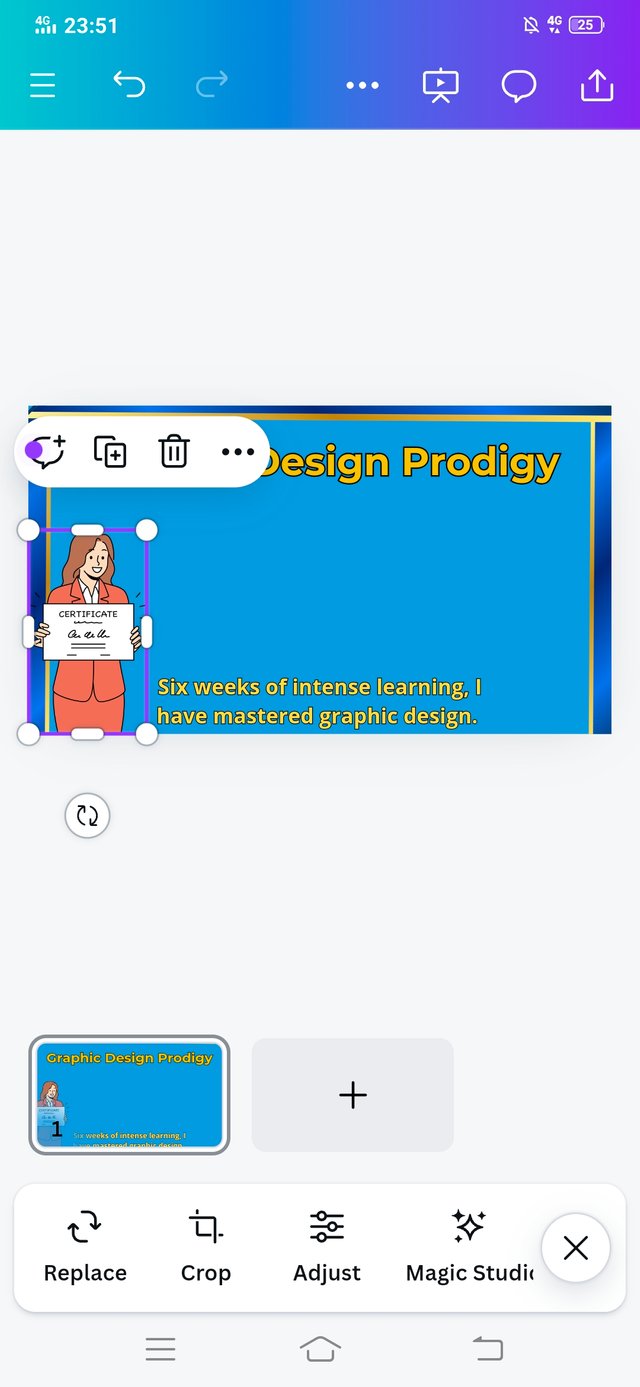
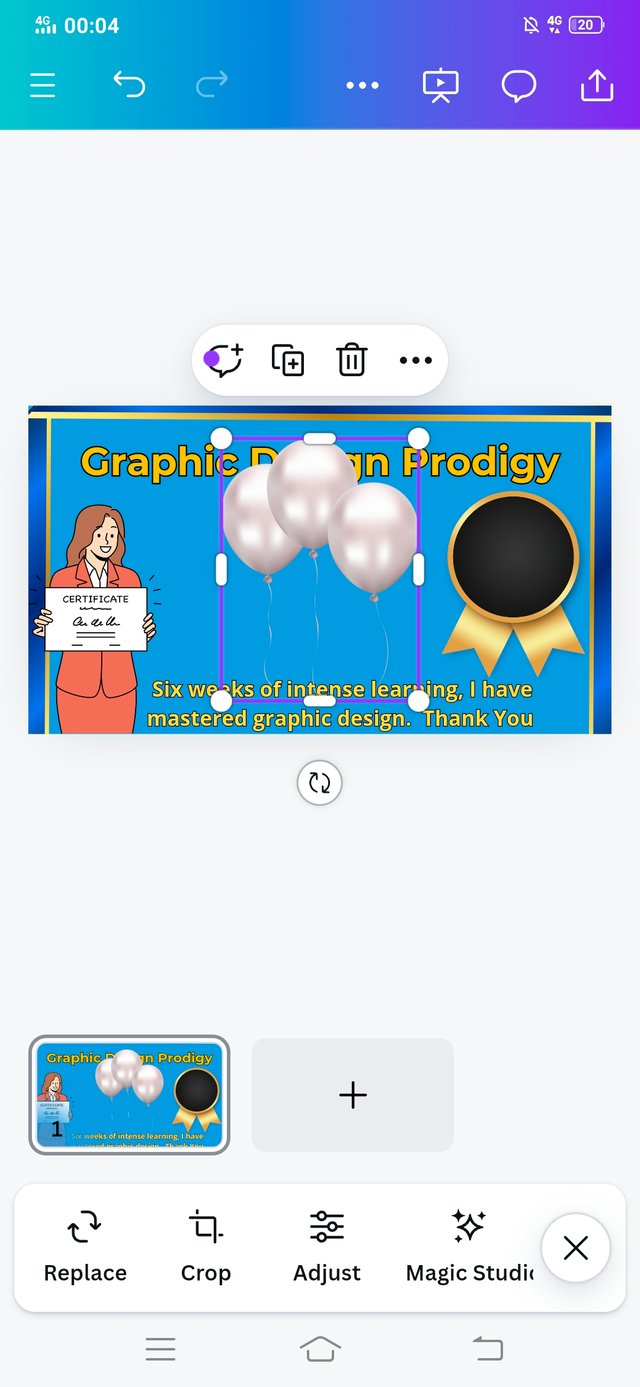
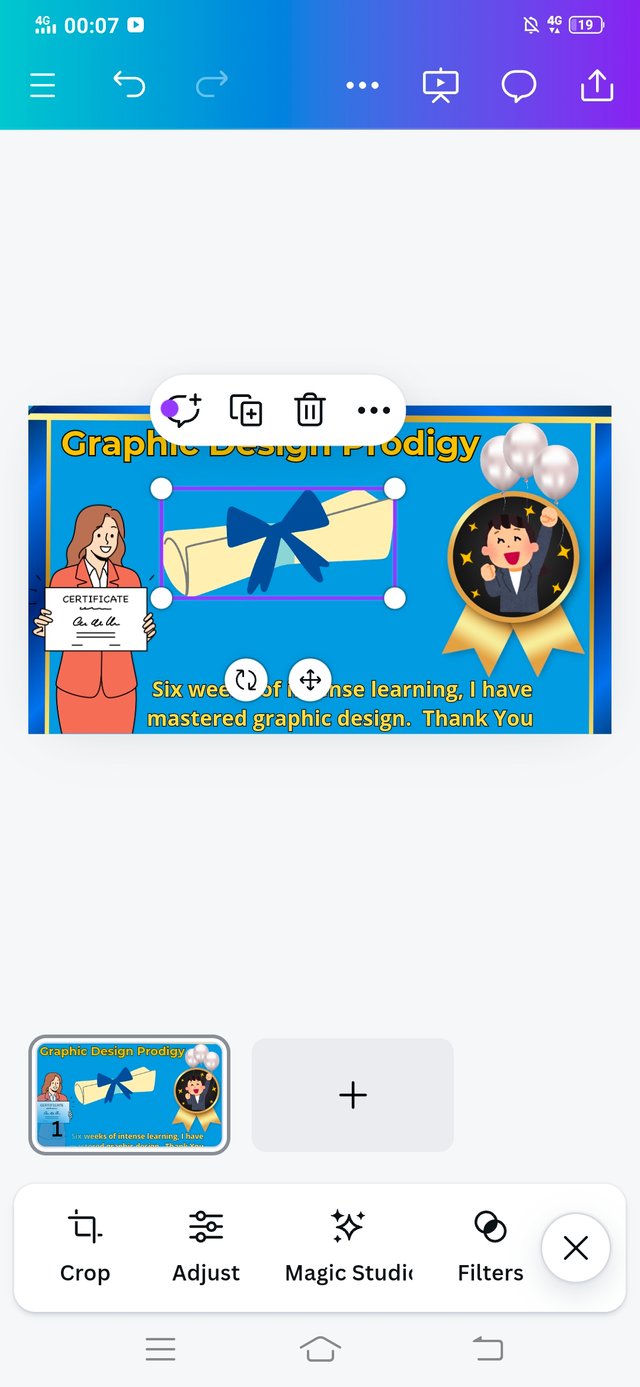
- Now, I searched for another element. At this time I picked a girl who is holding a certificate. Actually at this time we have to show our 6 weeks learning. So,I thought to show a certificate too. It will spark up my presentation.
 |  |  |
|---|
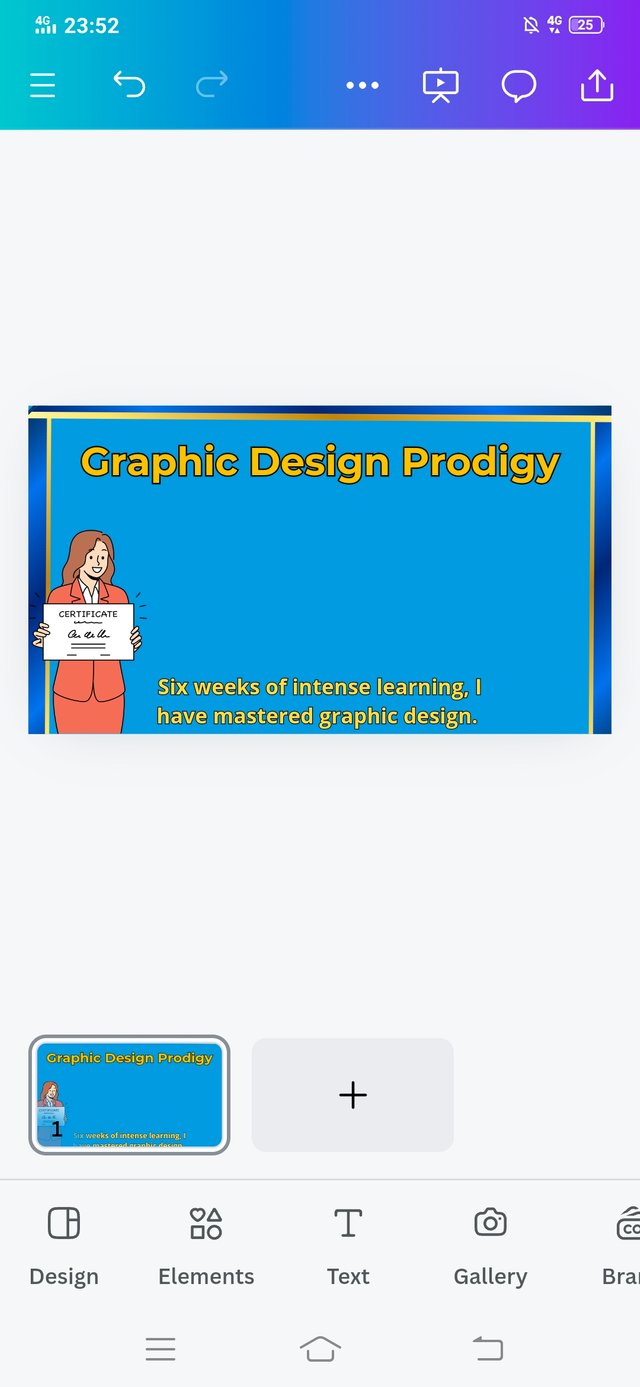
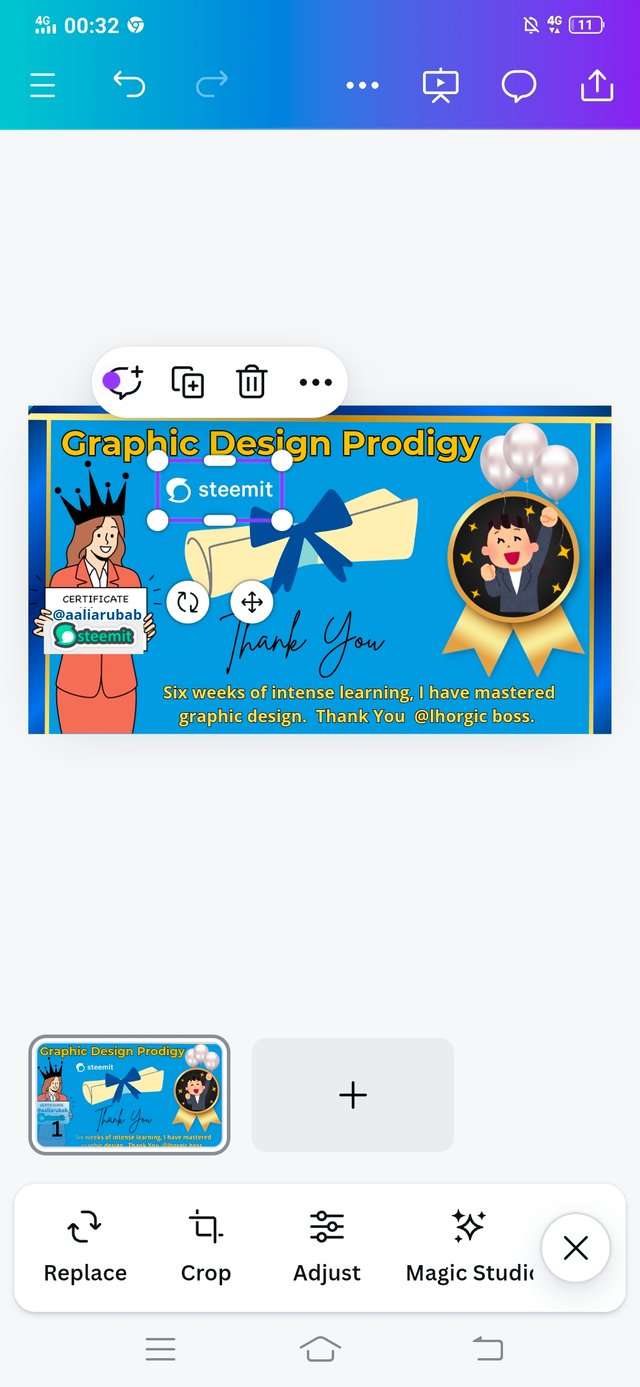
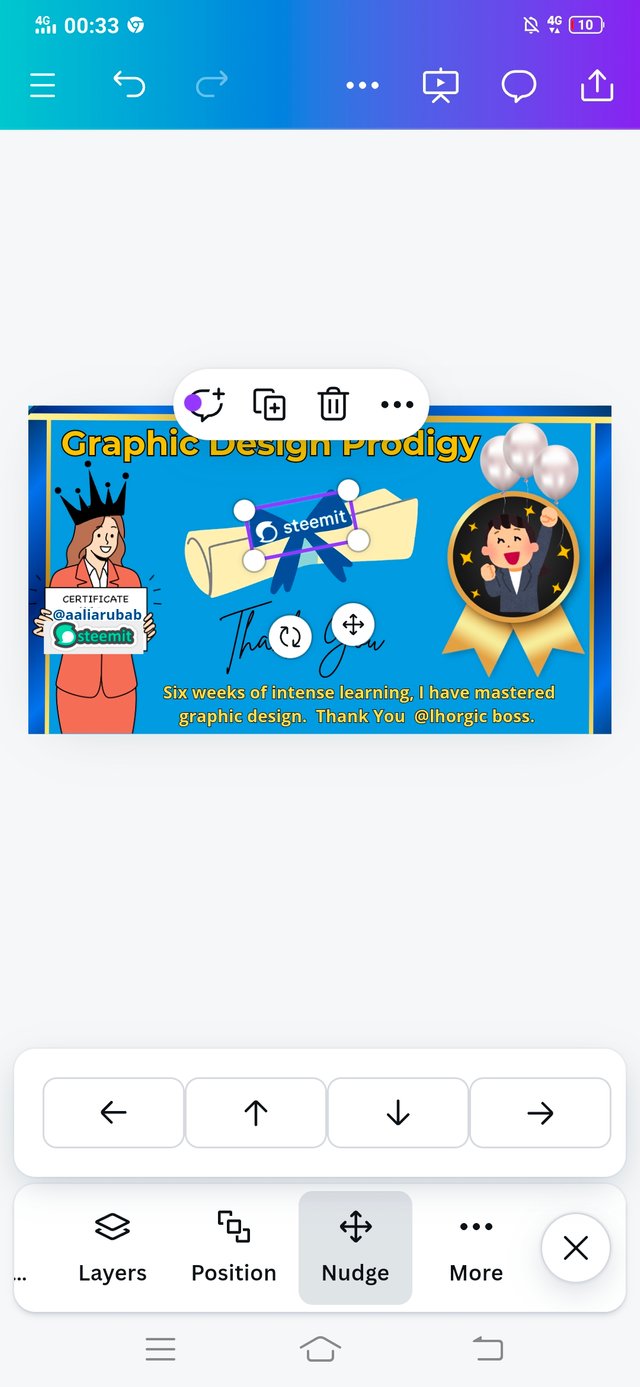
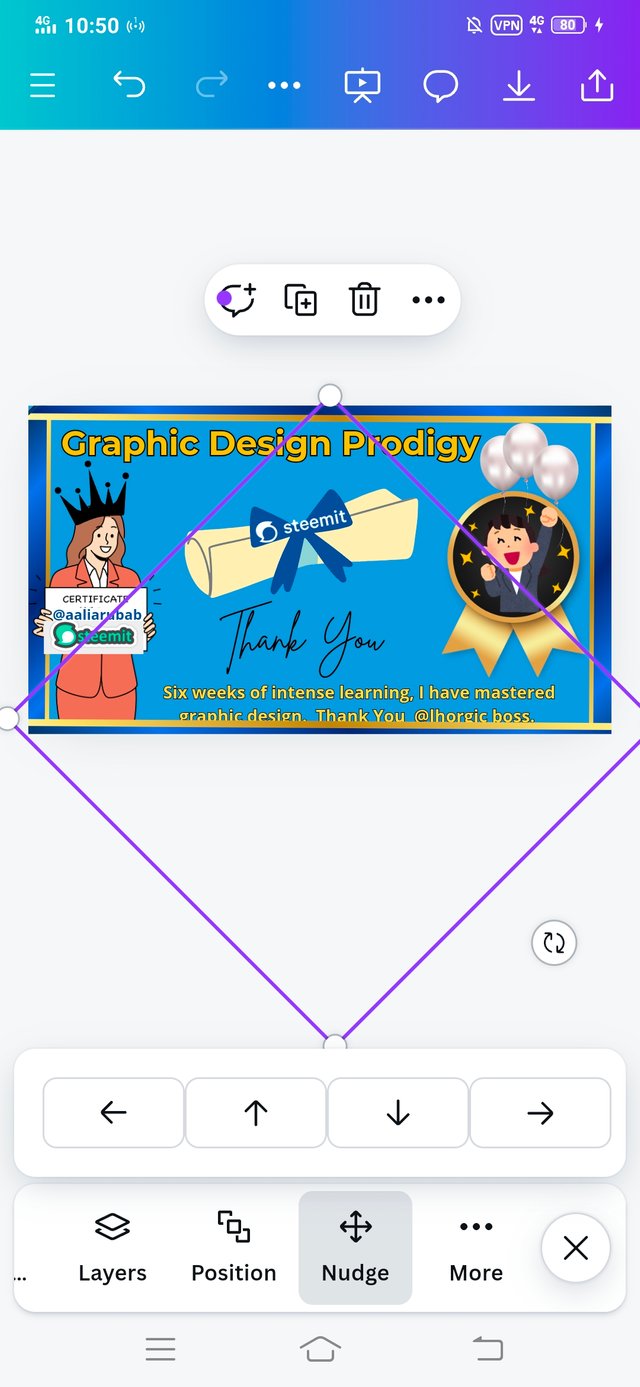
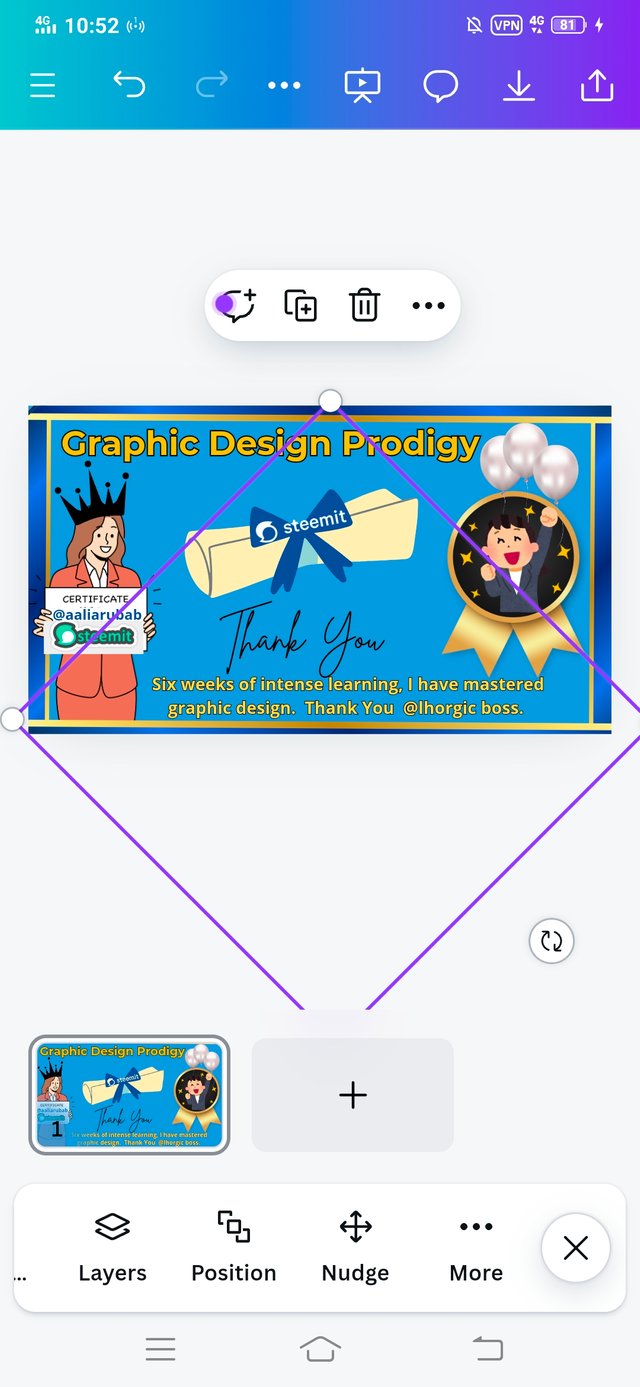
- Then I use two options Position and Nudge and positioned correctly. You can see it, I have shared step by step images.
- I added another element where I thought that I'll add a celebration picture of a guy. So everyone can understand it what I design and for what.
 |  |  |
|---|
- I added the Balloons element from element option. And then I positioned it correctly.
- I added a guy image element and pasted in the certificate circle. Now you can see a guy is holding balloons in his hand. It's showing how happy he is after completing his task. This is how what I want to design.
 |  |  |
|---|
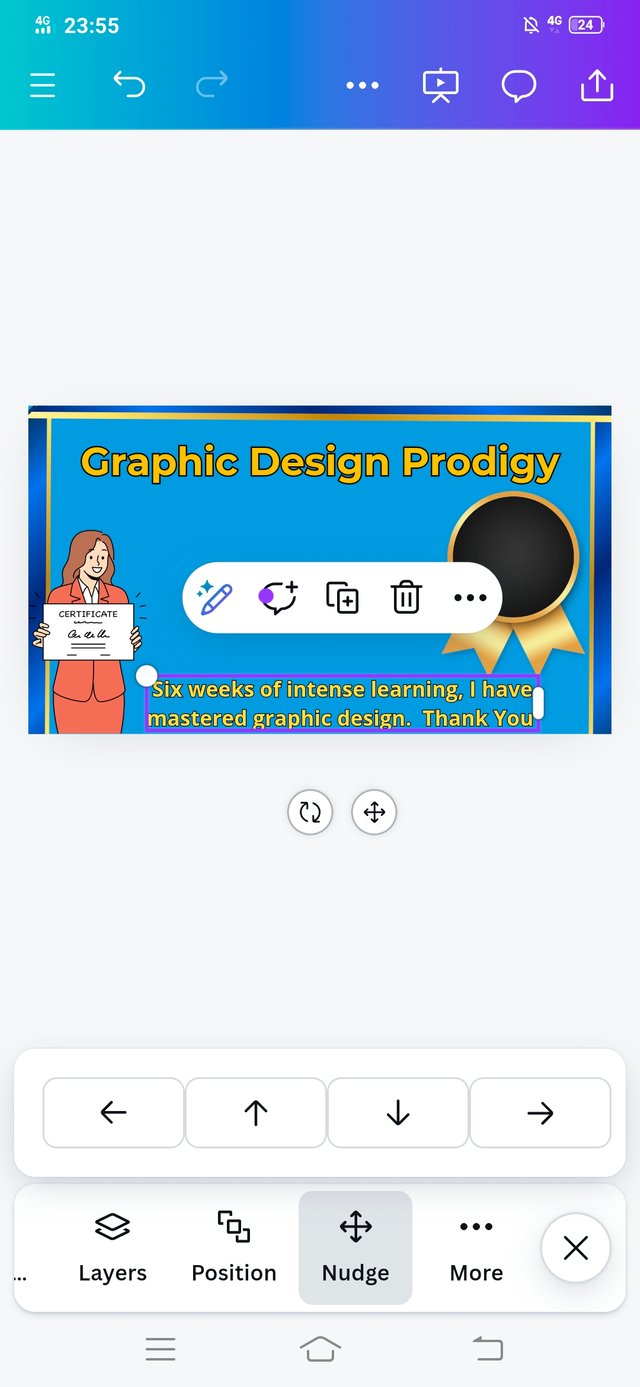
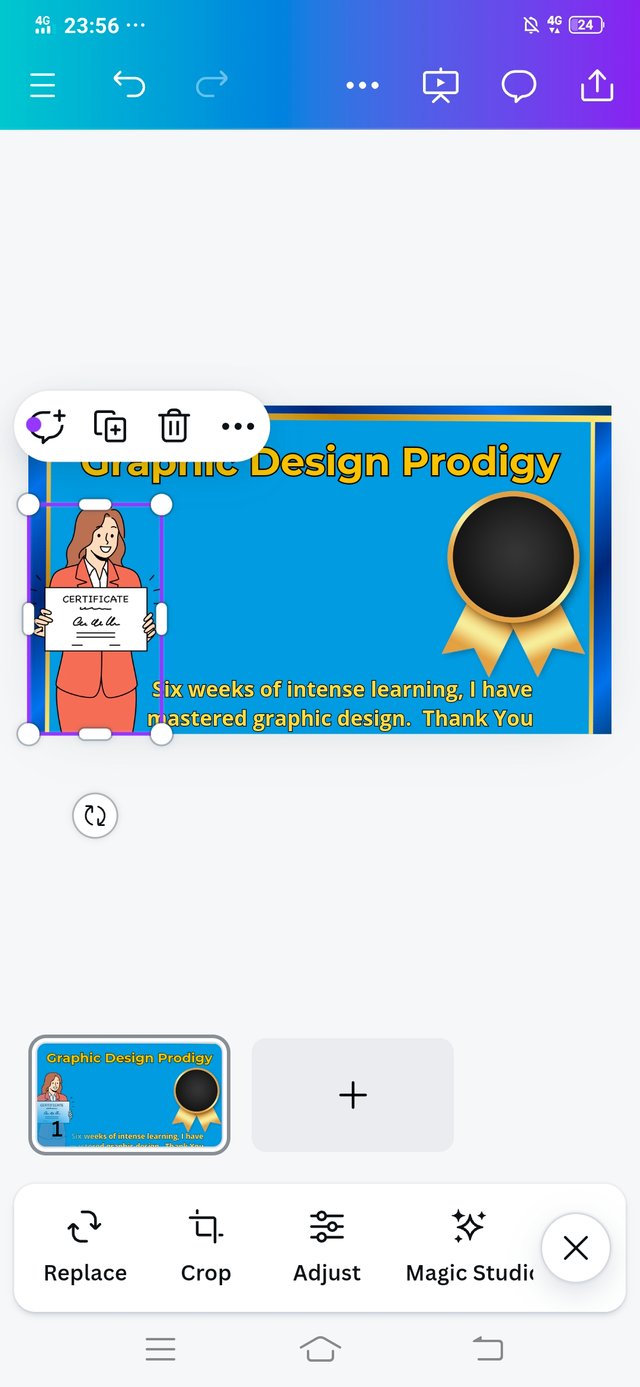
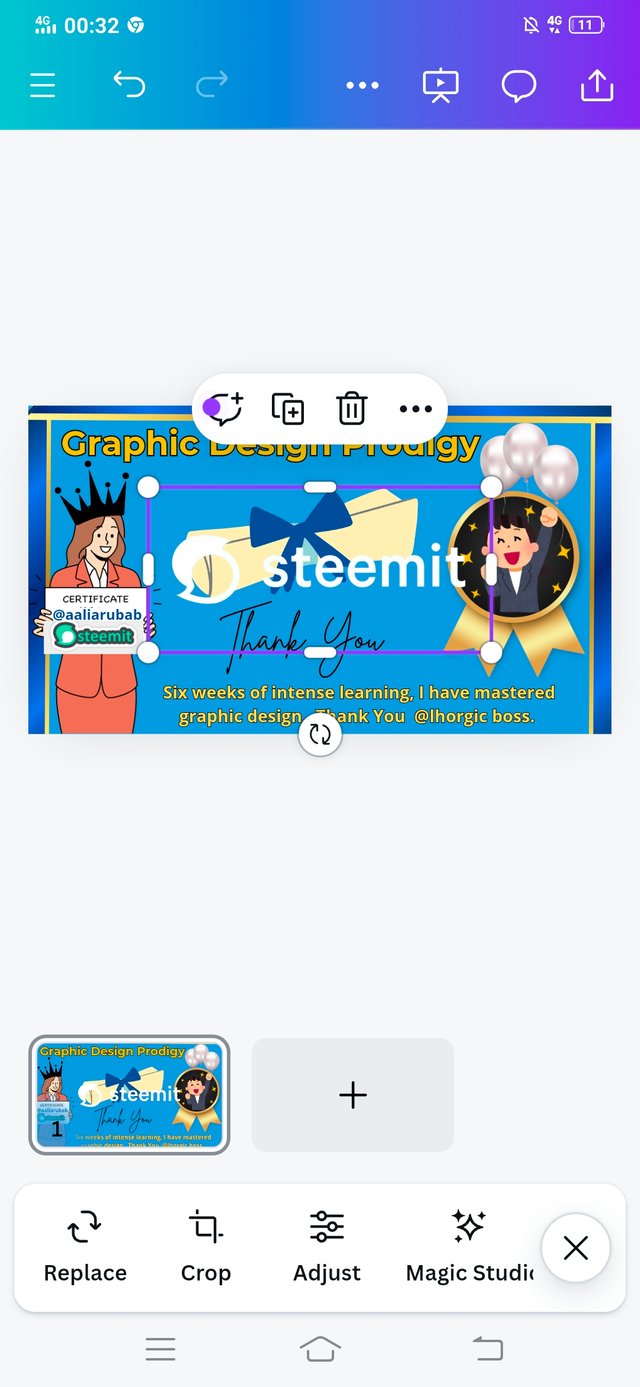
- I added a element of certificate too. I used it in the center. And then I download the Steemit logo.
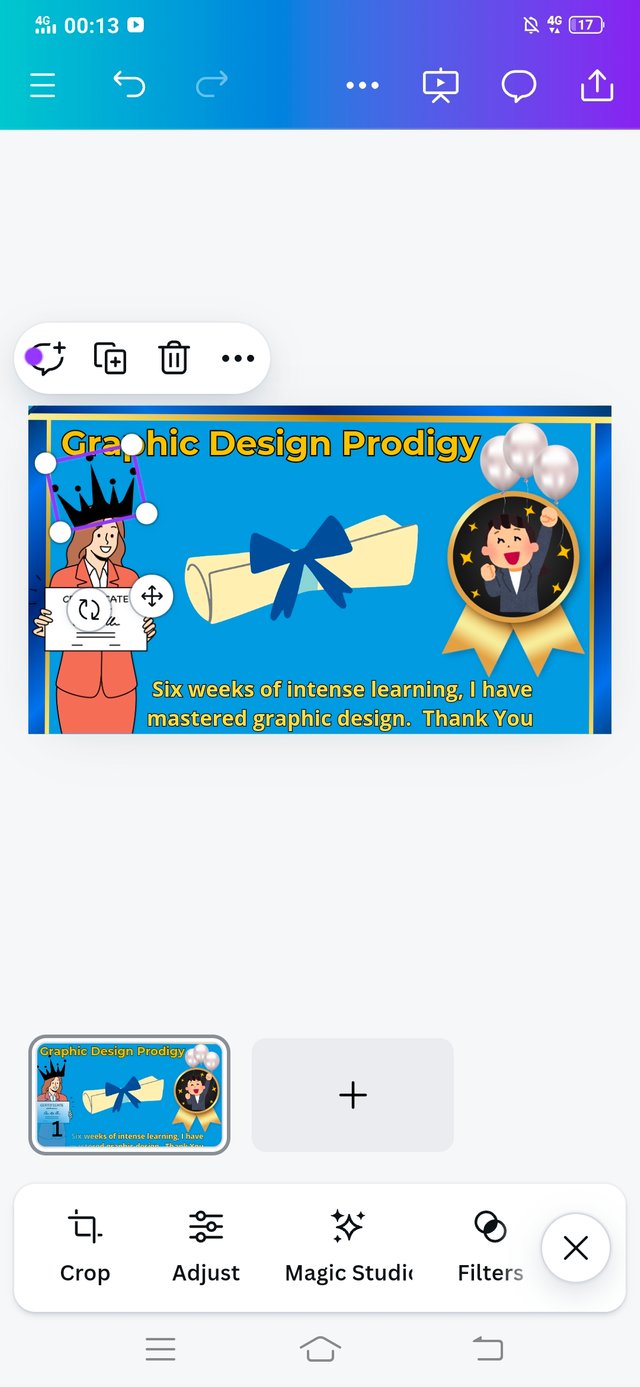
I added the crown 👑 on the head of the girl.
I added the text Thank you in the center too. For that I used the font size of 100 and font style is B.
 |  |  |
|---|
- I added the crown 👑. Now I have to add my username on the certificate. For that I select rectangular shape from element and pasted in that box. I keep it in white colour so it can hide the text. Now I have free space. So I write my username on the certificate. And then I added Steemit logo too.
 |  |  |
|---|
- Thanks to our beloved The Steemit Team who gave us the opportunity and organize Season 12 where I'm able to show my creativity so I used the Steemit logo. So everyone can be aware that because of The Steemit Team we are enjoying Season 20.
- I used an online application for background remover. Where is removed the BG from the logo. Now our logo was ready to use. But it's a task for every grapher how and where he should use this logo.
- My images are my proof of creativity. See how professionally I added the Steemit logo on my certificate. Because This is all because of Steemit.
 |  |  |
|---|
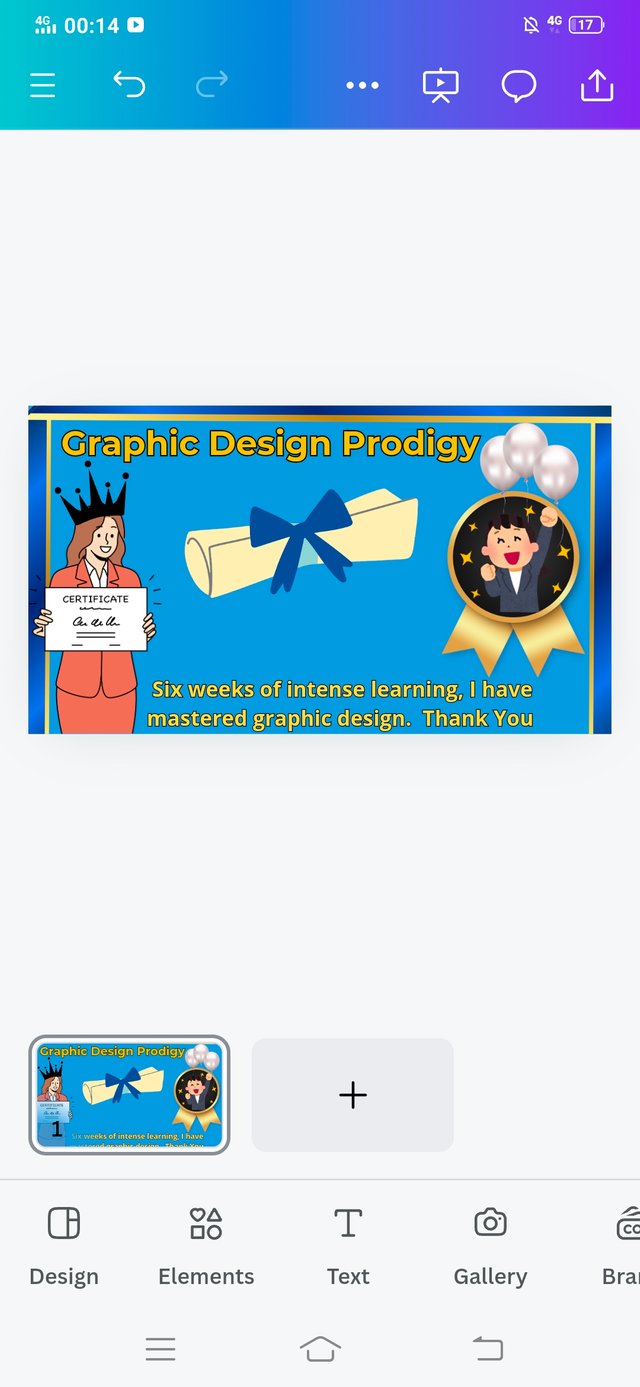
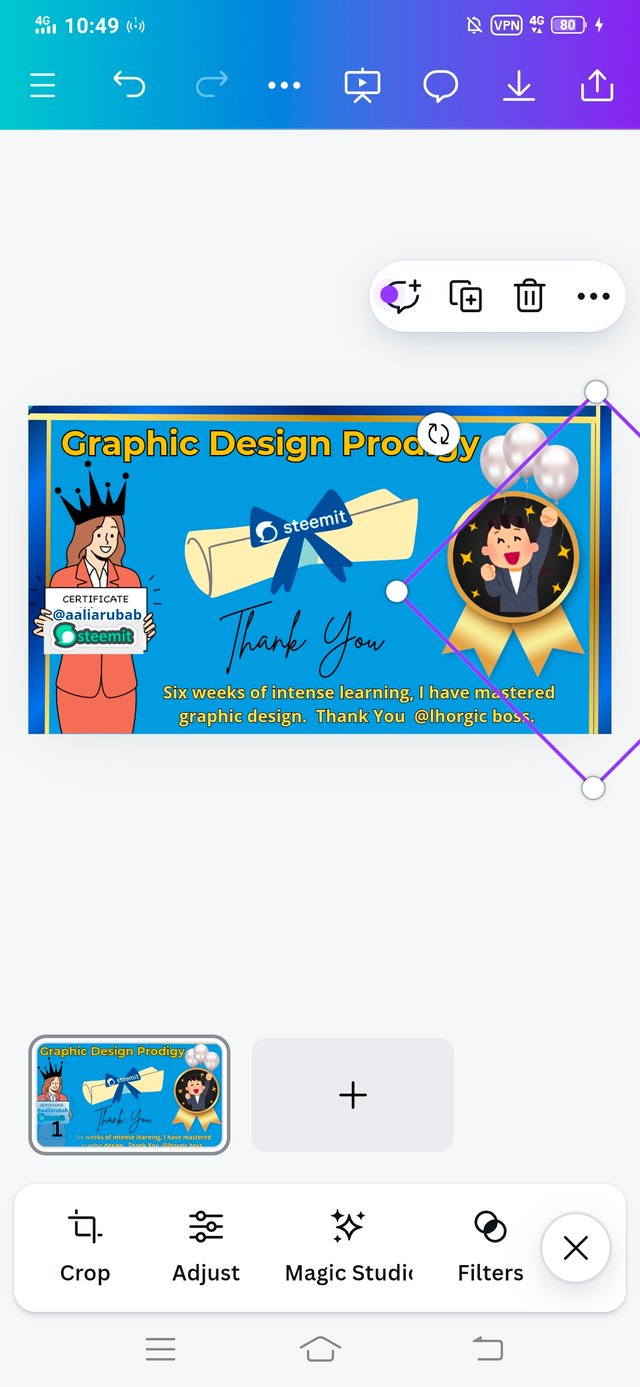
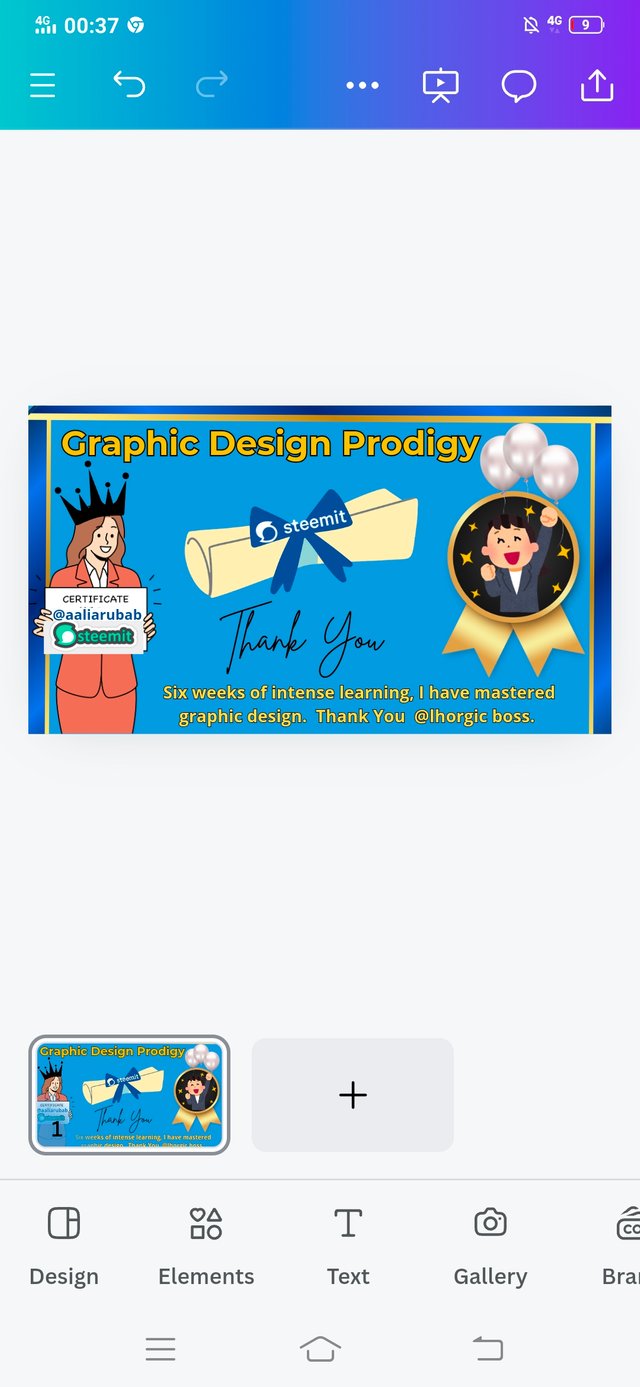
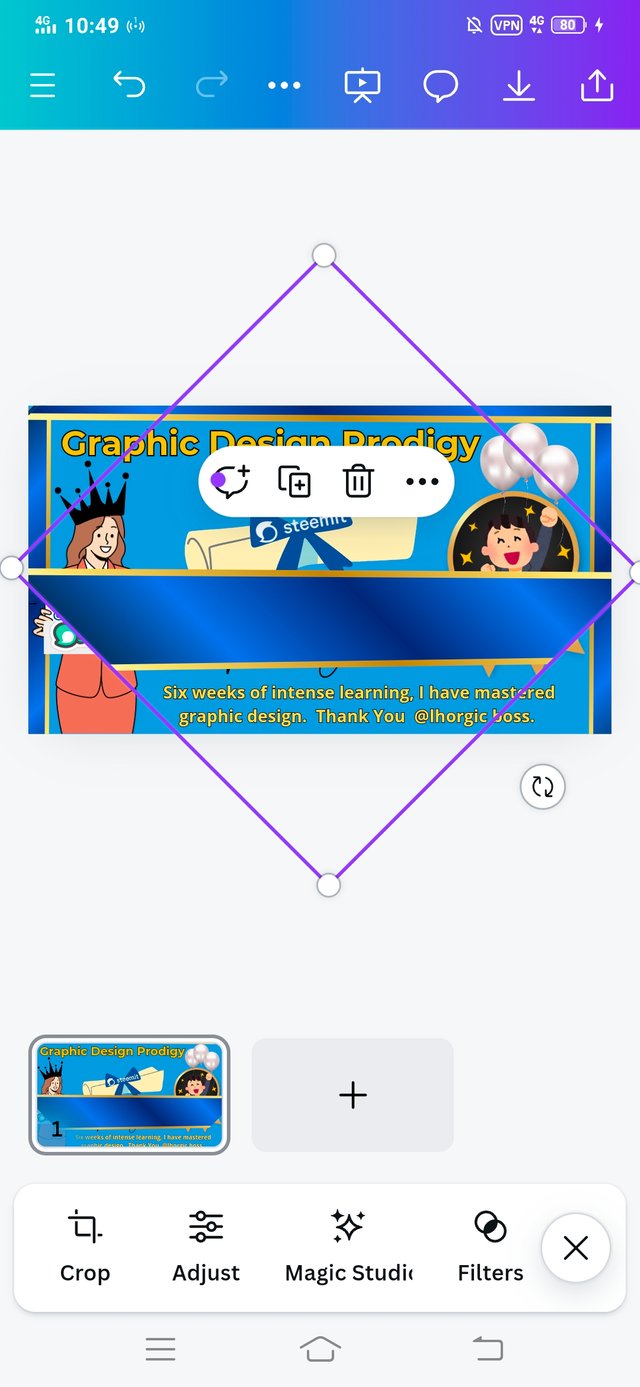
Now all the elements have been added appropriately on the background like Girl holding a certificate, guy showing victory, certificate symbol, complete certificate and balloons.
Steemit logo is now added too. A girl is having a crown now.
 | 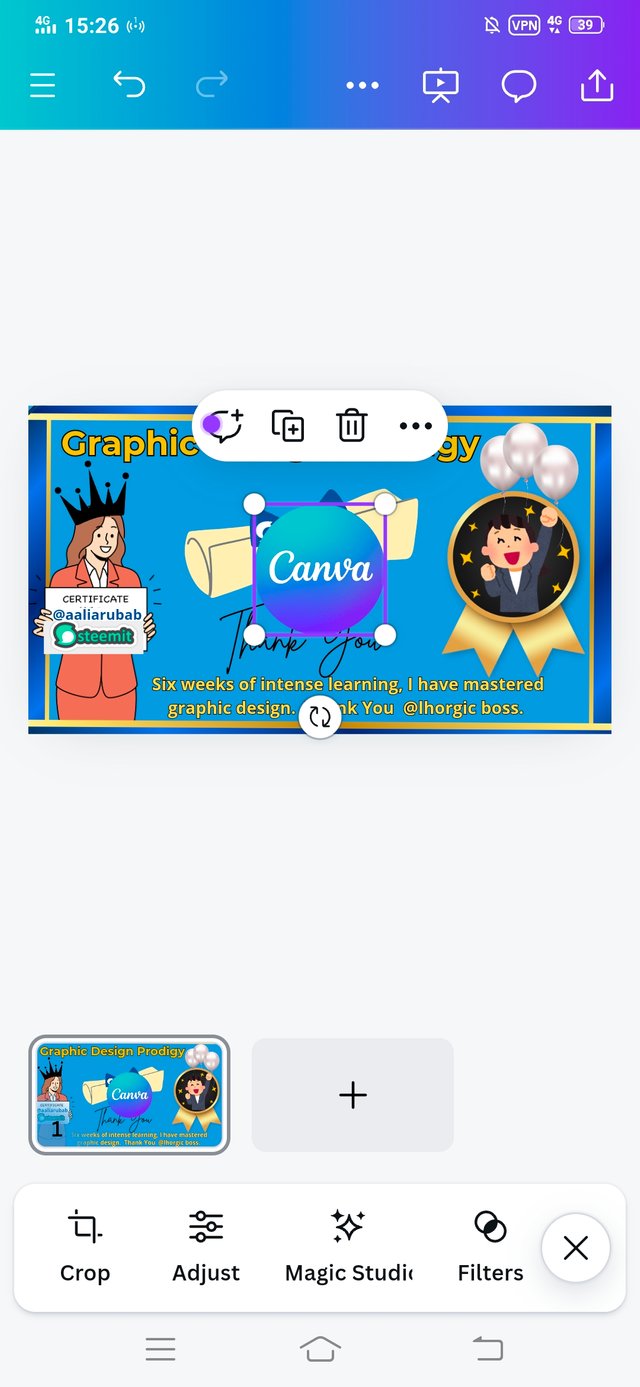 |
|---|
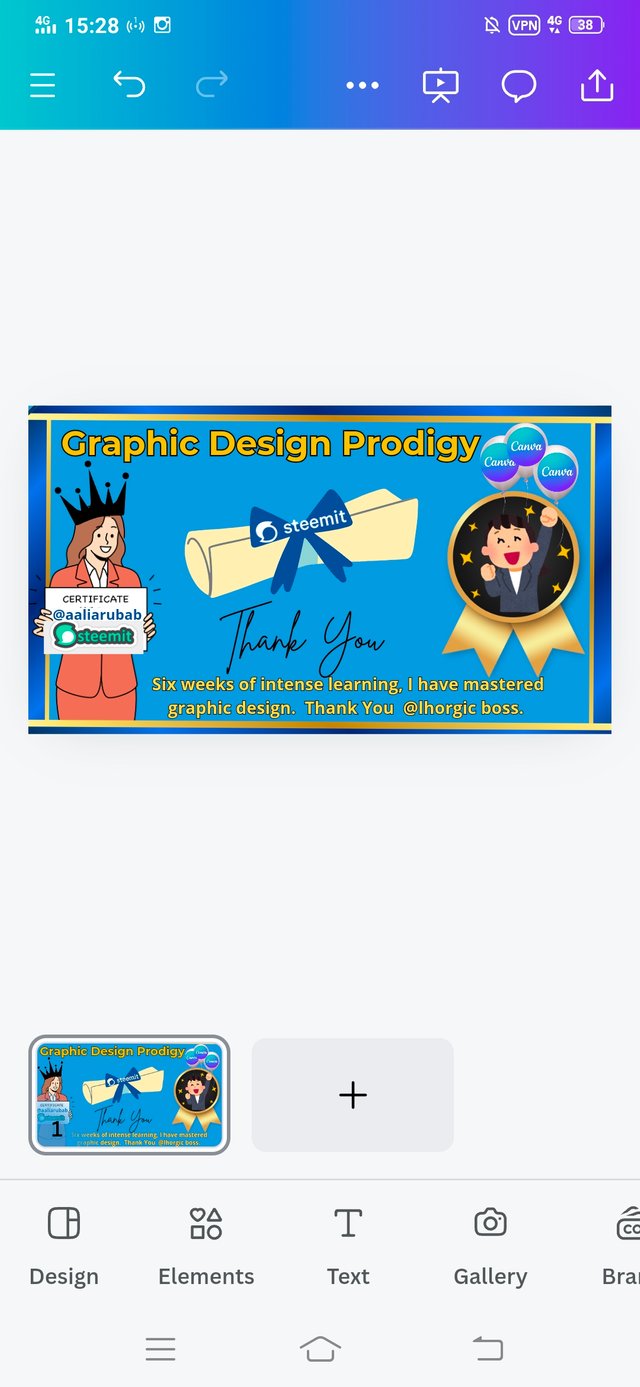
- This is Canva learning course. So I added the Canva logo too. Here you can see my balloons having Canva logo.
|
|---|
Thank you Professor for teaching me valuable Principals that make it easy for me to design it this time too.
Let me share you some principles that I used in my graphic designing.
Colour Combination Theory:
I used this principle in my design. Colour combination theory is prime principle for a graphic designer. When I selected a blank template. At this time I learned that which colour codes will spark my design. For background I used a solid colour.
Even for my title text I used the solid colour. I learned one thing more that outlines are also important and interesting feature. I used this feature to outlined my text. If a user understand the background colours, contracts colours then he can pick a good colour that spark up his design. Thank you instructor I followed you and tried my best.
Alignment and Balance : It is one of the important too because a graphic designer must positioned correctly all the text and images. Every thing should be balanced. I used 3 types of test and I have aligned it correctly. For positioning, nudge option helped me a lot to balance my design.
Positioning: I have learnt and use first time this principle in the last class. This week I also used it when I added Canva logo in my balloons.
Typography: I have learnt that which fonts that we use for our educational templates and which for others. Font size also have great importance. It's a bit difficult but interesting too that which fonts will embark your design. So I use this principle wisely. That's why, I'm able to now submitting my design .
Emphasis I always say that for a professional graphic designer , it's mandatory that he must understand what he is going to highlight wether it's text, images or elements. In this design our emphasis was on Completion of our Graphic Designing Course. And you can see how our design is pretending 🙈.
In the last, I'm thankful to my instructor for giving us this opportunity where I explore Canva in depth and I'm able to design this. I invite my friends @goodybest, @stef1 and @suboohi. Thank you in advance.
Graphic Design Student,
Aalia Rubab
Hello @aaliarubab thank you for participating in this week's lesson. We have assessed your entry and we present the result of our assessment below.
Feedback:
Let me start by appreciating you for coming this far with me on this six weeks course and also commending you for the effort put into this practical, I love the outcome of your step, your design looks cool.
Your design is nice and cool to behold, but then it's not giving a very formal view and vibe, the composition looks too informal but then, you did very well for acknowledging the organizers, the tool/software used for the course and others.
In all, you did beautifully well and I must commend you for a job weldone. Thanks for staying through the whole process, I hope we continue this journey together in the next season. I wish us the very best.
Regards
@lhorgic❤️
0.00 SBD,
13.94 STEEM,
13.94 SP
Upvoted. Thank You for sending some of your rewards to @null. It will make Steem stronger.
I am impressed by your creativity and patience. Each step is beautifully explained, and the final output is simply awesome. Hopefully, this course will resume. Good luck for the contest.
Just a reminder, you forgot to give the #burnsteem25 tag.
Thank you so much. You know, it takes my almost whole day to design it. Even when I was trying to sleep😂😂😂 I activate my mind to produce interesting ideas.
Wow, Alhumdullilah 🤲🏻 , Jazak Allah for your appreciation.
I have added the tag. Thanks to Allah, I have already set beneficiary. Wish you good luck to you too.
Welcome 🥰🥰
Well done on completing the class, my friend. What so you thing about this class? I enjoy it very much. Really learned new things here.
Thank you so much dear friend. 🙈 It was incredible experience to attending this class. But let me appreciate you too, you are good at graphics. Well done boy. Same here 🙈.
How long have you been using Canva? Are you using it for another purposes as well besides for SEC?
When I joined this platform 😁........
I use for my Steemit work.
okay I see. I am new too ..
0.00 SBD,
0.02 STEEM,
0.02 SP
Congratulations, your post has been upvoted by @scilwa, which is a curating account for @R2cornell's Discord Community. We can also be found on our hive community & peakd as well as on my Discord Server
Felicitaciones, su publication ha sido votado por @scilwa. También puedo ser encontrado en nuestra comunidad de colmena y Peakd así como en mi servidor de discordia
Thank you dear @abiga544 😊.