My First Time Implementing a Login System in React as a Self-Taught Junior Developer
As a self-taught junior developer, embarking on the journey of implementing a login system in React with an already built API from the backend team was both exciting and daunting. This experience was filled with learning opportunities, technical challenges, and moments of triumph. Here's a detailed account of my experience, the challenges I faced, and how I overcame them.
When getting started I need to Understanding the basics
before diving into the code. I needed to understand the basics of authentication and how it works in a web application. Authentication involves verifying the identity of a user, typically through a login form where users provide credentials (username and password). Once authenticated, users receive a token (json web token) or session that allows them to access protected resources.
I started setting up a new React project using npm create-react-app, and gave a folder name called login-system.
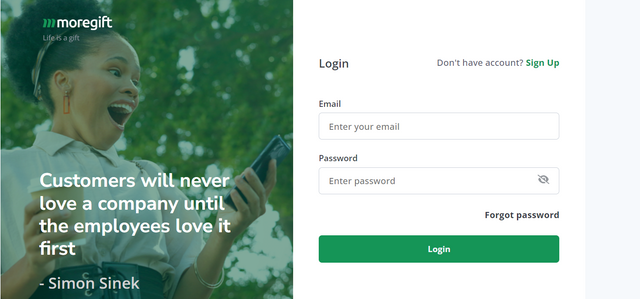
When the project was set up, I created a basic login form component with fields for the email and password.
Challenge 1: Integrating the API.
The first significant challenge was integrating the API provided by the backend team. I needed to send the user's credentials to the backend and handle the response appropriately. Here's how I tackled it:
API Endpoint: I identified the login endpoint provided by the backend team, which was typically something like /api/login, preceded by the base url.
Form Handling: I implemented form handling in React to capture the user's input fields and client side validation using a library called react-hook-form and yup.
Making API Calls: Using axios libaray, I sent a POST request with the user's credentials to the login endpoint and made ensure that the data structure passed to the api was in sync with the api's data structure.
Challenge 2: Managing User Sessions,
Once the user is authenticated, the next challenge was managing the user session. This involves storing the authentication token securely and ensuring the user stays logged in as they navigate through the application.
Storing the Token: I chose to store the authentication token in local storage for simplicity.
Maintaining State: To manage the user's logged-in state, I used React's context API to create an authentication context.
Challenge 3: Protecting Routes
To ensure only authenticated users can access certain parts of the application like dashboard and profile page according to my project, I implemented protected routes.
When I retrieved the token from local storage using local storage.getItem("token")
I created a variable called authPages in array where I listed the auth routes e.g authPages = ["dashboard/", "/profile"] . I gave a condition that if the token is not available or user not authenticated and the authPages includes router.pathName it should redirect to login page. else redirect to authenticated pages.
Challenge 4: Handling Errors and Edge Cases
Throughout this process, I encountered various errors and edge cases. Some common issues included handling incorrect credentials, network errors, and token expiration.
1 . Error Messages: Displaying appropriate error messages to the user when login fails due to incorrect credentials.
Network Errors: Implementing retries and error handling for network issues.
Token Expiration: Managing token expiration and ensuring the user is logged out or prompted to re-authenticate.
Finally,
Implementing a login system in React for the first time was a challenging yet rewarding experience. I learned the intricacies of handling API integration, managing user sessions, and protecting routes. This project did not only improved my technical skills but also boosted my confidence as a self-taught junior developer. While there were hurdles along the way, each challenge provided a valuable learning opportunity, making me better equipped for future projects. Now I boldly implement onboarding system in an application.