SV Creative #76 -Paper Craft : Honeycomb Ball
@arjinarahman ©
Bangladesh 🇧🇩
As-salamu Alaikum.
Hello Steemians! Hope you all are doing well. Today, I am participating in an amazing contest in the "Steem Venezuela" community, organized by @teamvenezuela .
Here is: Contest Link .
Let’s get started!
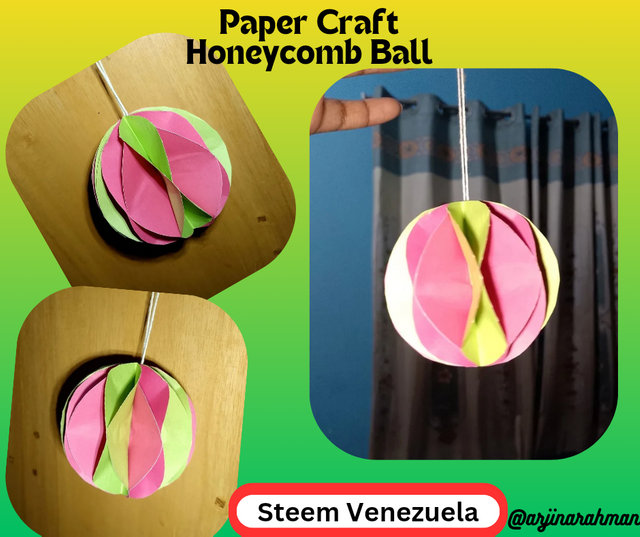
Crafting of a Honeycomb Ball |
|---|
 |
|---|
Designed with Canva Pro

 |
|---|
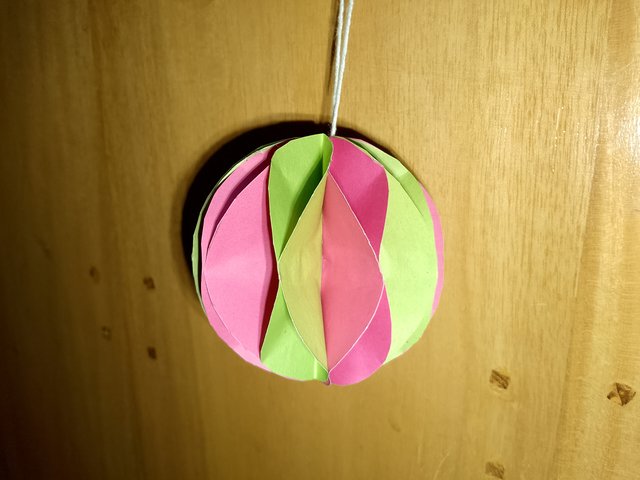
 | A Glimpse of My Craft |
|---|

Crafting Tools
🟥 Colour Paper
🟨 Pencil
🟩 Ruler
🟦 Scissors
🟪 Anti Cutter
⬛ Adhesive-Glue/Tape
🟫 Yarn

Today, I am going to share with you a craft of making a honeycomb ball using paper. Without further delay, let’s get started!
Step 01
 |  |
|---|---|
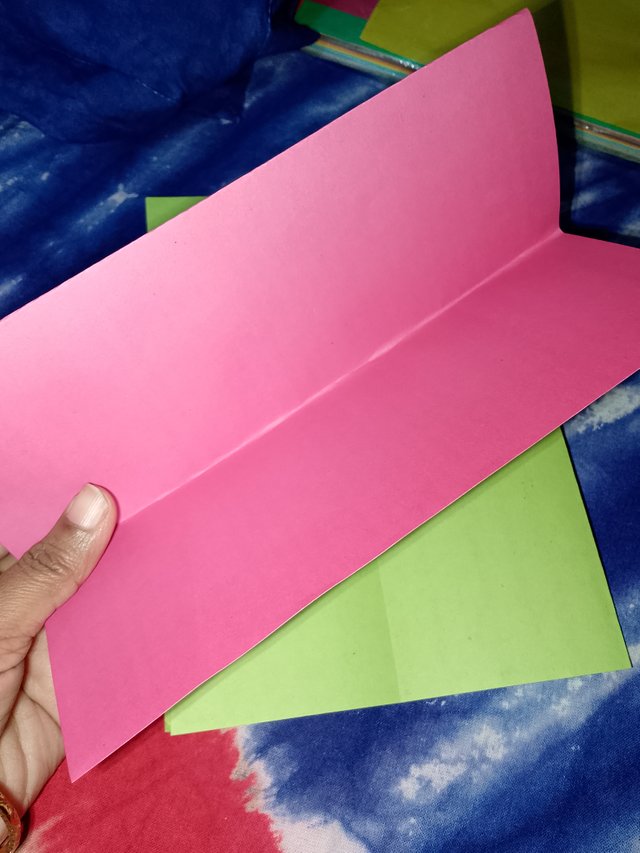 | 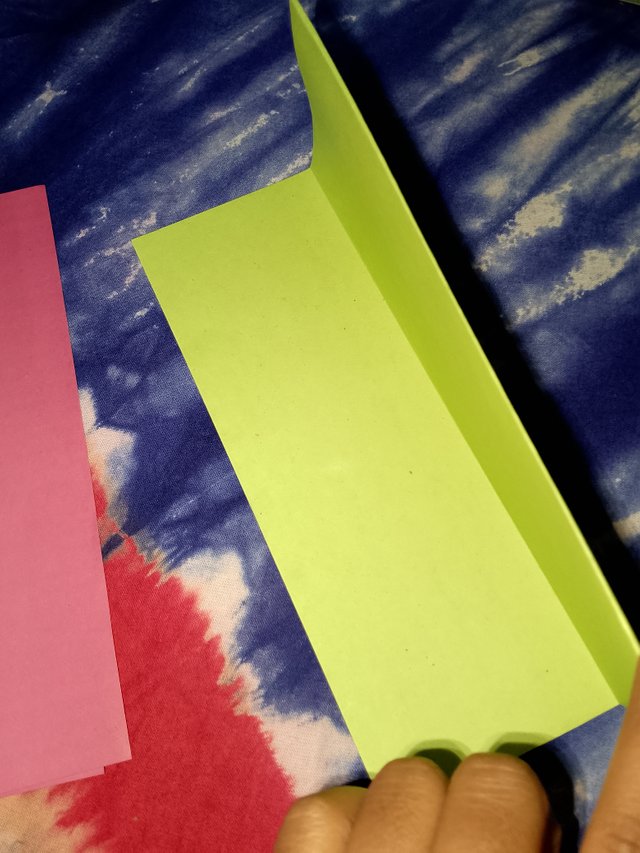 |
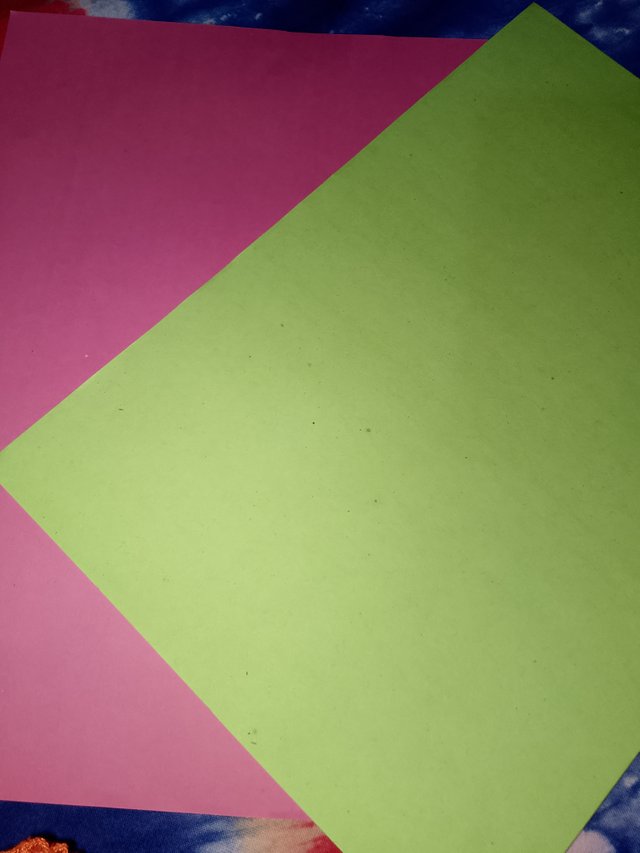
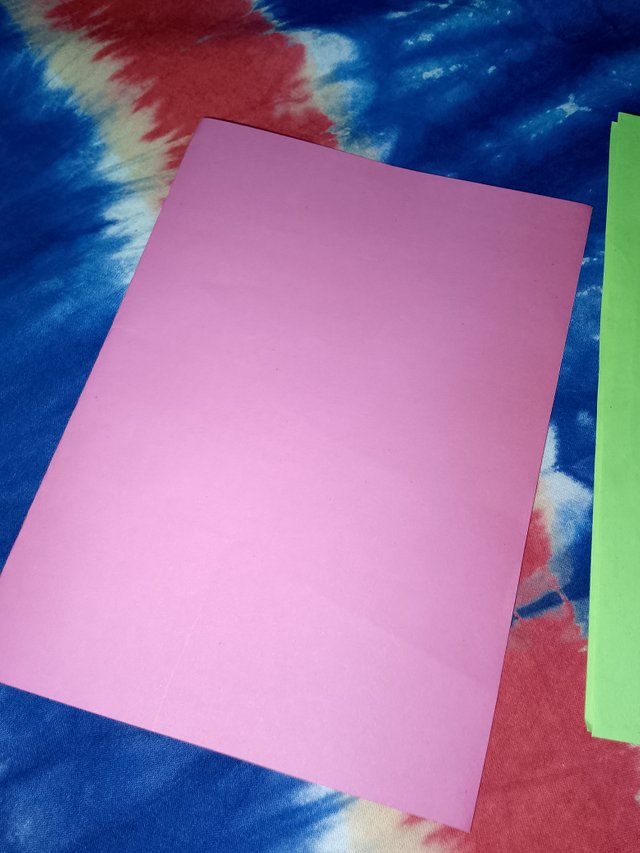
To make the honeycomb ball, first, I take two sheets of paper in two different colors. Then I fold both papers in half lengthwise. Both are folded in the same way.
Step 02
 |  |
|---|
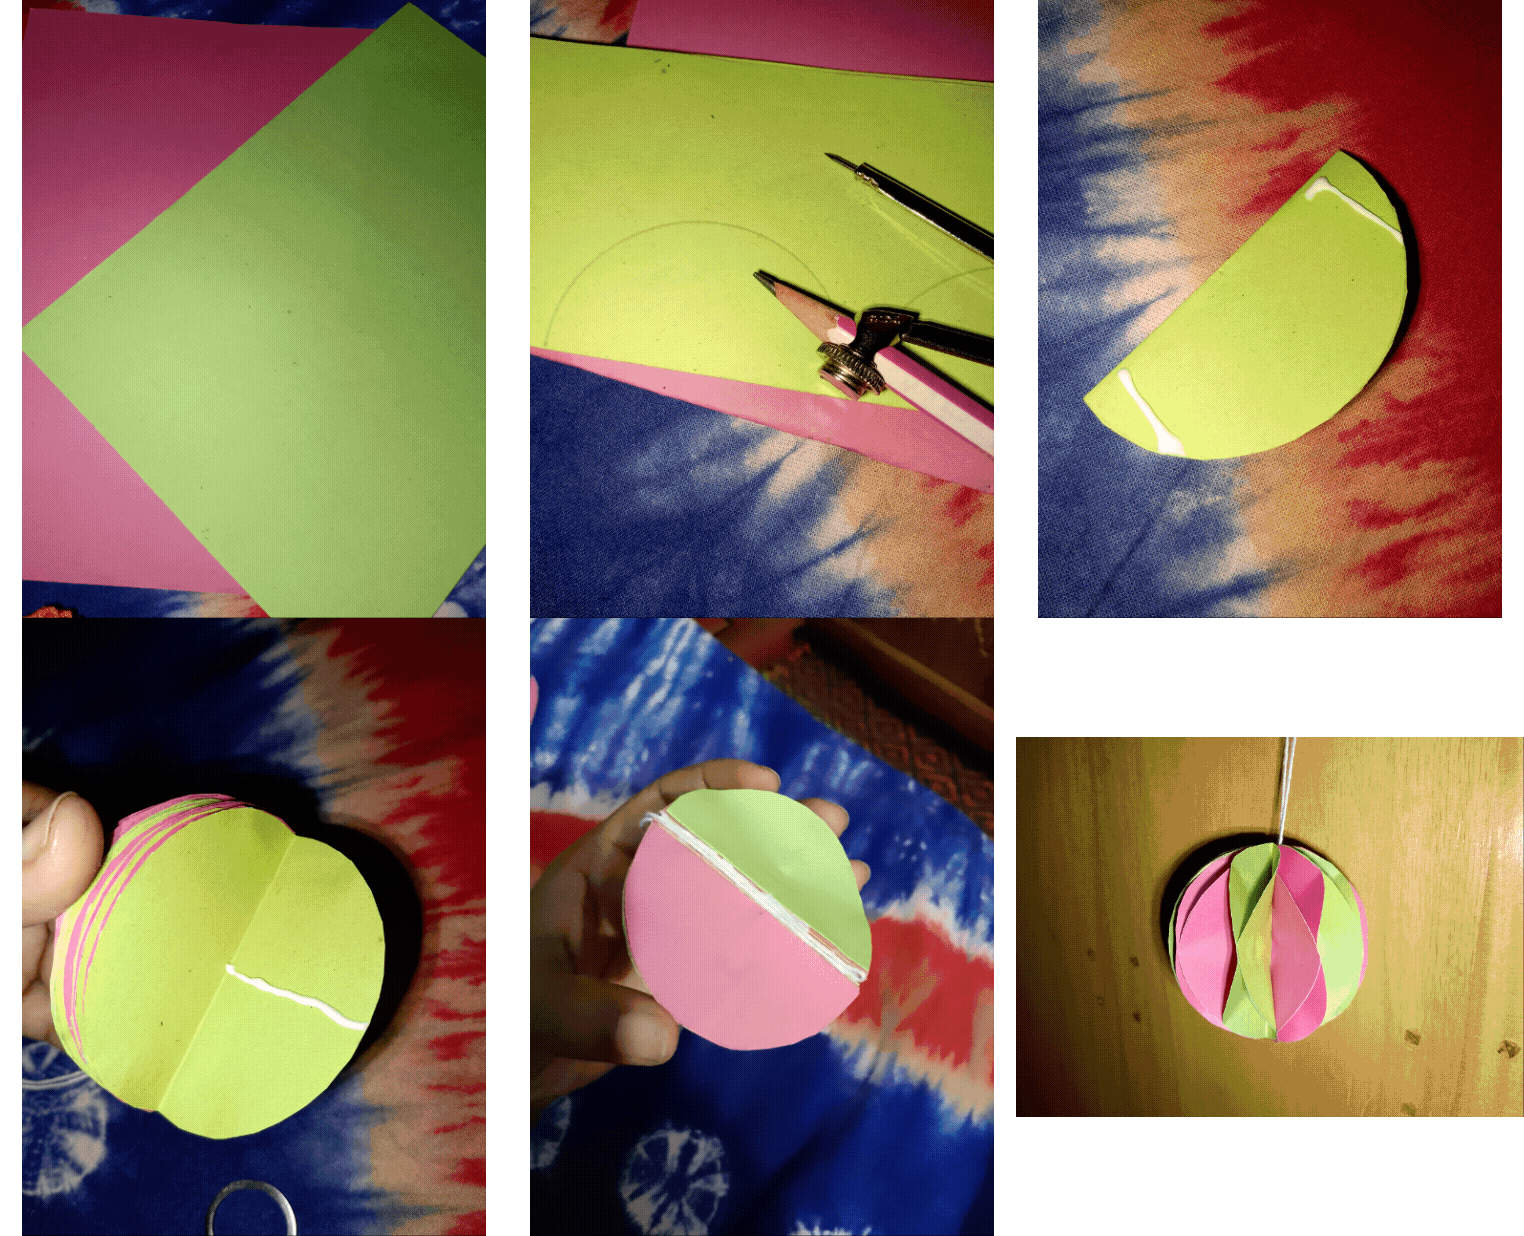
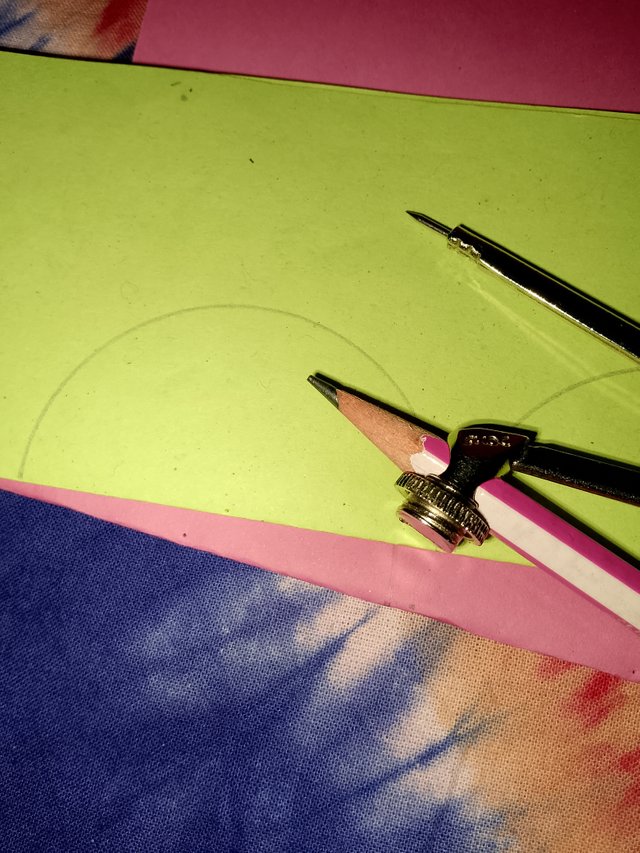
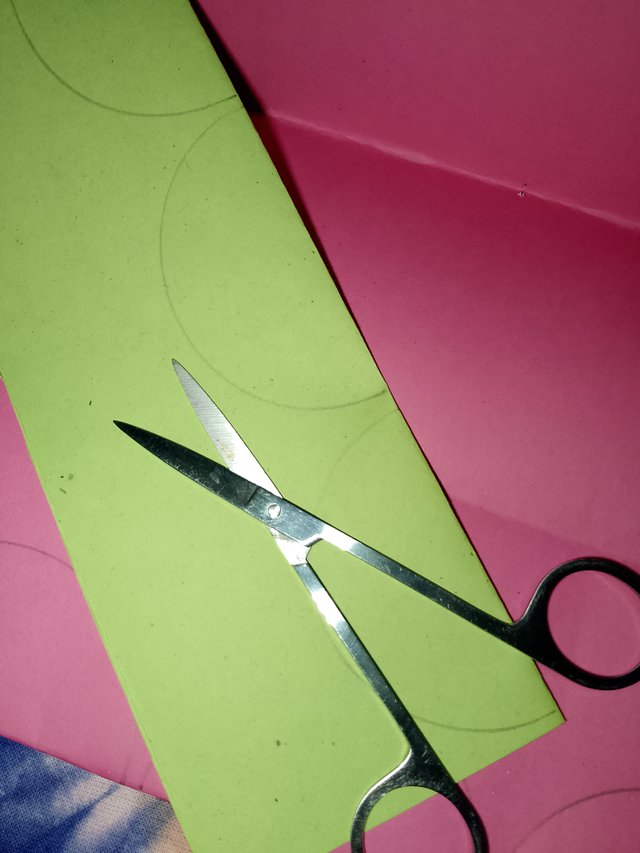
Next, I divide the paper into four equal parts. Then I fold it neatly. Based on the folds, I use a ruler and compass to draw semi-circles. I draw several semi-circles in this way.
Step 03
 |  |
|---|
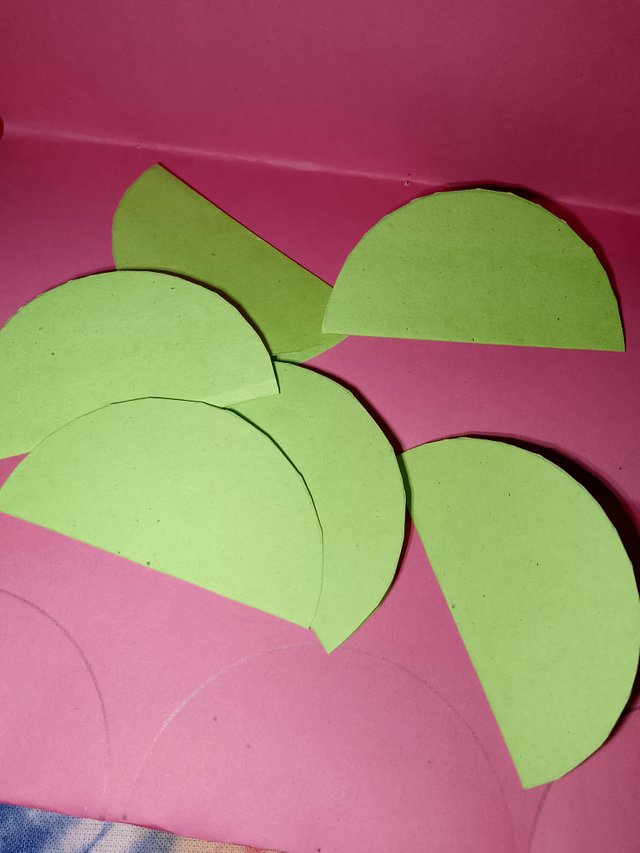
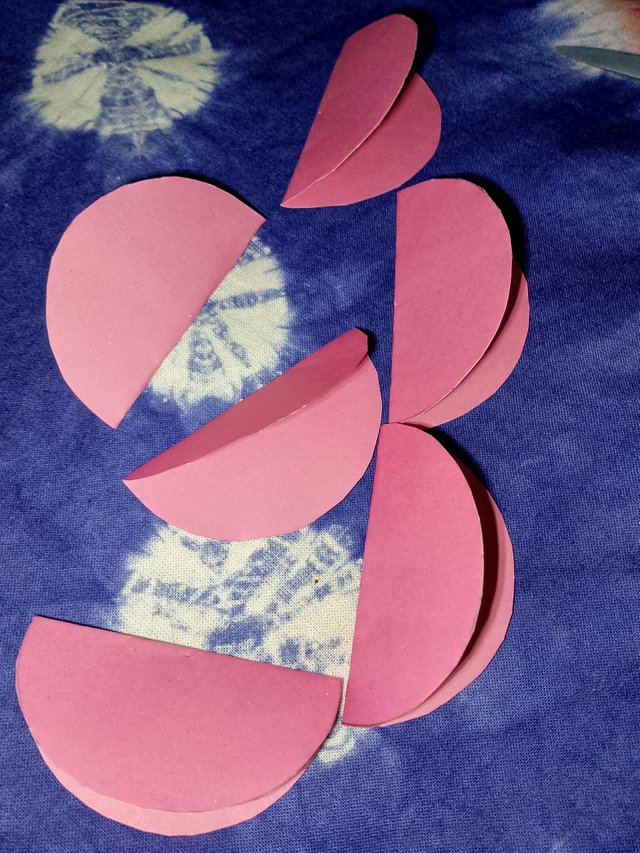
Now, using scissors, I cut along the pencil marks. First, I cut the yellow paper. From this, I get a total of six circles. Then, I cut the pink paper. I also get six circles from this one.
Step 04
 |  |
|---|---|
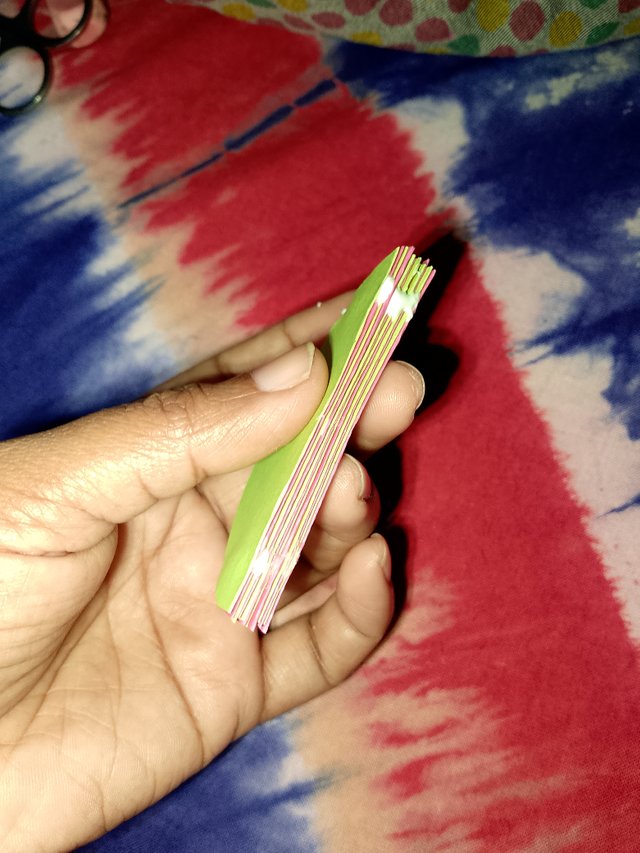 | 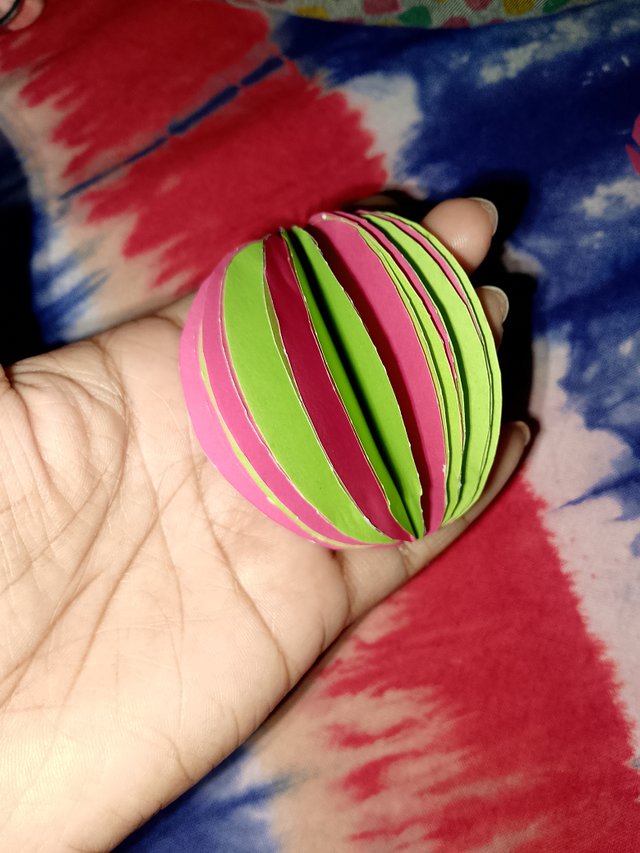 |
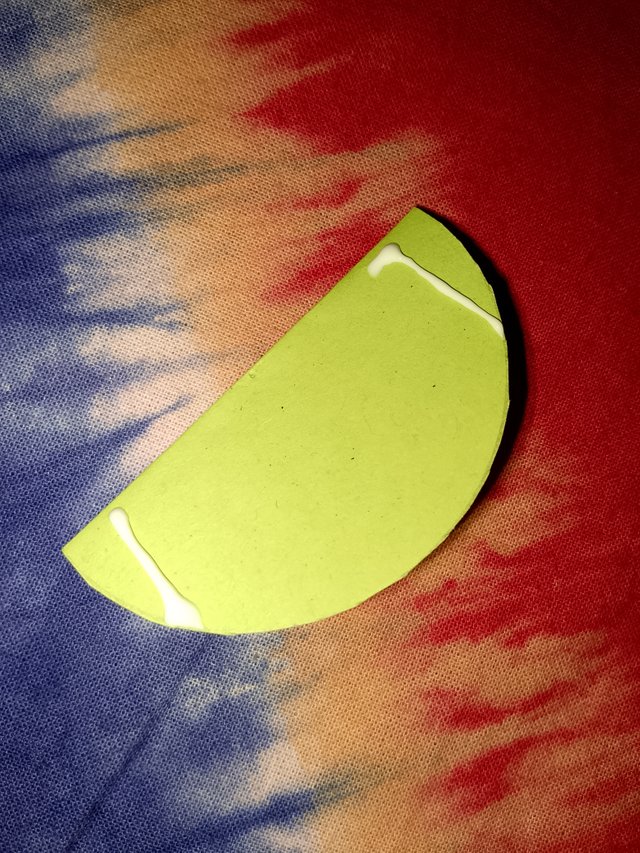
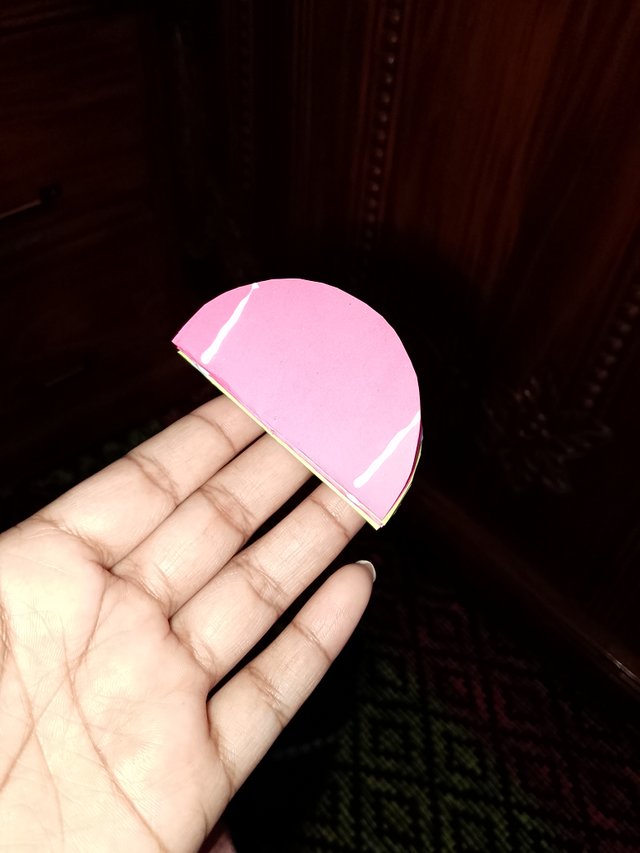
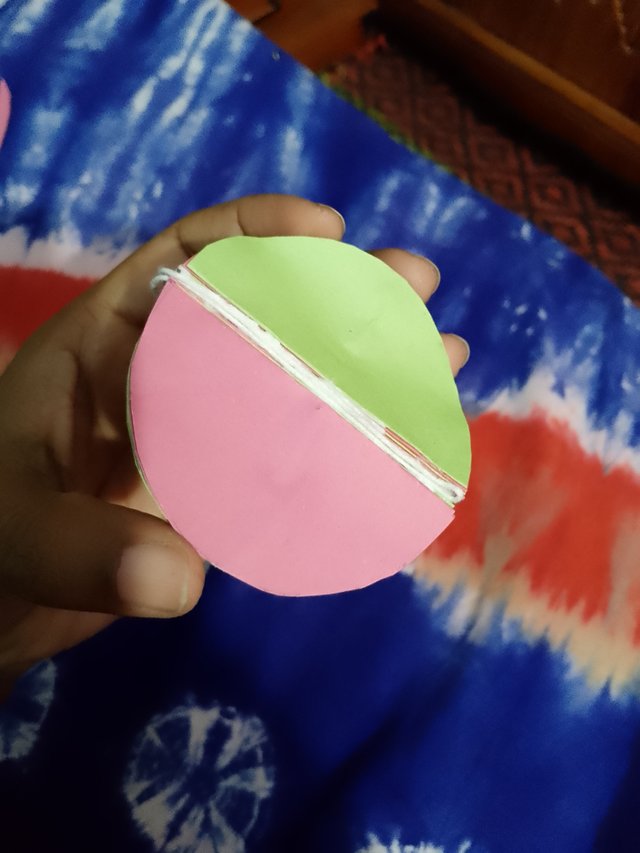
I take one yellow paper and apply glue to both ends. Then, I place a pink paper on top of it. Similarly, I apply glue on both sides of each paper and set them alternately. I place one yellow paper and then one pink paper. Repeating this process, I reach the final look. You can see how I’ve set the papers. Now, I wait for a while to let it dry.
Step 05
 |  |  |
|---|
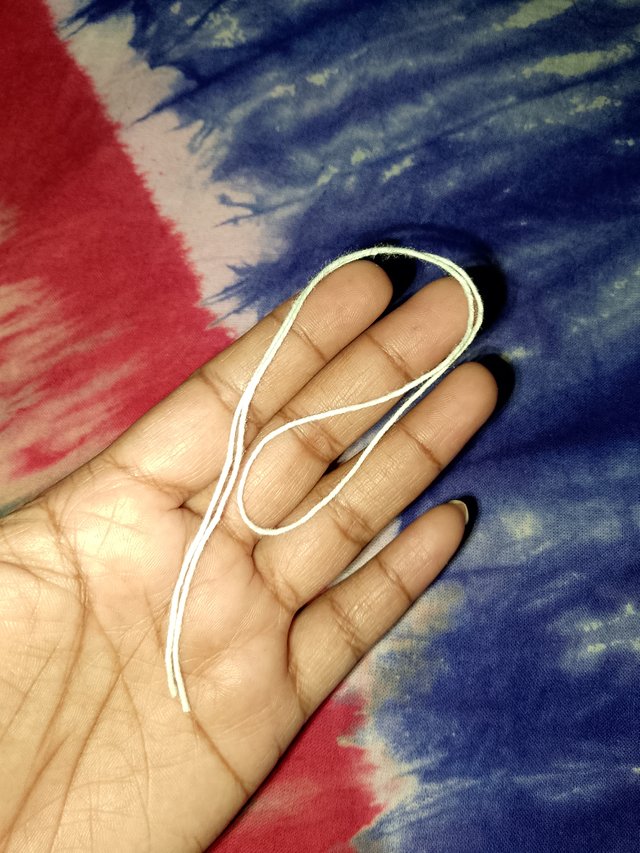
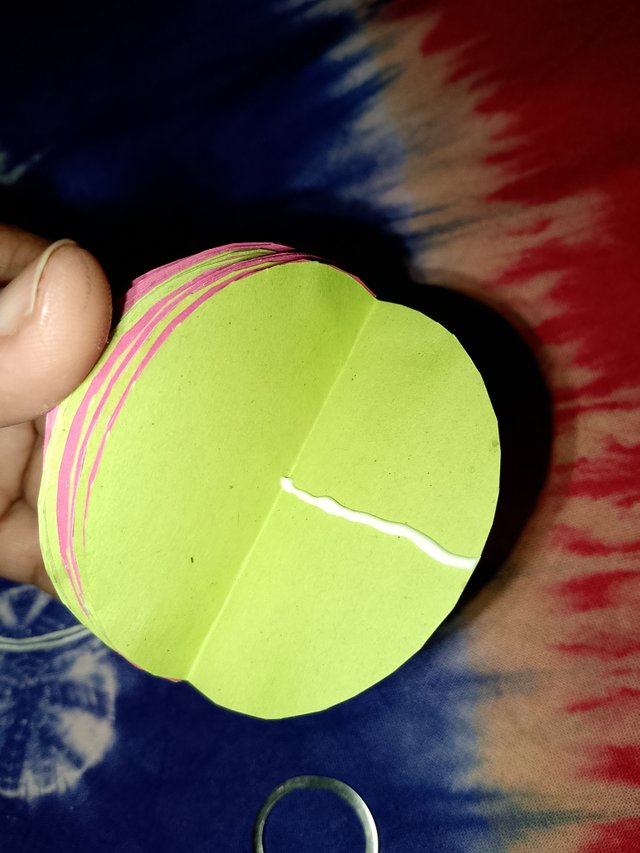
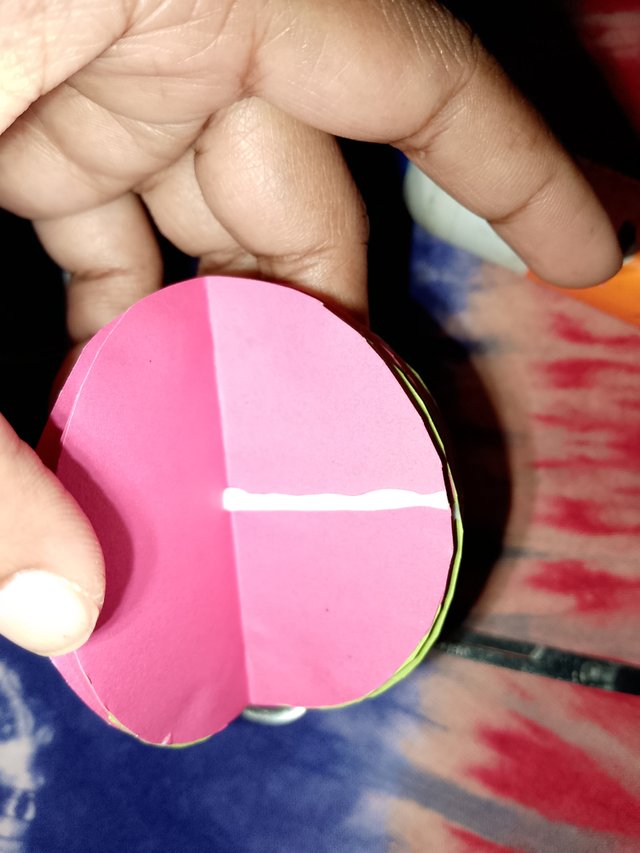
Next, I cut the thread that I will attach to the ball. I unfold the yellow paper and apply glue in the middle, attaching it to the others one by one. I continue applying glue and attaching the papers in this manner.
Step 06
 |  |
|---|
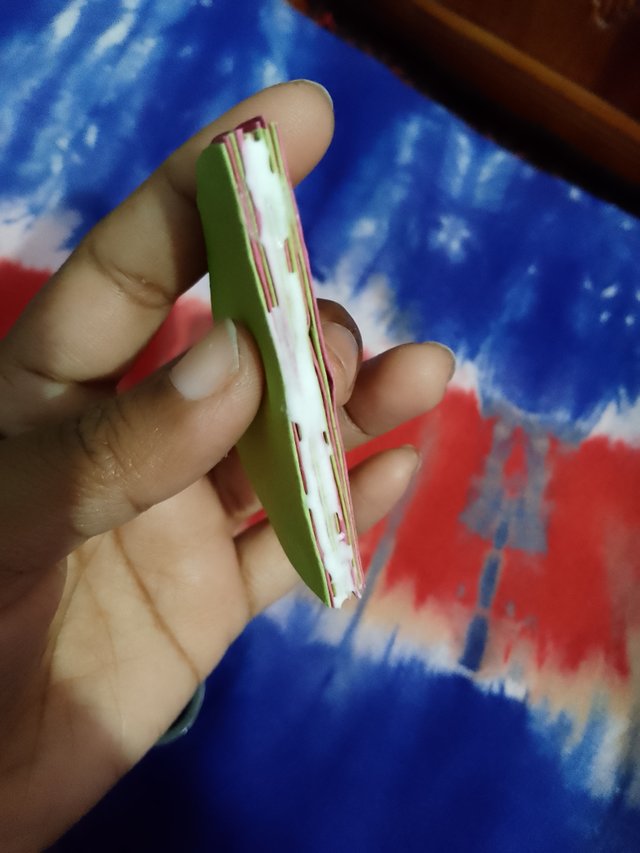
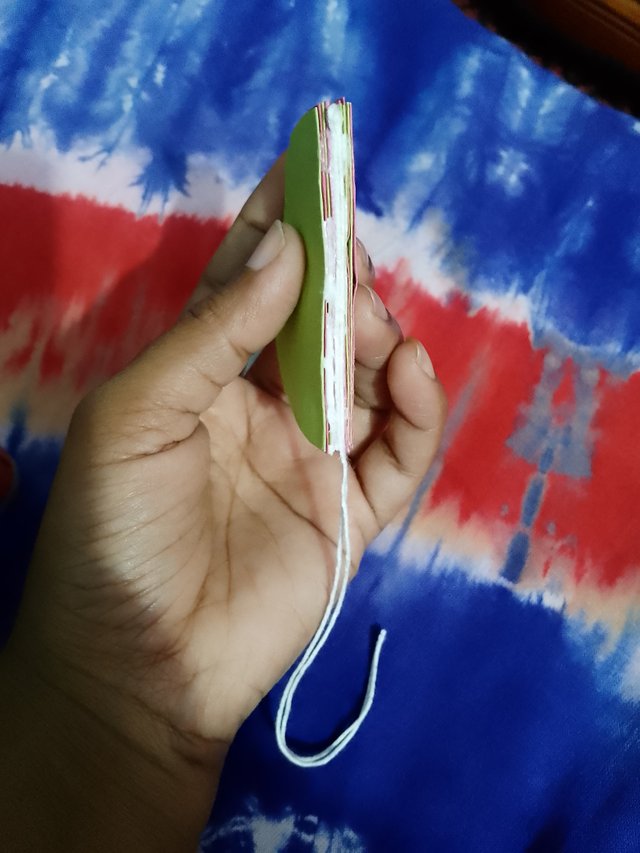
Then, I apply glue to the opposite sides of the circle. With the glue, I attach the thread, which, once dried, will securely hold the ball. This thread will allow me to spin the ball or hang it anywhere.
Step 07
 |  |
|---|
 |
|---|
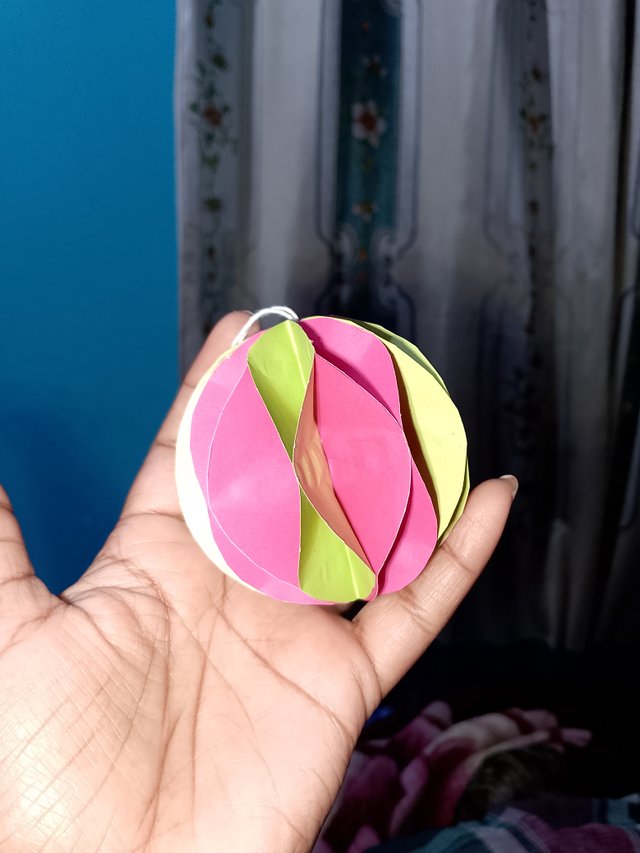
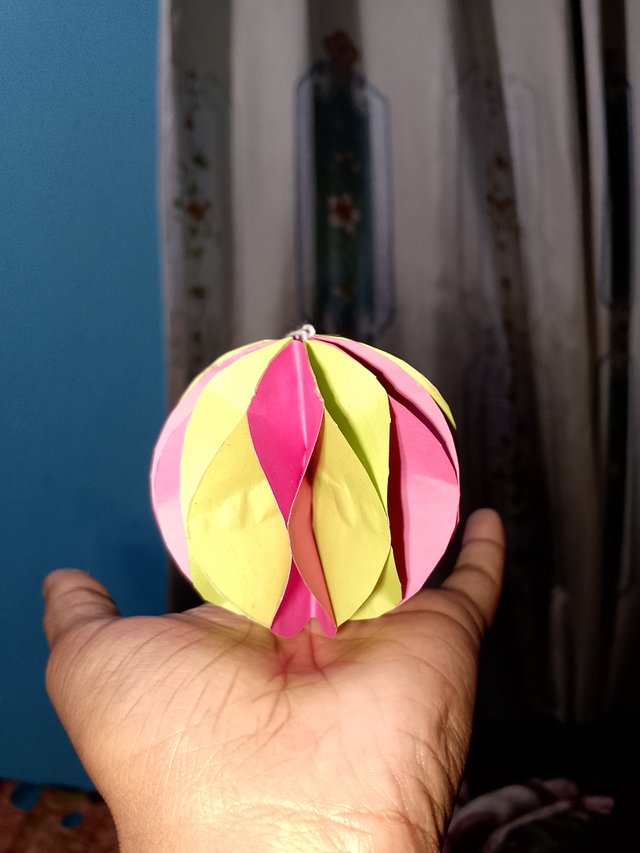
Finally, I take one end of the paper and glue it to the opposite end of another paper to form a circle. And just like that, my honeycomb ball is ready!
Step 08
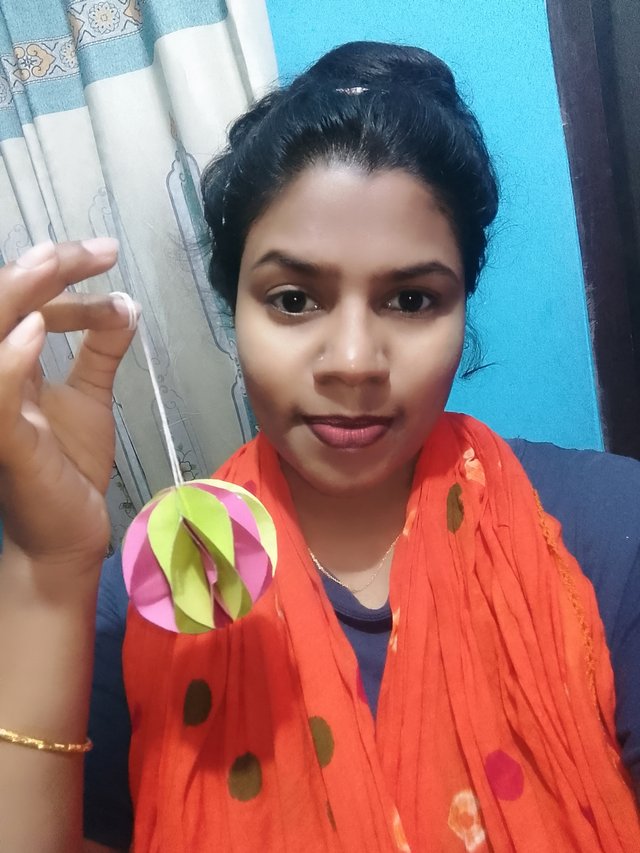 | Selfie with my craft | 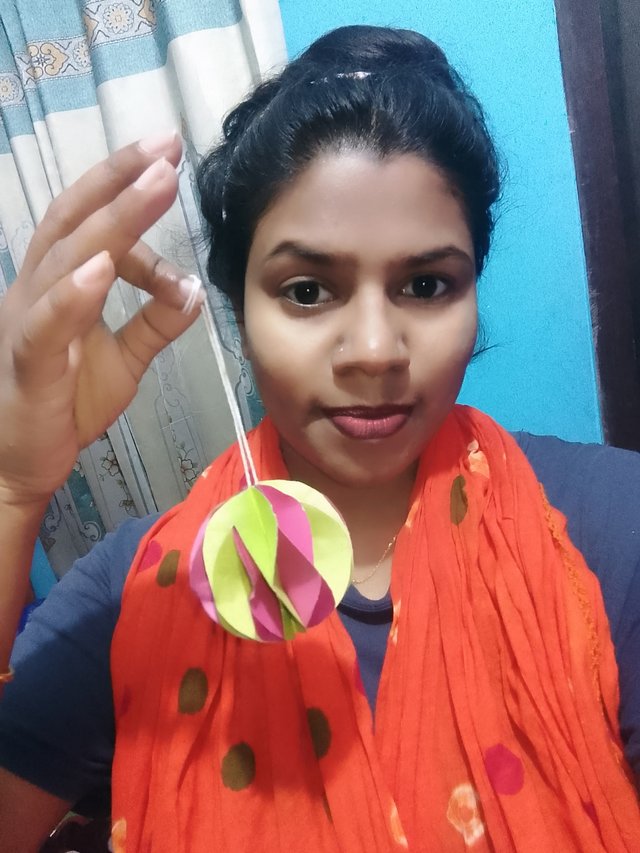 |
|---|
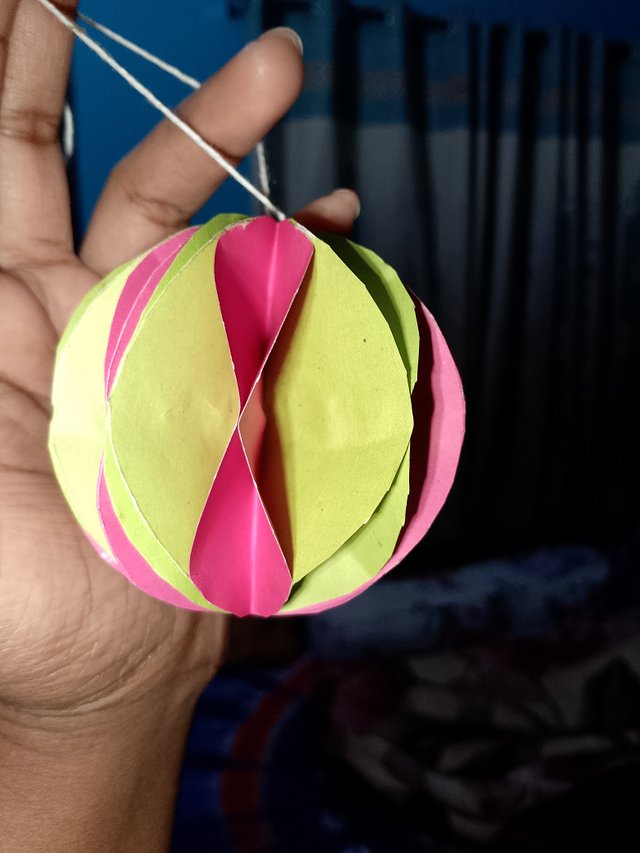
Now, I capture selfie with my honeycomb ball.
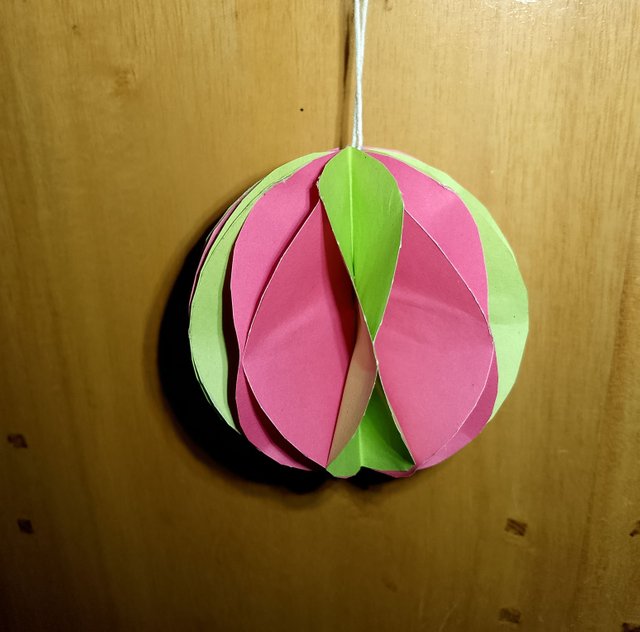 | 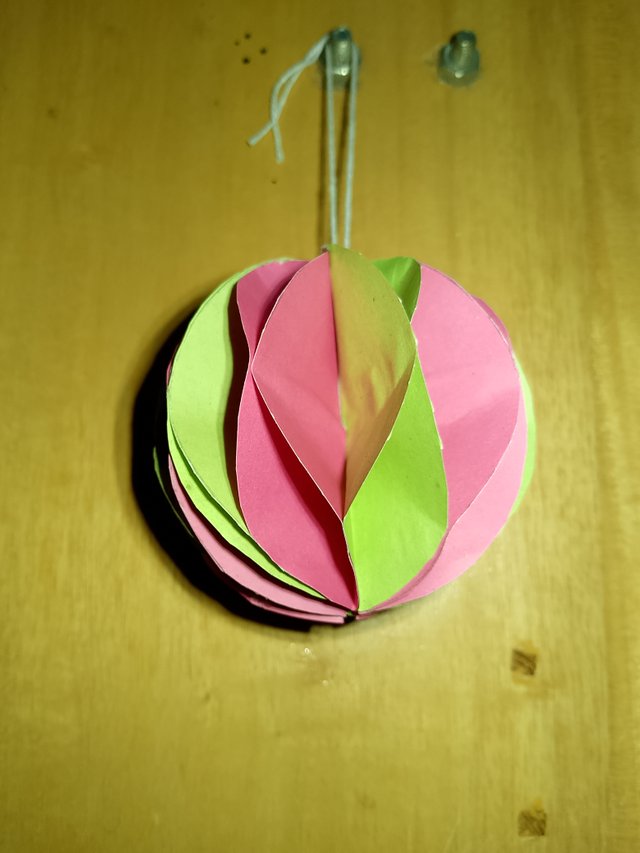 |
|---|---|
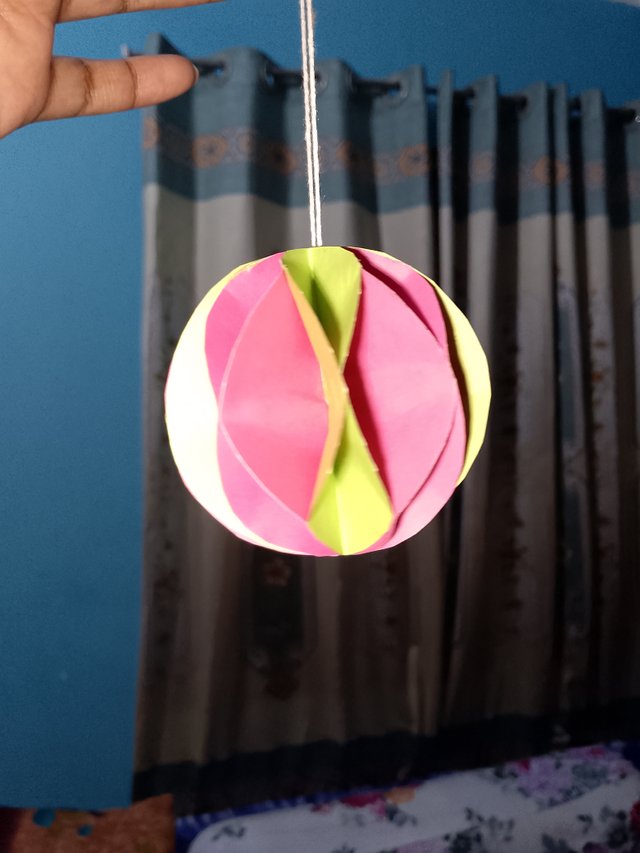 |  |
 |  |
|---|---|
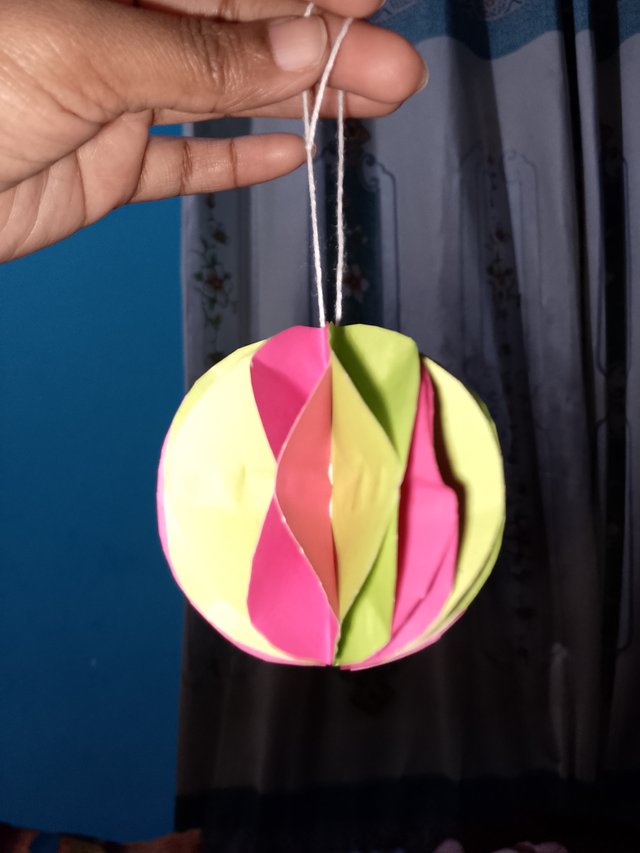 | 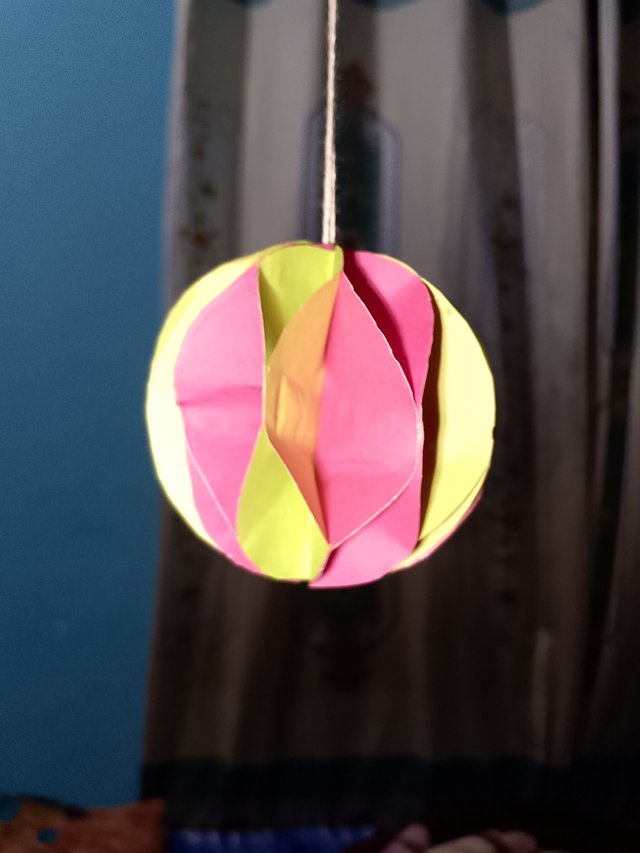 |
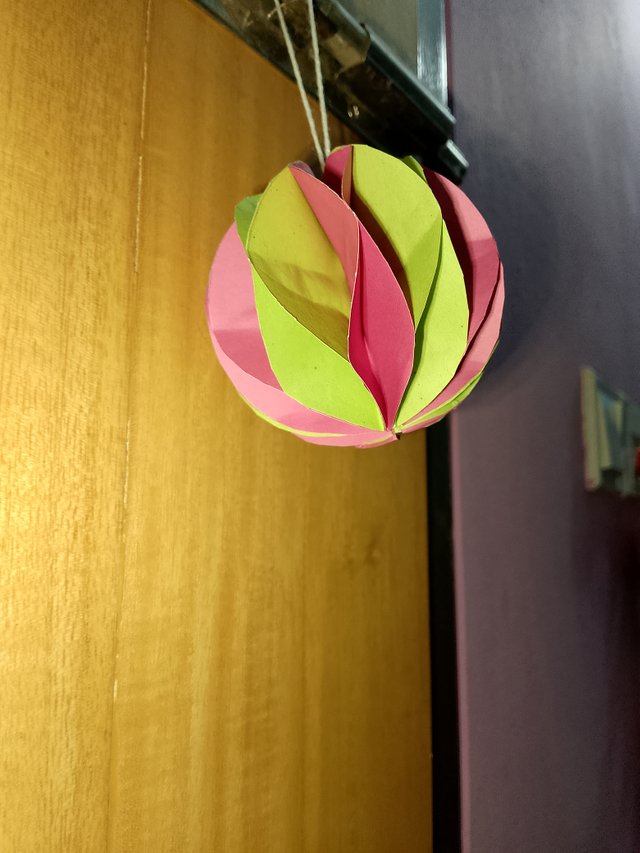
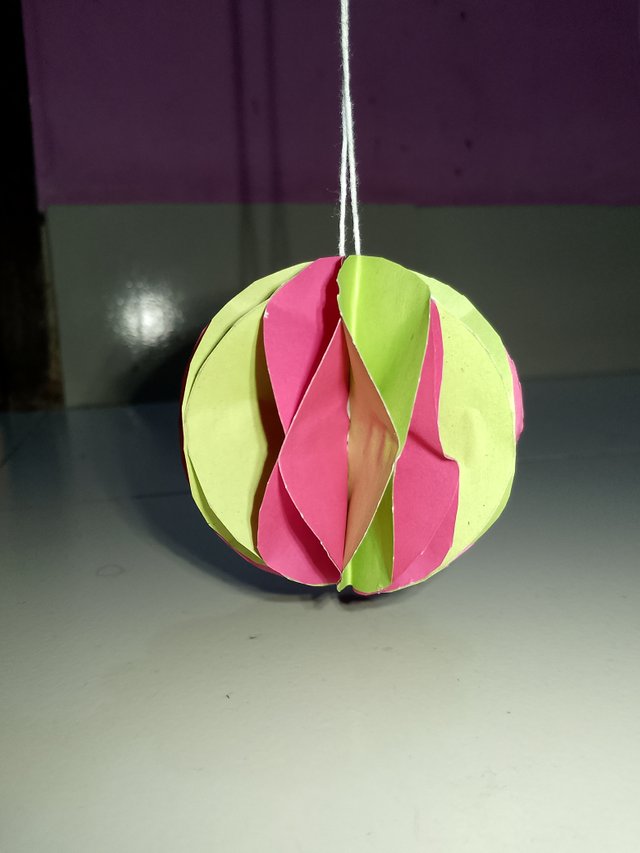
Below are some photographs of the ball. Don’t forget to comment and let me know how my handmade honeycomb ball turned out. Thank you, everyone!

| Device Name | infinix |
|---|---|
| Captured by | @arjinarahman |
| Crafted by | @arjinarahman |
| Location | Narayanganj, Bangladesh |

I want to invite following users for the contest
@ifechukwu10
@jorgebgt
@lord-marvel.m135


X/Twitter Promotion Link :
https://x.com/arjina_rahman/status/1870123195225055477
Hola amiga hermosa creatividad la que nos traes hoy la combinación de los colores lo hace ma llamativo y su construcción se ve muy sencillo de realizar mucha suerte en tu participación
Hi dear! Thank you so much for your kind words. I'm glad you liked the creativity and color combination. I tried to keep the process simple. I appreciate your support!Take love💕
Amiga @arjinarahman, le comento que a mí encanta las obras hechas en papel y su trabajo le quedó muy lindo.. bendiciones ❤️
Thank you so much! I'm really happy because you like it. Blessings to you too dear!Good luck❤️