Post-Processing a 3D Printed Dragon Part 2: Trimming and De-warping
Sorry it's been a while since my last post, life has been pretty busy unfortunately! But I'm back with my second post to this series, and today I'm addressing some of the issues from last time. Specifically we need to deal with the warping that happened on a couple of the pieces and the brims I printed on the plastic.
So first, trimming the brims. Now normally when you remove brims from a print it's usually just a matter of peeling it away since they're typically thin and easy to remove. Not so in this case since the parts are also thin here as well, most notably the wings:

So my solution was use an x-acto knife and a lot of patience:
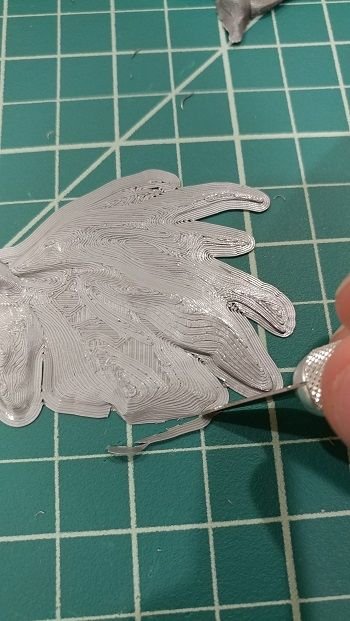
Some pieces like the body were pretty straightforward since they had a clearly defined outline. Unfortunately this was not the case for every part, as you can see in the wing piece in the picture above. It was difficult to figure out where the brim stopped and the actual piece started, and required a bit of guesswork and alignment (with the other corresponding half wing piece) to figure out the outline. Eventually I got something that I think worked and I was happy with:

In case you're wondering what the small piece sitting between the wings is: that's a toe. Because of the way the model was sliced in half, it attached most of the foot to one of the wings and only the one toe to the other wing. As you might imagine, a toe piece is much smaller than the foot/leg so as a consequence there was a lot smaller area to connect the toe to the wing:
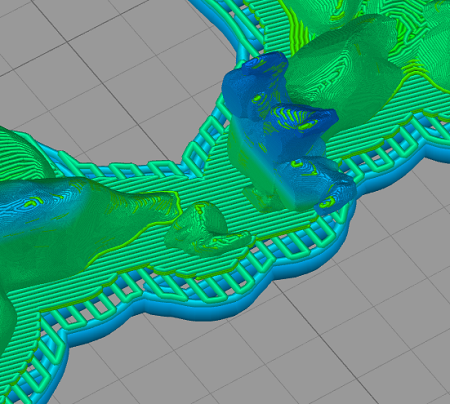
So when cutting off the brim, I decided it was easier to just trim the toe off entirely and glue it back on later.
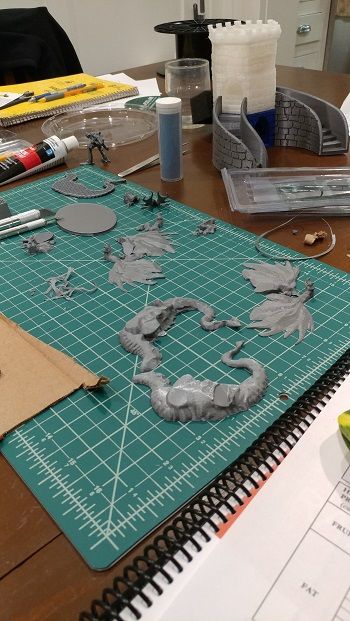
The remainder of the trimming was pretty straightforward. Here are all of the pieces once they were done:
Next, the warping. The affected parts were notably both of the wing pieces and part of the tail on the main body of the dragon. Here's an example of what I mean:
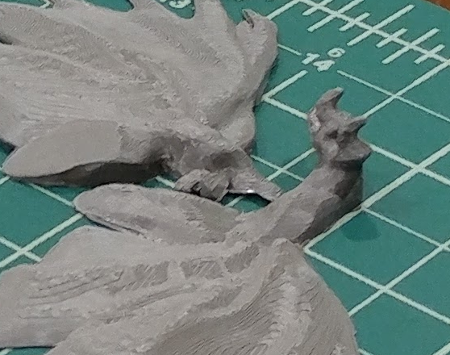
It's actually not that sever of a warp relatively speaking. Of course with smaller models like this one even small amounts of warping have the potential to stand out, so I wanted to see what I could do to fix it.
There are a couple ways to deal with warping: heating the printed part so it will bend back into place, or alternatively reprinting the part entirely. The warping wasn't too severe in this case so I decided to go with heating the affected parts over reprinting them. I have a heat gun which I opted to use, although you should be able to heat the plastic some other way, eg. by simmering it in water.
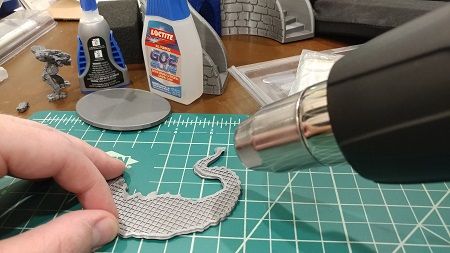
Since my heat gun doesn't have a temperature readout or even temperature markings (it just has a dial with a slide graphic), I had to approximate the temperature. I ended up sliding it maybe around 1/4 to 1/3 of the way which was probably about 125-175C. You want it hot enough to make the plastic malleable, but you don't want to melt it entirely. Normal printing temperatures are typically 190C to 220*C for PLA so that's the reference I was working off of.
One technique I used to isolate the heated region was holding it up like this:
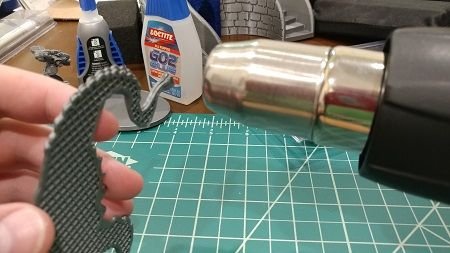
That way the heat gets mostly applied to the specific area I want to fix so other areas are less likely to warp themselves.
Using this technique, I fixed the warping (mostly) on the tail and both wings.
That's it for this update, thanks for reading! Next time I'll be starting to actually assemble these pieces, so look forward to that!
In case you missed it, here's part 1:
Post-Processing a 3D Printed Dragon Part 1: The Print
Oh that's cool
Thanks!