Post-Processing a 3D Printed Dragon Part 3: Gluing the Halves Together
So after last time where I heated and carved the pieces to give them a more passable appearance, I still had one problem left - namely, a bunch of pieces. For reference, here's what that looked like:
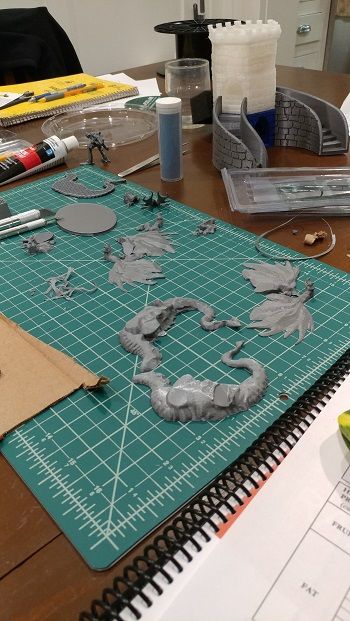
The next step now for me was to glue everything together. Great!
But there's a problem with that too, specifically that there are different types of glue and I figured it might be a good idea to do some actual research first before I started gluing everything together and inevitably screw something up.
Here's a page detailing some of the different types of glue you can use, depending on your application. There's craft glue, wood glue, super glue, hot glue, polyurethane, spray adhesives, epoxy... Oh boy.
Now this isn't a very deep rabbit hole to go down, as there are only so many possible glues out there, but it is a rabbit hole nonetheless. I decided to focus on a specific subset of them: craft glue, super glue, hot glue, and epoxy.
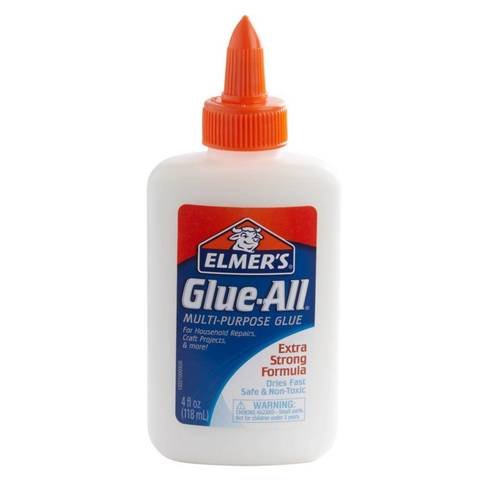
Almost immediately we can throw out craft glue like Elmer's. It's useful for a lot of things, but bonding plastic together is not one of them. In fact, if you look at the recommendation app on Elmer's own website they have recommendations like epoxy or contact cement. So that's a no-go.
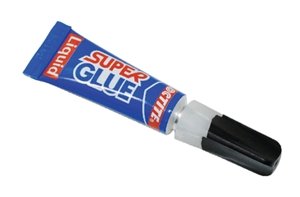
Then there's super glue. Super glue isn't really specifically intended for plastics, but it works well in some cases and based on what I could find adhering PLA to PLA is one of those cases.
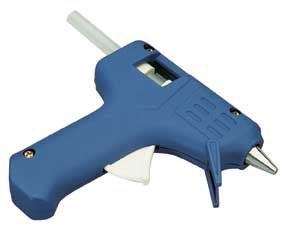
Following that is hot glue. I'll admit this one never actually crossed my mind when I was considering glues, and it actually seems like a reasonable candidate. Only problem is because I'm adhering some small surfaces together (eg. the dragon's head), there's more of a risk of burning myself so maybe that wouldn't be the best choice in this case.
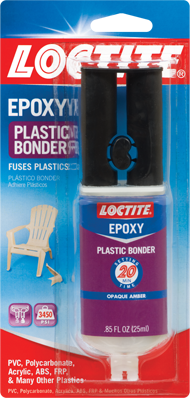
And the final type I looked at was epoxy, specifically a plastic bonder that was designed for plastic like in the picture above. This certainly would work, but I usually like to avoid two-part bonders if I can, and given that it's meant to adhere hard-to-bond plastics (like the patio furniture in the picture) it seemed a little overkill for what I was doing.
I decided to go with the super glue in this case since it's pretty easy to work with, and seemed to be the right fit for what I wanted - something to adhere the plastic parts together that was strong but not necessarily needing to be that durable.
And after all that, I learned there was one more factor I had to pay attention to. Before I started gluing the parts together, I did a test with some spare plastic pieces I had to make sure it would work, and I quickly realized the glue's set time was important. This is the stuff I used originally:
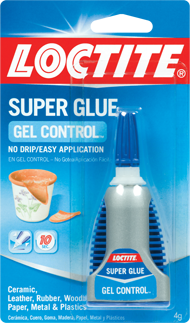
Notice how it says set time of 10 seconds. That's a problem when, say, I need to attach the parts then align them so they look sufficiently like one contiguous piece. With at 10 second set time, I literally had no time to make sure the parts were aligned.
So instead I switched to this stuff:
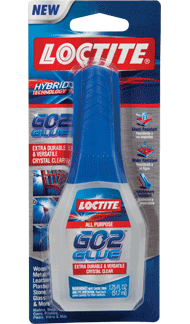
It has a set time of about 30 minutes. Longer than I needed of course, 5 minutes would be plenty, but it's what I managed to find at the hardware store.
And now finally we have all the halves attached together:
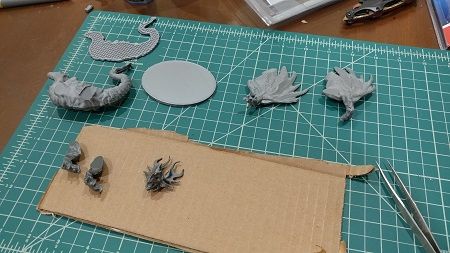
I didn't want to glue the entire dragon together yet since there's still some more work I need to do on each of the pieces before they're ready to be attached to each other. Look forward to the first step of that next time!
Bonus tip! One of my previous prints was a brush holder, and since it was printed in 3 pieces I figured it would be good to keep it stable by gluing the parts together. Here's the result of that:
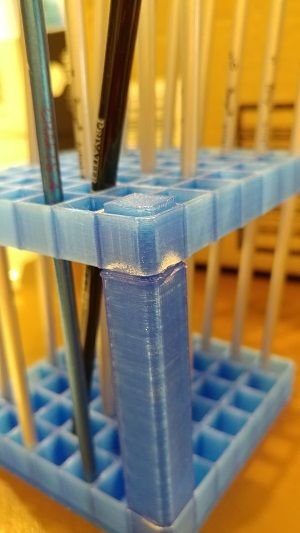
This is a possible danger of using super glue as an adhesive. I don't know why exactly the warping happened, but I assume the glue had some slight expansion when it cured. Nothing really too major in this case, but it is something to be aware of.