CALCULATIONS SPECIFICATIONS GAS PIPE CONNECTION AND INSTALLATION PIPELINE GAS ON PIPELINE PROJECT
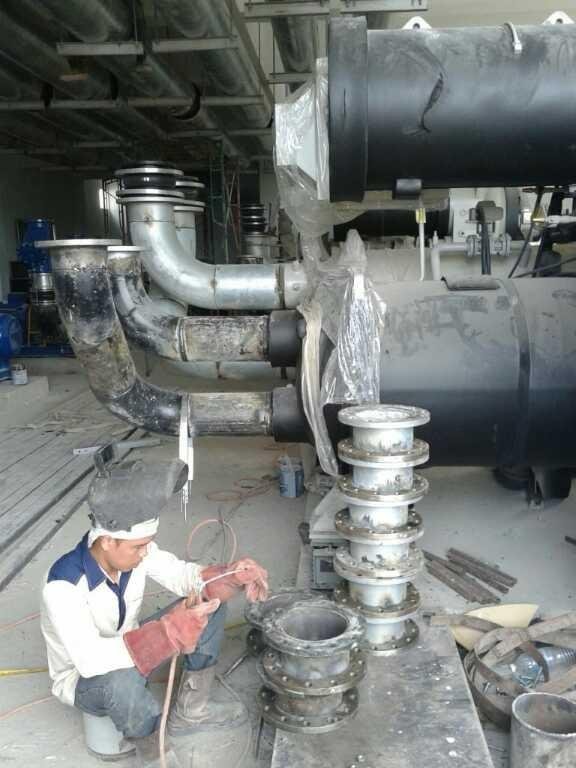
Scope of problem
To avoid developing discussion
of the issues to be discussed, then
problem boundaries are defined, including:
Pipe materials in use API 5L X-65,
with ø 24 "Inch
Standart in use API Std 1104: 2007
Type of defect that will be discussed is Undercut
on the welded pipes
Welding and Pipe
• Welding
is one technique
metal splicing
by melting
some parent metal and
metal filler with or
without pressure and with
or without metal
adders and
resulting in a connection
that is continuous.
• Pipe is a part
tubular or
hollow cylinders. Pipe
has usability
main to bring substance
that can flow that is:
liquids, gases, materials
shaped porridge, material
powder-shaped and
material in the form of solids
small, which is where the pipe is
itself commonly used
in various applications
structural.
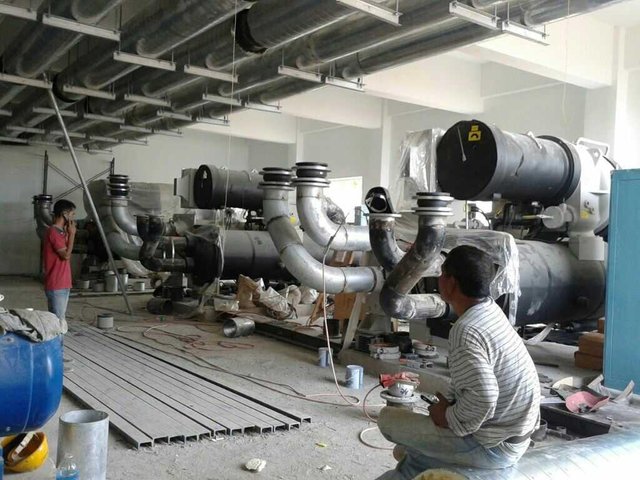
Causes and precautions
undercut on the pipe
#Cause
• The current is too high.
• The speed of the welding
too high too.
• Excessive flame arc
long.
• The size of the wrong electrode.
• The position of the electrode during
welding is not right.
• Swing electrode during
irregular welding.
Prevention
• Slows down speed
welding
• Lower the voltage
• Reduce speed of supply
welding wire
• Add liquefied side time
on the side of the weld pool
• Improve the position of the welding torch
so the arc power can be
help the deposition of welding materials.
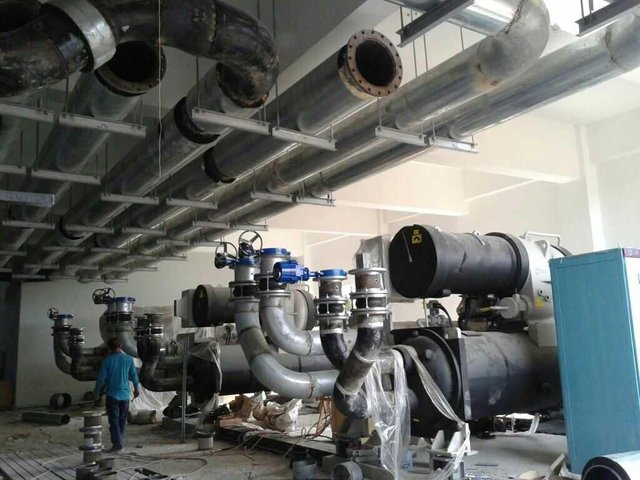
Analyze the undercut defects with
radiography
Radiographic (RT), or industrial radiography testing is a non-destructive test
method (NDT) from checking the ingredients for hidden weaknesses with
using the short-wavelength capability of electromagnetic radiation
(high energy photons) to penetrate various materials. Either machine E-ray or
radioactive sources (Ir-192, Co-60, or in rare cases Cs-137) can
used as a photon source. Neutron radiography testing (NR) is
a variant of radiographic testing using neutrons instead of photons
penetrating this material can see something very different from X-ray, because
neutrons can pass easily through lead and steel but are stopped by
plastic, water and oil.
Because the amount of radiation emerging from the opposite side of the material can be
detected and measured, variations in this amount (or intensity) of radiation
used to determine the thickness or composition of the material. Breakout
the radiation is they are limited to part of the electromagnetic spectrum of
wavelength less than about 10 nanometers.
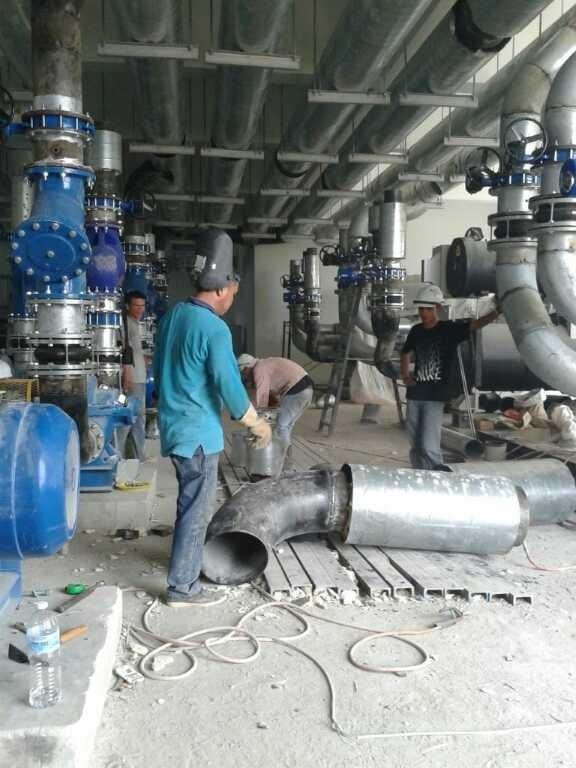
#Radiography work process
The radiation beam shall be directed to the center of the bottom of the examination and shall be normal to the surface of the material
at that time, except in a special technique in which the best known defects are expressed by an alignment
different from the beam. The weld length under examination for each exposure should be such that the thickness
the material on the diagnostic extremity, measured in the direction of the incident beam, does not exceed the actual thickness of the moment
from 6%. Specimens for examination are placed between the source of the radiation and the detecting device, usually the film in the container
a tight light or tape, and radiation allowed to penetrate the part for the length it takes
to be adequately recorded.
The result is a two-dimensional projection from part to film, producing a latent image of various densities
according to the amount of radiation reaching each region. This is known as a radiograph, which is different from the photo
produced by light. Because the film is its cumulative response (increased exposure because it absorbs more
radiation), relatively weak radiation can be detected by extending the exposure until the film can record that image
will look after development. These radiographs are examined as an alternative, without print as positive as in photography.
This is because, in printing, some detail is always lost and no useful purpose is presented.
Before starting the radiographic examination, it is always advisable to check the components with their own eyes,
to eliminate possible external defects. If the weld surface is too orderly, it may be desirable to
grind to get smooth, but this may be limited to cases where the surface irregularities (which are
will be seen on radiography) can make detecting internal defects difficult. After visual inspection, the operator will
have a clear idea of the possibility of access to two faces of the weld, which is important both to prepare the equipment
and the most appropriate choice of techniques.
Defects such as delamination and planar cracks are difficult to detect using radiography, due to penetration too
often used to improve contrast in the detection of such defects. Penetration used include silver nitrate,
zinc iodide, chloroform and diiodomethane. The choice of penetration is determined by the ease with which it can penetrate the gaps
and also with which can be removed. Diiodomethane has high advantages of opacity, ease of penetration, and
ease of displacement because it evaporates relatively quickly. However, it can cause skin burns.


#Methodology of calculation
In determining pipe connection specifications
and installation of installation pipeline calculations
this pipe to comply with all applicable standards
it takes various calculations based on
the needs of the pipeline to be
built on this project but in writing
This is just some scientific calculations that will be on
discuss in pipe connection process, including:
• Calculation of pipe wall thickness
• Calculation of the number of electrodes
• Calculation of welding time
#Calculation of pipe wall thickness
• P = 2 st f.e.t
d
• Where :
P: Gas design pressure (MPa)
S: Specified Minimum Yield Strength
(MPa)
D: The outer diameter of the pipe (mm)
t1
: The minimum wall thickness on the pipe
(mm)
F: Design factor (Design factor)
E: Longitudinal connection factor
(Longitudinal joint factor)
Q: The temperature limit factor
(Temperature de-rating factor)
• Calculation Result of Pipe Thickness
Based on the above formulation and data
which is known then can be searched
minimum wall thickness in the pipe (ti).
Known data:
• P: 720 Psig (5,066 MPa)
• S: 448 MPa
• D: 24 "(609.6 mm)
• F: 0.3
• E: 1
• Q: 1
P = pd / 2.s.f.e.t
• Based on the previous equation, for
looking for t1 then multiplication needs to be done
cross first, ie
• = 5,066 x 609.6 / 2 x 448 x 0.3 x 1 x 1
• = 3088.2336 / 268.8
T1 = 11.49 mm
calculation of the number of electrodes
Number of electrodes
• Looking for the number of electrodes that
will be used for the process
pipe connection is
calculation with equations
(Based on the formula from Mc.
Allister, E.W, Pipeline Rules of
Thumb Handbook):
d / 2 x 0.25
Where :
d: large diameter of pipe
• Based on the formula and
known data then
can be searched minimum number
electrode used in the
one time connection process
pipe
Known data
Material: API 5L Grade X
65
Pipe diameter: 24
#Calculation of welding time
• Finding the amount of time that will be used for the pipeline connection process is
calculation by equation (Based on the formula of Mc Allister, E.W, Pipeline Rules
of Thumb Handbook):
100 / c x π
Where :
• N: welding time
• C: pipe diameter
• π: 3.14
Known data:
C: 24 ''
π: 3.14
So from the equation can be seen that:
= 100 / C x π
= 100/24 '' x 3.14
= 100 / 75.36
= 1.3
Then the result of pipe connection process with diameter 24 '' is 1.3
hourly or 13 times welding within 10 hours. Based on WPS (Welding
procedure speciflcation) that has been made mechanical engineer PT KELSRI
refers to the standard used that the welding for the process
connecting Bojonegoro (sumatera) -Cikande pipeline, Welding process is done
by 2 welders. Then the result of the calculation using the formula Mc. Allister, E.W,
Pipeline Rules of Thumb Handbook needs to be multiplied by cross to get
efflsiensi welding time based on WPS with the formula of cross product as
following:
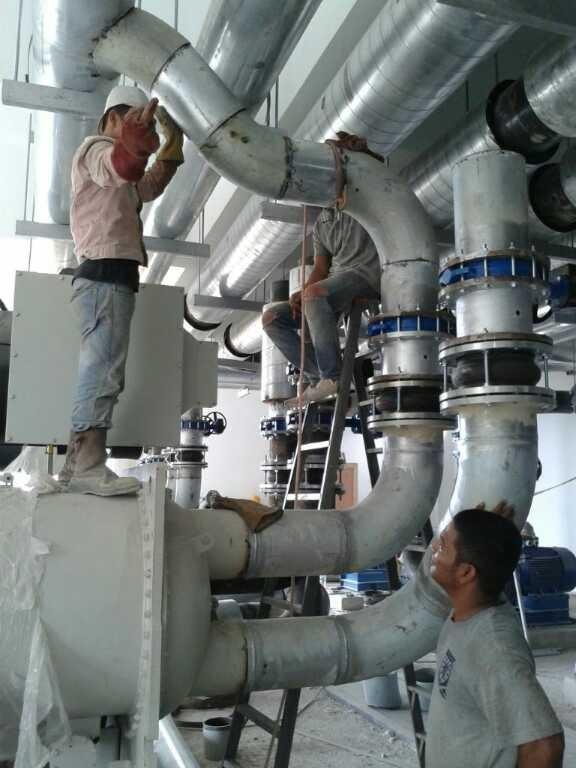
Then it can be concluded welding process for 1 time connection process
gas pipeline takes 0.77 hours (46.2 minutes), based on reference to
WPS (welding procedure specification) determined by welding
engineer PT KELSRI must use 2 welder then the length of process
welding can be concluded that the time interval obtained should be divided 2
= 46.2 / 2
= 23.1 minutes / connection
#Conclusion
Based on the data collection work process and calculation analysis on
pipeline connecting and undercut defect analysis can be taken
the following conclusions:
• In pipe jointing a written qualification welding procedure
must be prepared to establish direction and also produce production
welding in accordance with the requirements of the code, WPS and other documents can
used to provide guidance for welders or welding operators
to meet the code requirements. In the oil and gas industry WPS
is a matter that must be prepared before the engineering process
supporting products.
• Radiographic (RT), or industrial radiography, testing is not tested
broken method (NDT) from checking ingredients for hidden weaknesses
by using short-acting or wavelength radiation
electromagnetic (high energy photons) to penetrate various materials. I do not know
an X-ray machine or a radioactive source (Ir-192, Co-60, or in that case
rarely Cs-137) can be used as a photon source. Neutron testing
radiography (NR) is a variant of radiographic testing
using neutrons instead of photons to penetrate the material. It can see
things are very different from X-rays, because neutrons can pass easily
through tin and steel but stopped by plastics, water and oil.

#Conclusion
Because the amount of radiation emerging from the opposite side of the material can be
detected and measured, variations in this amount (or intensity) of radiation
used to determine the thickness or composition of the material. Penetrating
the radiation is they are limited to part of the electromagnetic spectrum
of wavelengths less than about 10 nanometers.
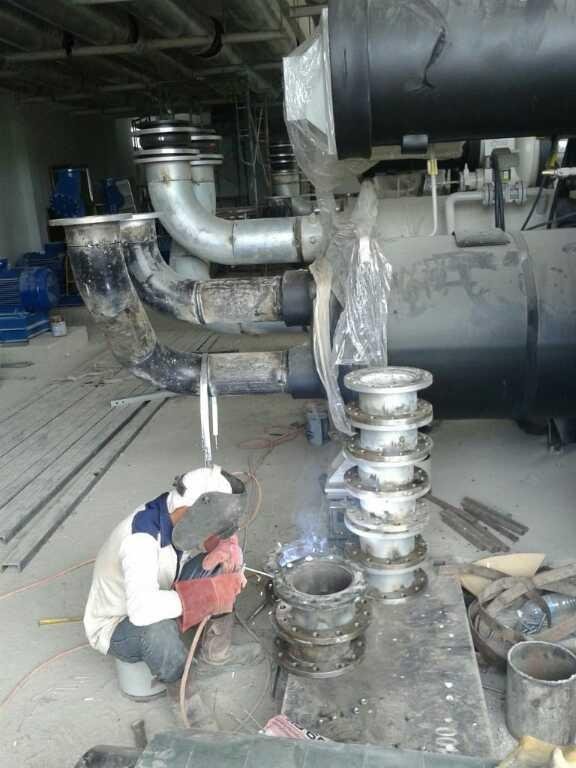
• So it can be concluded welding process for 1 time connection process
gas pipeline takes 0.77 hours (46.2 minutes), based on reference
to the WPS (welding procedure specification) determined by
welding engineer PT KELSRI must use 2 welder then
the length of the welding process can be concluded that the time interval
obtained must be divided by 2
= 46.2 / 2
= 23.1 minutes / connection
• So it can be concluded that in each connection work
pipe needed 6.613 lb electrode
• It can be seen that the wall thickness of the pipe is 11.49
Well that's the explanation of calculation of gas pipeline connection and how it works. Hopefully useful for all friends. See you later on my next job.