Persian Hats for Medieval Events: Part 1
Hey Steemians! Well I have been suuuuuuper busy, summer is ramping up and that means more events with my friends within the Society of Creative Anachronism, SCA for short. I describe our group kinda as if Civil War re-enactment had a love child with a Rennasance festival. We strive to re-create the historical aspects of medieval life like cooking, camping, arts and crafts, fighting, etc.
In the SCA I have a Persian persona, roughly Timurid Era, and my name is Shahzia Nisaburi. The biggest challenge for me is getting the garb right. It is widely known in the area that I am pretty terrible at sewing. I usually pay folks to make my garb. I have been trying to make my own veils, cause sewing a square should be easy, right? Well.... kinda.
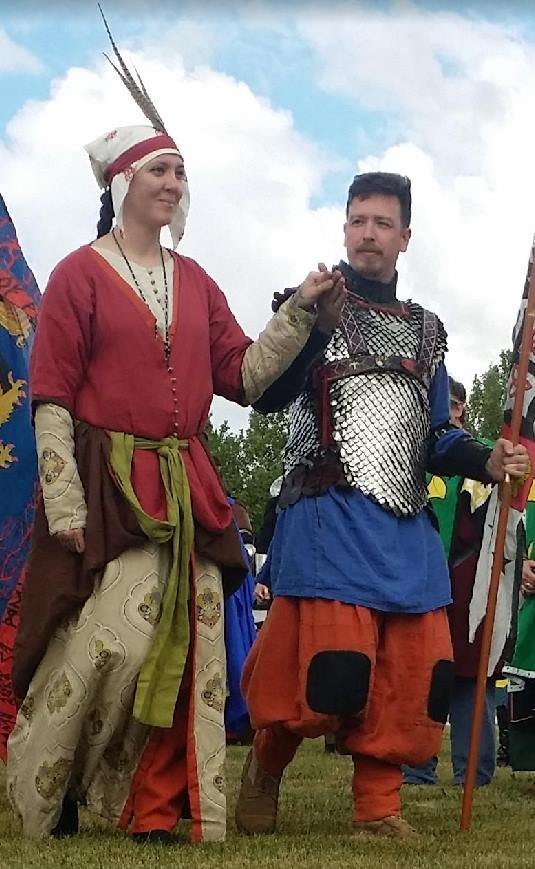
Not a terrible look. Not complete though. I tried to make a braid case and failed miserably. And then having the veils tied on started giving me a headache. So this look is on the back burner for now. I wanted something easier. I wanted a hat.
I found this image of a lady in waiting/serving girl while researching for a scroll-
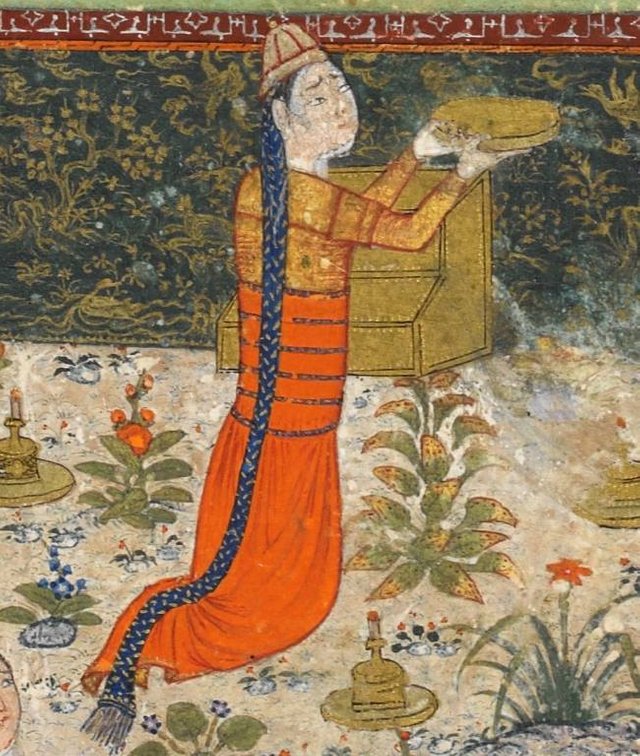
1396, Dated Mss. Oriental Persian: Poetical works of Khwaju of Karman: 1396.Karmání: : Pers.Khwájú Karmání: Kulliyát e Khwájú Karmání: Pers.
What an amazing insight into the cultural garb of the Timurid Era! And what an incredible hat! So there is my proof that women wore hats, and it looked like some kind of panel hat.
I didn’t really have the time or money to go out and buy new fabric, but what I did have was one of those silk wrap skirts from India. I have never been able to tie that thing to look good on me, so I decided to turn it into my hat.
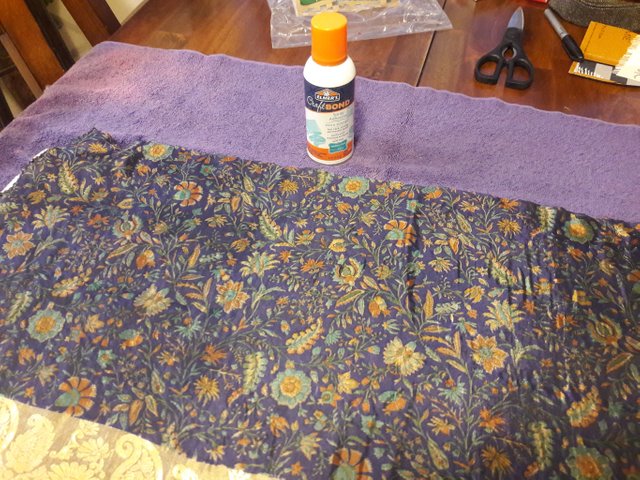
So, I am not the best at sewing. So for folks who actually sew, my methods may raise some eyebrows. Sorry. But, hey, we all have to start somewhere. The silk I used is difficult to handle and work with. It likes to slide around. So my first step was spray glueing it to some thin cotton batting, like what you would use for a quilt.
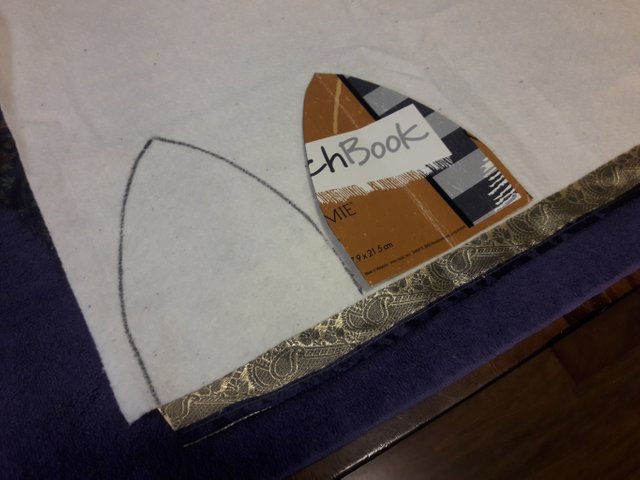
For my pattern, I measured the circumference of my head and divided that by 5. That gave me the width of my single panel. Then I measured from my brow to the back of my head, and divided that by 2. That gave me the height. I added just a bit for seam allowance and rounded the sides just a bit. I didnt want a pointy hat, I wanted a rounded one.
Now, when I spray glued the silk down, I left it hanging over the edge of the cotton batting so I could folk it up later and have a finished edge. You can see that in the picture where I am drawing the pattern on the cotton batting.
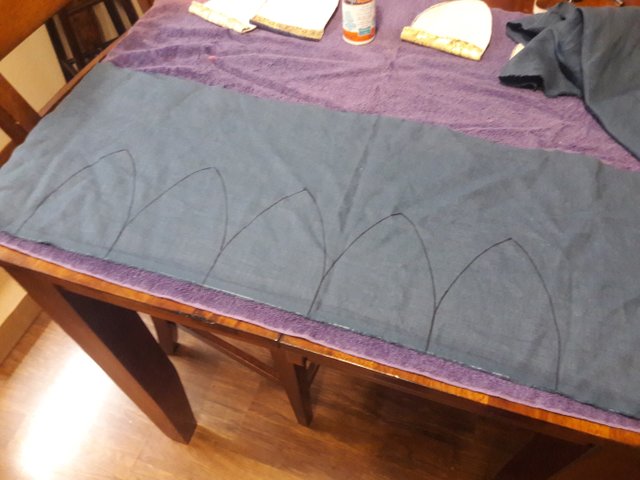
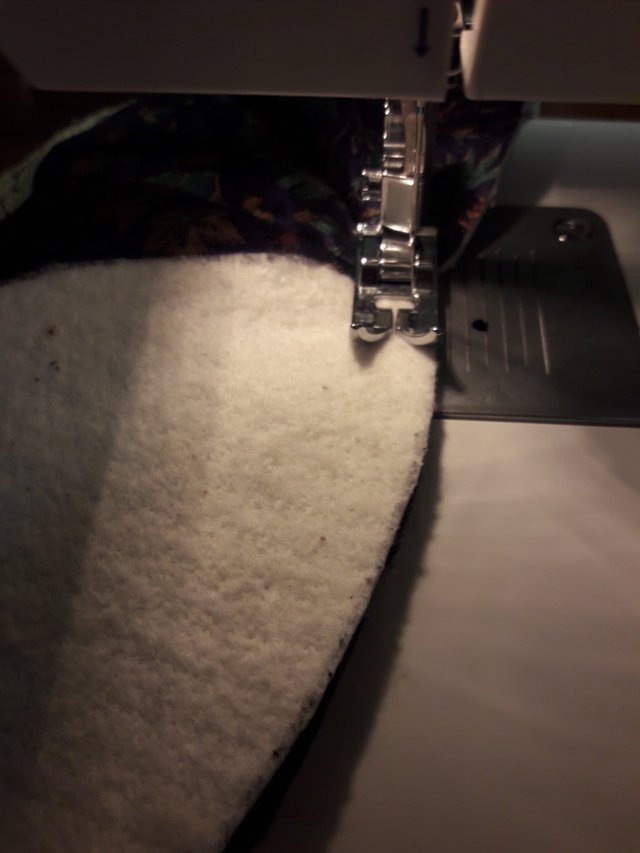
Then I patterned the scrap linen for the lining. I sewed the blue panels all together, then I sewed the silk panels all together. Then, with the silk side on the inside, I fit the two pieces together over my knee and worked them together until they were seated correctly.
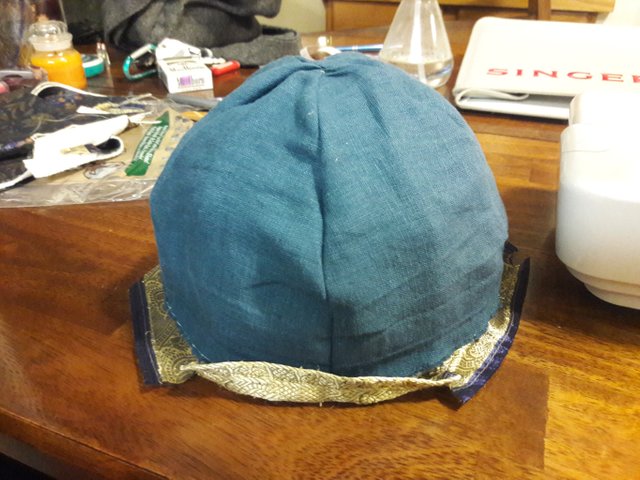
To finish the edge I just turned that little bit extra to the inside and sewed around it.
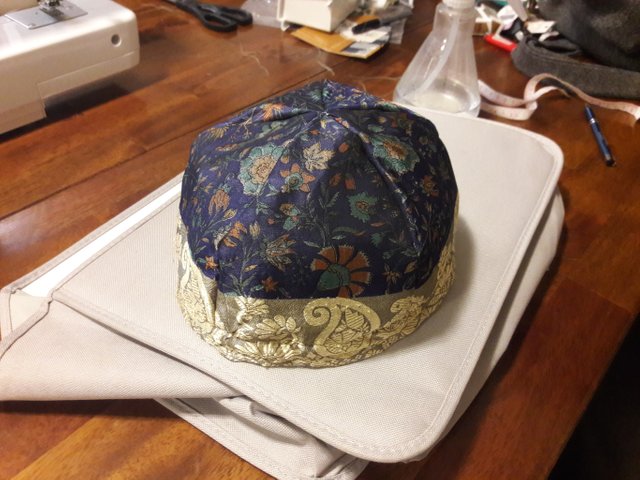
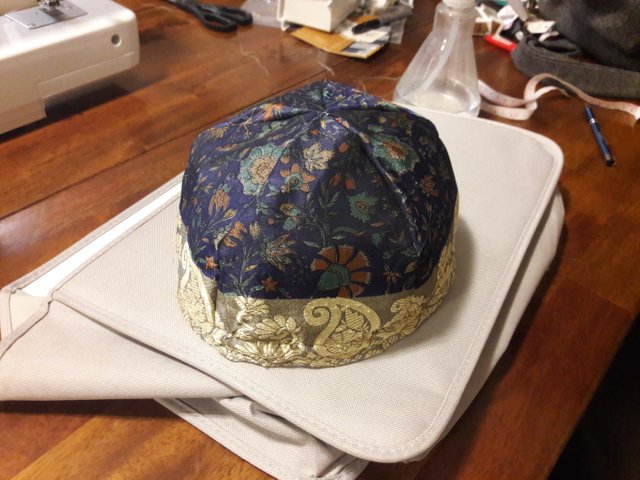
Not to shabby! And the best part- It fits!
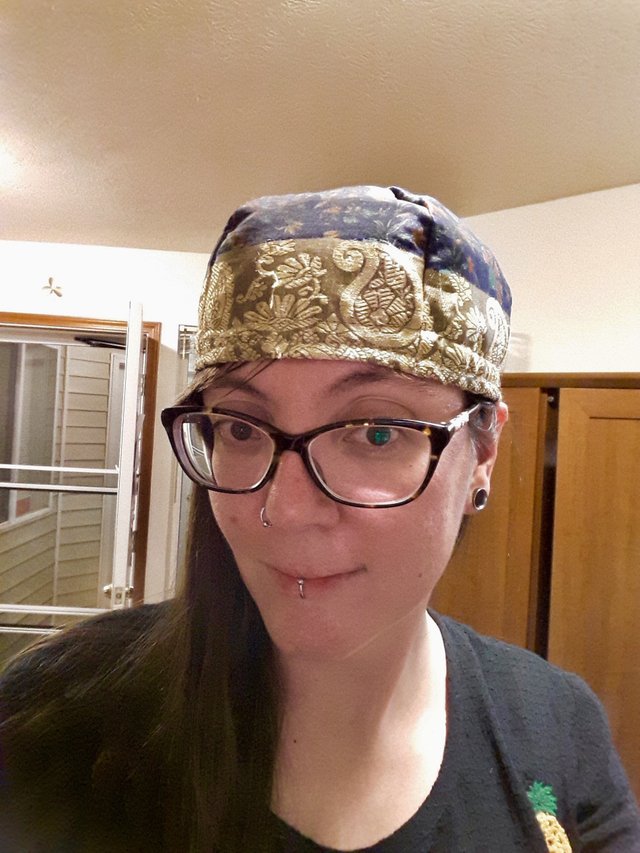
I will have Part 2 coming immediately after so go take a look! Thanks for stopping by!
