Art Process: From Sketch to 3D Model
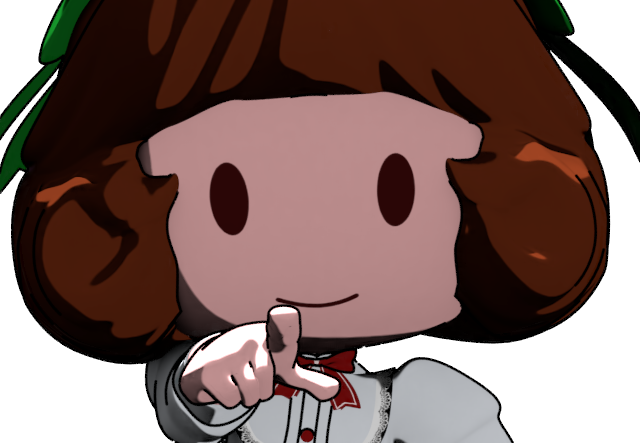
Did you enjoy watching The Incredibles 2? Ever wonder how to make a 3D model and animate it? Today I'm going to walk you through the process of making an original 3D character.
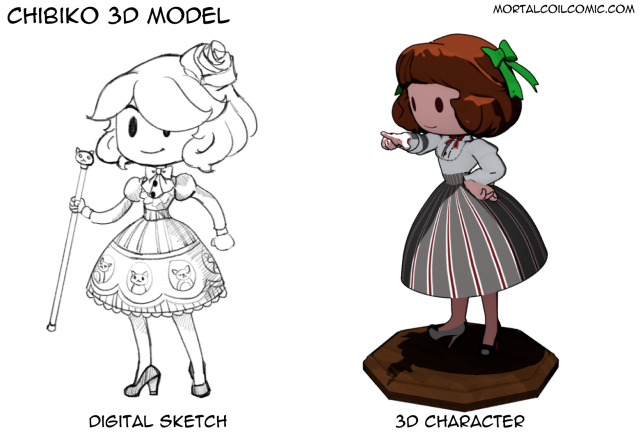
Chibiko is the chibi version of my main character Kamiko from This Mortal Coil.
On the left is a quick chibi sketch I did of her. On the right is the first version of her 3D model.
Blender
I used Blender for the 3D modeling. It's free and fully-featured. You can do just about everything:
- modeing/scuplting
- texturing
- rigging
- animating
- post processing
- video compositing
- and a ton more stuff...
The model you make can be used for making animations in Blender, exporting and using in Unity for games, and 3D printing -- I haven't done the latter, but Chibiko is meant to be a testbed for that later this year.
One last thing: I'm not a professional 3D artist. I didn't go to art school. I love making games, comics, and art and this is something I learned on my own. This 3D model isn't perfect and probably wouldn't pass muster at a game development studio, but I learned a lot from doing it.
Modeling
I started out with a cube and began to subdivide and extrude parts of that cube into a blocky shape for her body. Here are some work-in-progress images:
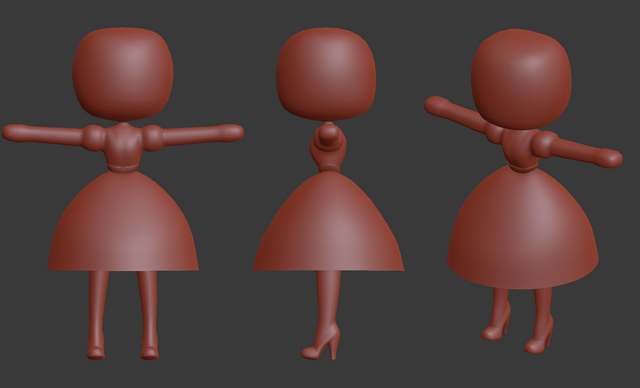
Aside from a cube, I also use a mirror modifier so I only had to model half of the body/head. To get a smooth mesh, I use a subdivision modifier. This way I can manipulate a low-poly version and have Blender display what a higher resolution one would look like.
The T-Pose. That's the pose with your arms and fingers stretched out. I modeled Chibiko like that so I can view all the parts of her model. It makes it easy to navigate around and fix problems before you try and build the animation rig. When making the 3D mesh, there's a lot of stuff to consider like how the joints will bend. I won't go into that here.
Sculpting
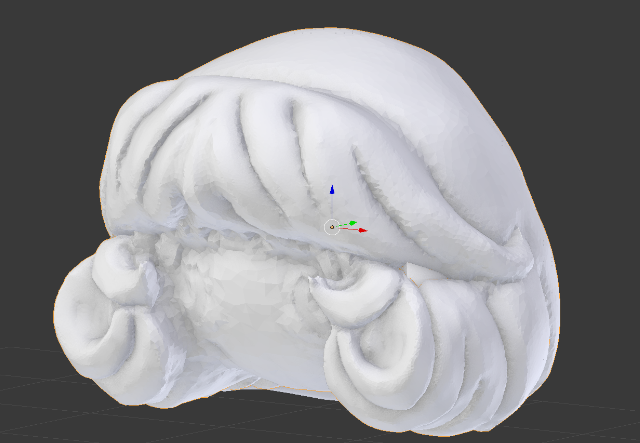
I sculpted her hair from a basic model I created and then simplified that mesh using a process called retopology.
Sculpting is a digital version of clay sculpting. You can start with a block and then push, pull, and layer in strips of clay to mold a 3D model into a thing, like her hair. Folks make entire 3D characters this way. I only did it with the hair because it was complicated.
When you're done with a 3D sculpt you generally have a ton of polygons.
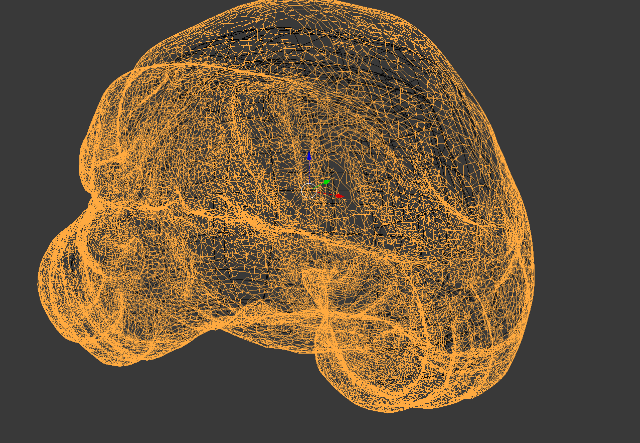
That's 74,000 triangles which is a no-go if you want to animate it or use it in a game. Retopology is the process of taking that mess of polygons and making a low-poly version. Here's what I got after I cleaned it up:
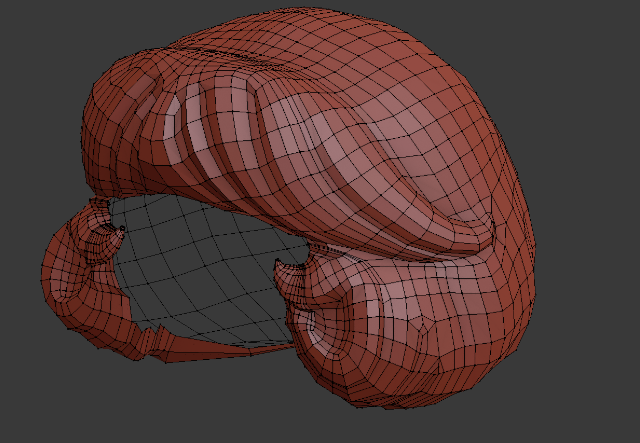
This is 8,972 triangles. About nine times smaller. I will admit, it's not as optimal. You'd probably want maybe a quarter of that. You probably don't want all of those details.
There is a way to get a high detailed model while keeping your triangle count low. You'd make something called a displacement map. This way you could make a really low poly model and then use a texture map that will be interpreted as all of the bumps to give it the original high resolution look. It's something I want to try with another pass of this model later on.
This gets the job done for a version 1 of this model.
Here's a complete wireframe of the body.
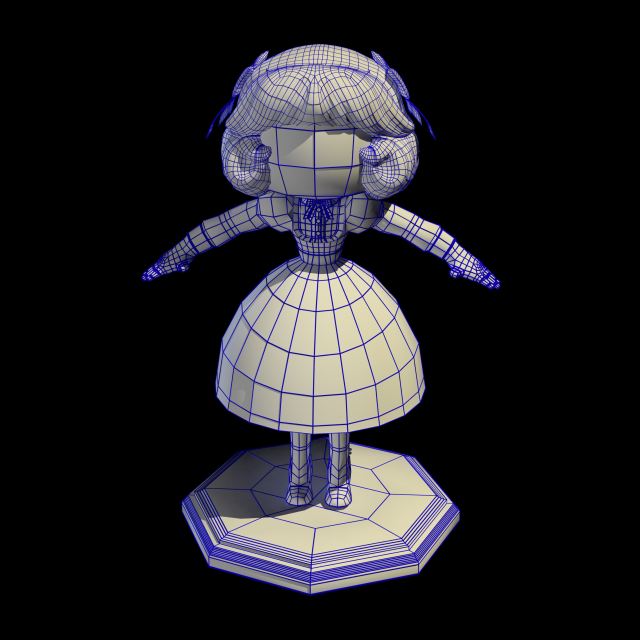
It took me 6-7 evenings and a weekend to get this the way I wanted.
UV Mapping/Pelt Mapping
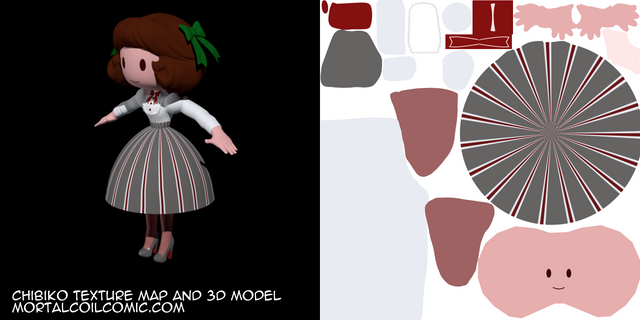
The hard part with texturing is UV Mapping. I have very little experience doing it, but after a few Youtube videos and doing it in Blender, I think I understand the basic concept, but a pro would be able to see the problems.
The best analogy for UV mapping is this: think of a hunter skinning an animal. He wants to keep the pelt in one piece but lay it flat. That's what I'm trying to do here. In Blender you can mark "seams". Which, and I know this sounds gross, would be like the knife cuts you'd make to flatten out the skin around the model.
Rigging: Making a Skeleton for Animation
How do you move your 3D character? She needs bones.
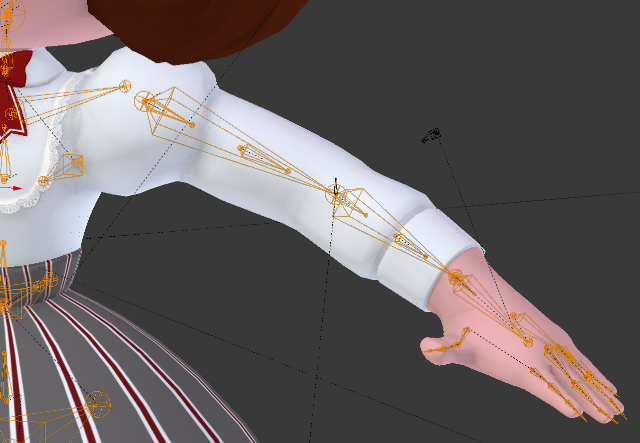
Rigging is adding a skeleton to a 3D model -- you know like adding an armature to a puppet so you can control it. Okay, there's more to that, like adding joint constraints. For example, your arm can't bend all the way around your elbow. You need to make a constraint for that so the software knows the limit of how far your arm can bend.
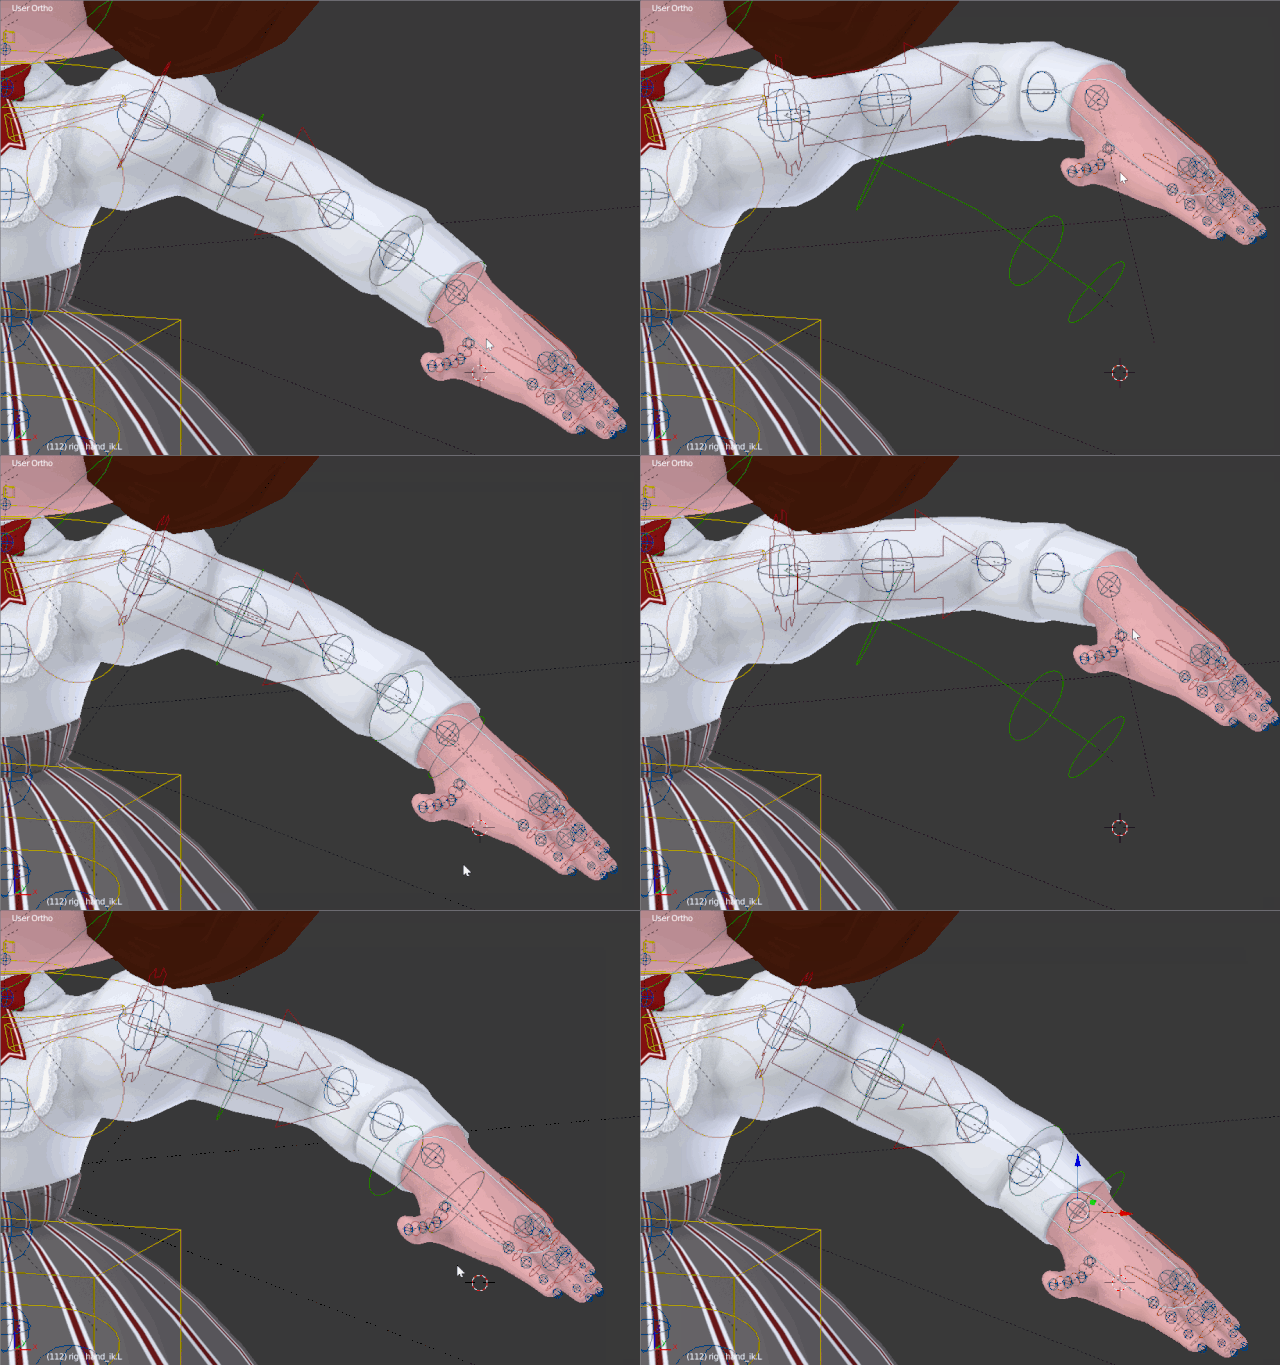
You also want to make it easy to move the arms and legs. I don't want to move the upper arm, lower arm, and then the hand to pose my character. I want to grab her hand and move it where I want and have the arm follow. That's called Inverse Kinematics (IK). It's complex math, but Blender has tools to handle all of these issues.
In fact, Blender has a tool called Rigify to help you make the skeleton for your 3D model. It has all of the IK and constraints setup for a humanoid figure. Handy, right?
The process of binding your skeleton to the 3D model is called skinning. This allows the skeleton to deform the 3D model. Once you've skinned your model you'll want to test the IK for your arms and legs. You'll want to see if there are things stretching weird and fix those. This is where it can get complex and fiddly and you'll require a lot of patience and determination to fix all of those problems. I've gone through that with this model. I won't bore you with the details, but if you have questions please ask below.
Here's an example of Chibiko's arm moving:
I've modeled, textured, and rigged Chibiko at this point.
I sought advice from a guy who builds 3D rigs for a living and he gave me a bunch of pointers. I have not implemented any of his advice. Still with what I have, I'm quite happy. The whole process took me 3 weeks. I have a character I can animate, 3D print, and put into a video game. For my purposes it works. Anything I do will make it better.
Final Output
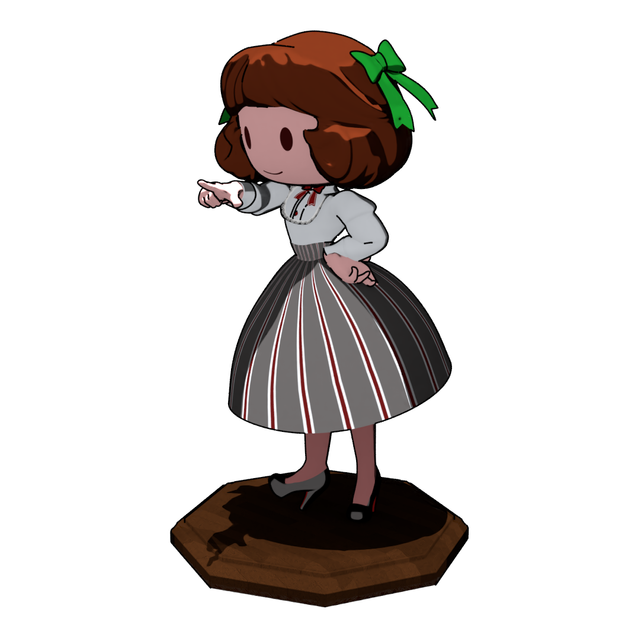
I chose to focus on toon shading since Chibiko is very anime looking. Blender's got a way to render everything using a cartoon shading scheme. It also knows to outline parts of the model. Now it doesn't look quite like an anime -- some more work would have to be done to get it to look right, but for what it is, again, I'm happy with it.
Next Steps
This is a foundation. Some potential tangents I can go off of:
- low poly model and simple skeleton for a Unity game
- implement the advice I got for the skeletal rig -- skirt bones, hair bones, etc.
- rework the hair so it's nicer and maybe flows nicer when rigged.
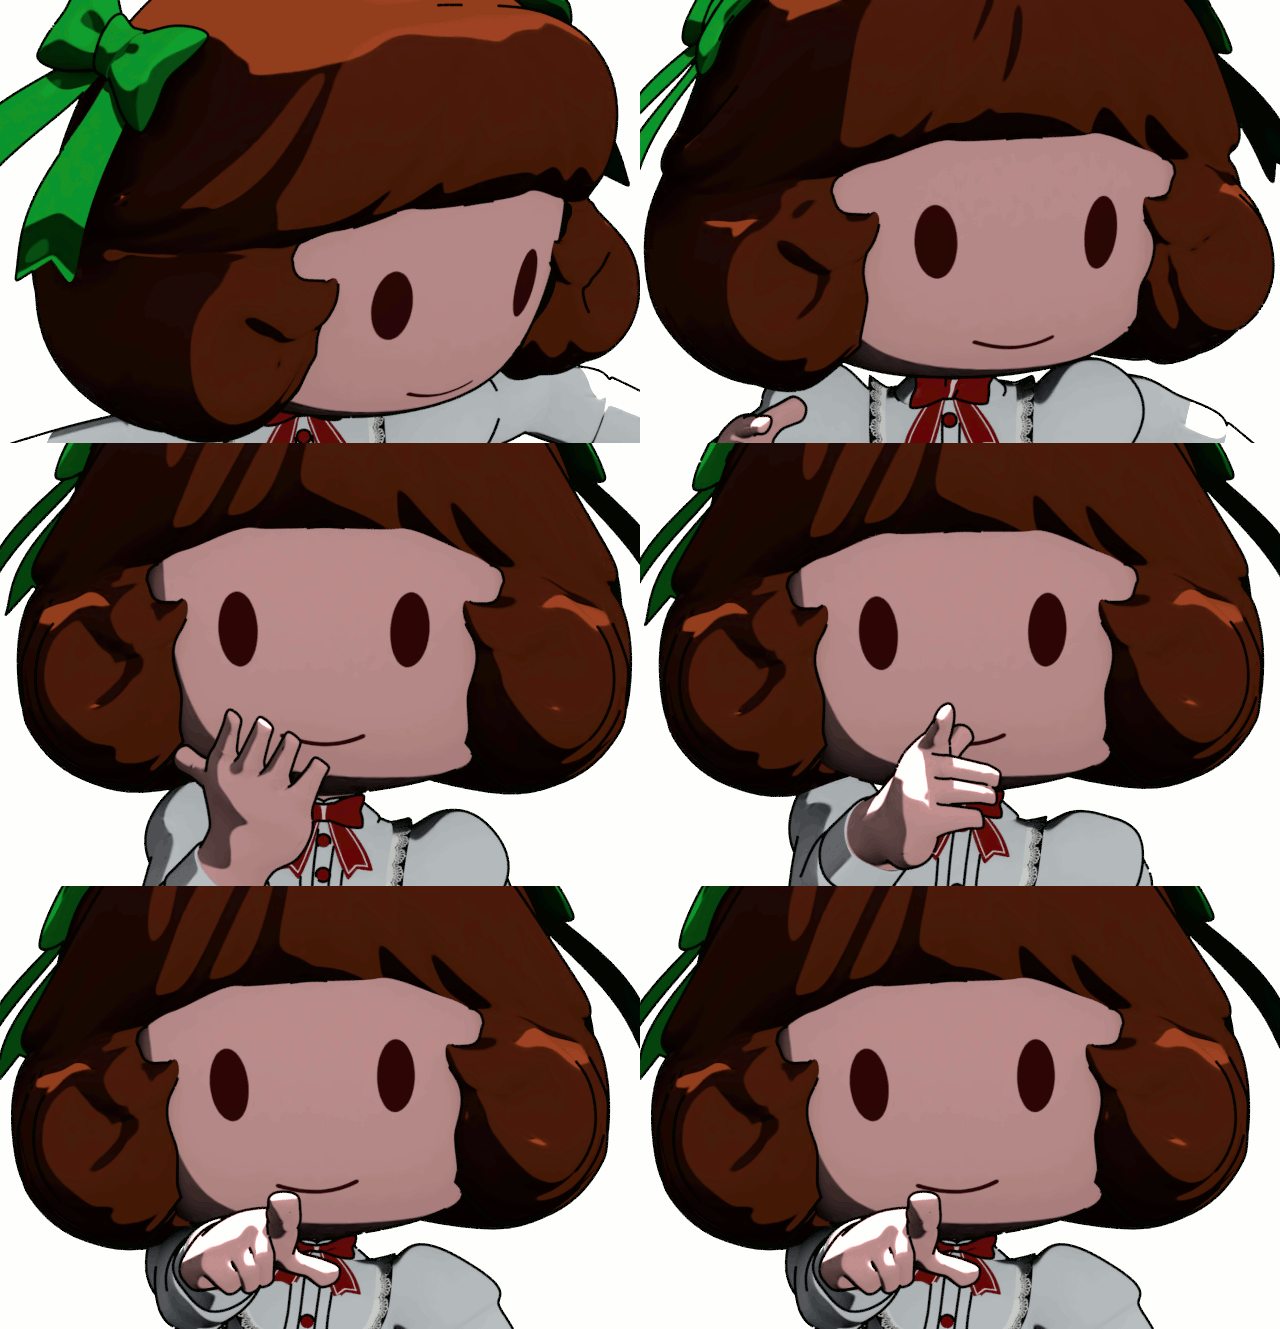
- Facial animation. The face is painted on and the idea is to swap images for different expressions. Facial animation is a whole topic which I didn't want to deal with in making this model.
- Better textures -- I want to do a nicer Lolita style outfit for Chibiko.
- More animation poses like a walk cycle, run cycle, etc.
- Maybe an animated short?
Questions?
By no means is any of what I presented easy.
If you try, you may find yourself banging your head on a lot of problems. It'll be frustrating. You'll make ugly stuff. It's all apart of the process. You hit your head against a problem and learn from it. You make crap now to make something beautiful later. I'm still learning by making.
What's nice is this technology is available to everyone in the form of Blender and other open source software. You don't need thousands of dollars for 3D software or the training. You can learn what you need off Youtube and start making things. Granted if you want to get to a professional level you will want to take classes. That would also allow you to network and get into the games and movie industry.
If you have any questions about the 3D modeling process, I can answer them in the comments below. If you make 3D stuff in Blender I'd love to see it below.
You Can Do It!
Thank you for sharing this. Can someone who isn’t too good of an artist do this?
I think so. Obviously designing characters and art styles, that takes some artistic ability, but if you're sculpting characters it requires some understanding of anatomy as well. If you are trying to 3D model buildings, interiors, objects, etc. that's straight up trying to recreate something photorealistic, then I'd argue you'd probably want more of a technical skill, which is something you can learn that doesn't really require you to have a natural artistic talent (or whatever). You would use photo reference for modeling and texturing real life objects in 3D. There is a lot of technical expertise that's learn-able from rigging armatures for characters to particle systems to photogrammetry.
Hi glennsong,
LEARN MORE: Join Curie on Discord chat and check the pinned notes (pushpin icon, upper right) for Curie Whitepaper, FAQ and most recent guidelines.
Congratulations @glennsong!
Your post was mentioned in the Steemit Hit Parade for newcomers in the following categories:
I also upvoted your post to increase its reward
If you like my work to promote newcomers and give them more visibility on Steemit, consider to vote for my witness!
I am glad to see you got a nice payout on this article. It's one of the best intros to 3d work that I've read.
In art, everything starts with a sketch. A lot of artists start out painting, but then branch out into other mediums like sculpture or drawing. We are offering you to get 먹튀신고 and learn things related to your online sports game. There's no right or wrong way to do it each artist has their own approach and techniques. In this article, we'll take a look at the process through which one of these inspiring artists created his venture into computer graphics.