How To Build A Loyal Followers Base (Part 2)
This is part 2 of my tutorial on how to set up a mailing list using your RSS feed, so you can make sure your posts reach your targeted audience, turning them into recurring visitors.

Source
Part 1
In part one I showed you how to create an RSS feed URL for your SteemIt blog, and how to set up your mailing list, using the free Benchmark service.
If you have missed that post, you can find it here:
How To Build A Loyal Followers Base (Part 1)
Creating A Subscription Form
Once you've set up your mailing list, you will need to have a way for people to subscribe to it.
For that, you need a subscription form.
I'll show you the steps to follow to create such a subscription form for the mailing list you set up a couple of days ago.
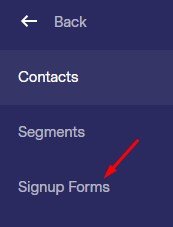
Step 1: On your homepage, click 'Contacts'.

Source
Step 2: Click 'Signup forms' in the left sidebar.
Source
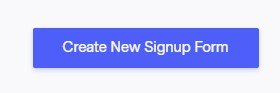
Step 3: Click the 'Create New Signup Form'-button in the top right corner.
Source
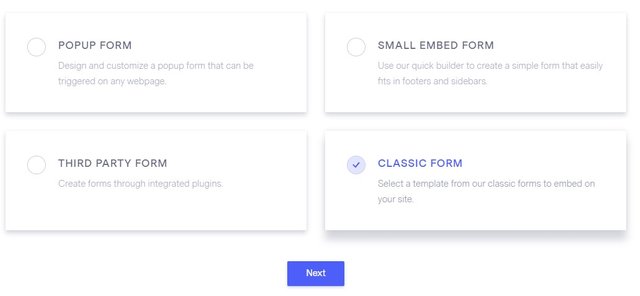
Step 4: Select 'Create Classic form' and click 'Next'.
Source
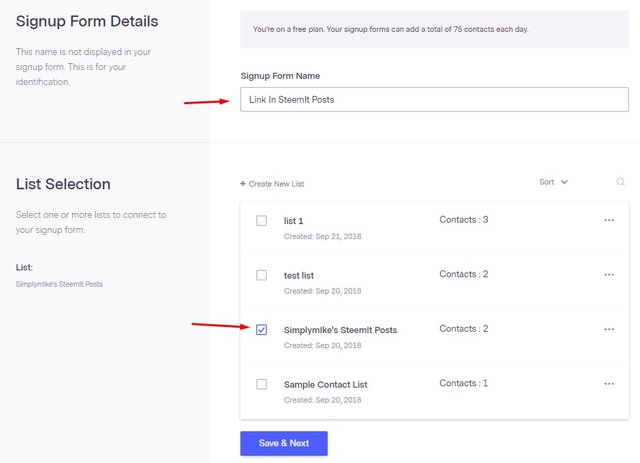
Step 5: Name your form and connect it to your mailing list
In the field 'Signup Form Name', type a name that reminds you where you will be placing this form.
When you create a form to add to the sidebar of your own blog, you could name it 'Sidebar blog'. In this example, I will be adding a link to the form to my SteemIt posts, so I choose the simple name 'Link In SteemIt Posts'.
Source
In the 'List Selection' part, check the box next to the name of the mailing list you created.
Click 'Save And Next'.
Step 6: Signup form design
In the next screen, you are able to edit the design of the form.
a. At the top of the page, you can choose from different styles and colors. Don't forget to scrol left and right, because there are more designs available than the ones that are showing.

Source
b. If you click on a design, a popup will appear. In this popup, you get some color options to choose from.
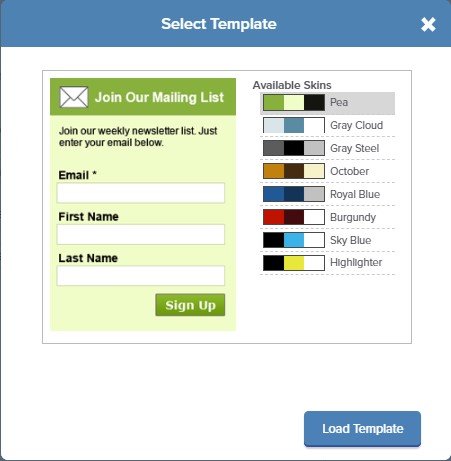
Source
c. Select the skin of your choice. If you are satisfied, click the 'Load Template'-button.
d. Your template will be loaded, and you'll be presented with some options.
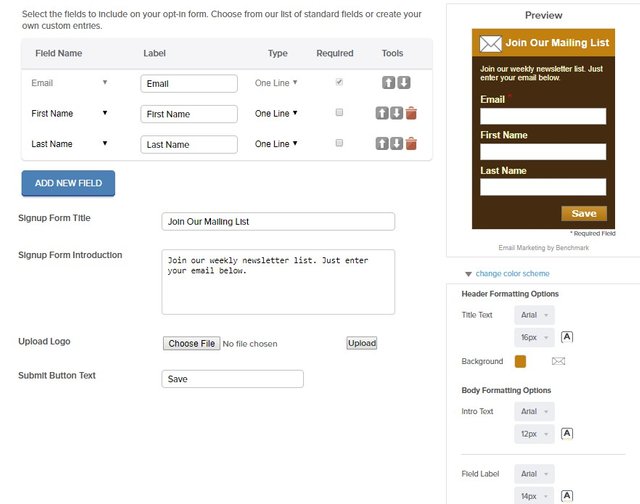
Source
e. At the top, the standard list fields have been pre-selected: email address, first name, last name.
You can add new fields and use the drop boxes to select which information those fields would have to hold, but for a simple mailing list, the standard fields will do.
As pointed out with a red arrow in the picture below, you can select whether you want to make the form fields required or optional. The email field is required by default, since you can not send out mail to someone if you don't have his email address.
My recommendation would be to at least check the box next to 'First name' too.
When you have someone's first name in the database, you can personalize the emails you send out by adding a piece of shortcode to the template. (I'll explain that later)
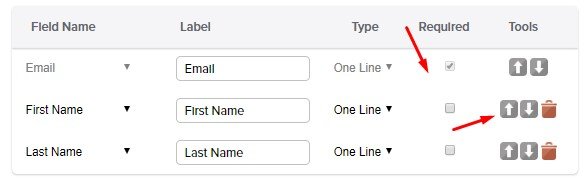
Source
I have added the second arrow to make sure you wouldn't miss the option to change the order of the fields. By clicking the little blue arrows, you can move the 'First Name'-field to the top, for example.
f. Each signup form template has a title and a description, which can be edited so it will fit your needs.
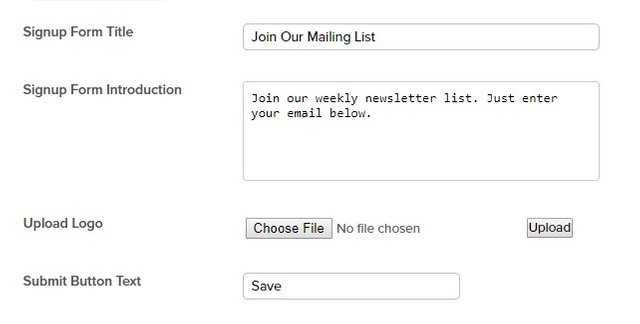
Source
You can leave the standard values in place, or come up with your own text.
IMPORTANT
It's important to inform your future subscribers they need to whitelist your email address to prevent that your emails will end up in their spam box.
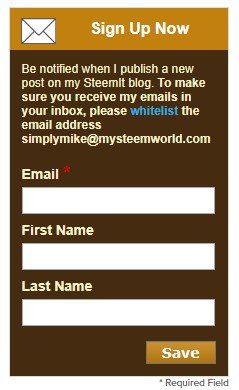
To show you an example, here's the text I've added to the 'Signup Form Introduction'-field:
Be notified when I publish a new post on my SteemIt blog.
<b>To make sure you receive my emails in your inbox, please
<a href="https://www.prowebcopy.com/how-to-whitelist-an-email-address/"
target="_blank">whitelist</a> the email address  [email protected]</b>
I linked the word 'whitelist' to a website where is explained how to whitelist an email address.
Here's how it looks in the preview:
Source
g. You can edit the text on the button at the bottom of the form. Personaly I think 'Subscribe' would be a better choice than the default 'Save'.
h. In the left bottom corner, you can play around with the colors and the font sizes of your form until it looks exactly like you want it.
Once you are satisfied, click 'Save and next'.
Setting Up The Confirmation Mail
There's a law that says a confirmation mail must be sent before someone is actually subscribed to your list. This is called 'double opt-in'.
On the next screen you can read:
Once a subscriber submits the form, a confirmation email is automatically sent to their email address. They must complete their opt-in by clicking on the link in that email to be included in future mailing lists.
Step 1: Personalizing the confirmation mail
Here, you can customize the confirmation mail that is sent.
It's up to you if you want to make any changes.
Personally, I recommend making two changes:
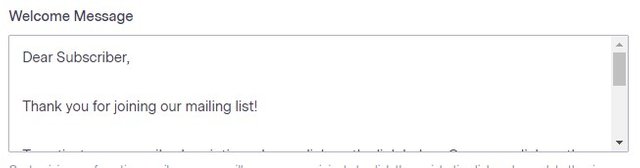
1- Make your welcome message more personal by using the first name of the new subscriber instead of the words 'dear subscriber'.
Default welcome message:
Source
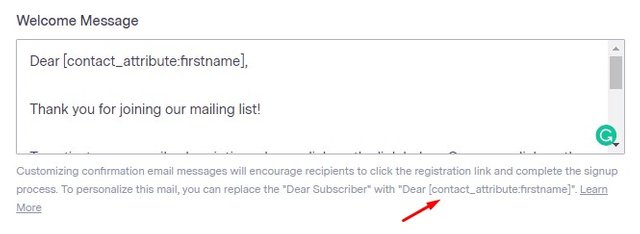
Personalized welcome message:
Source
You can find the shortcode I used underneath the field, indicated by the red arrow.
2- Add a link to your SteemIt profile to your sigature.
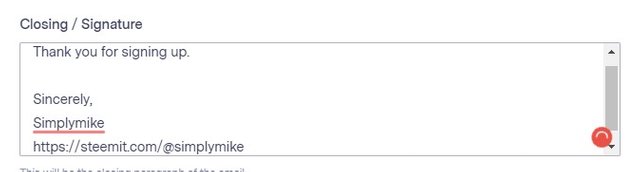
Source
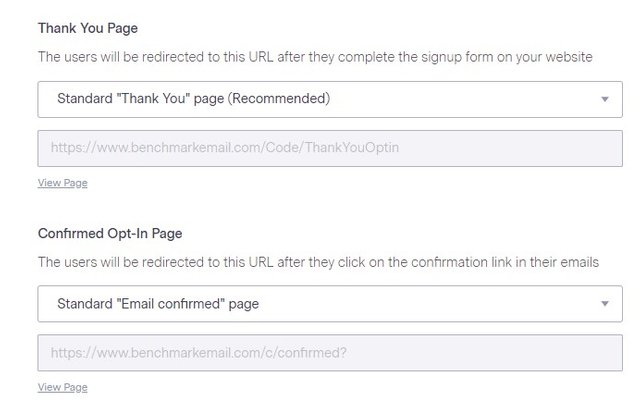
Page Settings
Under 'Page Settings', you can decide whether you want to create your own 'Thank you' - and 'Confirmed opt-in page', but I advice you to leave the settings untouched and use the default pages.
Source
Alert Notifications
If you want to be notified whenever someone signs up for your list, you can use the drop-down menu next to 'Alert Notifications' to select how often you want to be notified.
If you've set up all of this page, click 'Save and Next'.
Making Your Form Available
Here comes the tricky part: you can not add your form directly to your SteemIt posts, because SteemIt doesn't accept Javascript code.
So you'll need to use another way to make people aware that they can sign up for your mailing list.
Next to 'Publishing Options' you can see a drop-down menu.
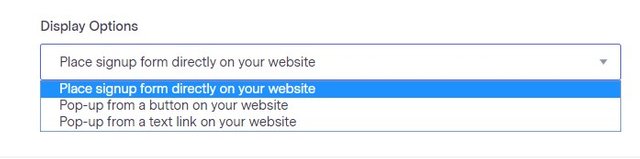
Source
Choose either the second or the third option.
From a button
If you select 'Pop-up from a button on your website', you get a variety of buttons to choose from.
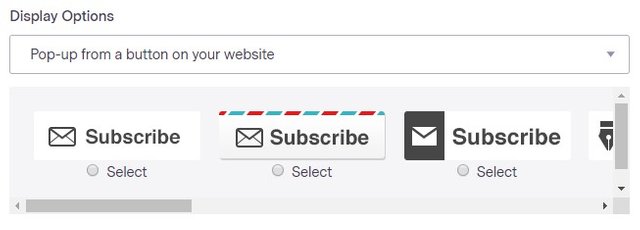
Source
Simply choose the one you like most and click the radio-button underneath to select it.
Below, you'll find the Sign Up Form Code that will display the button you selected.
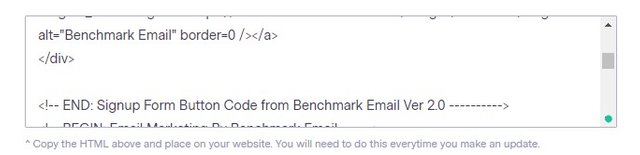
Source
Put your cursor somewhere in the field. Right-click to bring up the menu and select 'Select all'.
Right-click again and select 'Copy'.
You'd think it would be easy from now on and you could paste that piece of code straight into your SteemIt post. I'm sorry to disappoint you, but that's not true.
If you paste the code as is in your SteemIt post, it will look like this:
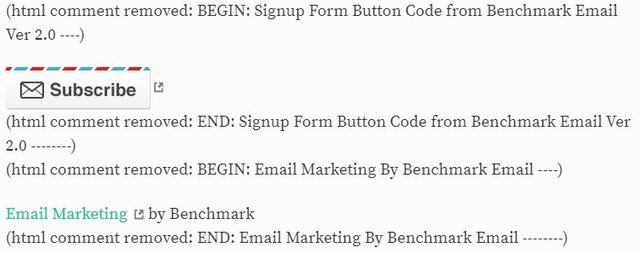
A bit messy, don't you think?
To make your button appear as it should, you need to delete some lines in the code you copied.
I have colored the ones you definitely need to delete in yellow.
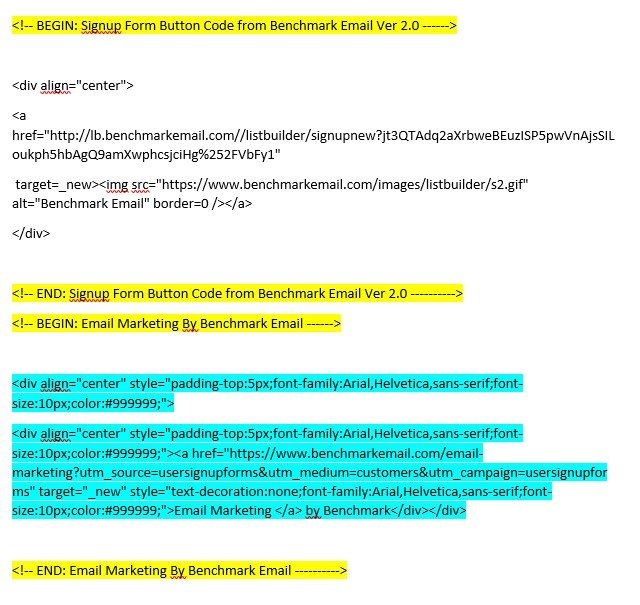
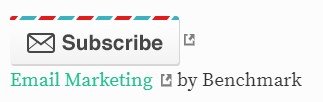
If you delete only the yellow lines, this will be the end result:
Please note, these buttons redirect to a signup form that is only a demo - it is not in use
To delete the sentence 'Email Marketing by Benchmark', you will have to delete the lines I colored in blue too.
If you do, you'll end up with this:
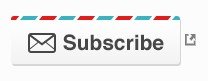
That looks a whole lot better, right?!
The button will redirect to a page that holds your sign up form.
From a link
Don't bother using the third option in the drop-down menu to create a popup from a text link. When you try this, the code that is generated won't be accepted by SteemIt either.
If you do want a text link, you can create it yourself.
Let's go back to the button code. I deleted all colored lines from the code and ended up with this:
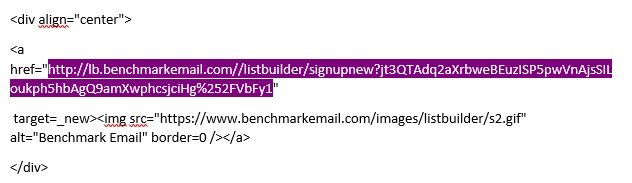
Now, the only important part of this entire story is the link I indicated in purple. That's the link to the page that holds your signup form.
To add a text link to your SteemIt post, you simply copy that purple link and create a link like you normally do on Steemit, using the brackets:
**[Receive Email Updates](http://lb.benchmarkemail.com//listbuilder/signupnew?jt3QTAdq2aXrbweBEuzISP5pwVnAjsSILoukph5hbAgQ9amXwphcsjciHg%252FVbFy1)**
Remark
So, that's it. That's how you set up your own mailing list.
I must confess that I was completely unknown with the Benchmark mailing service before I started this series.
For my previous examples, I had been using Mailchimp - which was an excellent service - but I only found out this week that they had closed down my account. Conclusion; it' not a reliable service.
While working on these tutorials, I found out that Benchmark has its flaws. One of those flaws for example is that you can not change the size of the subscription form. As a result, it looks really tiny on the page that opens when you click the subscription button or link.
The fact that the sending of the email is not triggered by the appearance of a new item in the feed, but has to be scheduled at a certain time, is another one of those flaws. If you set up the system to send out a mail every day, you'd better make sure you have published a new post every day, or it will send out the same list of articles as the day before.
Paid services, like Aweber, offer you a lot more professional options, but I wanted to set up this tutorial using only free tools, so everyone could benefit from it.
The Final Touch
There's one more thing you need to know before you can build a mailing list of subscribers successfully.
Let's call it 'the secret ingredient.'

But this post is long enough as it is, so I'll keep that secret ingredient for myself a little longer and reveal it in one of my next posts.
Make sure you don't miss it!!

More Posts You Might Like
Steemigram Is No More. Meet Share2Steem, A Potential Goldmine
FetchRSS (Free And Paid) - Create An RSS Feed URL For Any Website In No Time)
[Contest] Win A Free SteemMonsters Starter Pack Or A Booster Pack
Steem Monster Card Giveway (1UP Fundraiser): Undeath Priest (Rare) (+SBI Shares To Win)
Got Hacked? Here's Your Step-By-Step Guide To Getting Your Account And Reputation Score Back


@moonbot, subscription based upvote bot
Divider created with The Logo Creator
You got a 7.17% upvote from @booster courtesy of @simplymike!
NEW FEATURE:
You can earn a passive income from our service by delegating your stake in SteemPower to @booster. We'll be sharing 100% Liquid tokens automatically between all our delegators every time a wallet has accumulated 1K STEEM or SBD.
Quick Delegation: 1000| 2500 | 5000 | 10000 | 20000 | 50000
Wow this is a very detailed post. I think you worked very hard and I appreciate the time it must have taken. Kudos!
Thanks. It did take some time, but I do know my way around mailing list services and their setup, so it wasn't that bad :0)
Posted using Partiko Android
This post has received a 2.67 % upvote from @boomerang.
Nifty. I can’t wait to get home and try this. Thank you.
Posted using Partiko iOS
This post was shared in the Curation Collective Discord community for curators, and upvoted and resteemed by the @c-squared community account after manual review.