Needleworkmonday: DIY bag with optional strap and snaps.

What you will need:
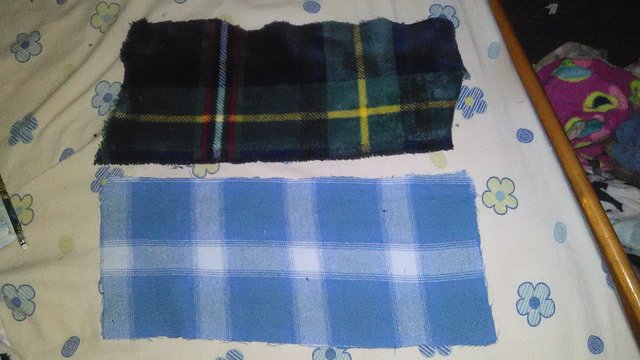
- Two rectangles of fabric.
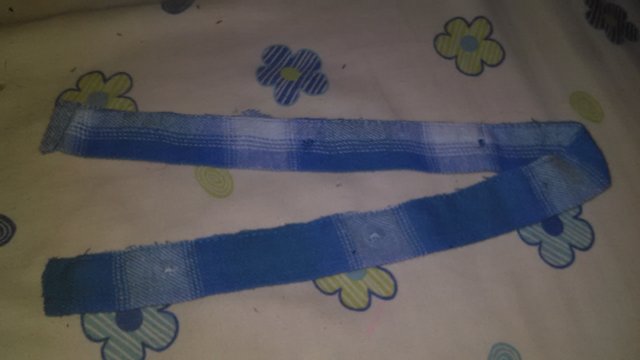
- A long ribbon or string for strap (optional).
- Snaps or buttons (optional).
- Sewing machine set up completely.
Directions:
First, figure out the size you want your bag to be. This is a fold-over bag so whatever size you want your bag to be, double the size and then add some more on the end to fold over.
When you figure out the size, cut it out of two different fabrics. I like using one fluffy fabric to put on the inside and a strong cotton plain-weave for the outside.
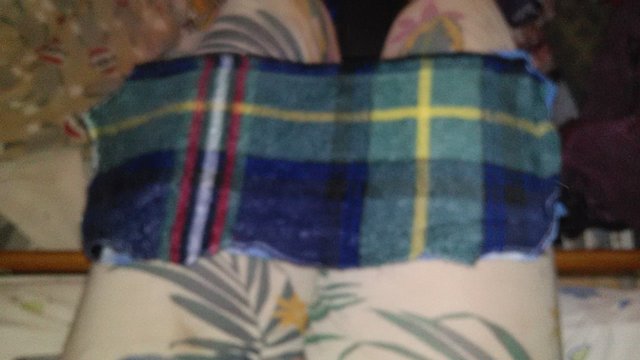
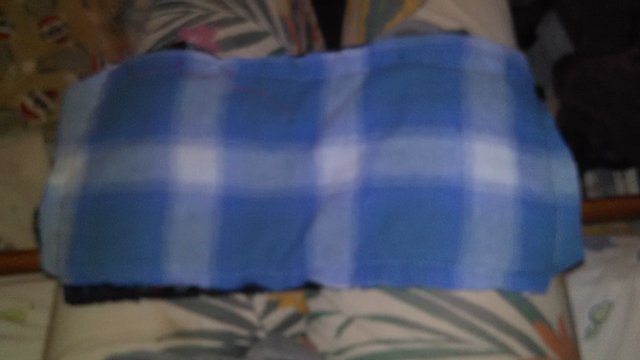
Lay the two pieces of fabric on top of each other with the right sides (the right side is the prettier side) together. Sew all the way around the edge of the fabric except leave one part open to flip inside out. Flip the two pieces back right-side out. (optional) Sometimes I stitch around the edges to keep them flat.
Fold the rectangle into thirds with the piece on top slightly shorter and the piece of fabric that you want on the inside folded on the inside. Sew the edge on the bottom two thirds, creating the basic shape of the bag.
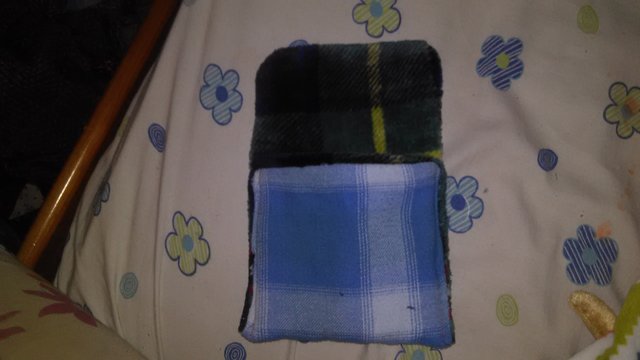
Now, sew the strap on the bag if you want one. It is kind of tricky to sew the strap on the edge of the bag so take your time with this step.
I like putting snaps on my bags but if you don't have the snap tool you can use buttons or just leave them off. Your bag is now finished!!
Oo this is such a practical bag and looks easy to make too :) I love your fabric choices. They look soft. I would love to carry this bag around just to feel the fabric :)
Posted using Partiko iOS
The fabrics are fun, I have a big bag of "fluffies" or soft fabric and faux fur that I keep in my room. I get them out every time I do something that requires it or just for fun to pet them.
Congratulations on another great DIY post @cassidydawn!
Thank you so much @jacobpeacock!!!
You are welcome! Keep up the good work @cassidydawn!
Congratulations @cassidydawn! You have completed the following achievement on the Steem blockchain and have been rewarded with new badge(s) :
You can view your badges on your Steem Board and compare to others on the Steem Ranking
If you no longer want to receive notifications, reply to this comment with the word
STOPVote for @Steemitboard as a witness to get one more award and increased upvotes!
Congratulations @cassidydawn! Your post was featured on our daily build newsletter! We set you as a %15 beneficiary of our newsletter rewards. You can see your post on our instagram Facebook and Twitter pages.
Keep sharing your awesome DIY and How-to tutorials together with the recommended tags #diy, #build-it, #how-to, #doityourself, #build as well as posting from our website