SEC20w6 | Basic dress pattern and its transformations

It's actually with great pleasure and tears that I'm writing this tutorial post, as this seems to be the last time I'll be learning how to sew women's clothes. Regardless of this fact, I want to say a big thank you to my coach @lunasilver for taking time to teach us the basics of pattern making when it comes to making dresses for women. From the tutorials so far, I've learnt how to take basic measurements and have also learnt how to draft the patterns of the skirt and blouse of women.
This is one of the many ways Steemit is using to teach us skills for free, which on a normal basis aren't. I'm actually grateful for the opportunity to be taught, starting from basic markings, a blouse, a skirt, and now, a full dress. I've been looking for opportunities to learn women's dressing, and Steemit did provide me with the basics. If not for anything, I've learnt basic measurements for personal and industrial use and also learnt things to note when making patterns of women's dress.
How satisfying it is to add this knowledge to my wealth or store of knowledge!Now, to the tutorial for this week, which I wish wouldn't come to an end.
Measurements used for my dress |
|---|
For this contest, I choose to use the following measurements for personal sizes for my joining.
- Waistline clamp is the most important measurement to take note when joining or draughting patterns for women's dresses. The waist is the backbone of the clothes, as it gives the cloth its shape and structure.
- The dart of the blouse and skirt for the pencil skirt most especially important as it also gives shape to the dress and helps in restructuring and garment holding.
Shoulder length
Collar stand or neckline
Armhole length
Chest and bust length
Back width
These are personal measurements that are very important in the formation or creation of a lady's dress, as each measurement workshand-in-hand with each other. Now, I took measurements based on
centimetres as I was using a meter rule and measuring tape to do this draft and cut.
Waistline - 30cm
Front size - 50cm × 72cm
Bust length with dart - 60cm × 87cm
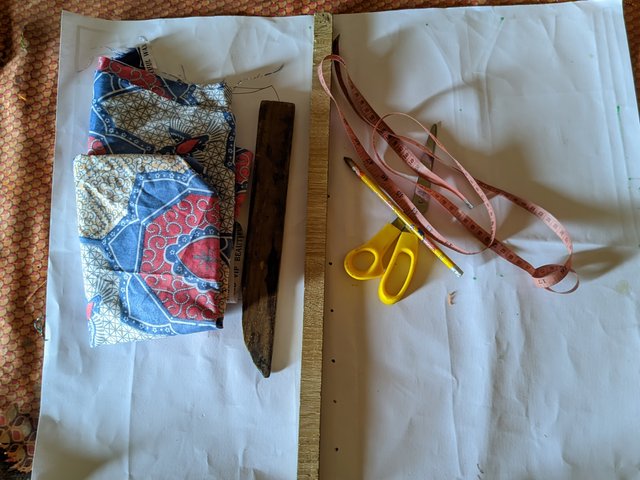
The tools I used for making this joining of a lady's dress are;
| Cardboard paper | Scissor |
|---|---|
| Thread and needle | Tailor's chalk |
| One of my latest used materials | Measuring tape |
| Pencil and measurements book | Ruler |
Steps carried out according to tutorials |
|---|
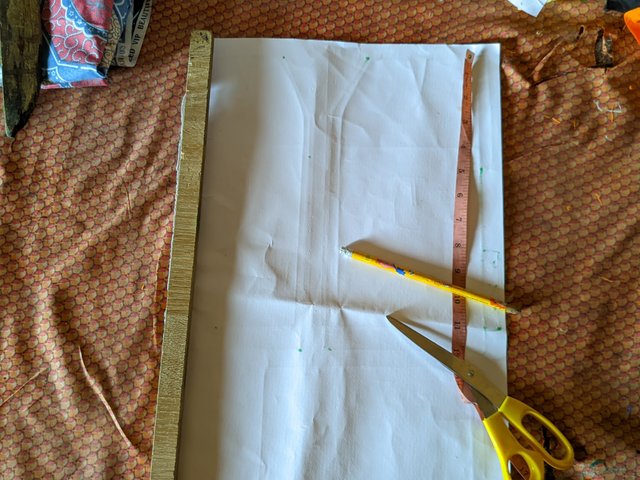
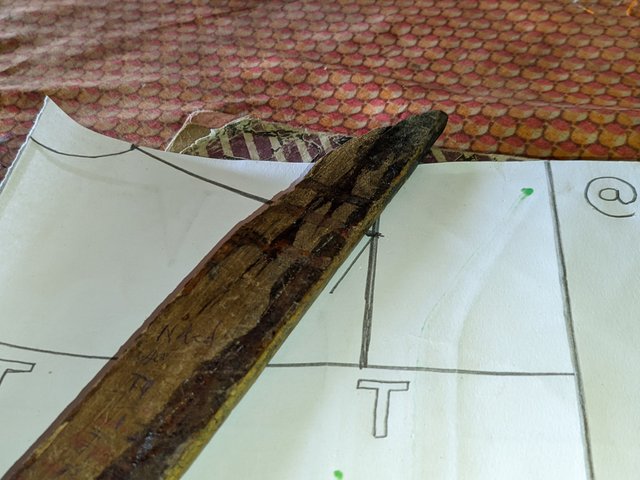
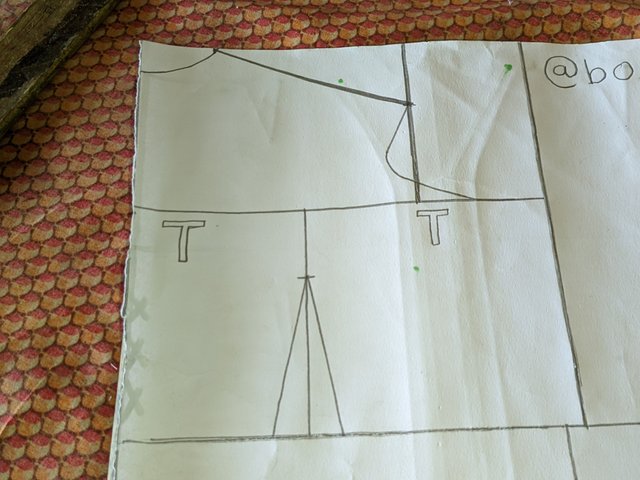
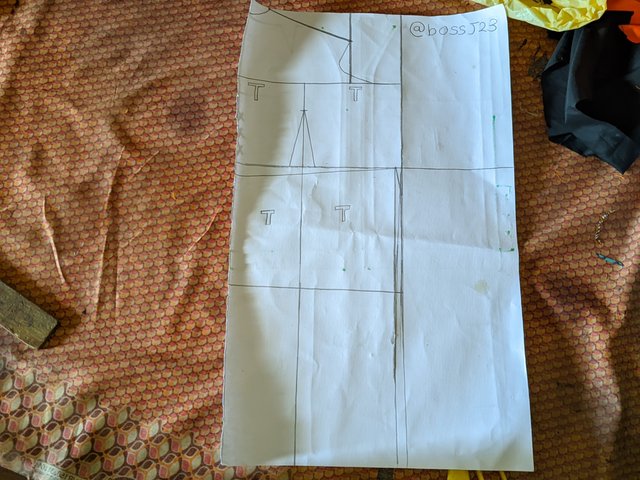
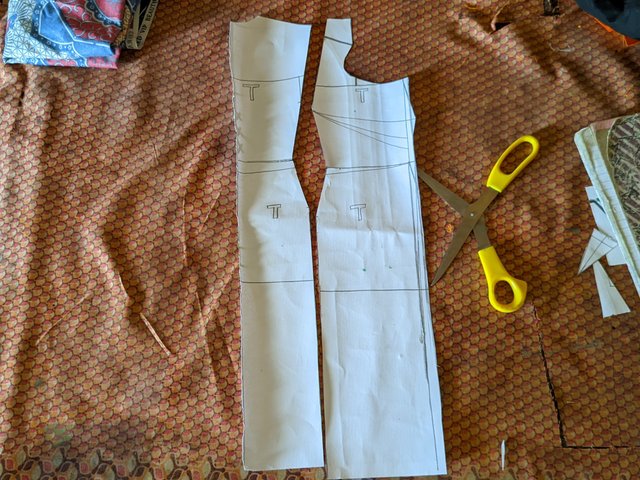
My step 1 is done by matching the dart on the skirt with that of the blouse before moving to joining the two patterns. This is very essential and should be taken into consideration, as the darts on the waistline do not match if we want to join the draughted blouse and skirt singly. I did this on both the front and back patterns marked with a pencil on cardboard paper.
 |  |  |
|---|---|---|
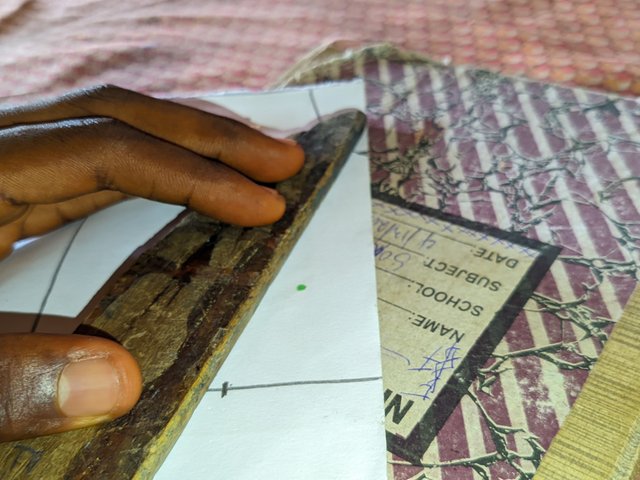 | 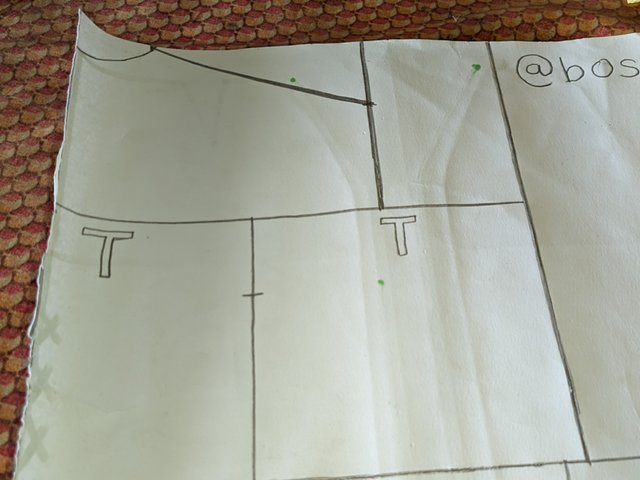 | 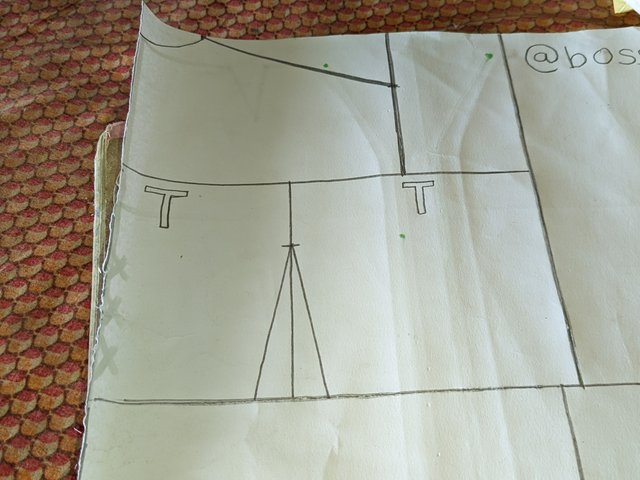 |
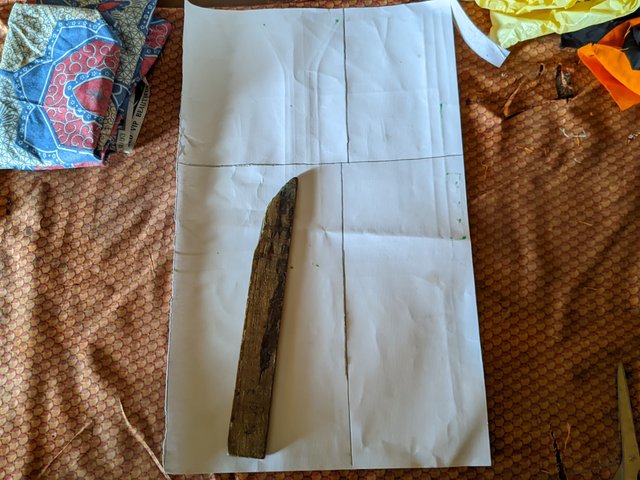
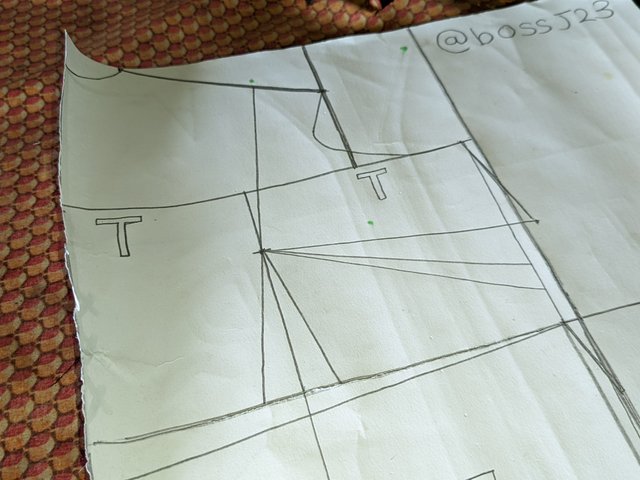
For clarity sake, I made sure that I draughted out these patterns again, and these are the steps I took to do this. The neckline, armhole, chestline, etc were made firm with some joinings on each side. The skirt is then given a tilt and powered in such a way that it's accommodating. I used 2 inches for this.
 |  |  |
|---|
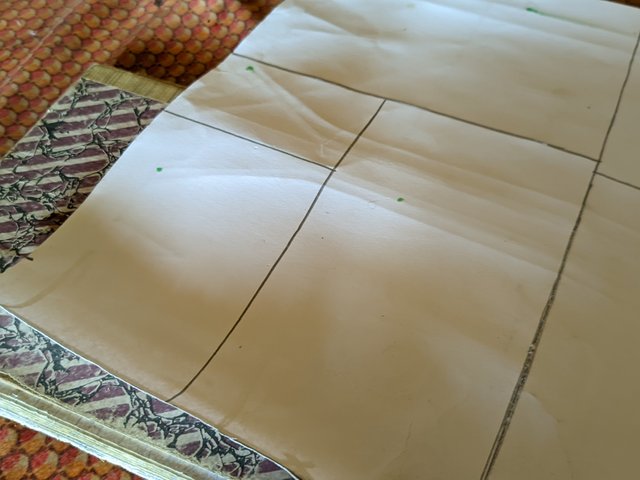
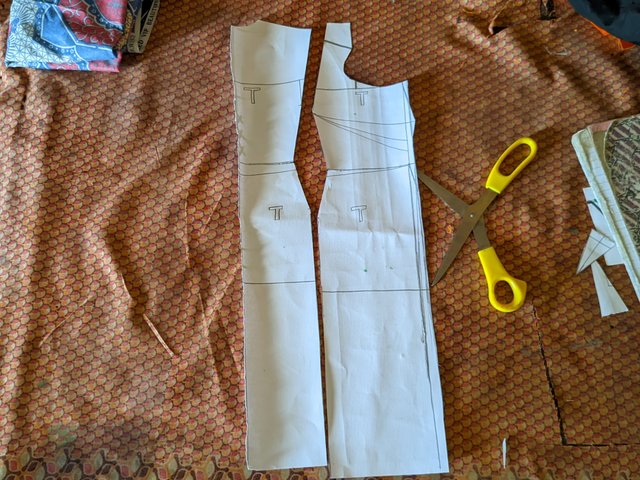
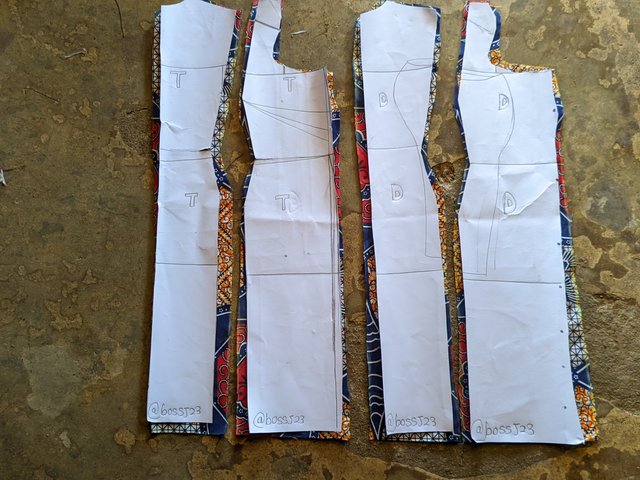
In my mind, I assumed the darts were closed as I didn't want to change the structure of the cardboard, and I still created another dart, which is that of the bust on the blouse pattern.
And I wasn't with a white tape to ease my work due to unavailability at the moment. I started out with the front patterns traced to the blouse, of which modifications were done. I then made a connective dart, which I closed in my mind.
 |  |  |
|---|
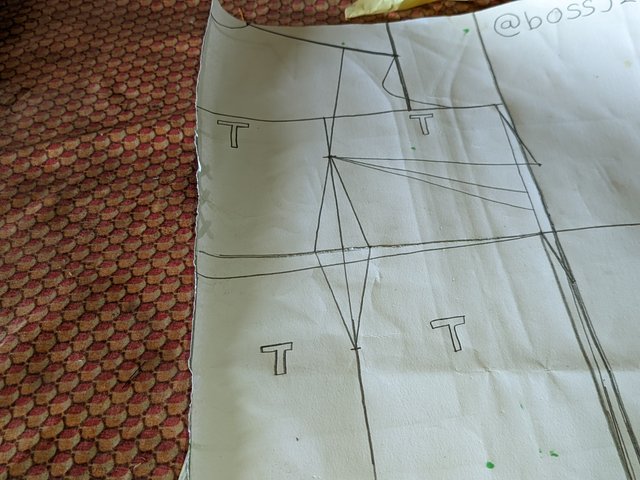
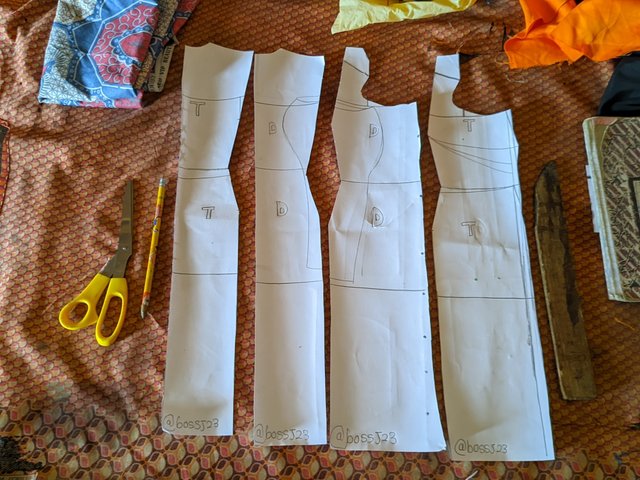
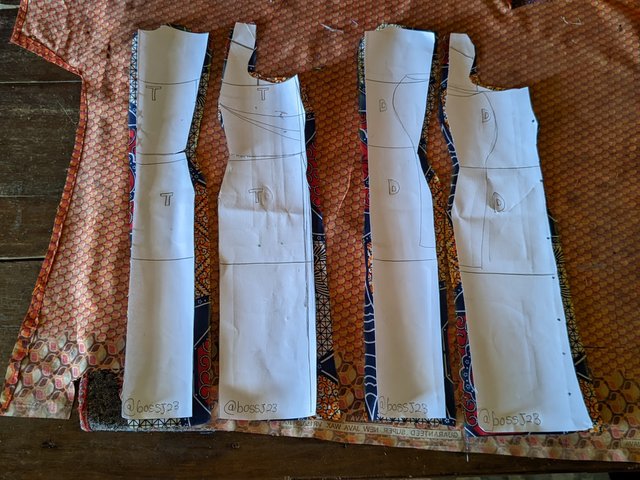
The shoulders were my point of focus, as I did check if they coincided on both patterns to avoid mistakes and having to take a cut again. I did the same for the back pattern as indicated in the pictures below. After placing structures to give the same cut on the cardboard paper, I cut it out and spread on the material I brought.
 |  |  |
|---|
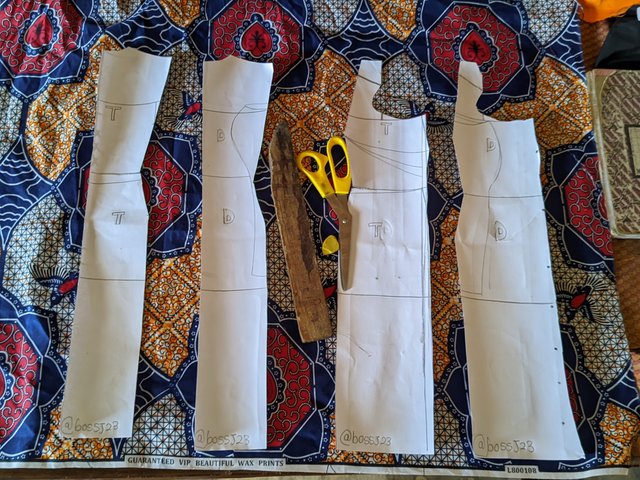
Since the contest specifically said we should work on using materials, I took it personal by first marking the material using the sketch of my pattern and ensuring the markings is 1cm. When I did this accurately , I cut it out from the fabric and then captured it with my phone. The structure presented in the tutorial is similar to what I did for the lady's dress. I would have joined it with a sewing machine but was indisposed at the moment.
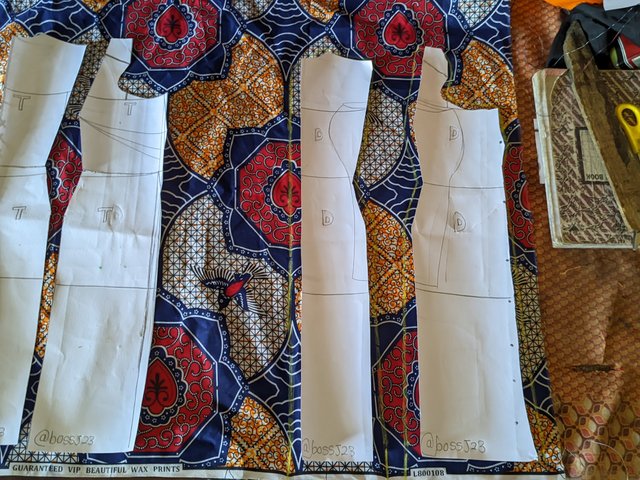 |  |  |
|---|
 | Output |
|---|
Lessons learnt |
|---|
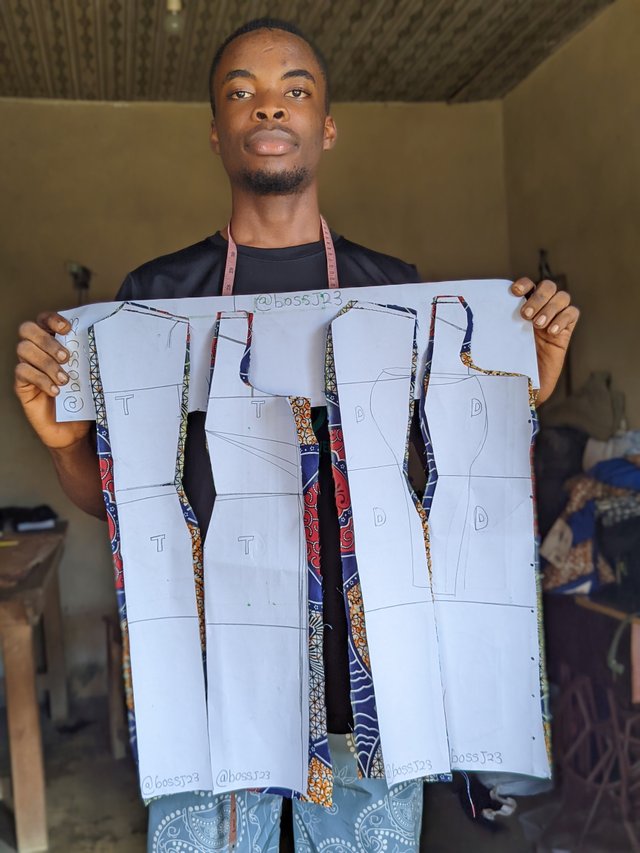
Throughout the course of my learning how to sew women's dress different from my country's pattern, I seem to be more adaptive to all lessons taught and try my best to be consistent with measurements as the backbone for pattern making. These are pictures of the patterns I made for the blouse and skirt. So joining them with modifications of the dart to make a dress is what I did for this week's lesson.
I invite @whizzbro4eva, @eveetim and @victorlives to participate.
Cc,
@lunasilver
Wow
You can do just everything 😁
🤣🤣🤣🤣🤣🤣🤣. Still learning oh
Wow
You can do just everything 😁
https://x.com/bossj23Mod/status/1847615569865871823?s=19
Saya suka dengan pola yang and buat
Thank you so very much
I appreciate.
Great, this has really challenged me to go back to complete my sewing class. Nice job, I love the inspiration.
Felicidades por los objetivos alcanzado me encanto el color de la tela que escogiste
Great job. It surely wasn't easy to follow the instructions in a different language and different method but you continued since the beginning.