SLC21W5 | The sleeve, base pattern for men's shirt
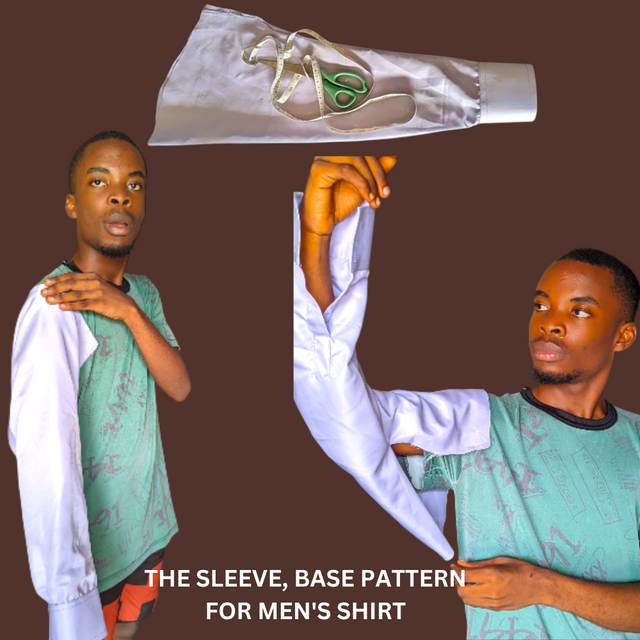
It's good to see we're wrapping up so fast by putting our knowledge to good use. First week, we were able to understand the basic measurements involved in sewing men's wear. Second week, we switched to the base front pattern which I was a big part of. Third week, we focused on the basic back pattern.
Fourth week, we focused on the collar and now, the last piece which is the sleeve before joining everything together to make our shirt. Though I missed the drawing lastweek due to my inactivity on steemit, I did capture a collar pattern for formal shirts.
The sleeves are the most part of a shirt because without it, you can't say what you're wearing is a shirt. The sleeves whether short or long is that identifying mark that shows it's a shirt among other clothes. For this tutorial, I'll be going in-depth. I'll start with describing the process of cutting long sleeves.
Describe the process of drawing your two sleeves |
|---|
Drawing a long sleeve or short sleeves requires great attention to detail to avoid spoiling the drawing especially when applied practically with scissors. For long sleeve;
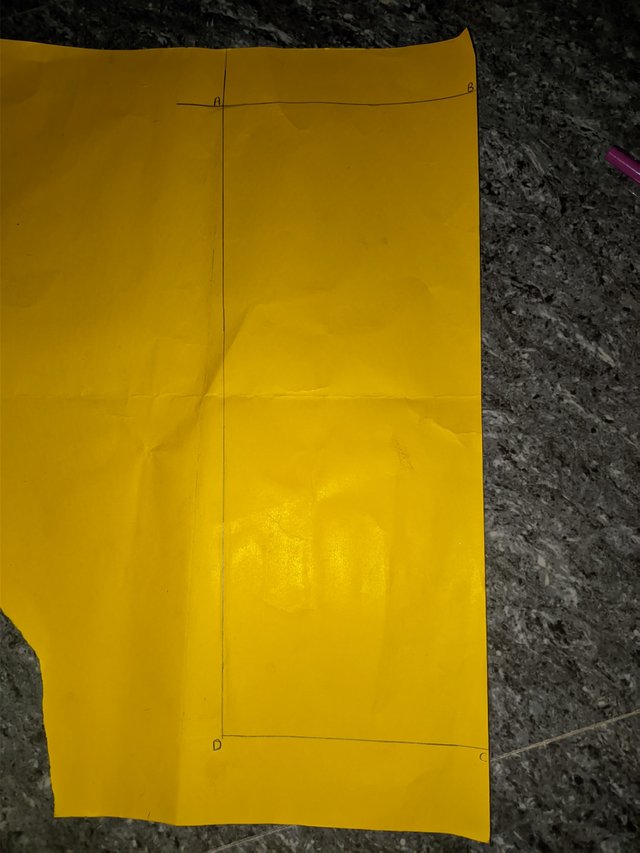
- I took out my cardboard paper, ruler and pencil to do this drawing. I drew a rectangle with a slightly curved bottom part to represent the body of the shirt. The upper part of this sleeve represents the broad shoulders which should be extended and not in the same size as the lower limbs since there's a curvature there. This tells the shape of the sleeve. So I drew my rectangle in a way that gave this shape. After drawing my rectangle, I then did some labelling to guide me.
 |  |
|---|
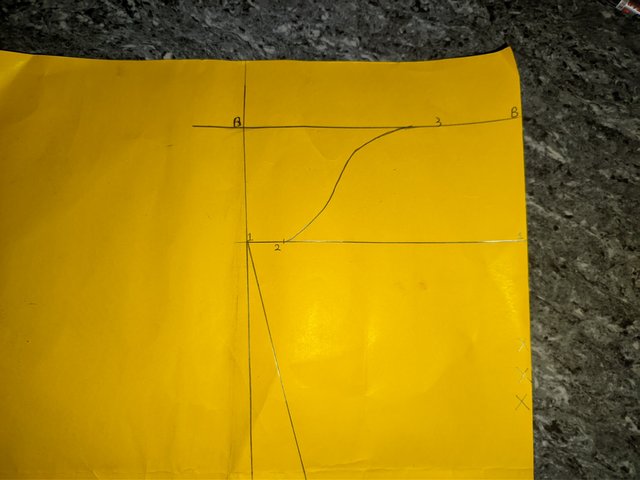
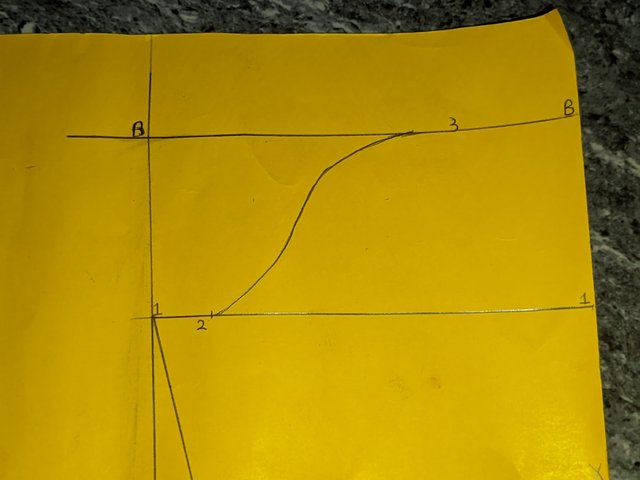
This drawing was with respect to 1/2 of the back width + 1cm, which means that the sleeves extended from the end of the shoulder to the wrist.
From point A to D, I measured 1/6 of the back width and then entered 2.5cm from line 1. I did the same with AB but there was a subtraction in centimetres. The sleeve intersect the front and back piece.
 |  |
|---|

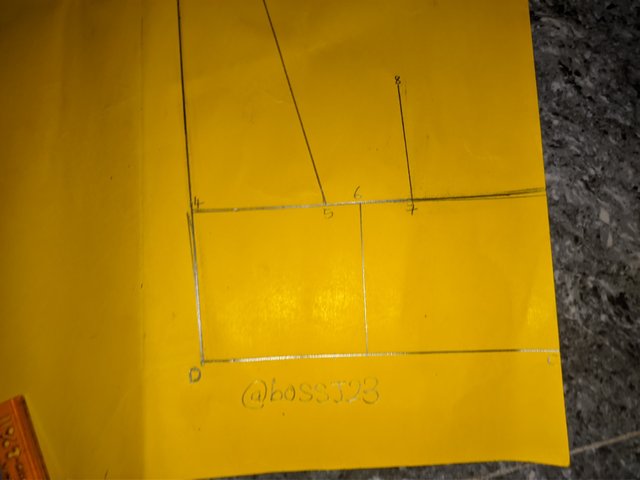
- From points CB, I took 8cm to give the cuff width as shown in the slanted line from C, up to B. This curve width makes it possible for the cuff to be reduced in size than being straight and accommodating. This is always the beauty in men's long sleeve shirts.
I then measured line 4 which is the cuff patterning and divided the total measurements by 3 to get a precision. From line 5 to AD, I did a 1.5cm marking and also did same with line 6, still the same point but 5cm this time.
The last step is the sleeve cuff opening and I did 8cm up showing in line 7. This opening is cut with the pattern open and sew towards the back. That's why you usually see a extension or design opening before the curve, more like a sleet but not.
 |  ) ) |
|---|
Note that the curved part of the drawing is for intersection with the shoulder parts which extends to the collar as well. This is a pictorial representation of what I did last week when sewing a shirt for a customer though I made the cuff more like a senator's style.
Short Sleeve |
|---|
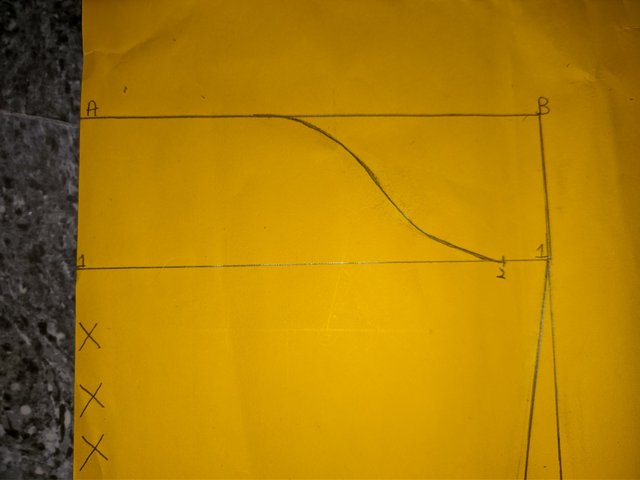
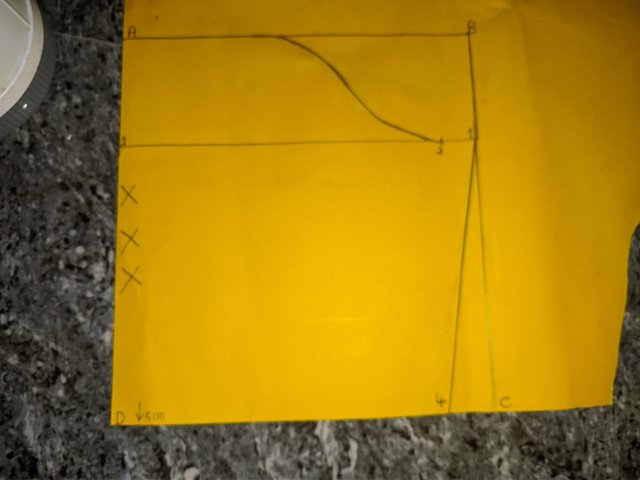
For the short sleeve which is almost like that of the long but differences length and width. I took my measurements and drew a small box with labelled corners and then measured 1/6 of the back width from AD, taking the straight line to BC.
 |  |
|---|
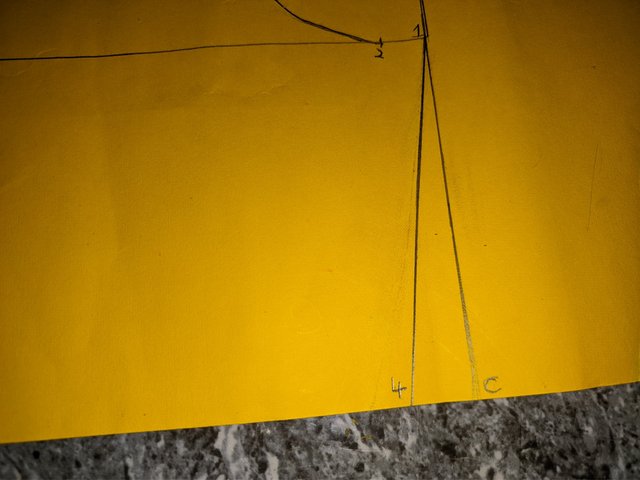
I then measured 2.5cm from line 1 to mark point 2 and 3 curve. I drew the curve from 2 to meet 3 so that there would be an intersection of shoulder parts or the back width when joined together.
I then measured 1/2 of the arm circumference with an addition of 2cm from pints CD. The short sleeve focuses more on the arm and should be taken into special consideration. I then marked the point of the curve to the body since the shoulder arm is much bigger than the upper limb. This is how I drew my short sleeve though there's no practical application.
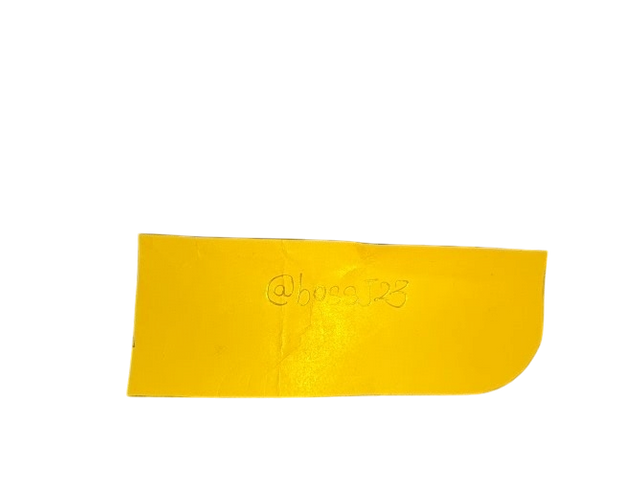 | 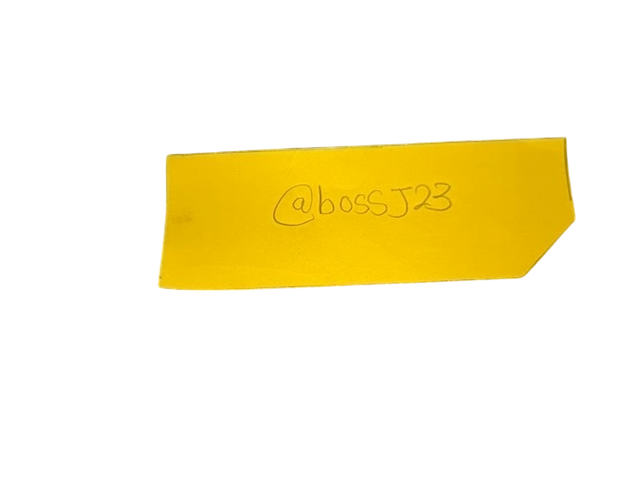 |
|---|
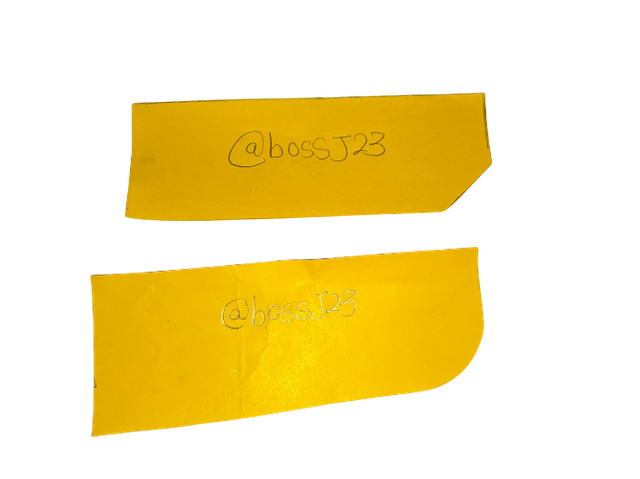
Place the images of the layout of your two sleeves |
|---|
These are the finished or final products. I apologize for my use of an outrightly shining colour. I barely had a choice because of the unavailability of white colour in my region.
Place your back, front, collar and sleeve patterns on one image. |
|---|
Though I didn't participate in the collar creation last week, I'll add up all my pieces together to see what I can achieve with these combinations.
| Front piece | 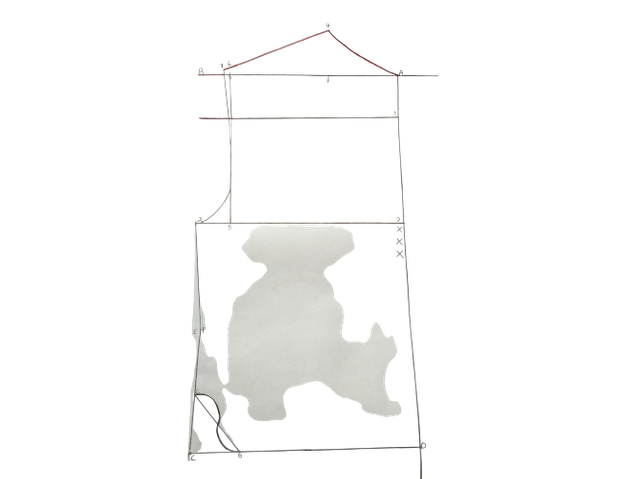 | 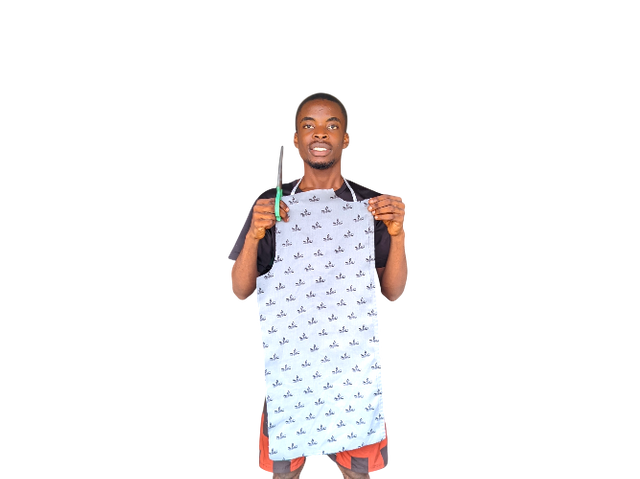 |
|---|---|---|
| Back piece | 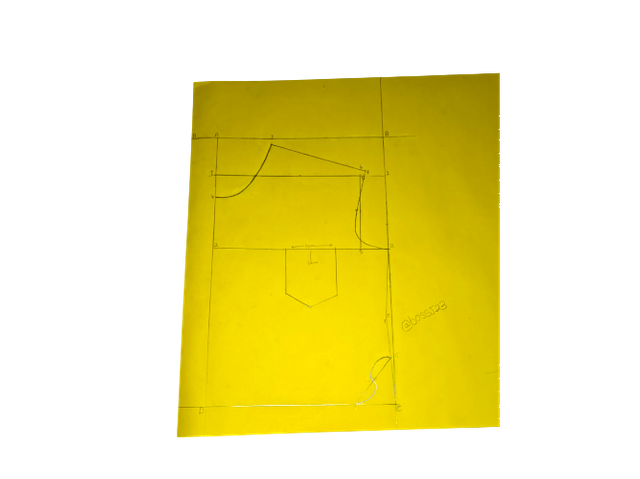 | 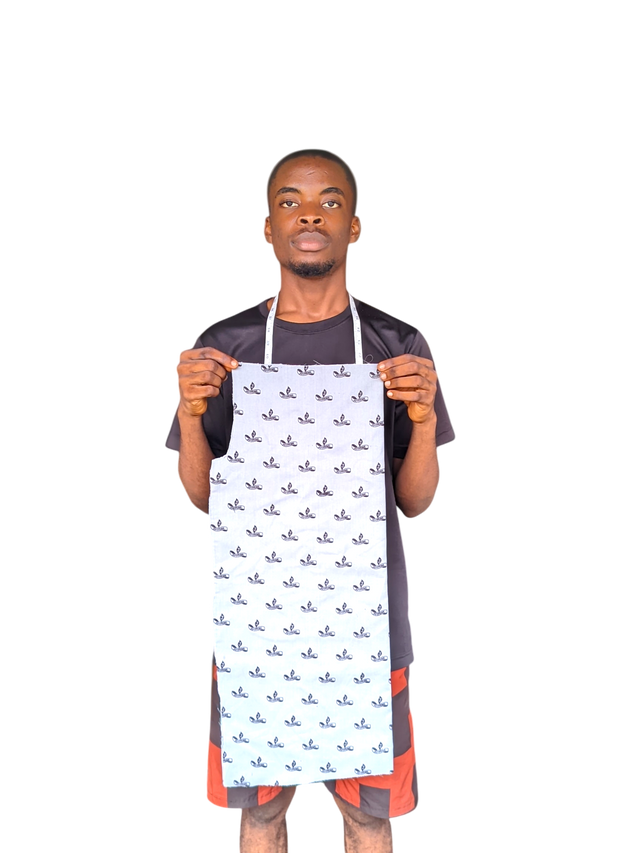 |
| Collar | 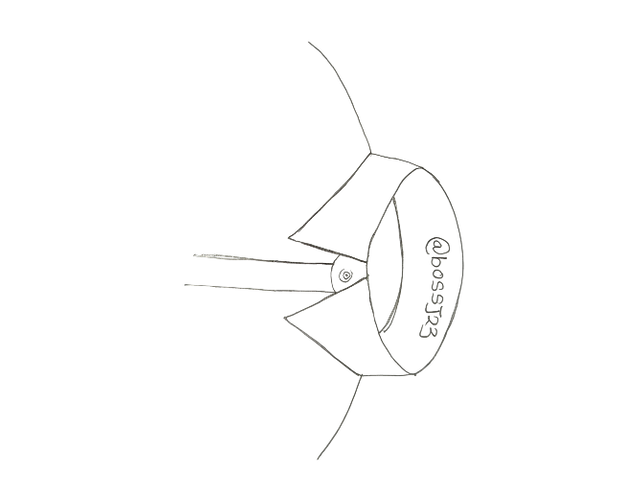 | 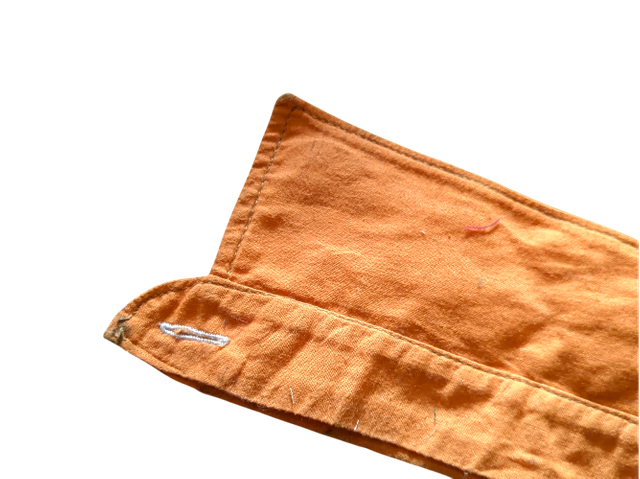 |
| Sleeve | 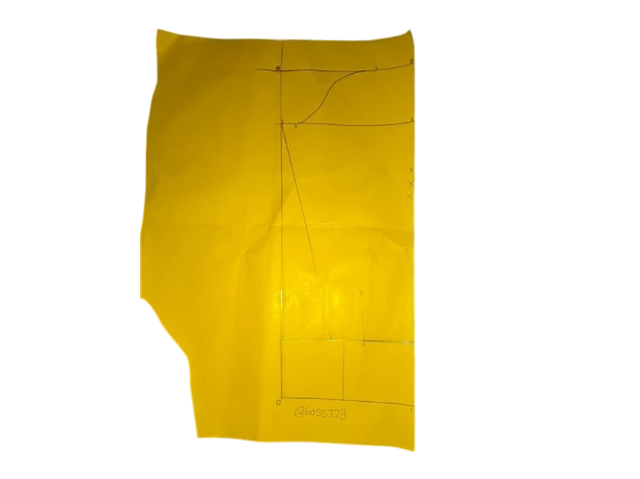 | 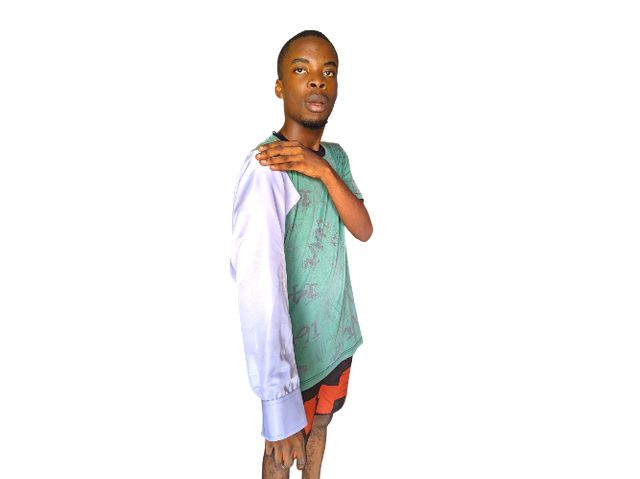 |
All thanks goes to our coach for simplifying her explanations using the labelled drawings of her patterns for easy identification. The outcome of the shirt with right measurements from behind, in front, the collar and the sleeves will give a fitting shape and not one that's bizarre. I invite @whizzbro4eva, @kingporos, and @drhira
Cc,
@lunasilver
https://x.com/bossj23Mod/status/1861541526070861951?s=19
Hola amigo que bien te quedan tus trazos y confecciones.
En este caso de la manga para la camisa.
Hiciste muy bien el patrón y la confección.
Te deseo éxitos en tu participación amigo @bossj23