Good evening, dear friends; I am very happy to be able to partake in this contest, organized by dear @lunasiver; as I can recall, this is my very first time taking part in this contest, and I hope this content is of great benefit to you all, now let's get to work.
Describe The Process Of Plotting Your Two Sleeves |
|---|
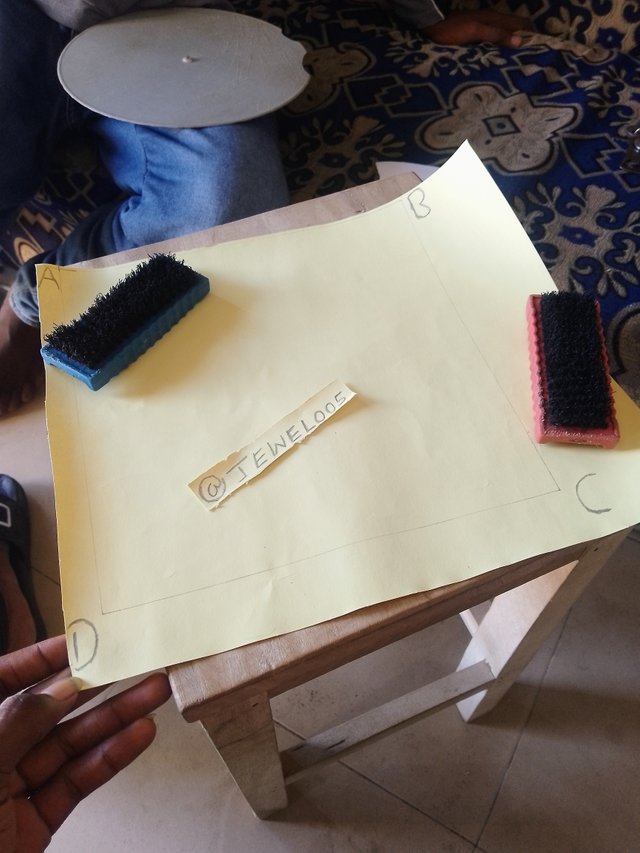
Before I lay my hands on any of my tools and equipment, I make sure I understand the formula I need to use and how I can implement it. Now let's start with the short sleeves.
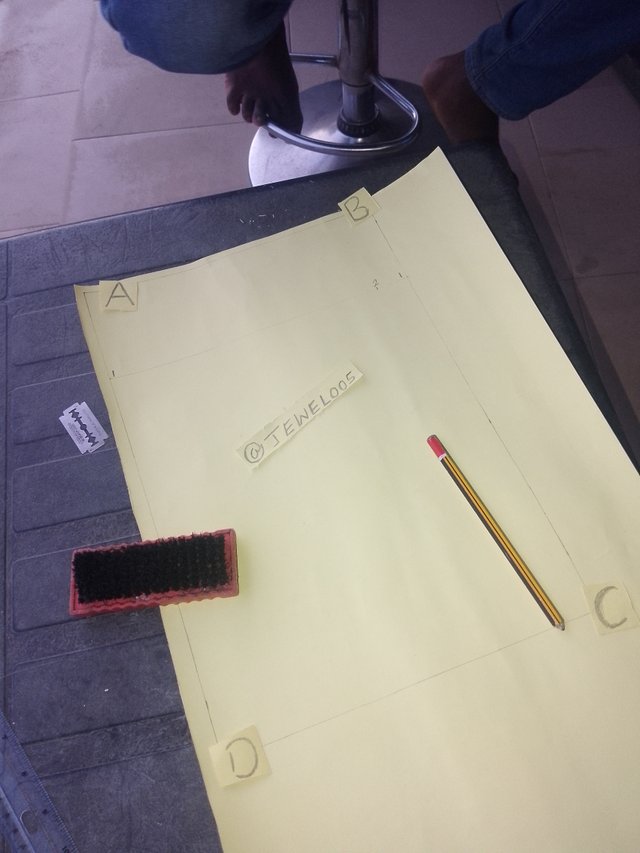
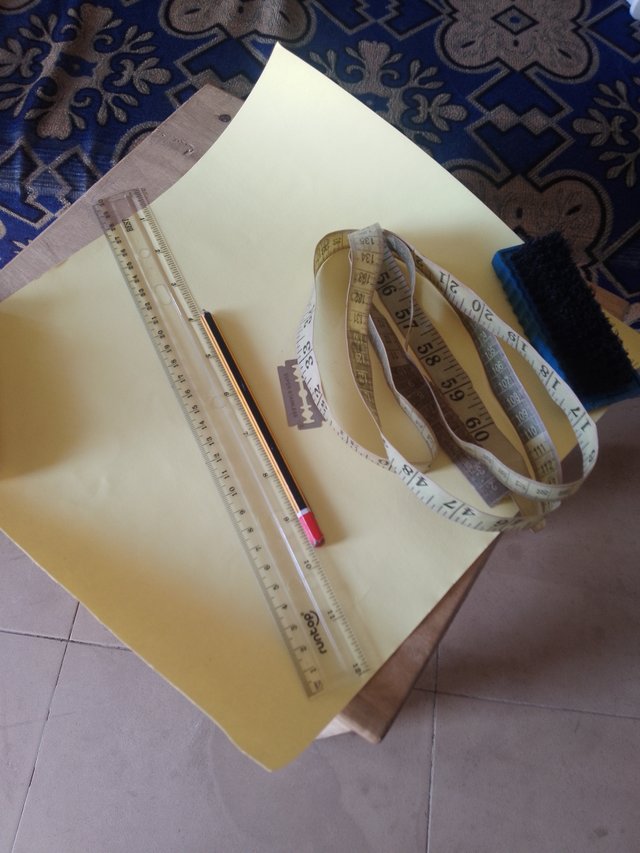 The Things I Needed For The Drawing The Things I Needed For The Drawing |
|---|
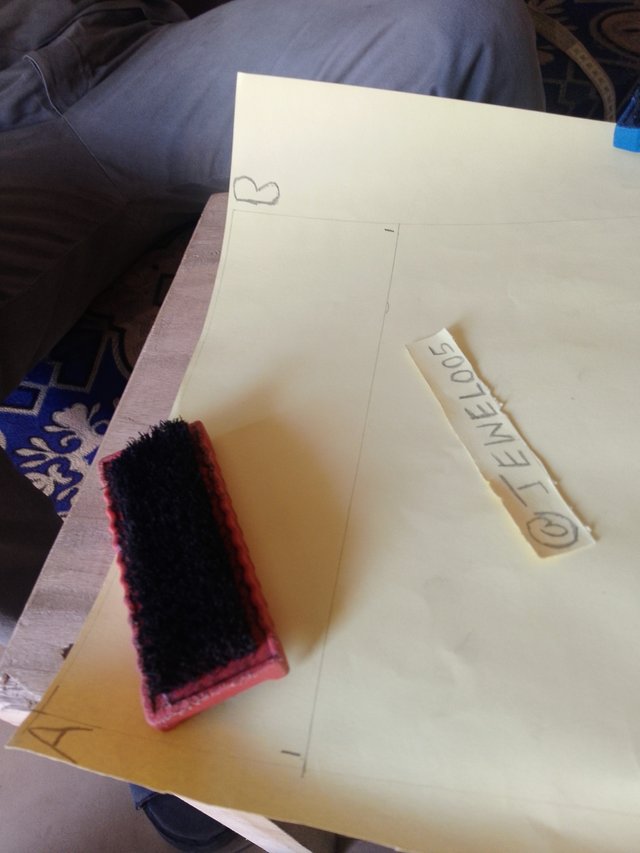
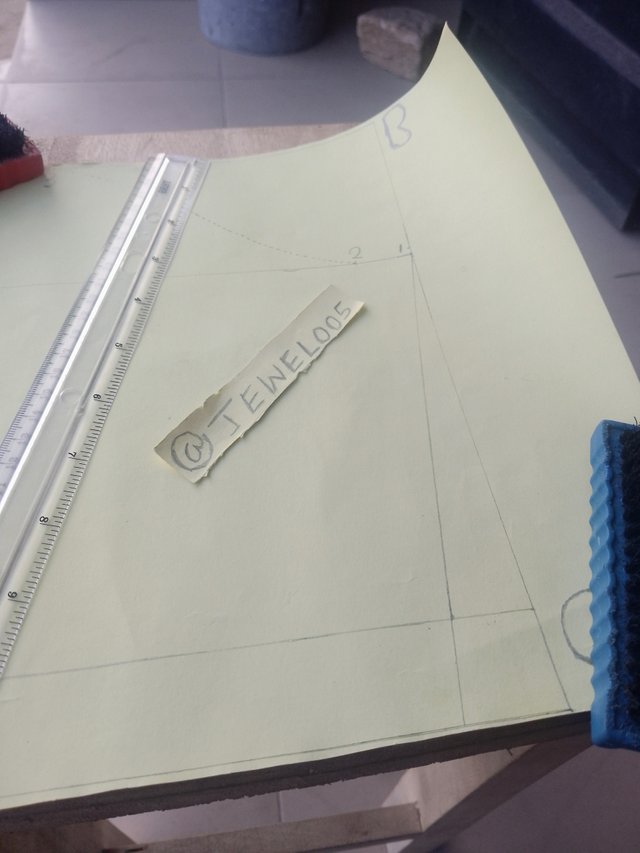
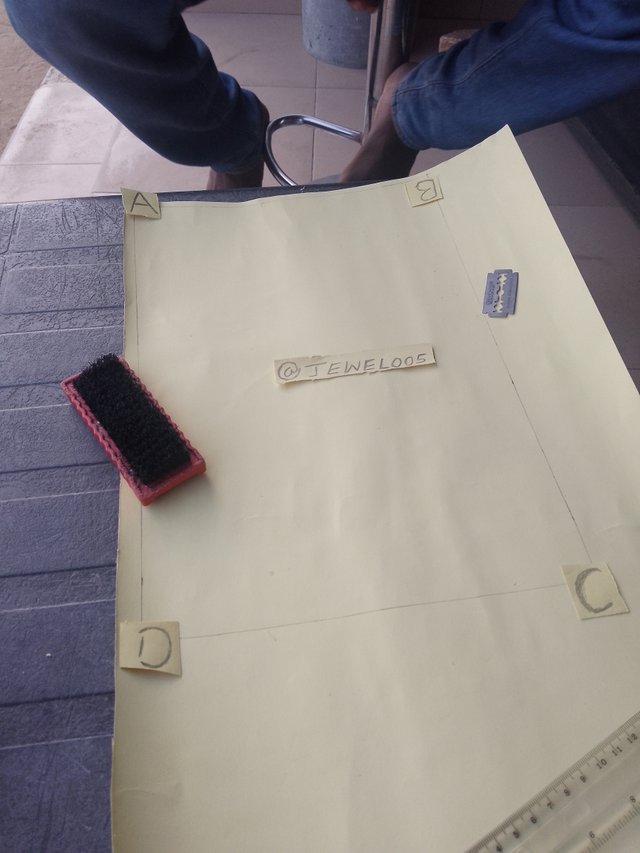
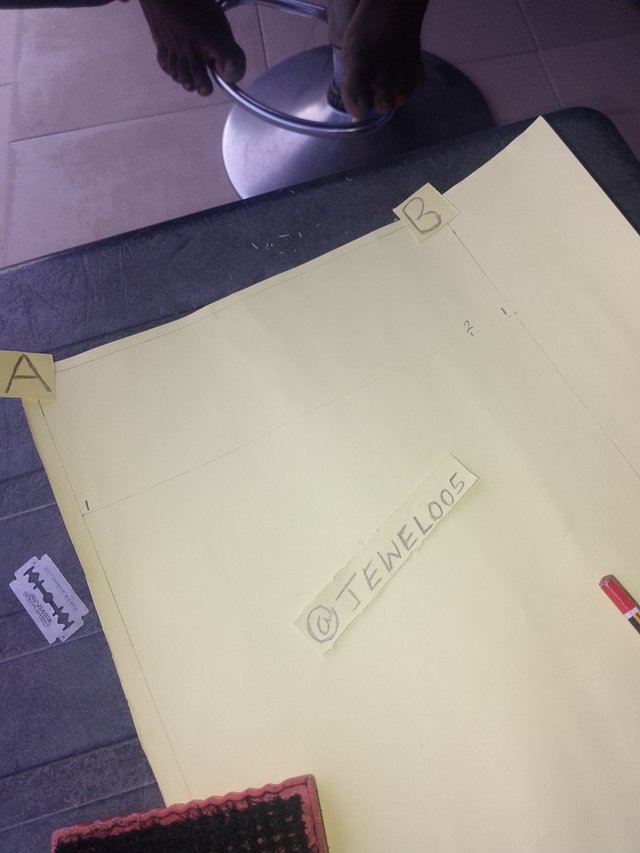
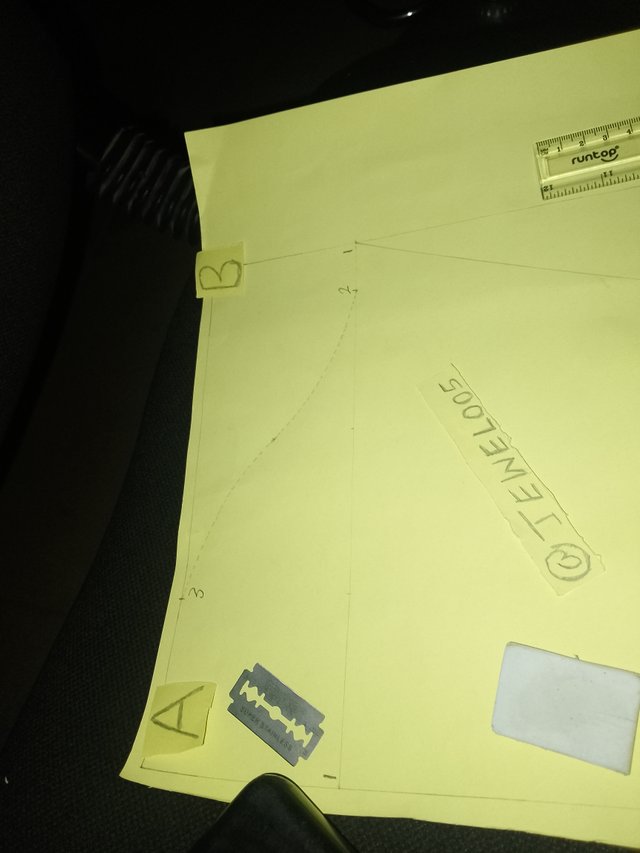
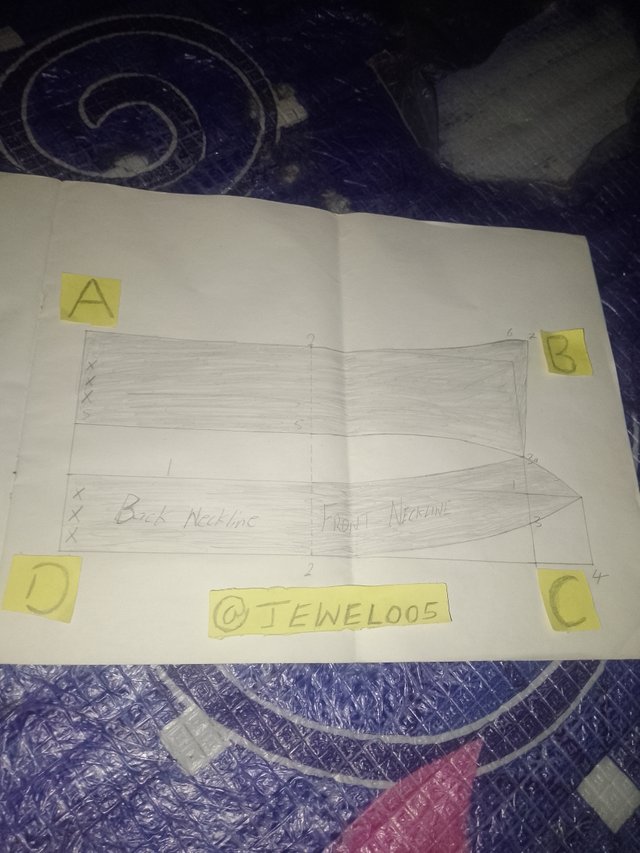
Then I began by dividing my back width, which was 46cm, into two, which gives me 23; adding the 1cm makes it 24cm; using 24cm, I made a square-sided box with it, then I went ahead and marked the four side A, B, C, D, respectively.
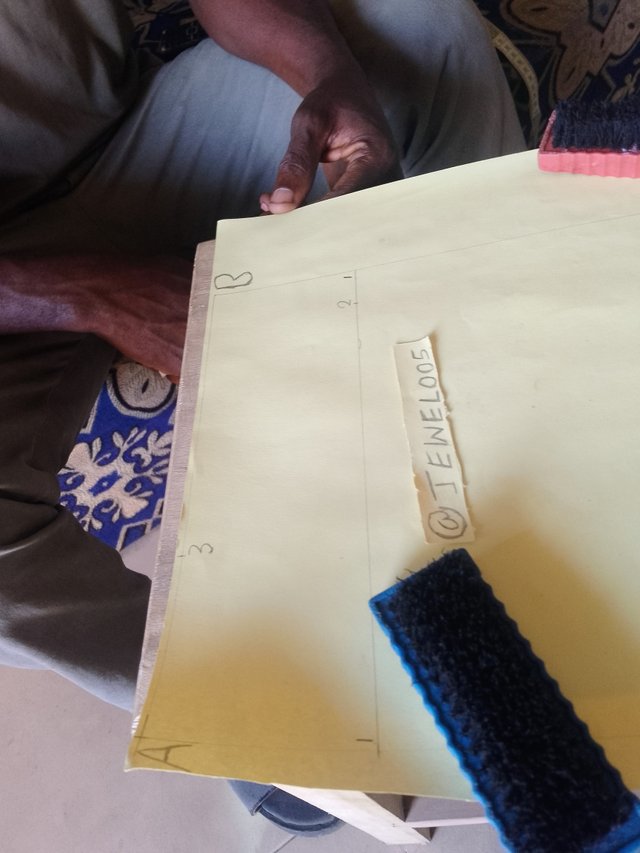
I then start the addition of points; first, in line A-D, I divide the width of my back by 6, then take it to the opposite line, which is the line between BC. In making the second point, I went down to the first line I made and took out 2.5cm, just as instructed.
Also, to get the 3rd point, I divided my back width, which was 46cm, into 6 to get the 3rd. Point also, don't forget to subtract an extra 1cm.
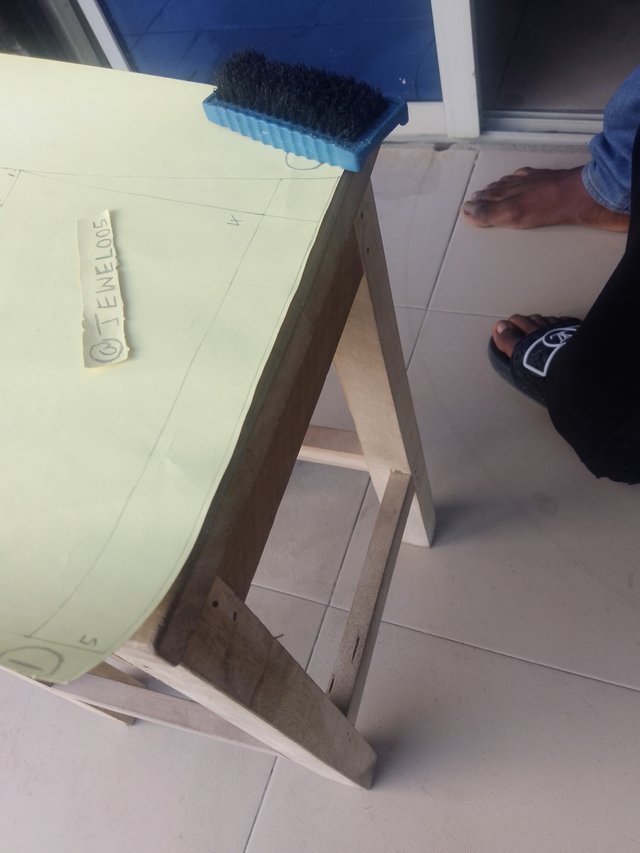
The three points I made earlier were a bit easier, and I flowed with them, but coming to point 4, I had a tough time breaking through it; after a while, I was able to find my arm circumference, and then I added 2cm to it just as instructed. Then I went on to make another square below the box as a result of taking 3cm out of the box. Then I went ahead to do the bindings between the points.
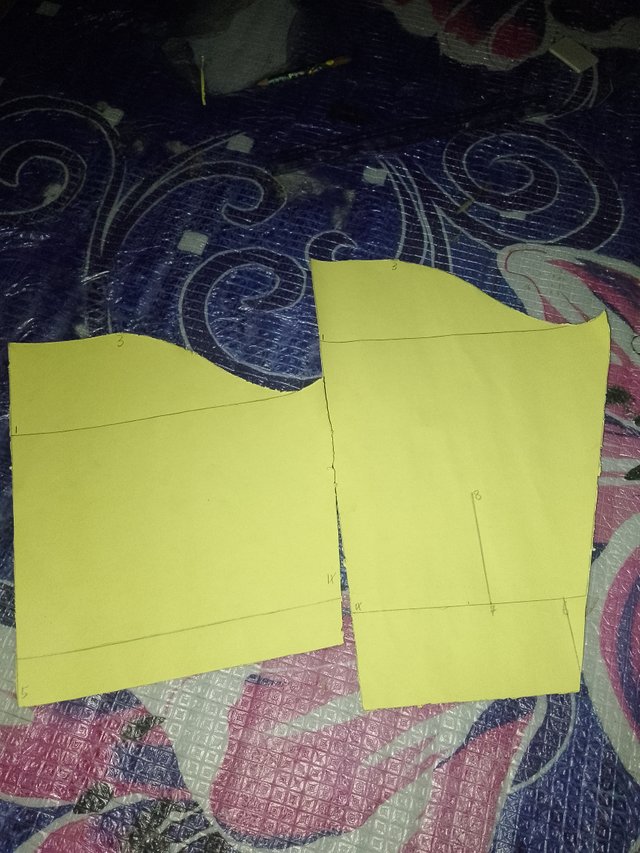
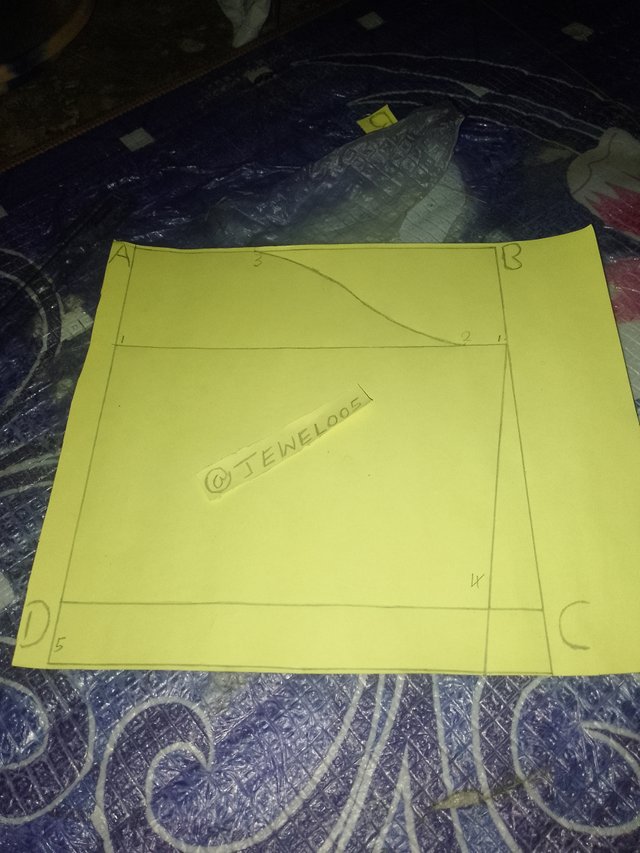 And this is how my short sleeves looks like😊 And this is how my short sleeves looks like😊 |
|---|
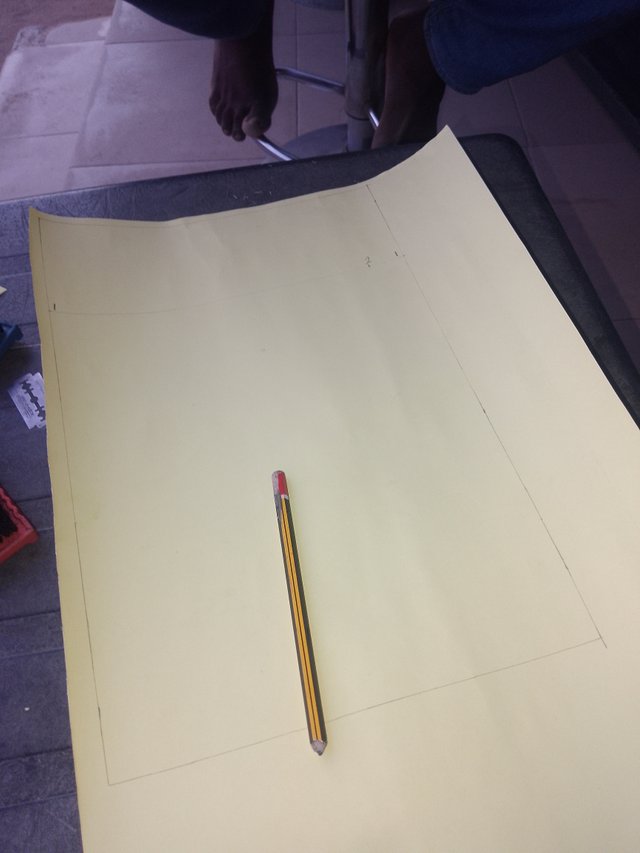
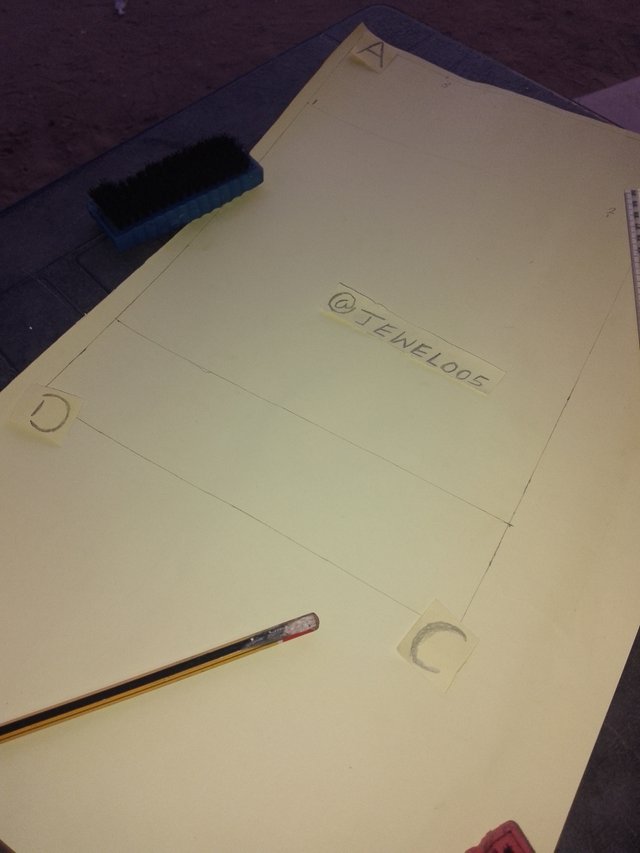
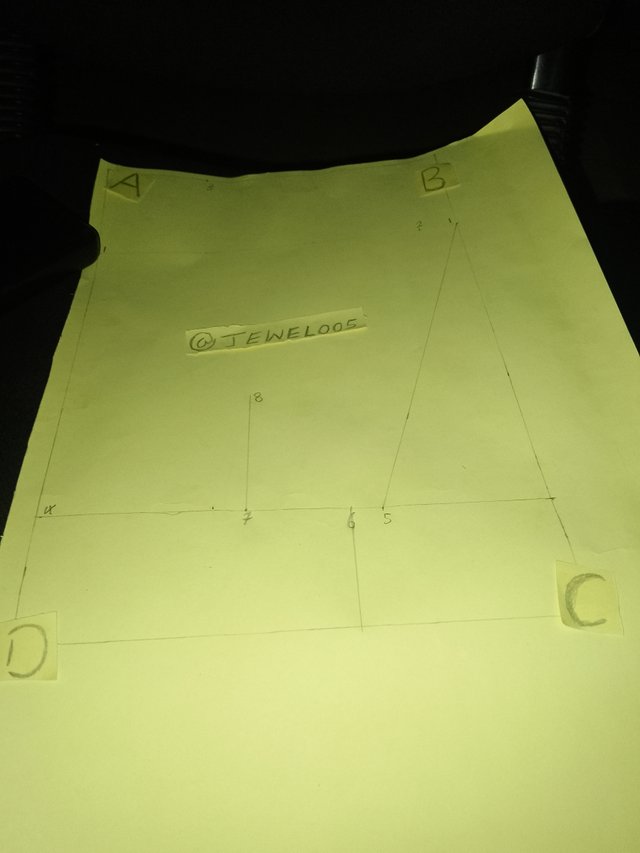
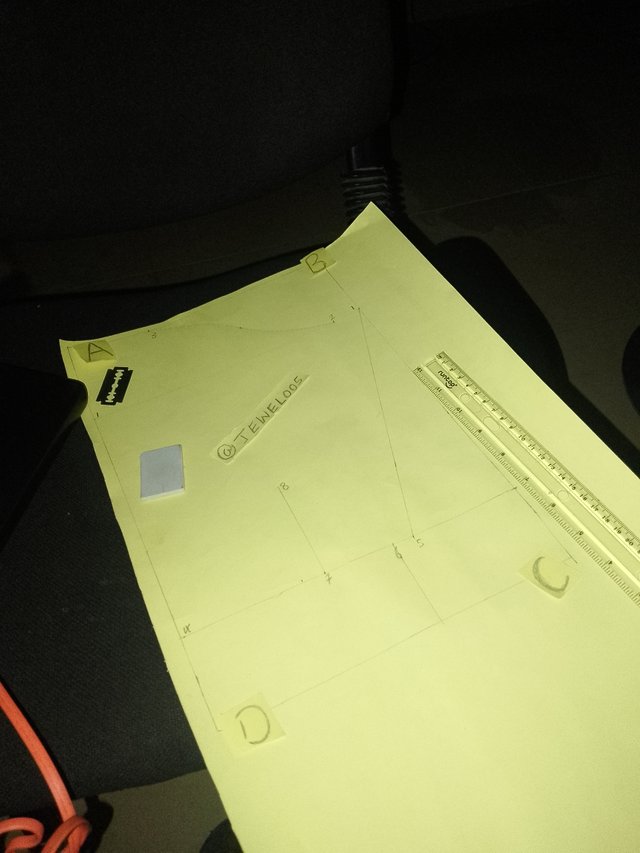
I began my long sleeves by drawing a long vertical line down my cardboard, and then as instructed, I divided my back width which was 46cm into 2 then added an extra 1cm making it 24cm, this was my width measurement, then I labeled the 4 corners with A, B, C and D.
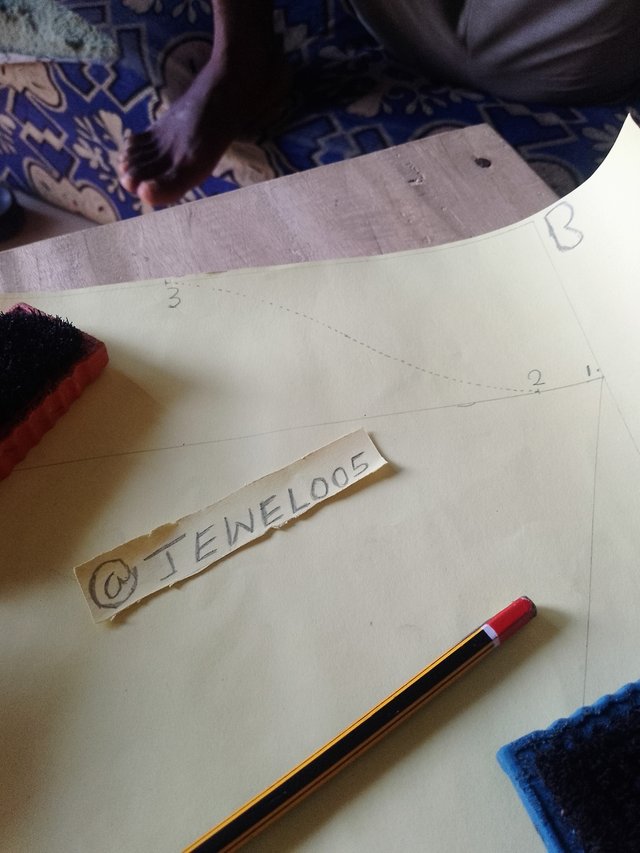
Then I measured out 1/6 of the 46cm which was my back width from A-D, then took it straight to the line between BC. Just like the short sleeves, I took out 2.5cm on the first line, making it line 2, then I went ahead to measure out 1/6 of my back width, then subtracted 1cm on line A-D.
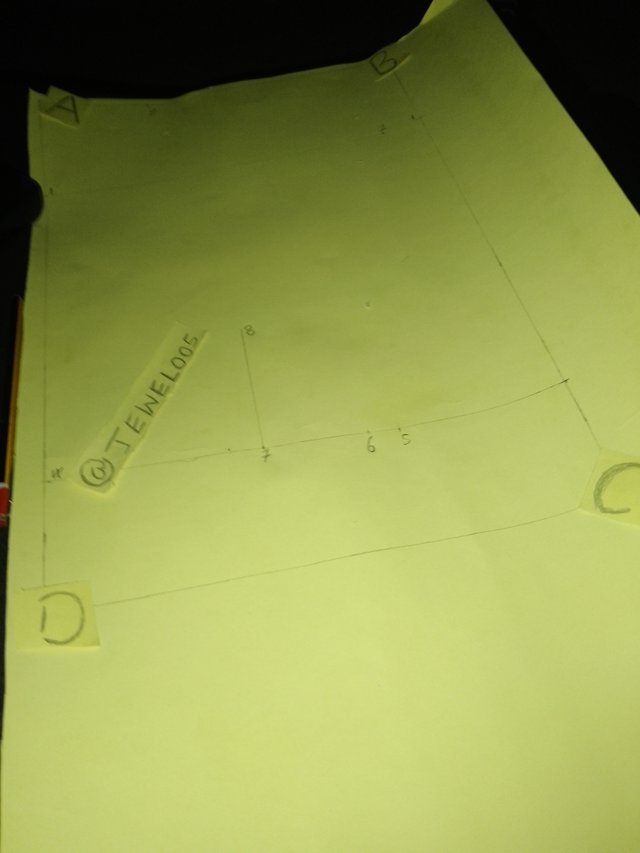
I proceeded by measuring out 6cm to mark the width of my cuffs, then I measured the entire length, which was 24cm, and divided it by 3, which gave me 8cm. Then I added 1.5cm as instructed, and then I proceeded by adding another 5cm; from there, I moved up 8cm; this will serve as the opening of my sleeve cuff.
At this stage, I was done with the marking out of the points, so I bound the points together, with curves and some with lines, for example, I joined 2 with 3 on a curve
1 with 5 with a straight line, and also
7 with 8 with a straight line.
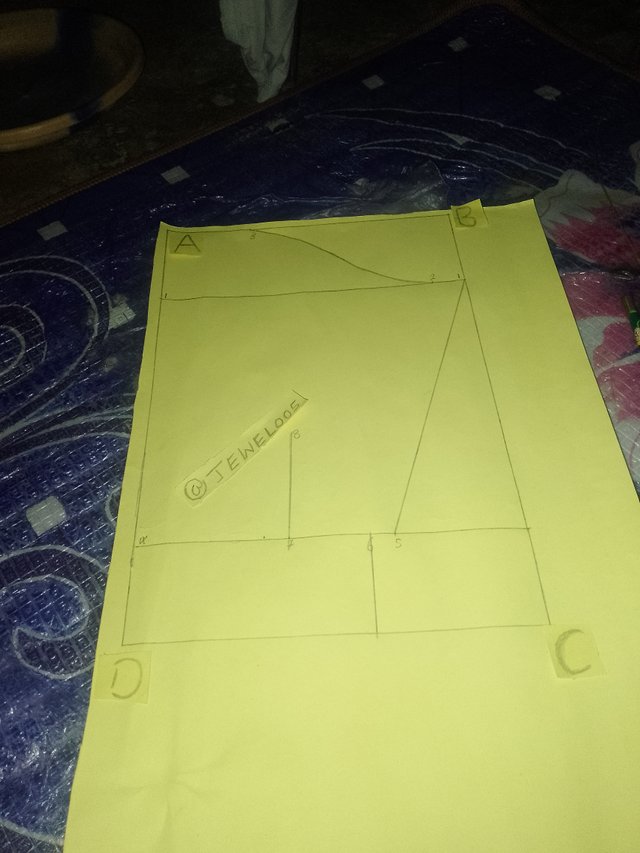 And this is how my longs Sleeves look like😊 And this is how my longs Sleeves look like😊 |
|---|
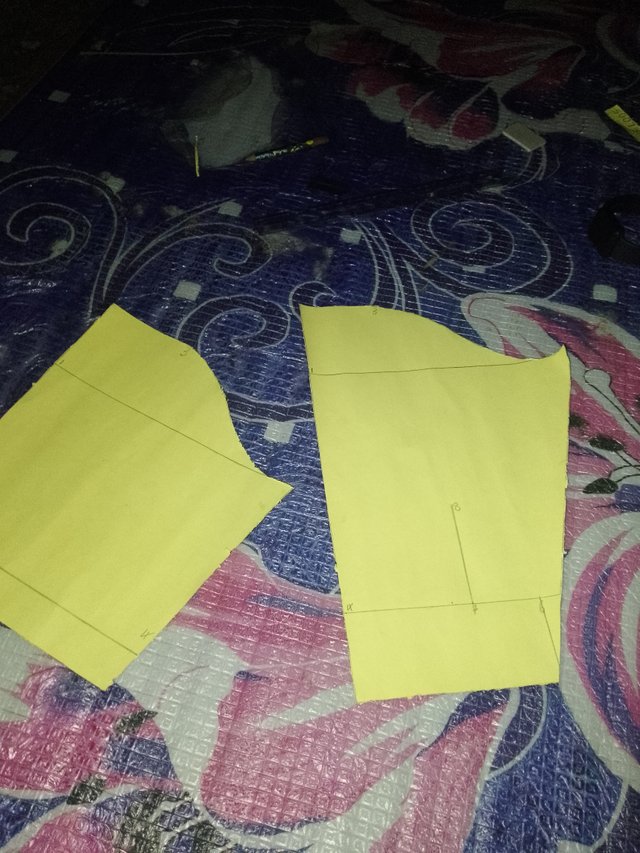
Place The Images Of The Layout Of Your Two Sleeves |
|---|
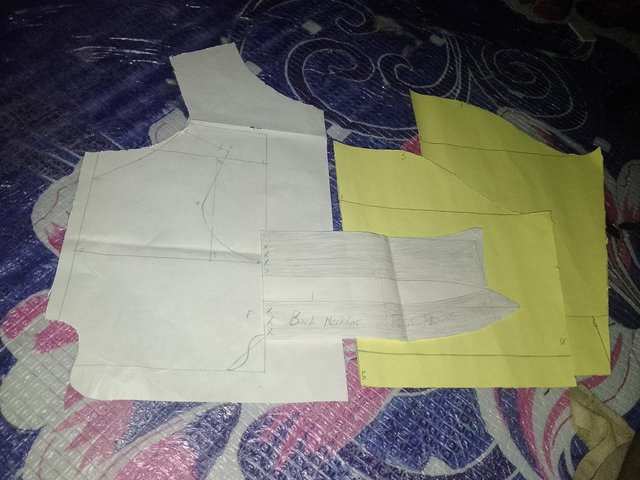
Place Your Pattern For Back, Front, Collars, And Sleeves In An Image |
|---|
Am so proud to contribute to such encouraging engagement, although am not a tailor but now I have a little idea about how their work goes ☺️. I'll like to invite my fellow friends to engaged in this beautiful challenge.
@kidi40
@bossj23
@entity01
I'll be so glad to see your write-up
| ALL PHOTOS ARE TAKEN BY ME |
|---|





this post has been promoted on x
https://x.com/JoelUdobang/status/1862414757585616927?t=Iimp-tcxlXxDSnuBW6pYaA&s=19
You've got a free upvote from witness fuli.
Peace & Love!