White Chocolate Peanut Butter Cup Cheesecake - FOOD PHOTO SHOOT
Have I been procrastinating the writing of this post to “accidentally” get lost in making travel plans for next week? Come on, of course not, because no one does that. 😉
So maybe I’m a little bit guilty, but you know, sometimes life happens. Also, I did notice the fact that this post is going to be back to back on the sweet recipes I’ve shared, but hey, it’s Friyay and YOLO right?
Speaking of the weekend, do you have any exciting plans? I’m not planning anything too special myself, just enjoying the Spring weather that finally decided to arrive in a big way up here. We’ve all been joking about it actually because it seems as if the temperatures did a total 360 and jumped right from cold to nearly hot without a transition phase and now there’s a lot of complaining about how hot it is. Lol, now that’s human nature for ya.
I’ll probably spend most of my weekend doing the usual, creating recipes and working on blog stuff, but on top of that I’m also starting to do some early packing for next week’s traveling. Don’t get ahead of yourself thinking that I’m all on top of things though, ’cause I’ll still probably end up leaving the actual packing to last minute (i.e. midnight the night before.)
I’m also hoping to get out and take in some good old vitamin D because, to be honest, ya girl has been seriously lacking it through the cold months. Not that I can tan or anything, my cursed English skin simply jumps from white to red with no shades in between that even approach the color spectrum of browns, but still -> health.
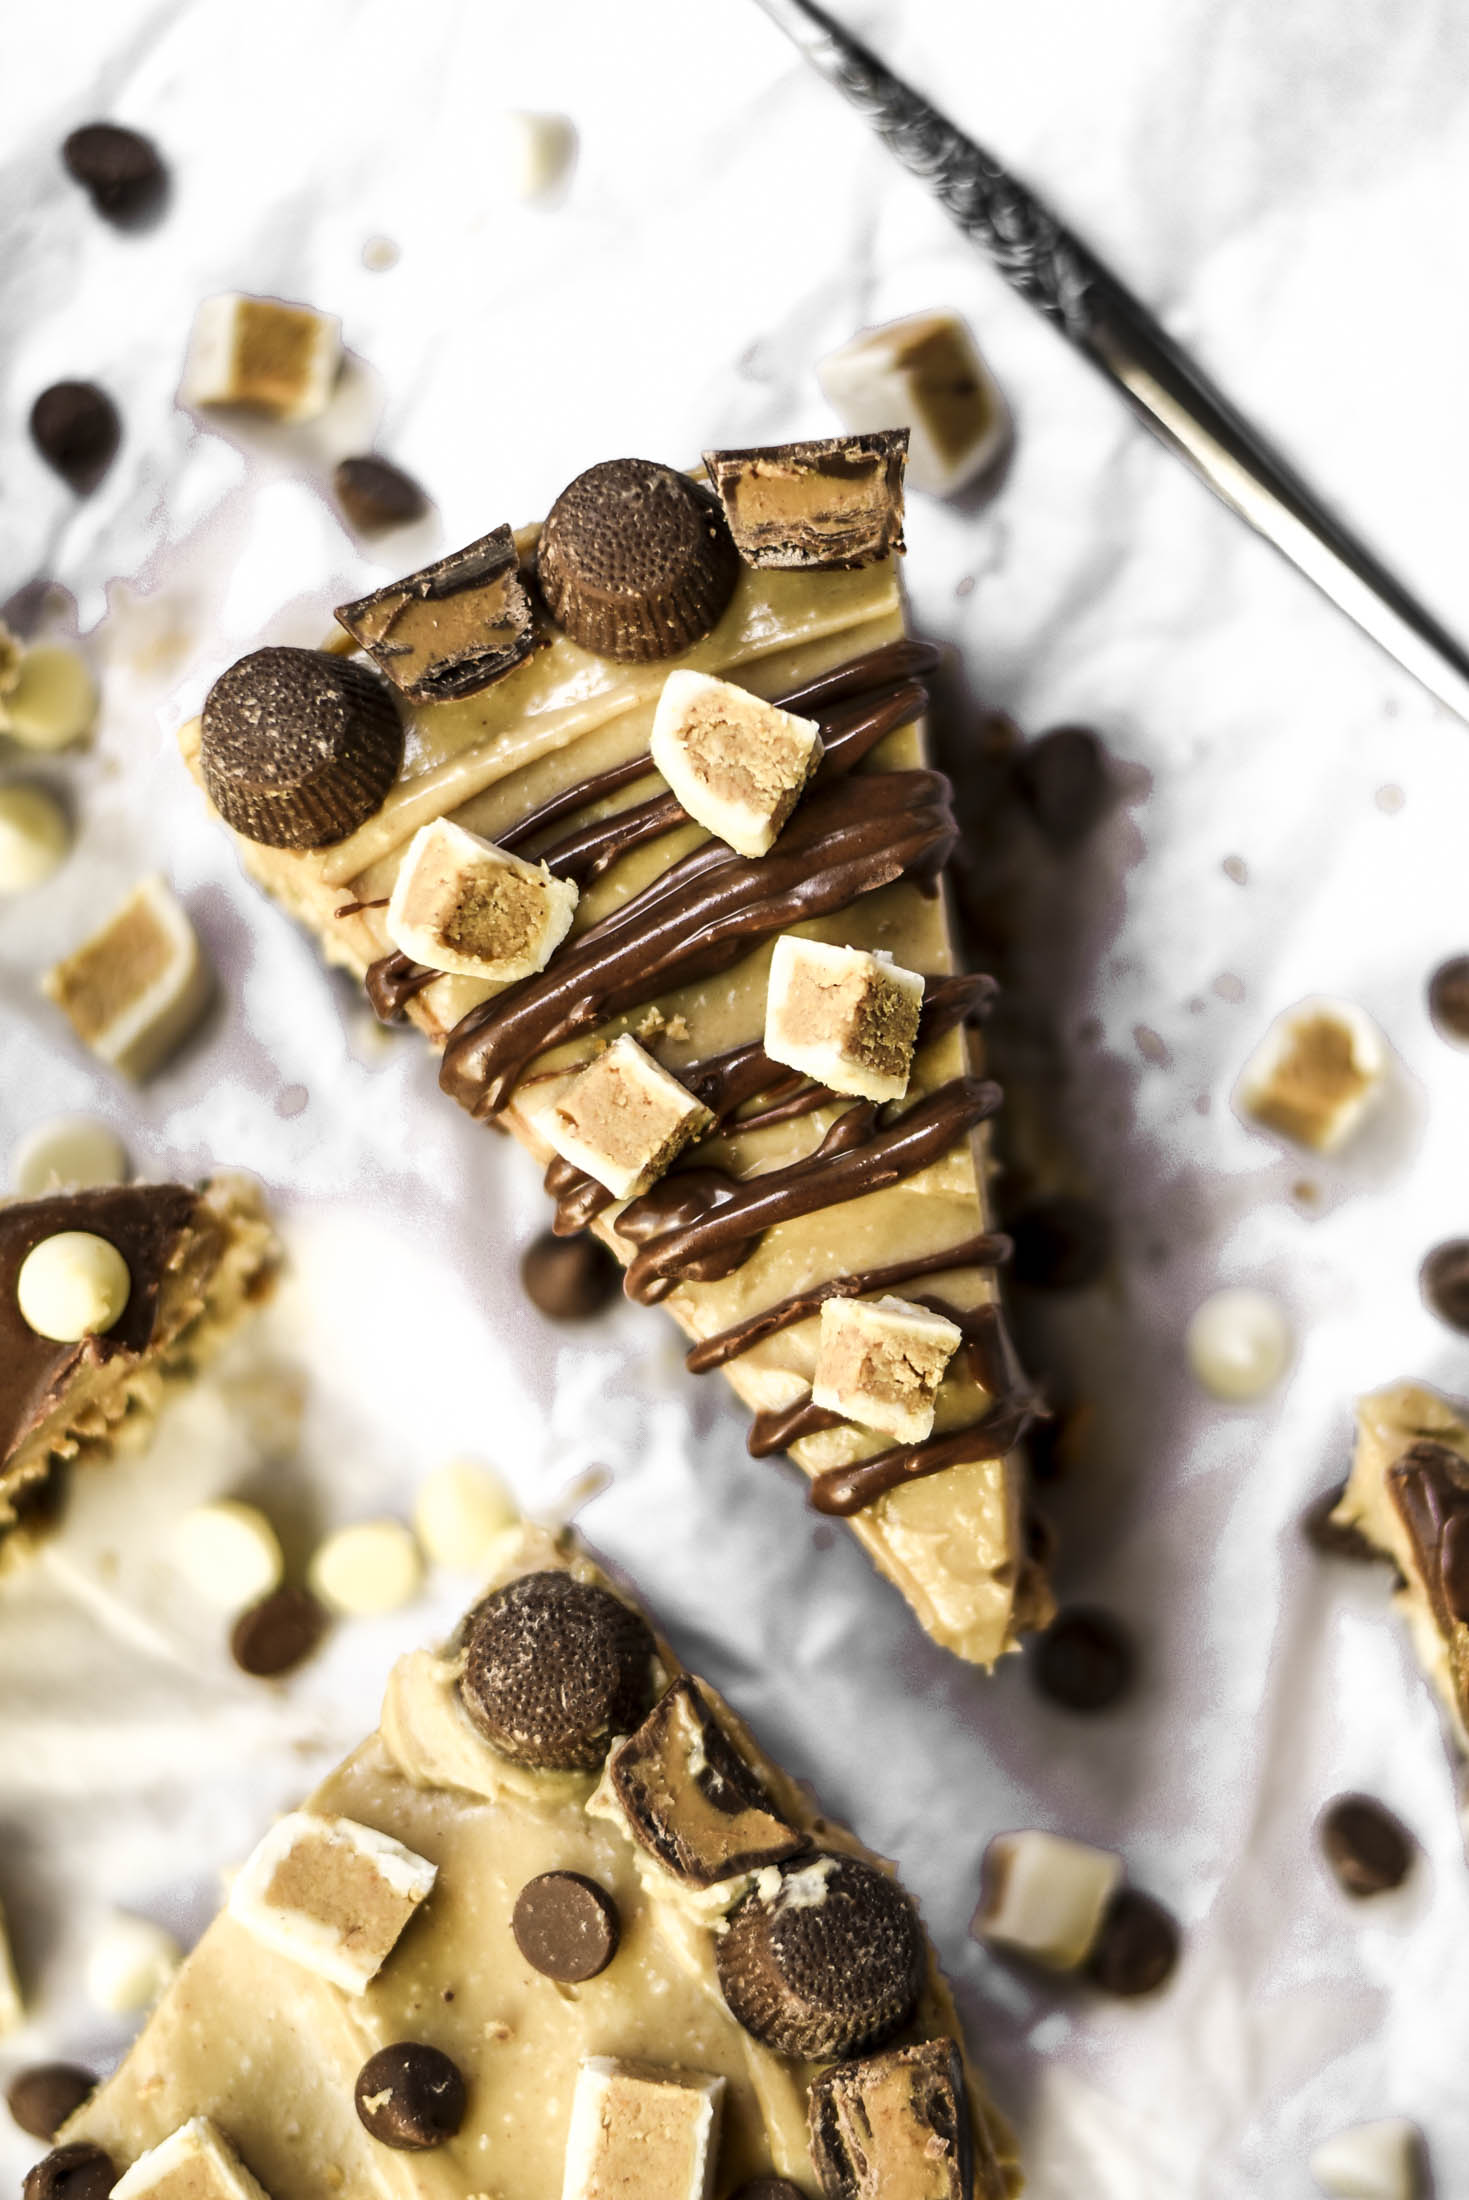
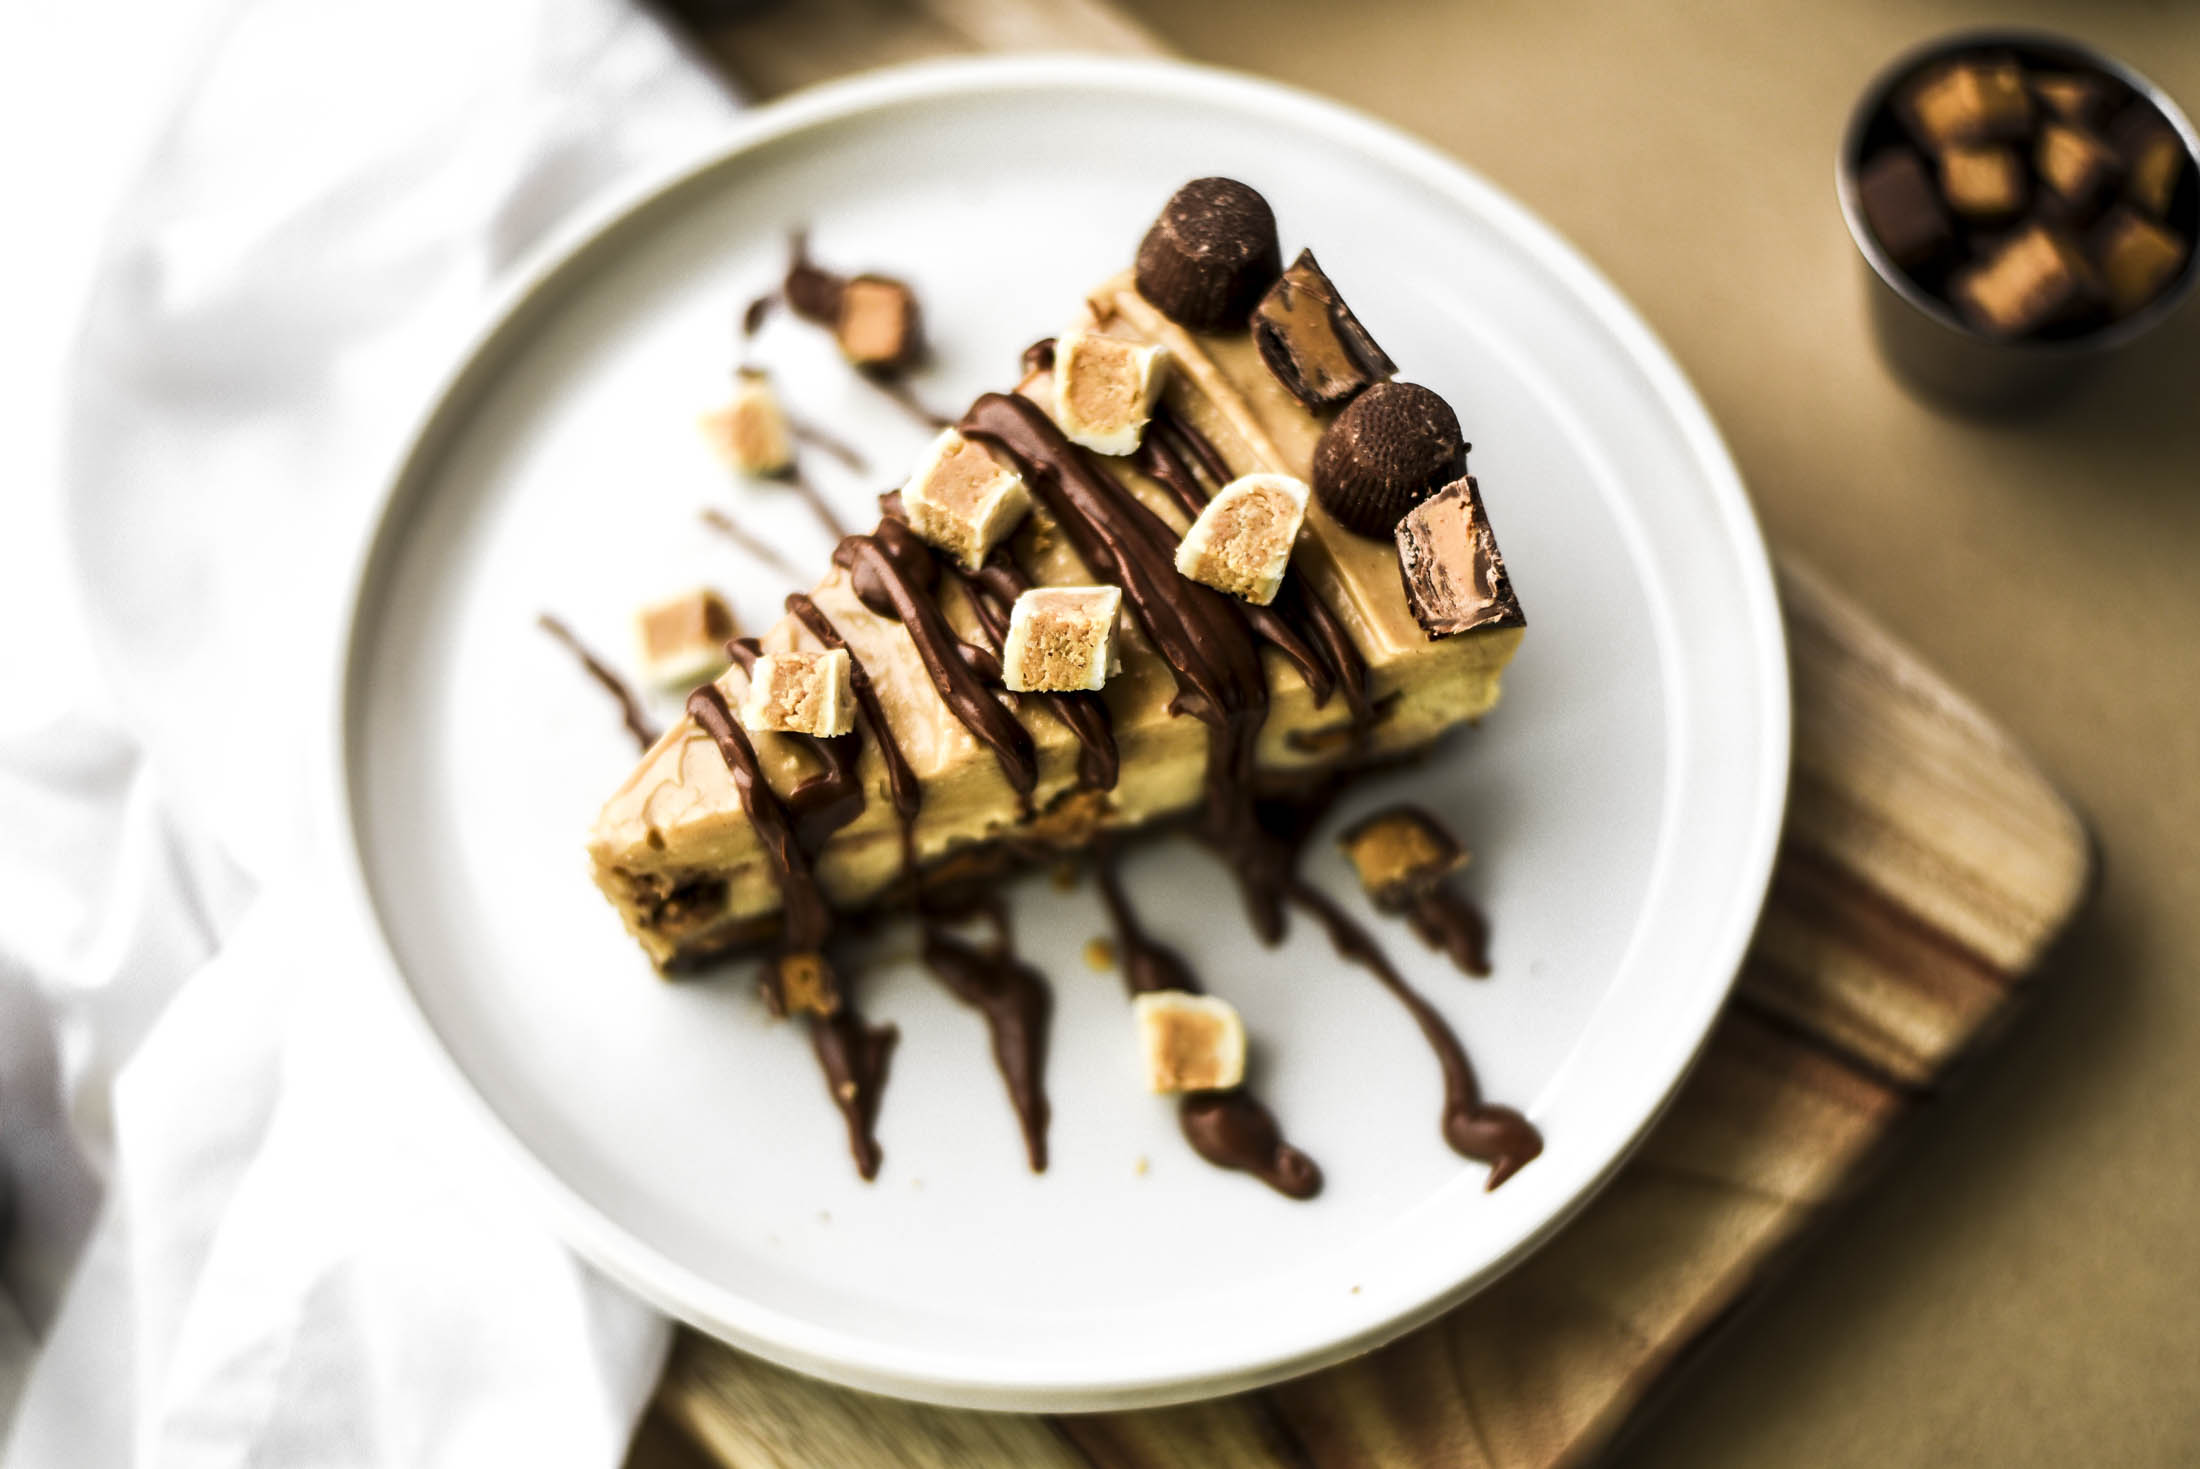
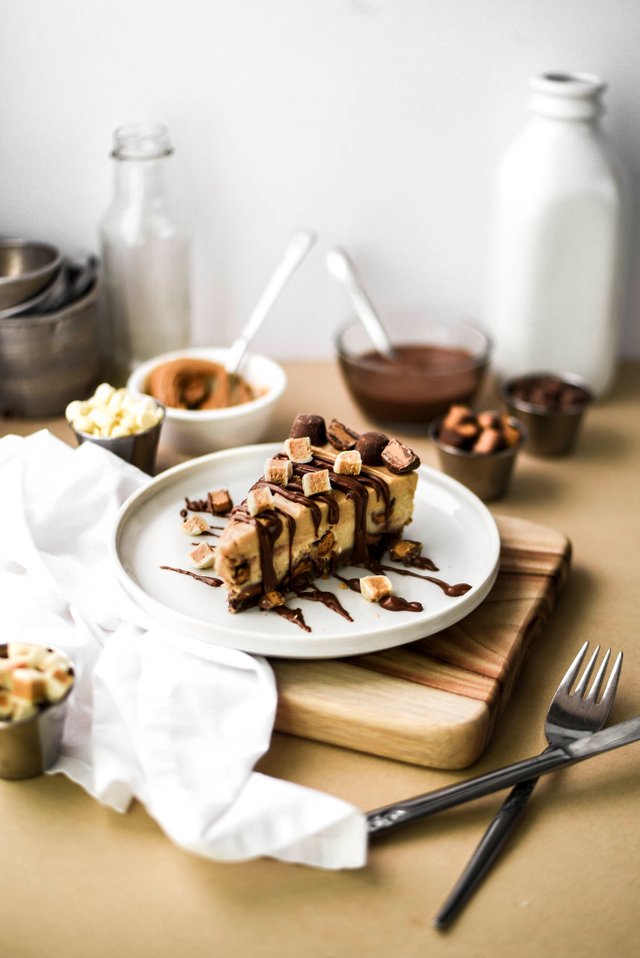
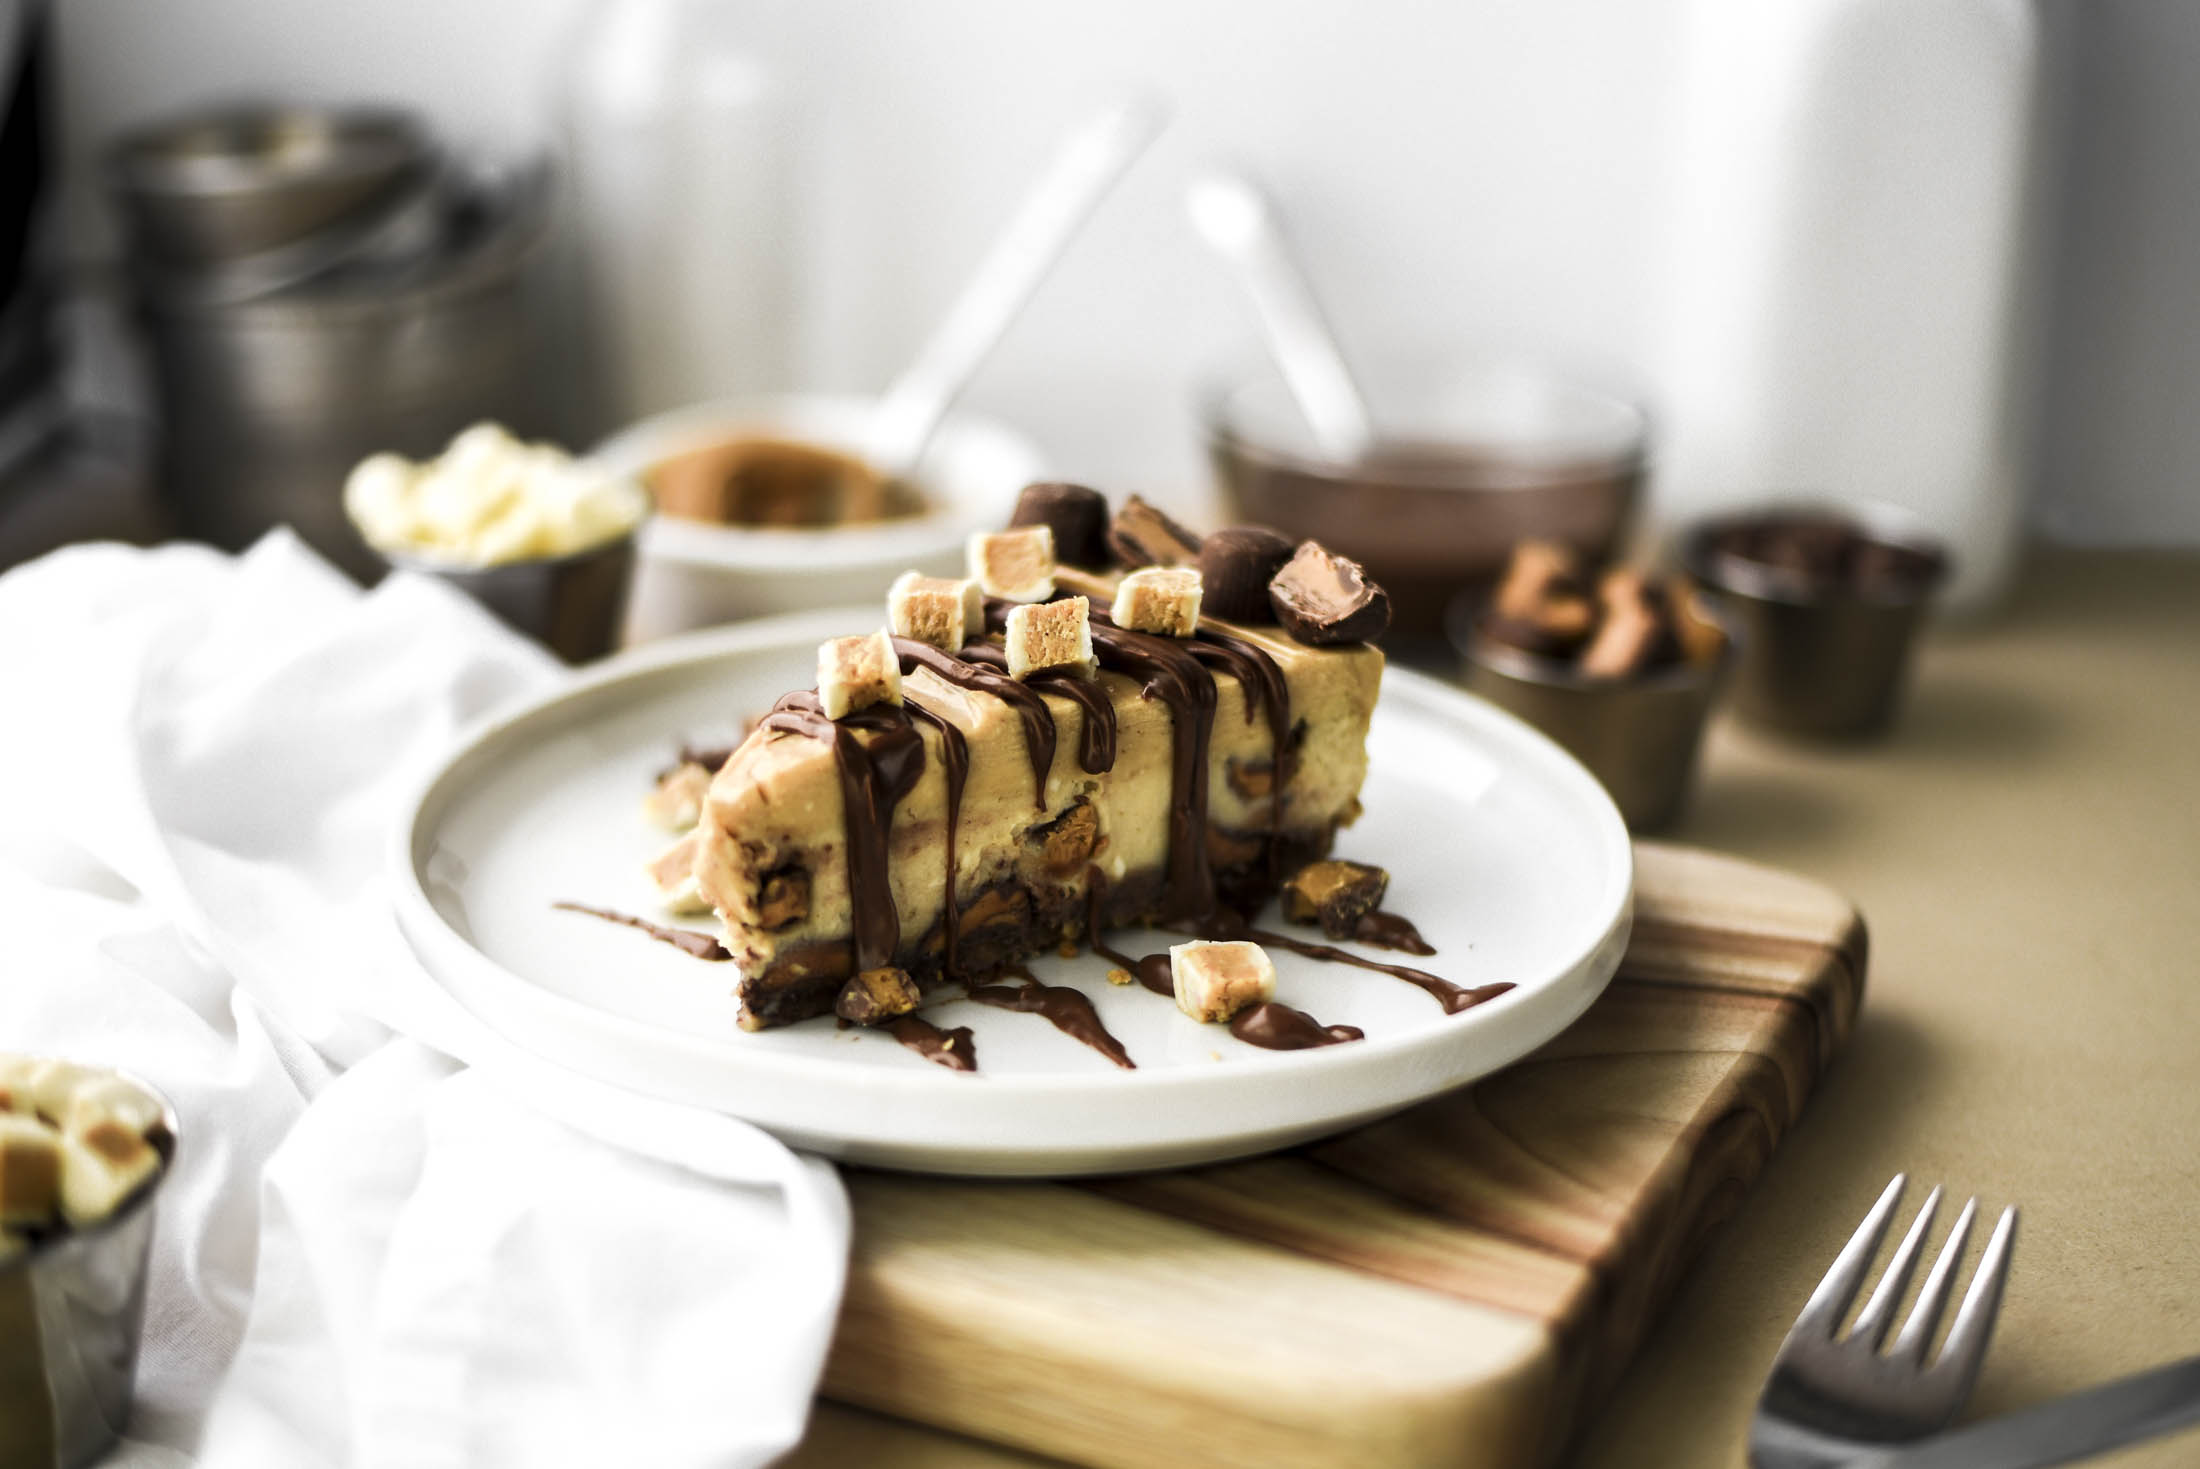
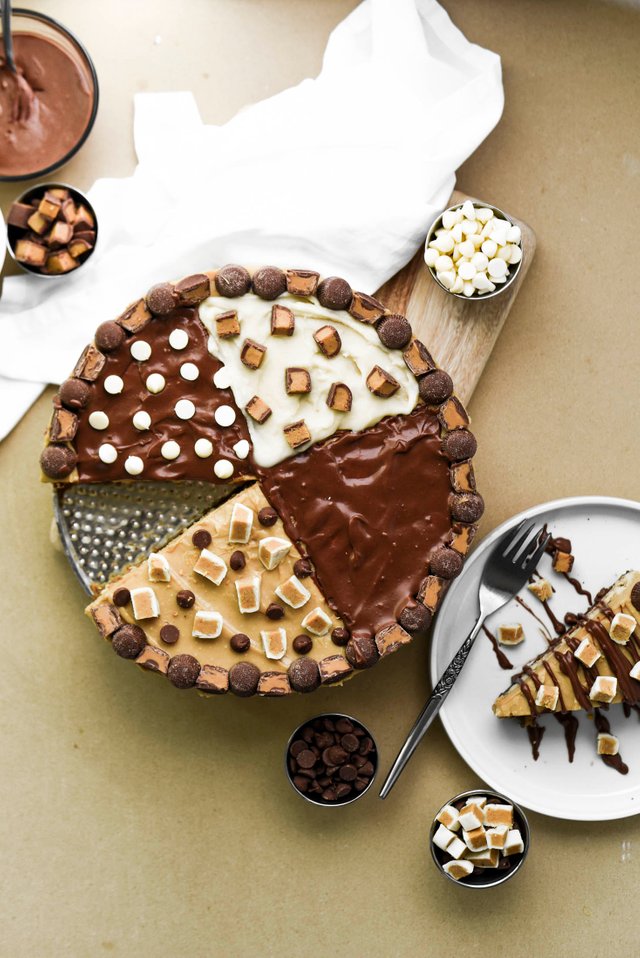
Sorry, I’d say that’s about enough rambling though, let me tell you about this cheesecake. It’s basically an explosion of white and milk chocolate with lots of creamy peanut butter. It starts with a peanut butter cookie crumb base, then theres a classic cheesecake layer filled with mini peanut butter cups. Then there’s a layer of what I can only describe as like a no-bake peanut butter and white chocolate cheesecake mousse. As for the toppings, I left that open for your creativity. You can see by the photos that I got a bit carried away, but that’s what happens when I started exploring my options. I’m super indecisive so it’s a wonder I ever make any decisions at all.
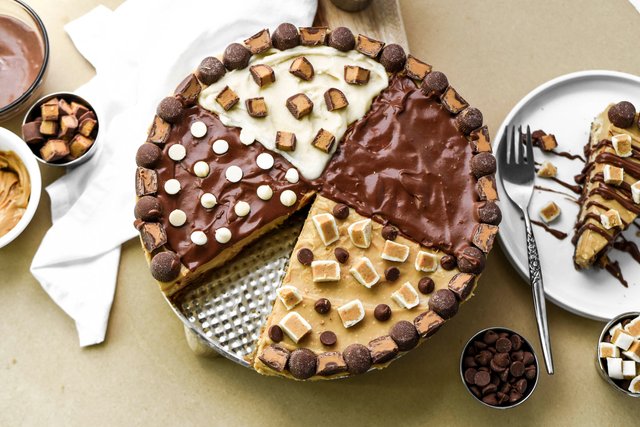
I topped mine with a combination of melted white chocolate and some milk chocolate that I melted with peanut butter. Then I sprinkled on some chocolate chips and pieces of peanut butter cups. Yes, if we’re being technical they were Reese’s eggs from Easter. What can I say, someone in my house bought all the clearance Easter candy and, I know I should fire myself as a food blogger for this, but I just couldn’t help myself.
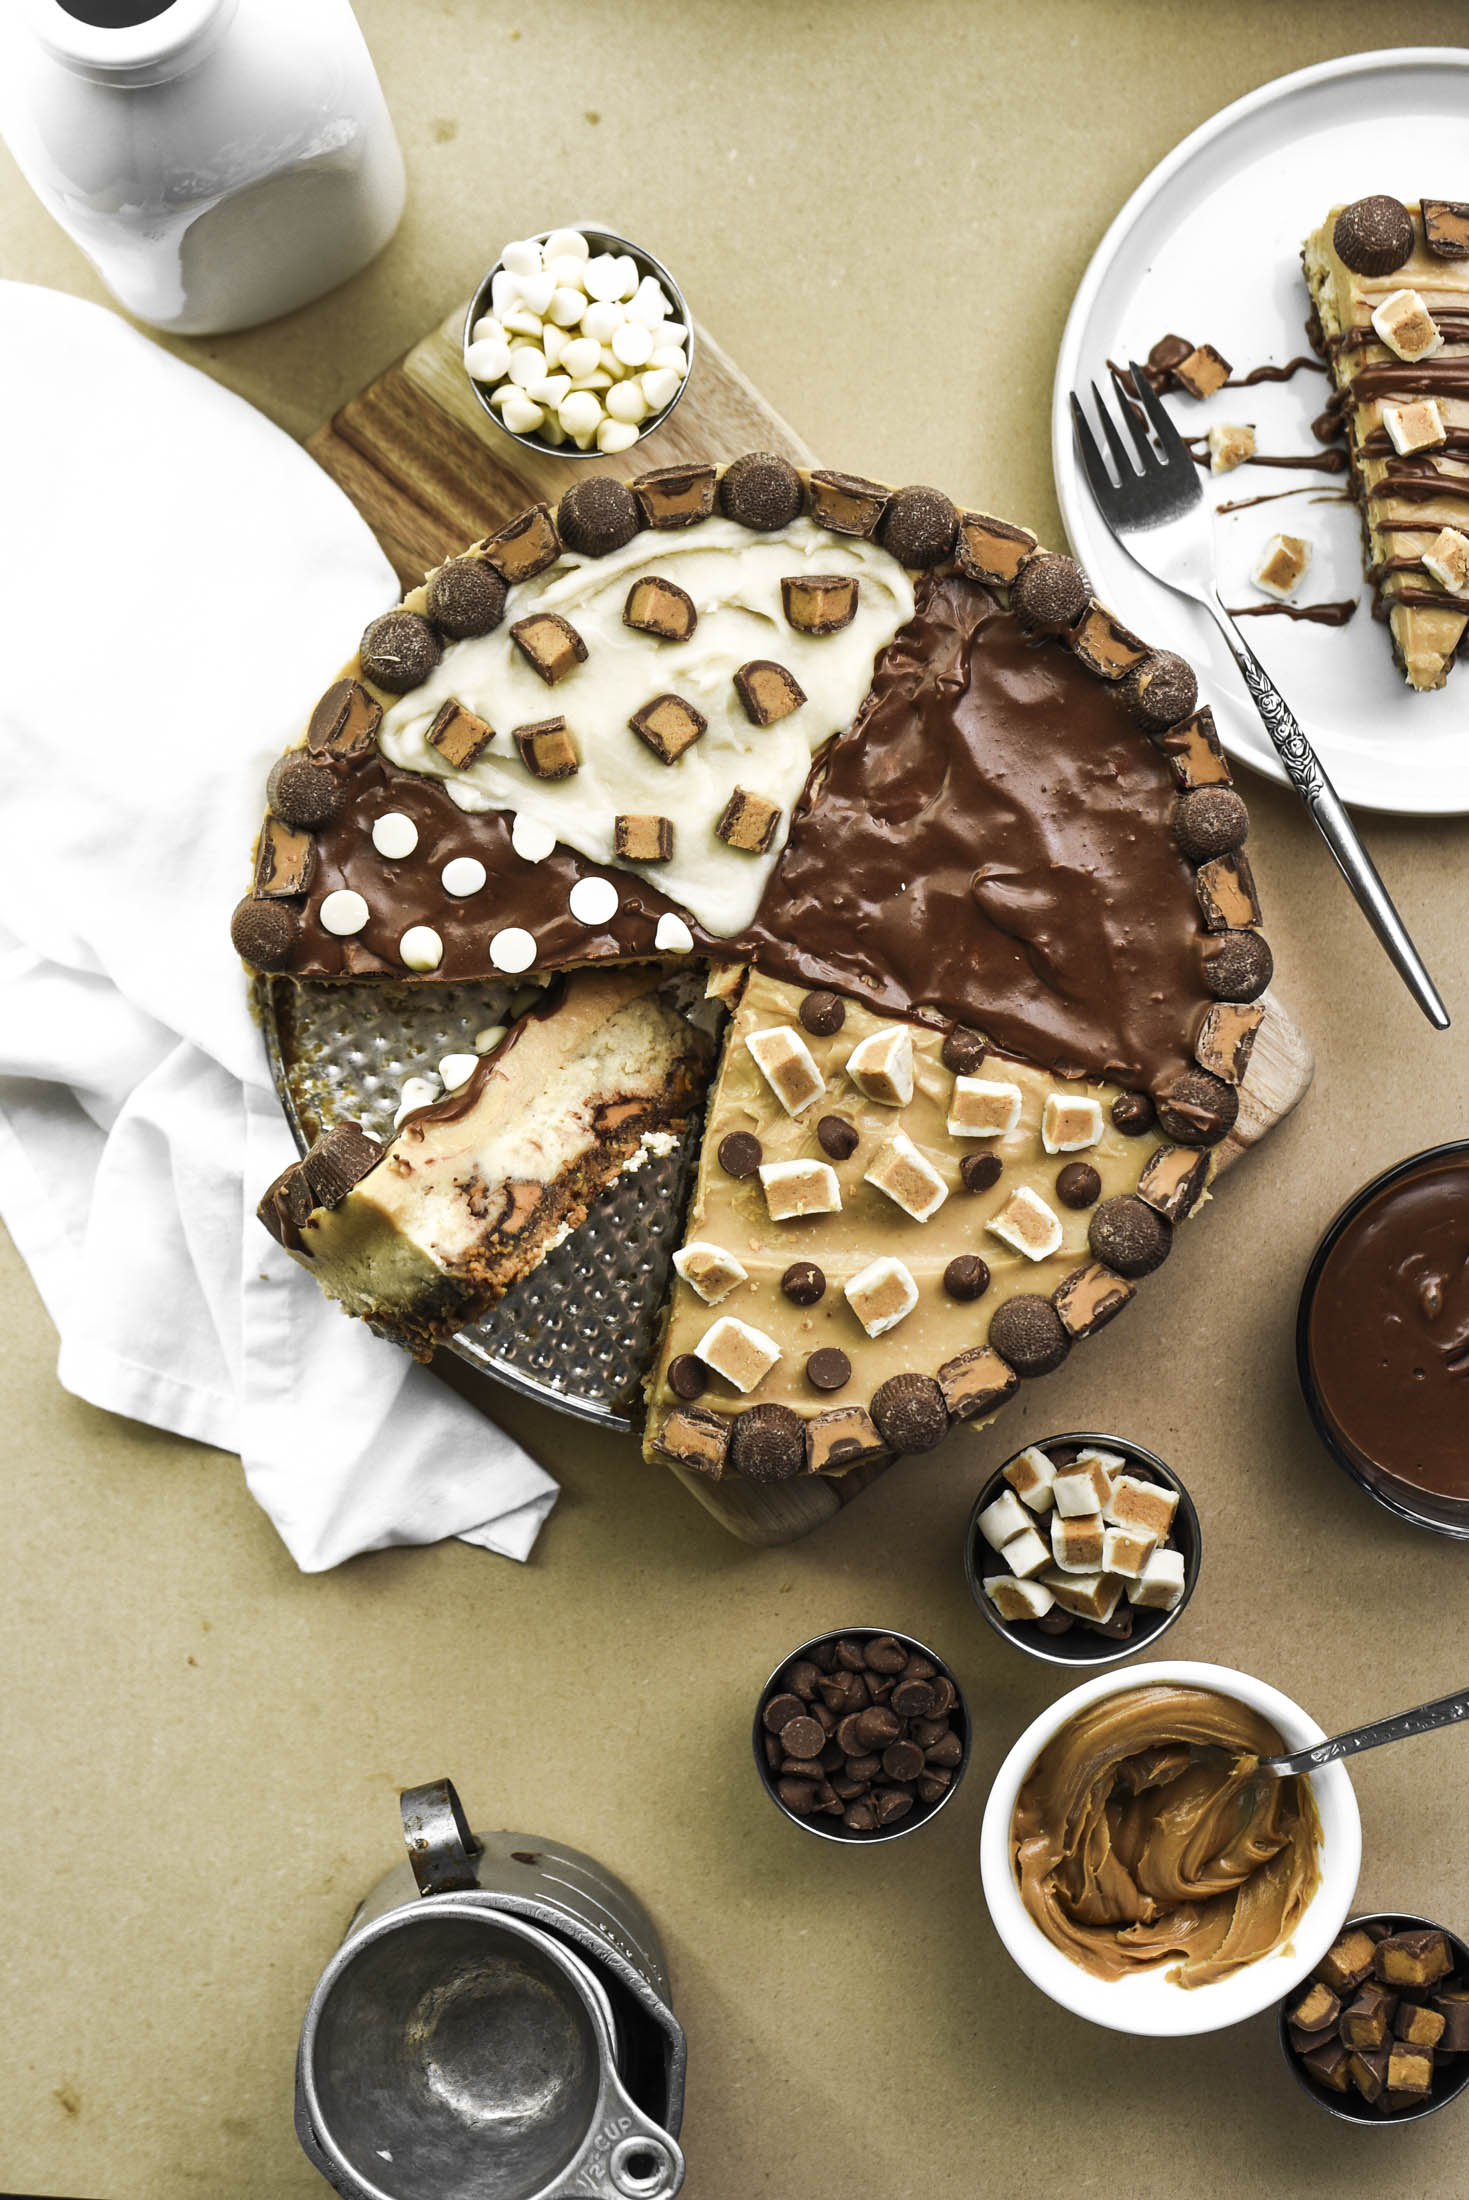
Hey, Easter was less than a month ago so I feel like it’s semi-acceptable. No one’s been eating the white chocolate ones, okay? See, I was preventing food waste.
White Chocolate Peanut Butter Cup Cheesecake
Prep Time: 45 minutes
Cook Time: 55 minutes
Total Time: 5 hours
Yield: 1 cheesecake (about 16 servings)
If you're looking to take plain cheesecake to a new level, look no further. This recipe just might bring the peanut butter chocolate lovers in your life to tears (of joy).
Ingredients
Crust:
2 1/2 cups peanut butter cookie crumbs (about 20 cookies), such as Nutter Butters
5 tablespoons butter, melted
Cheesecake Layer:
16 ounces(2 8oz packages) cream cheese, softened
3/4 cup sour cream or Greek yogurt (or 1/3 cup of each)
3/4 cup sugar
2 eggs
3 tablespoons flour
1 tablespoon vanilla extract
3/4 teaspoon salt
1 cup mini peanut butter cups or chopped Reese's peanut butter cups
Peanut Butter White Chocolate Mousse:
1 cup peanut butter
1 cup sour cream
1 cup (150g) white chocolate for melting
2 teaspoons vanilla extract
1/3 cup sugar
Optional Toppings:
mini peanut butter cups or chopped Reese's peanut butter cups (white or milk)
-For Chocolate+PB Coating:
50g milk chocolate
1/4 cup creamy peanut butter
-For White Chocolate Coating:
50g white chocolate
2 teaspspoons oil
Instructions
Crust:
Heat oven to 325 degrees F (160 C). Finely crush the cookies in a food processor or using a rolling pin. Measure out cookie crumbs and add melted butter and stir with a fork. Press into the bottom and up the sides of a 10″ spring-form pan. Bake for 12-14 minutes, then remove from oven and allow it to cool slightly while preparing the cheesecake layer.
Cheesecake Layer:
Beat cream cheese until very smooth with no lumps. Add sugar and sour cream/yogurt and beat together with cream cheese. Beat in eggs one at a time until batter is silky smooth. Add the flour, vanilla, and salt and beat until mixed. Pour the cheesecake batter into the slightly cooled crust. Sprinkle the chopped Reese's over the cheesecake and use a rubber spatula to gently push them down and cover as much as possible with batter.
Bake for 35 - 40 minutes until the center doesn't, or just barely, jiggles when nudged and the tops are browning.
Remove from oven and cool for at least 30 minutes, then cover with plastic and put in the fridge to chill for at least 3 hours (you can put them in the freezer instead to speed up the chilling).
Peanut Butter White Chocolate Mousse:
Melt the white chocolate in a double boiler over medium low heat. Stir until completely smooth then gradually stir in the peanut butter.
Remove from heat and pout into a large mixing bowl. Add in the sugar, vanilla, salt, and mix until combined. Fold in the sour cream and pour the mixture over the cooled cheesecake. Re-cover and place the cheesecake back in fridge to chill for an additional hour or until the top layer is solid.
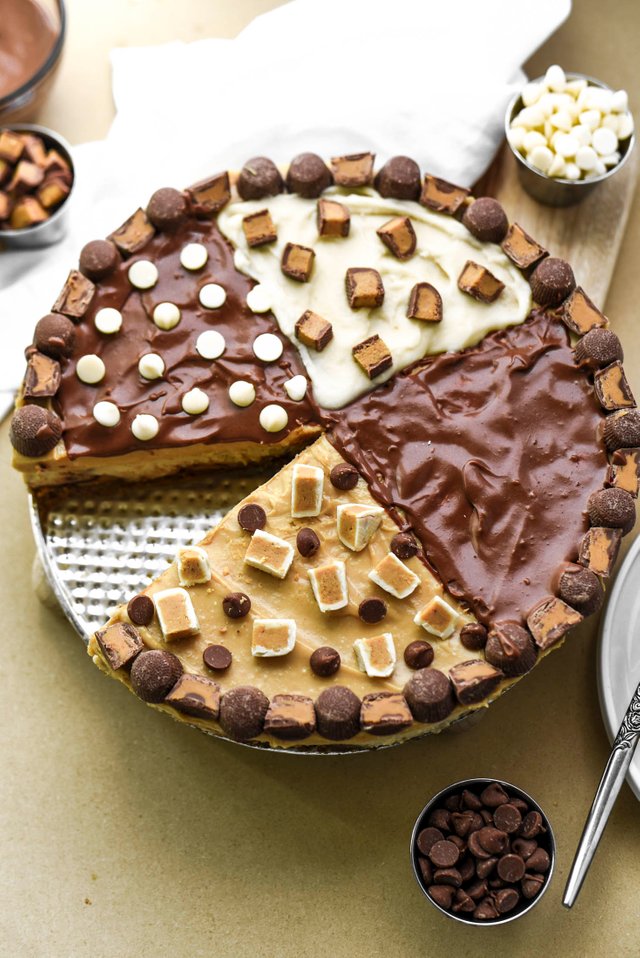
For topping and decorating you can simply choose to cover it in a layer of melted chocolate, white chocolate, or sprinkle candy over the top. I used a combination of them all so have fun with it and make it unique.

For more great food ideas and inspiration, please do not forget to look at my other recent posts
- Monster Cookie Ice Cream Sandwiches
- Sun-Dried Tomato Pesto & Havarti Grilled Cheese
- Caramel Milkshakes + Celebrating 15,000 Followers!
- Easy Cinnamon Sweet Potato Quick Bread
- Sweet Hot Sesame Mustard Chicken Pizza
- Blueberry Almond Streusel Crumb Muffins (Gluten Free)
- Hummus Crusted Chicken Meal Prep Bowls
- https://steemit.com/photography/@gringalicious/5-ingredient-s-mores-puff-pastry-pop-tarts-food-photo-shoot
- Oven-Fried Chicken & Buttermilk Waffles
- Chocolate Chili Avocado Truffles
ALL CONTENT IS MINE AND ORIGINAL! All of these food photos were taken with my Nikon D750 and my favorite Lens, the Nikon AF-S FX NIKKOR 50mm f/1.8G. You can find out more in my INTRO POST.
And, by the way, to all the minnows out there, my intro post did a huge $0.21. The key to success on Steemit is to be consistent and persistent. Click on the link below for some great tutorials on how you can also succeed on the steem blockchain:
Master Toolkit: Steemit Resource Guide Illustrated by @sndbox

Also, a huge shoutout to @rigaronib for designing my logo!

Do you want to learn more about me? Click here to see a recent @wadepaterson interview with me - 20 questions with @gringalicious

Why you shared this amazing photos of food? it make me hungry. Delicious food. I like chocolate to much.
Nice photo @gringalicious!
: )
I'm so glad you like it @laconic!
This comment has received a 0.58 % upvote from @booster thanks to: @laconic, @laconic, @laconic.
I cannot show this to my wife, because she will be definitely going crave on this food and will buy similar cake on nearby store, Lol.
this looks divine!! the photography is incredible
Thanks @mamaloves!
im on strict diet but this is very tempting...craving mode ON!!!!
I completely understand, thanks so much for commenting @ali14
Beautiful .. well done on the cake
Great work from you
Thanks for sharing
oooh I love this dessert better!! love cheesecake
Looks very tasty :-)
Definitely! I might have to try to make this myself!
bet it is indeed very tasty!
Probably, it is very tasty, I with pleasure would try or taste
First try my shish kebab https://steemit.com/photography/@arianpet/shish-kebab-barbecue
then a dessert
wow so beatiful and i guess it`s very tasty
very nice photography.
OMG Thank you! I can't wait to make this!
thanks so much for commenting @skycornish