Photographing portraits at night - In depth guide (4 Photos)
Hello and welcome to another photography tutorial!
For today's edition, I wanted to talk about how to take portraits of people at night or in low light situations.
Using the photos from a recent portrait shoot, I have created an in depth guide to nigh-time portraiture photography and outlined some other tips and trick to keep in mind in order for you to hopefully improve your night-time photography portraits.
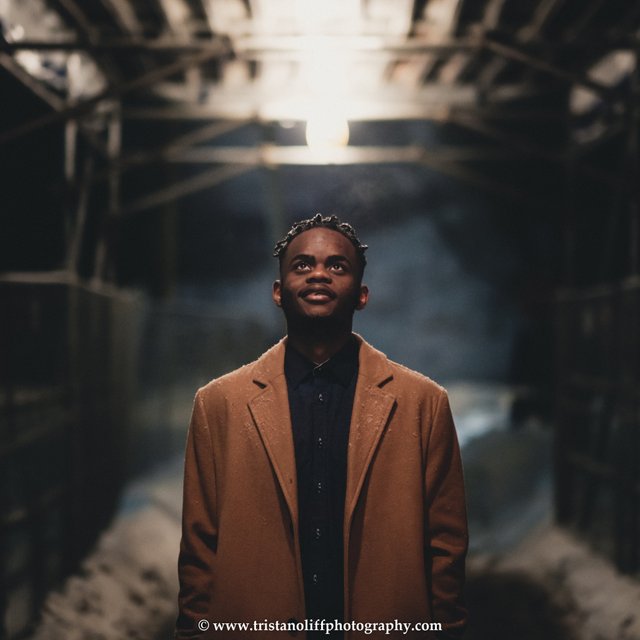
Here are the three topics that I will talk about today:
- How to keep your photos sharp in low light.
- How to make the most of any photo location.
- How to compose portrait photos to get more out of the scene.
1. Keeping your photos sharp...
Since we had decided to do the photo shoot in the evening, the first and immediate challenge we were faced with was the light (or lack thereof). As some of you photographers may know, the most important aspect to taking photos is making sure that the finished product is sharp and good quality.
This is done by keeping your shutter speed high enough to ensure no blurriness, and keeping your ISO to a level that you know you will be able to process in post-production (I shoot with ISO no higher than 3200, but other cameras may differ). It is also important that you use a lens which has a very high aperture (f/1.2-2.8 at least). The lower your aperture number, the less information in the photo is in focus, and therefore the less light is required for you to capture your image. A high aperture (low number like f/1.8) also means you will have more depth of field separation in your image.
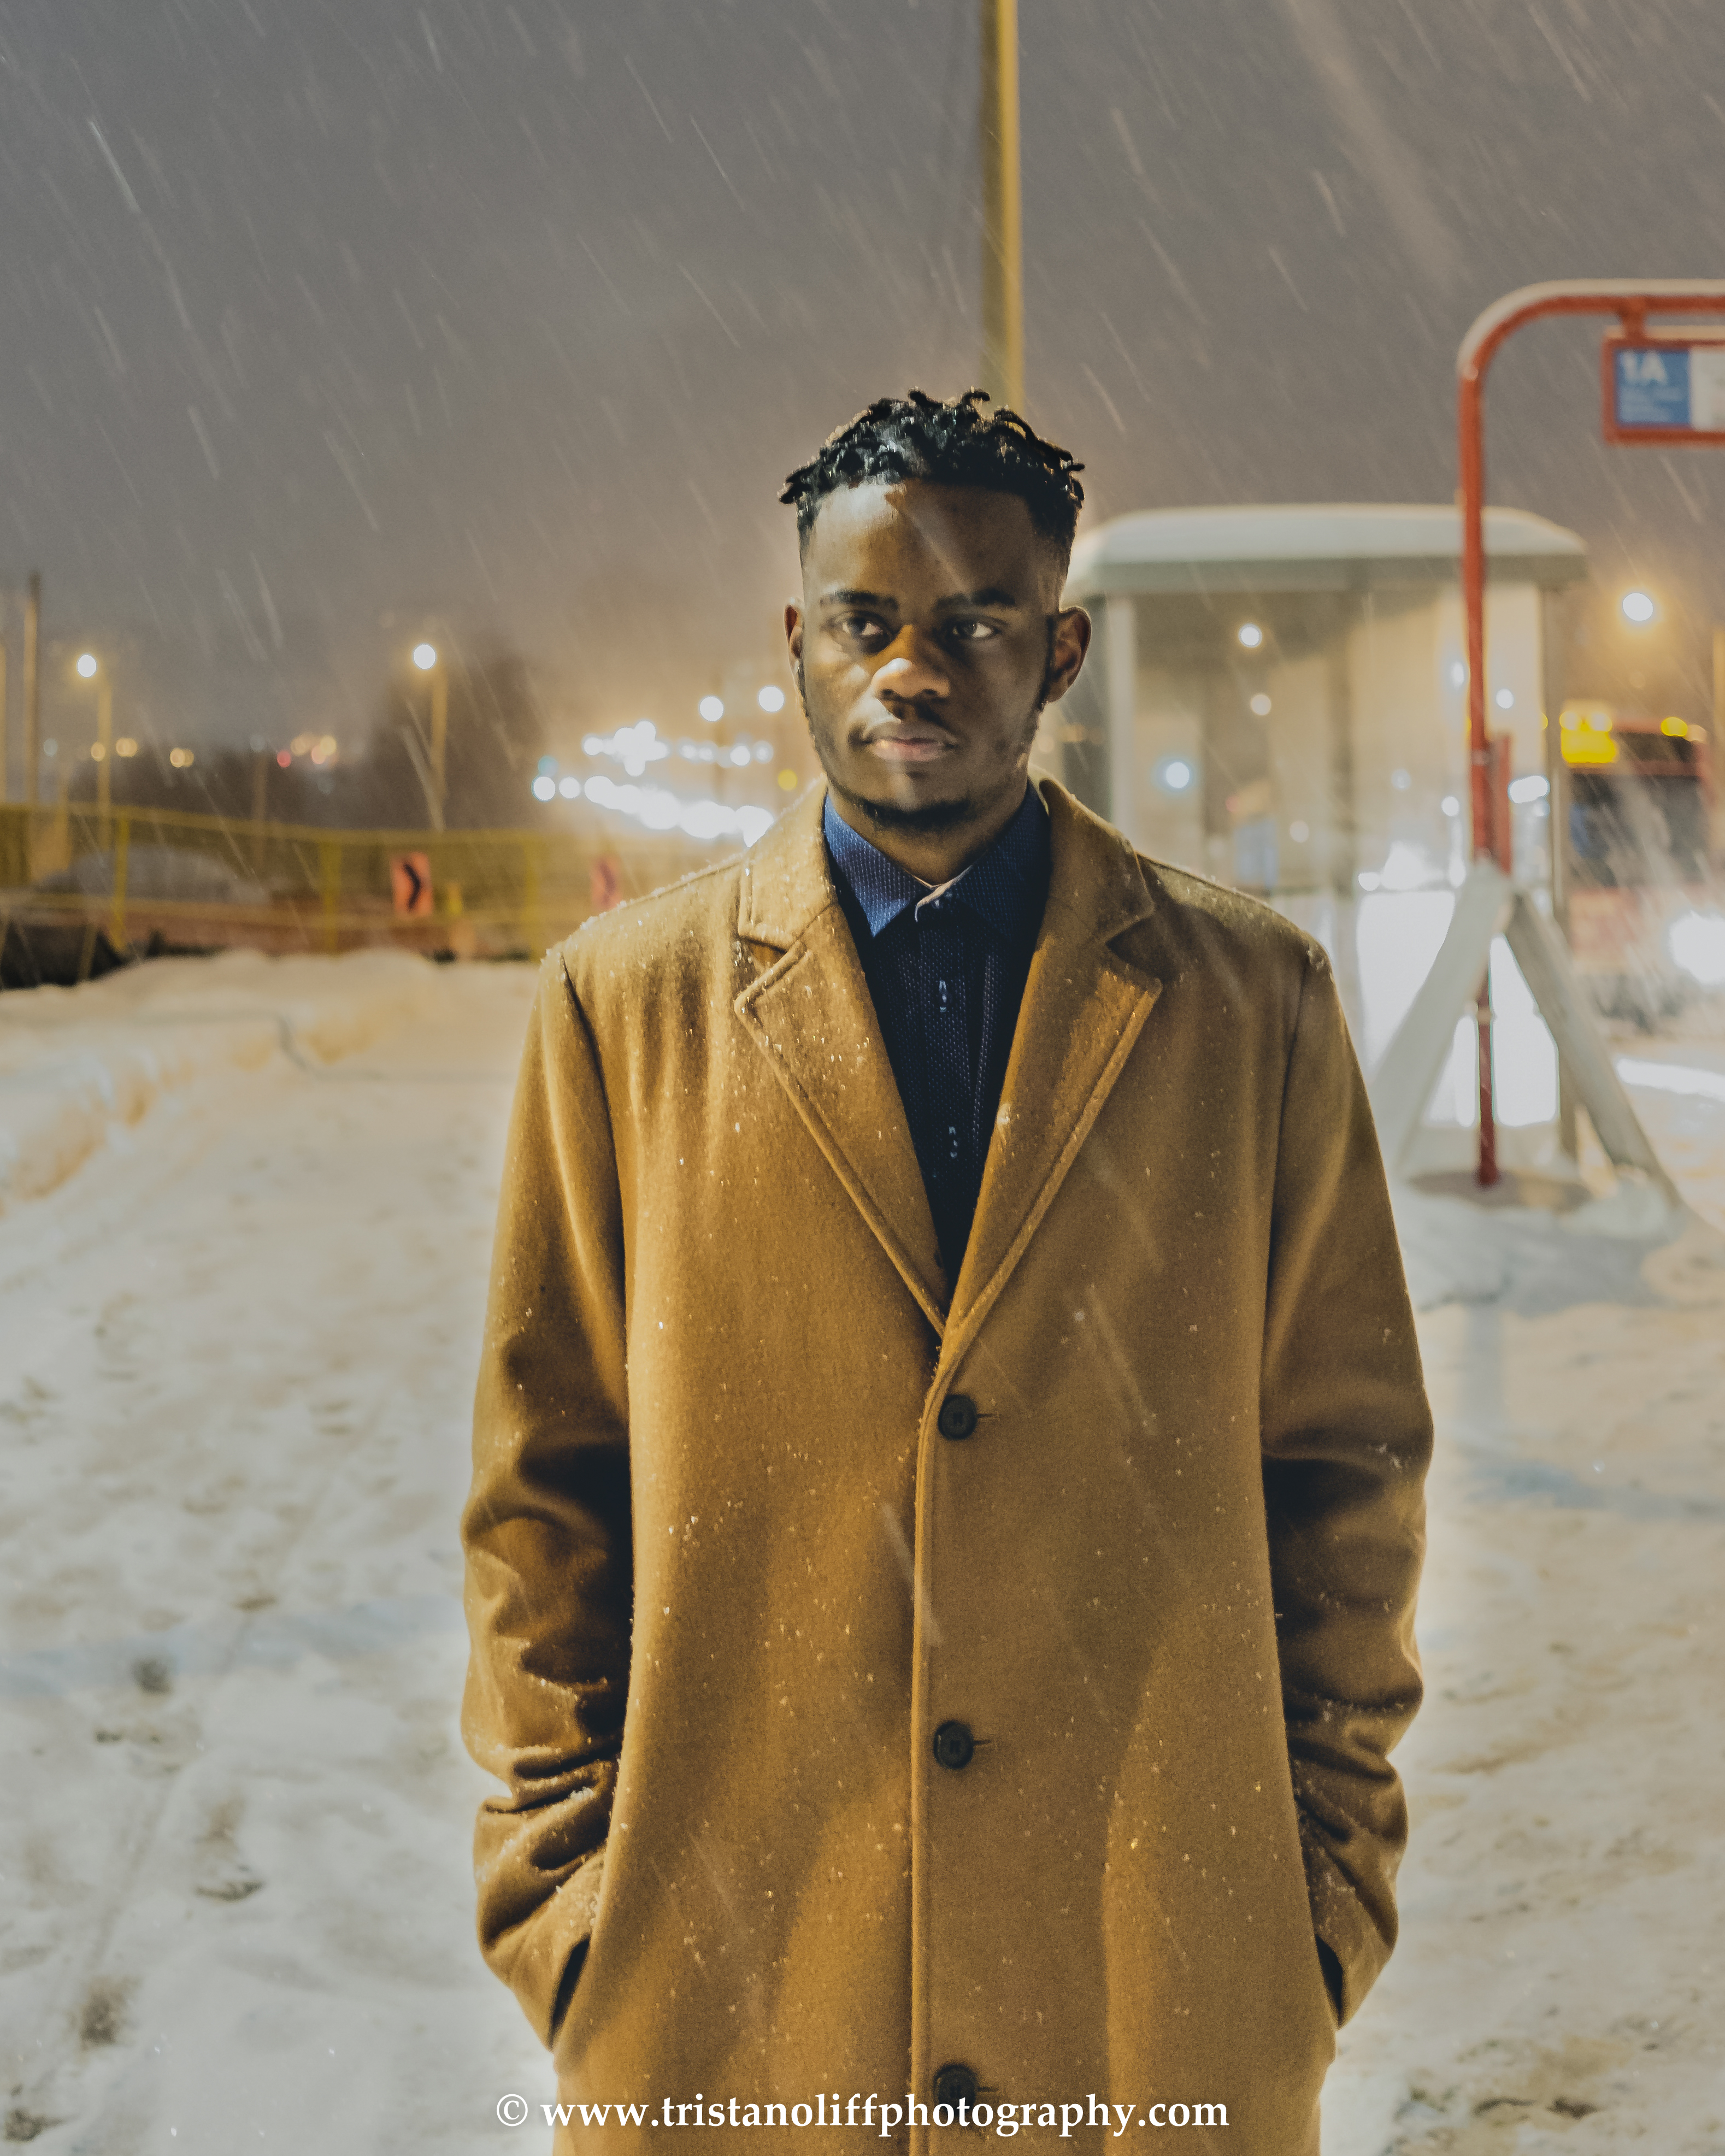
| Settings | (ISO 3200, f/2.0, 1/18 sec ) |
| Camera | (Fujifilm XT-2) |
| Lens | (23mm f/2.0) |
| Location | (Ottawa, Canada) |
| In this photo, my settings were optimized to increase the exposure of the image. |
Therefore, the best way to capture a technically proficient night-time portrait is to ensure that your camera settings are optimized to capture as much light as possible, while avoiding blurriness and having a lower ISO. Below, you can find these tips and other ways to contend with low light summarized..
- Make sure your shutter speed is high enough and double check every image for sharpness before moving on to a new composition.
- Make sure you use an ISO that does not compromise the quality of your photo. I shoot at max 3200 ISO on my fuji XT-2.
- Use a lens with a very high aperture (f1.2-2.8). This increases the light you can capture, and increases depth of field.
- Consider using a flash. A flash can separate your subject from a background, and also allow you to capture a better quality image, as it creates more light for you to capture.
- Consider using a tripod. This reduces hand shake and can allow you to lower your shutter speed to at least 1/10th without having a blurry image.
2. Make the most of your location...
As we highlighted previously, light is a big factor of night time photography in the way that it can add to your scene. During this particular shoot, the location where we were was a new train station under construction which might not have seemed very visually appealing. However, what drew us there were all the interesting forms of lights which the construction workers had set up around the site.
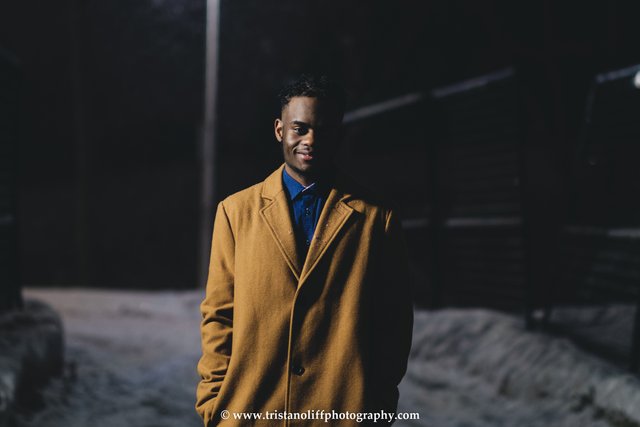
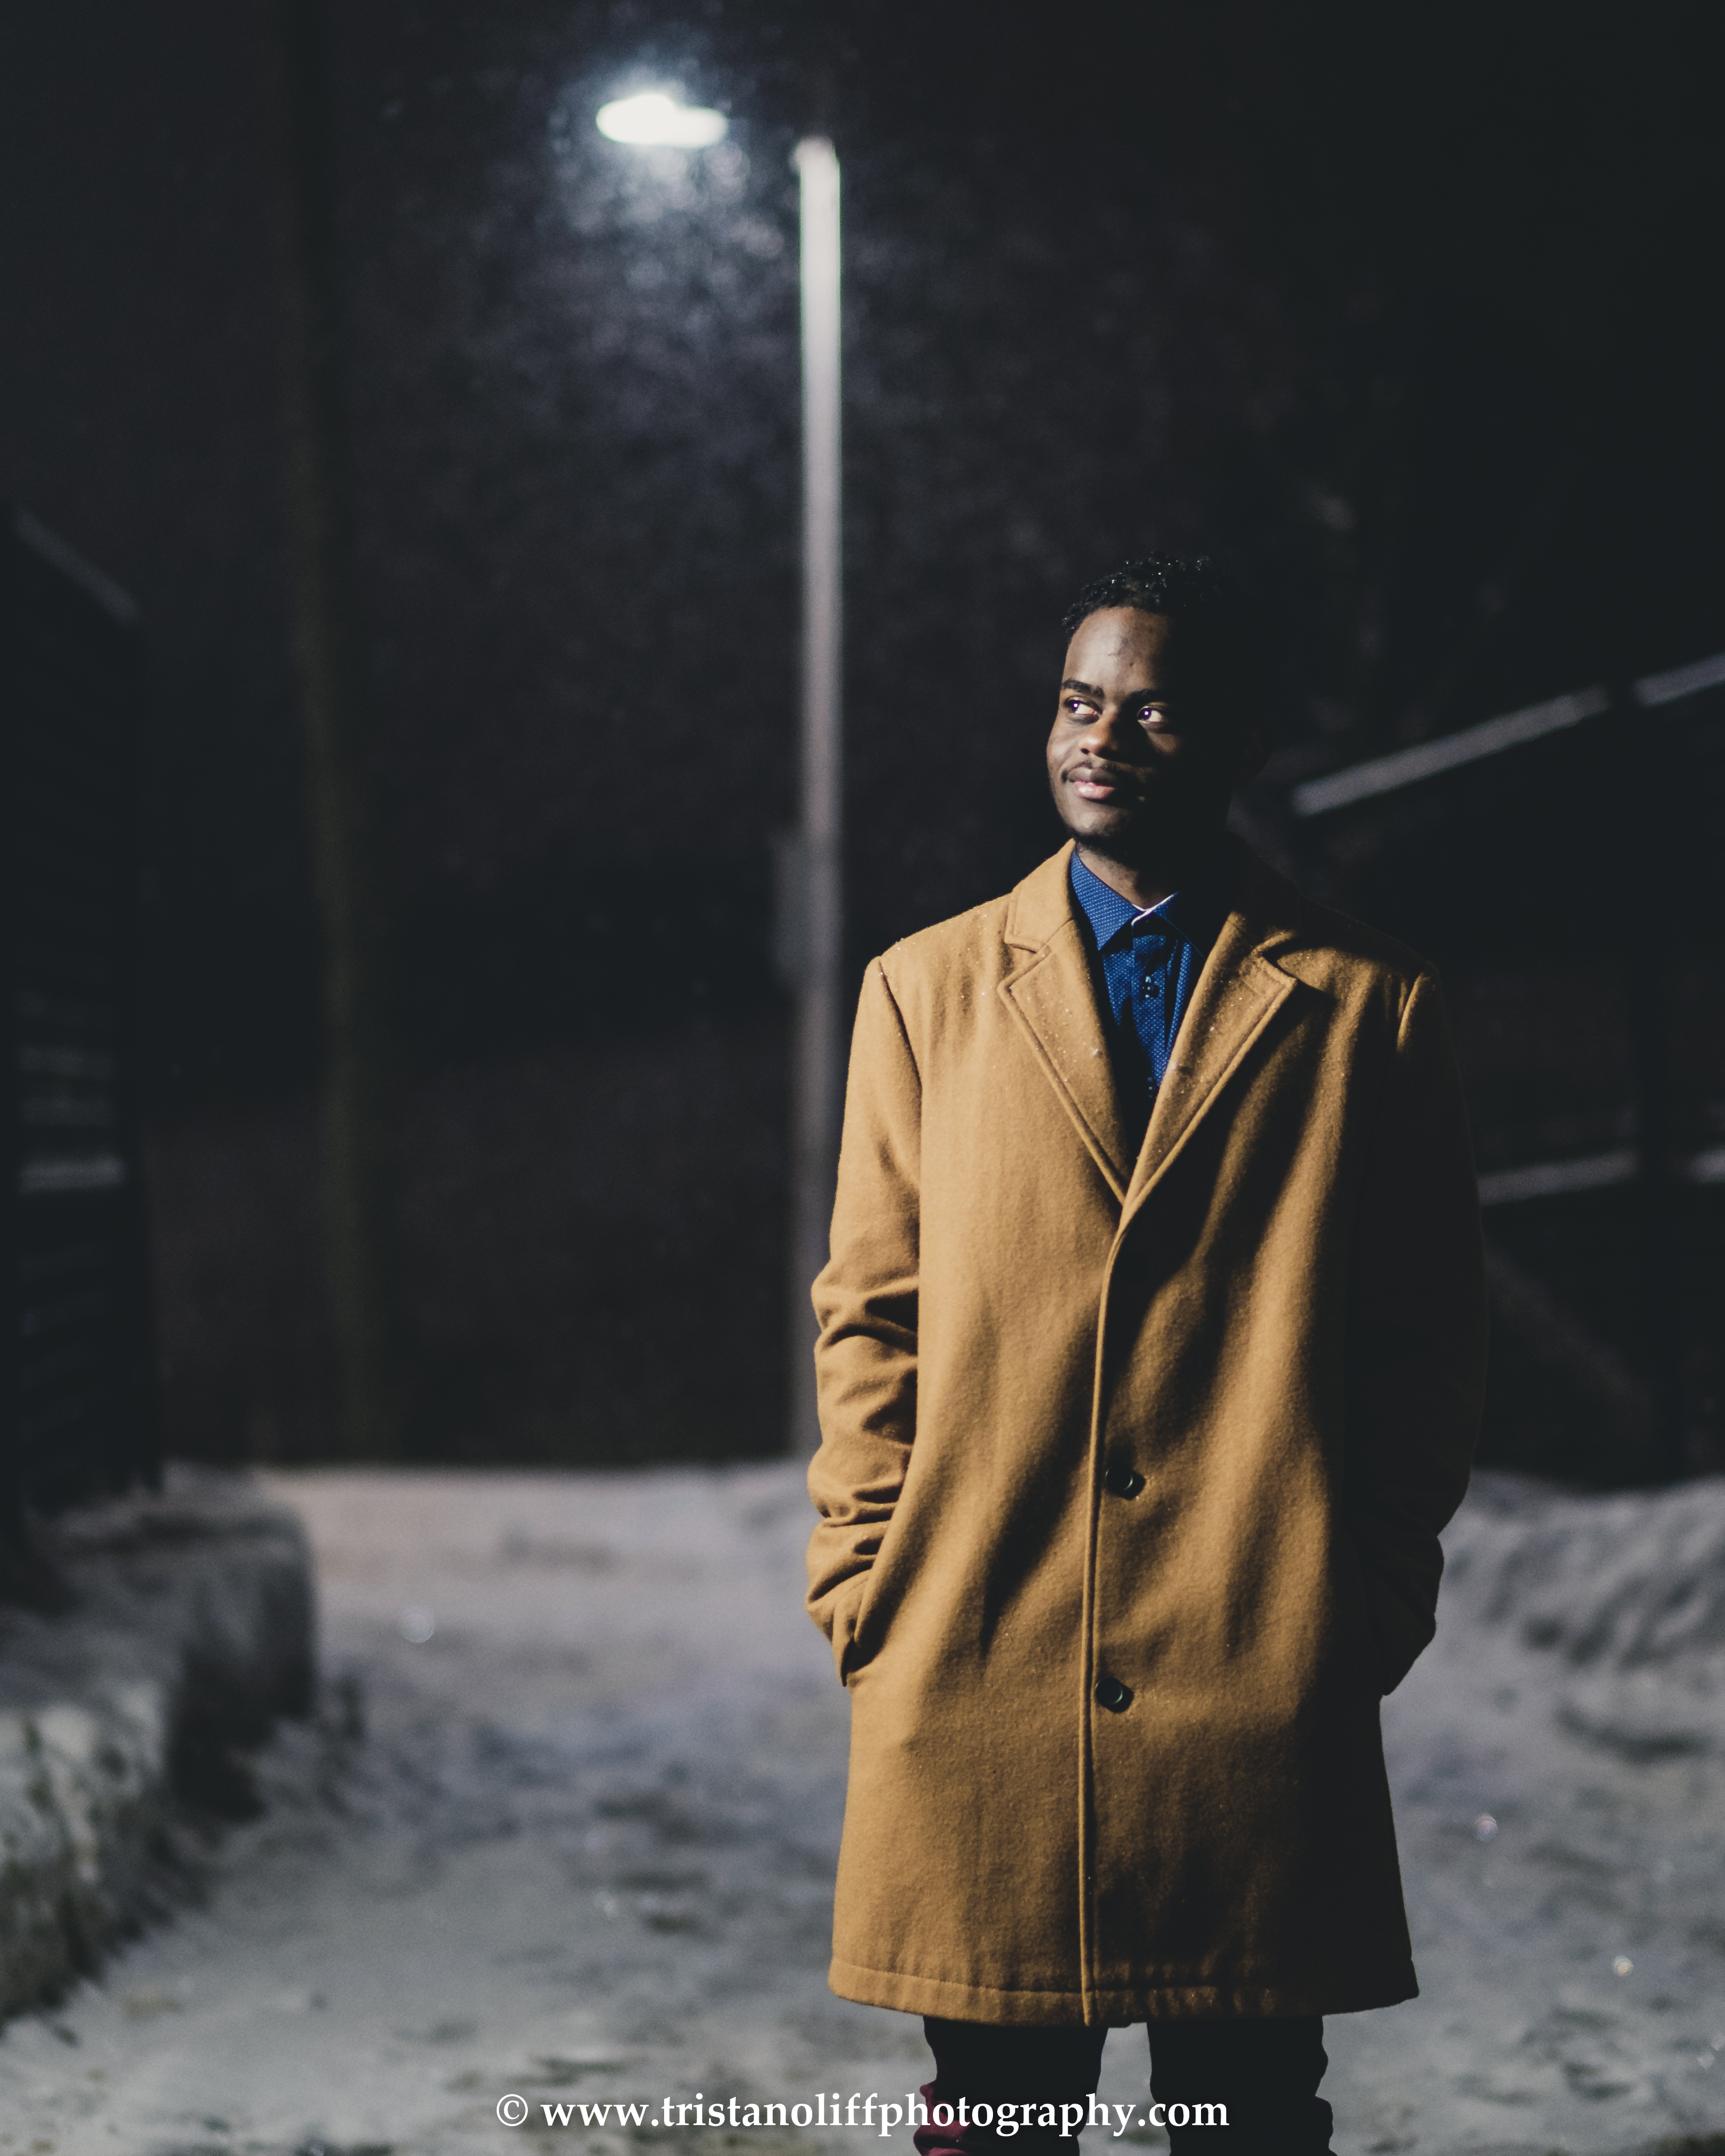
This light can add to your photo, allowing you to integrate shadows or even create a narrative through your photo. The two photos below help to show this point. These two shots were taken in a small tunnel with one light shining from the right side allowing for side-lit portraits. However, the two different shots, both taken in the same place, with the same lens, portray two completely different narratives.
In this photo below, we see that the light is only covering half the face of my subject. The separation between light and dark creates a narrative of suspicion, internal conflict or even good against evil.
Meanwhile, in this photo below, I asked my subject to look up towards the light. With more of his face covered in light and the subjects gaze looking up, this portrait conveys a more uplifting and positive narrative.
3. Be creative in your composition...
Finally, in photography and especially portraiture photography, I believe that your most important tool to capture good photos is to use your creativity. Just like any skill, I also believe that this creativity can be improved through practice such as going out with friends and doing more portraiture photography.
To do this, it is important to look at any possible scene or composition from the perspective of what the final shot would look like after post-processing and editing. This means one must always be on the lookout during a shoot for scenes, compositions or other external factors which could add to your image and create an interesting or captivating photograph.
To show you this, lets look at the first picture of this post again:
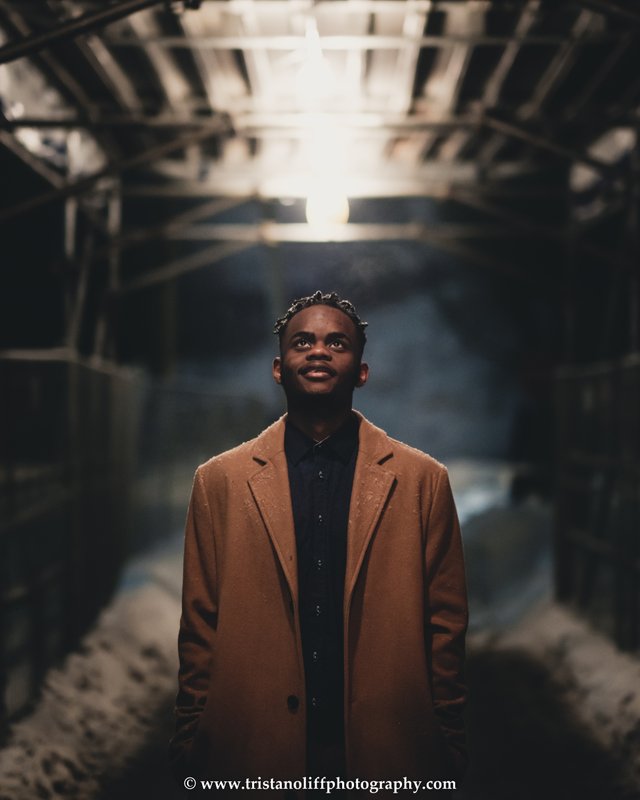
| Settings | (ISO 3200, f/1.2, 1/125 sec ) |
| Lens | (56mm f/1.2) |
If you were to walk by where I took this photo, I bet you would have no idea that a portrait like this could be made in that place. The composition was under a bunch of metal scaffolding and the ground was covered in mud and snow. This is how I got from that scene to this picture:
- I used a portrait lens (56mm f1.2) to blur out a lot of the background.
- I positioned my subject under the construction lights and in the middle of the walkway to create symmetry.
- I used the side fence as well as the line of lights on the ceiling as leading lines to draw the viewers attention to the center of the image and my subject.
- Finally, I had my subject look up at the light, allowing his face and features to be extenuated by the light source while also creating a positive narrative and feel to the photo.
Conclusion
I hope those of you who made it to the end of the post learnt something new about portrait photography, or most of all, that you enjoyed reading this blog. I look forwards to making many more photography tutorial blogs, so make sure to follow if you dont want to miss out!
Finally, I wanted to add that my blogs can improve greatly through your input. So I would love to hear any critiques, advice, comments or any photography questions in the comments below.
Until next time,
Tristan
------------------------
Check out my last photography tutorial here:
https://steemit.com/photography/@tristanoliff/how-to-take-amazing-portrait-photos-at-sunset-tristan-s-photography-tutorials-1
If you want to read more about me and my story, click here to see my introduction post:
https://steemit.com/introduceyourself/@tristanoliff/this-is-me-and-this-is-what-i-m-going-to-do-introducing-tristan
It's all depends on the tech, unfortunately. No matter how skilled you are, if your camera can't handle low light, you can't as well.
I would agree to a certain extent @nameless-berk . My last camera was a Nikon 3300, which is a very entry level and really terrible with low light. So most likely with a camera like that, doing a shoot at night like this would be very difficult because it has such bad ISO performance. However, like I said in my tips in section 1, there are some ways you counteract this issue. I would recommend using a flash, so that you can lower the ISO substantially, otherwise, if your model stands very still, you can use a tripod which will let you take shots as low as 1/5th sec while still keeping the photo sharp. But yes, ultimately, a better camera will give you much better low light performance. Infact that is the exact reason why I upgraded my camera :)
yes indeed! this is a great guide for beginners like me :) thanks for the great contribution! :)
Hey!!! Thank you so much for commenting and I am so happy that you got some value out of the post! What kind of photography are you into? :) @leslierevales
i like to take photos of my pets and any other animals and every scenery I've encountered along the way. It's just so hard for me to take photos as I dwell more in nature, for there is more destruction that can be captured than the beauty I intend to unveil. :(
Thank you for breaking this down for me. I may have to save this for another read, if im being honest i just looked at the pictures and read bits and pieces of it.
Hey! Nice to see you in my comments again :) When I make my photo tutorials, I try to have them laid out in a way that if people want to learn about the topic, they can, but also if people just want to check out the pictures, they can do that too :) So thank you for passing by and thank you for your like too! Its very much appreciated.
You know your audiance so well!
Wow! Tristan these are amazing photos! Stunning portrait photography :D
We still haven't found the time to get a software to edit our photos yet, but we haven't forgotten your recommendation to edit our photos. :)
Good to have you back and hope you are finding balance to manage every thing from Uni, photography, part-time job and blogging on here.
Thanks for that lovely comment! It’s definitely hard to find a balance, but also really motivating when my posts do well like this! Definitely feel free to ask if you have any questions about editing software or photos in general, I’m always happy to help :)
We think you will make it on this platform. A few more 'touches' by 'whales' and you will have enough influence to attract more followers and the rest will be history. It's only up from here once you find the perfect balance. You definitely put lots of effort into this post, so it goes to say quality over quantity. Maybe something we should address.
Thanks for the offer to help out and if we have any questions about our photos/recommended software of course we will ask away 🤗
With ISO over 800, my luminance noise is so high that Lightroom cannot help me... crying in low budget
Hahahaha @zeropointmax I know exactly how you feel... Before this camera I had an entry level nikon D3300 and the noise was so bad that anything over 800 was garbage... I know the struggle haha :)
Nice guide and good pictures ;)
Thank you @asgarth! Im glad you gave it a read :) Do you have any recommendations for other photo tutorials I could make?
I got a suggestion: Enhancing the lifespan of your camera maybe?
@zeropointmax Thanks for the suggestion. Ill add it to my list :)
There are rally too many possible choice, and there are lot of people posting tutorials ;)
I think that you should post what's interesting to you and in subject you have a good knowledge.
Thanks for the advice :)
gr8 photography with detail guide for beginner photographer...thanks for sharing us
My pleasure! Thank you so much for reading ☺️ Make sure to look out for more blogs and tutorials coming daily!
any other your website or social media link which i follow?
Congratulations @tristanoliff!
Your post was mentioned in the Steemit Hit Parade for newcomers in the following category:
I also upvoted your post to increase its reward
If you Like my work to promoting newcomers and give them more visibility on Steemit, feel free to vote for my witness! You can do it here or use SteemConnect
Nice photographs!
World of Photography Beta V1.0
>Learn more here<
Thank you for participating in #portraitphotography
You have earned 5.10 XP for sharing your photo!
Daily photos: 2/2
Daily comments: 0/5
Multiplier: 1.02
Server time: 21:11:59
Total XP: 55.85/100.00
Total Photos: 8
Total comments: 15
Total contest wins: 0
Follow: @photocontests
Join the Discord channel: click!
Play and win SBD: @fairlotto
Daily Steem Statistics: @dailysteemreport
Learn how to program Steem-Python applications: @steempytutorials
Developed and sponsored by: @juliank