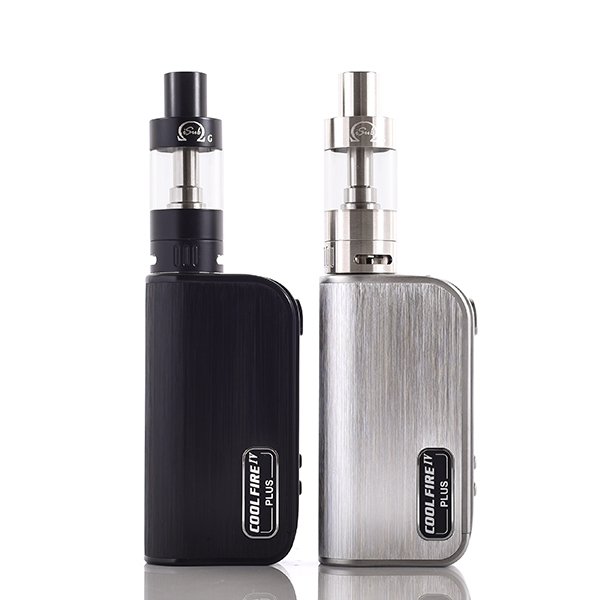
Cool Fire IV Plus 70W iSub G Starter Kit Silver vaporizer e-cig
The new Cool Fire 4 Plus kit is comprised of the new Cool Fire 4 Plus Mod and the I sub G tank. This vaporizer is a 70 watt capable devise, it means it will fire up to 70 watts. The device feels incredibly well built, much like the MVP 3 pro or the MVP 3 that came before it. (you can find it at http://pipesarsenal.com ) It’s very well designed, it has a great finish to it, brush steel and even nice little Cool Fire 4 Plus embossed in metal tag on the side there. On the other side you can find vent holes for the battery and it has an inbuilt non-removable 3300mah hour battery. This means if you are vaping between 30 to 40 watts on a fully charged battery, you will get through the day without the need to recharge. The micro USB charging port is located on the front side which means you can stand the vaporizer while it charges.
In the product box you will find a spare 0.5 oh coil, some replacement o-rings for the tank and underneath we have a micro USB charging cable. The instruction on how best to fill in the tank, to secure that you prime coil properly to make sure you receive the maximum life from it. The product box also includes some cool stickers.
The new Cool Fire 4 Plus is turned on by three quick clicks to the fire button, then after 3 clicks you will get the flashing Led and the Innokin technology symbol. It can do both variable wattage and variable voltage, by default it’s in variable wattage mode, to switch to variable voltage all you need to do is hold down the minus button followed very quickly by the fire button and the display will flash and switch to V for voltage. After that you can adjust as you like to get to the voltage you want to. If you would like to switch back Variable Wattage mode is the same kind of thing but you have to use plus button. Once the device is sat for three seconds it will lock itself in whichever mode setting it’s in. If you thereafter want to change it, you have to hold down first plus or minus buttons until again display flashes and then you can switch the voltage or wattage setting. This device is turned off very easily just by clicking 3 times.
This version comes with the I sub G tank, I personally really like this tank, it’s a 3.8 ml capacity and it’s practically designed for Sub-Ohm only although it includes 2.0 version of the coil that comes with the device. People who prefer mouth to lung or cooler vape, there is also a 0.2 ohm version of the coil inside for the people who like even more vapor. The key difference between different coils is the point at which you would start vaping in terms of the wattage setting. The procedure to fill in the tank is relatively interesting and very easy to do you can say. You have to remove the airflow section from the base of the tank, no screws involved, you just pull the coil out of the base of a tank. The tank has plenty of space which is good to get decent dripper in there. It’s a good idea to prime the coil. Those that aren’t aware of how this is don, you will have a couple of juice inlets (holes) on the side of the coil, if you just put a little drop of liquid, then this will speed up the process of the cotton wicking or soaking up the juice.
I usually recommend that you start at the lowest recommended setting and work your way up with a fresh coil. This is just simply to prolong the life of the coil as much as you can, if you hit it at its highest rating, chances are on the very first vape you can potentially damage the wicking and the coil. Innokin recommend for the 0.5 ohm coil you start at 22 watts. Every three to four puffs, you can go up by half a watt to a watt until you reached the desired settings for your taste.
http://www.pipesarsenal.com
