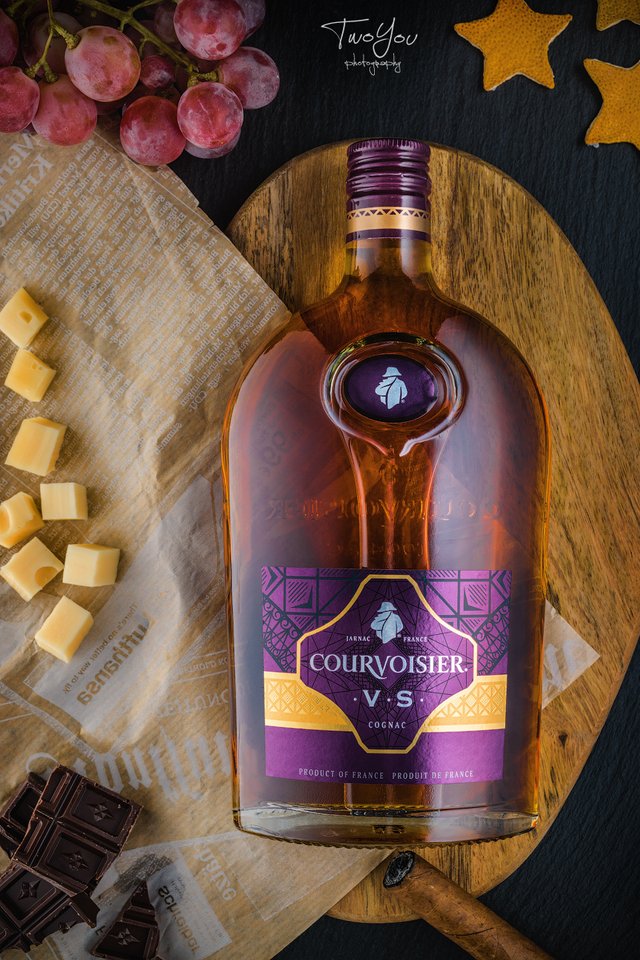
Photo of the Day: cognac Courvoisier, part 2.
Hi everyone! Hello dears! Today in the "Photo of the day" section will be the result of my next experiment on shooting alcohol. Over the past week, there was a huge number of things that need to be done before the holidays, so, as you probably noticed, friends, the number of posts has decreased significantly. However, after the holidays, I plan to resume the pudding on the same schedule. Let's go!
Last time we shot something like a promotional photo with a bottle of Courvoisier cognac, and I really liked the result. This time I wanted to continue the trend, but to deviate a little from the classical canons, because I am learning, mastering this direction, and I did not want to repeat what is already good. So the first thing I started with was looking for new ideas. I helps a site pinterest.com and Yandex.Pictures. When the necessary reference was found and I started to prepare.
Since this bottle was already used for shooting, the back sticker has already been removed. We can only once again carefully wipe the bottle with a microfiber cloth, because otherwise any dirt on the glass in the light of flashes will be very noticeable. This time we use the top view, it is also called flatlay. To do this, mount the camera to the beam with counterweights and fix everything on a tripod. Adjust the size of the picture and focus and begin to form the frame. We spread a wooden board, kraft paper and a bottle on a stone background, complementing the composition with everything that is usually used for a snack of this noble drink, controlling the picture on the screen all the time. By the way, Sony cameras have an excellent function for remote control of the camera using a tablet or smartphone. With its help, it is very convenient to form a frame when the camera is on suspension.
The light this time is pretty simple. We need to get two asymmetric gradient glare on the bottle, so the left and right sides put frost-frame with a stretched light-diffusing film, and behind them put the flashes with stripboxes and orient them horizontally, placing at an angle to the diffuser. Then do a few shots and custom power sources, as well as their position. And that's what happened.

Camera: Sony a6000
Lens: Sony SEL18200
P.S. Open in the new tab to see a bigger version.
Follow me :-) It will be interesting!
Sincerely yours @neony