This is how you make a rainbow text effect on Photoshop
As I was browsing my old blog, I thought it will be useful to others to make such a simple effect on texts.
Photoshoping has been and always will be a passion of mine and here's the quick guide to this text effect.
I'll be teaching you on how to make this picture.

Let's get started.
Create a new document with a size of your choice. I'll be using 800x600.
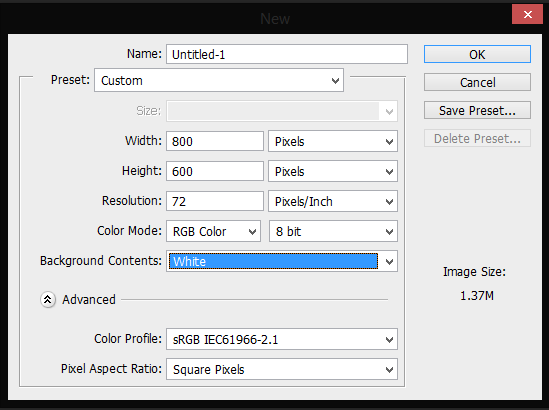
Now fill your background with color black with Paint Bucket Tool.
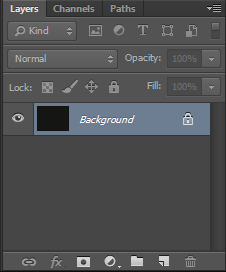
Next, you're gonna add your text, like your name, girlfriend's name, wife's name or whatever you like.

Then you're gonna duplicate the text layer like what I did below. Layer -> Duplicate Layer...
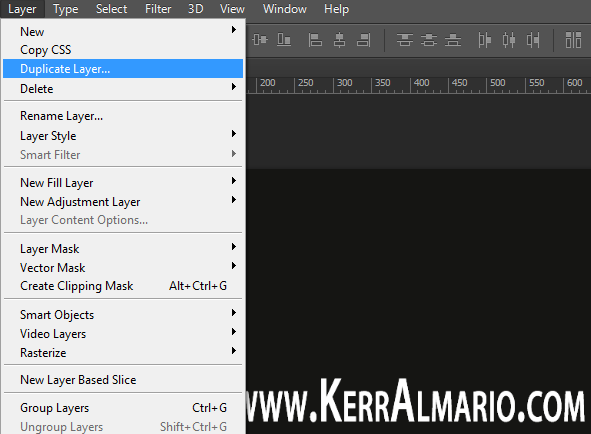
Once you're done duplicating the text layer, your next step is to go to Filter -> Stylize -> Wind.
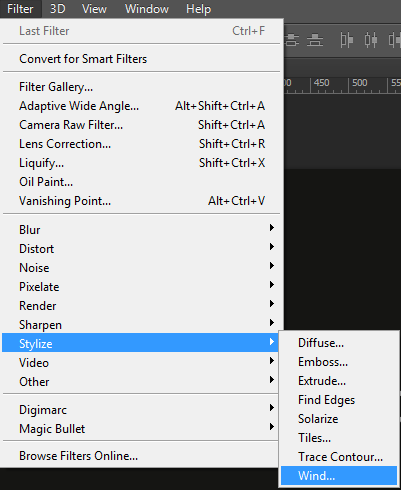
Then you'll see the Wind dialog box. Method is Wind, Direction is From the Right and then press OK.
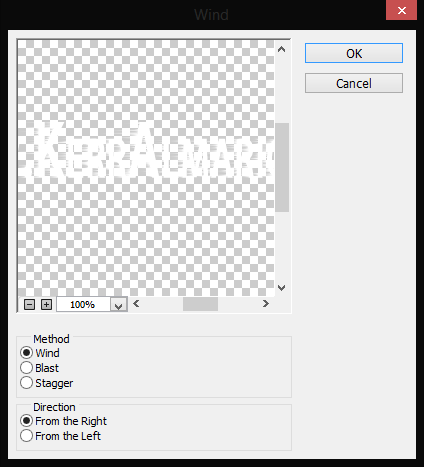
After that, you should see something like this. Just press Ctrl + F to make the wind effect longer.

Just rotate the image to 90° and press Ctrl + F until you're done with the effect with all angles. It should look like this now.

Remember that you have the duplicate selected once you're doing the effect.
If you don't know on how to rotate the image, just go to Image -> Image Rotation -> 90° CW.
Now, it's time for you to select the original text layer and change the font color to any color you want.


I forgot to tell you that you should put the original text layer on the top of the duplicated text layer like what it shows on top.
Now let's add the rainbow effect.
Add a New Layer and name it as rainbow effect. It should be placed between the text layers. The duplicate text with the effect on the bottom and the original text layer without effect on top of it.
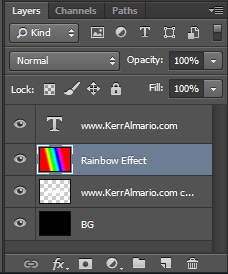
Select the Gradient Tool and change the gradient to the rainbow.
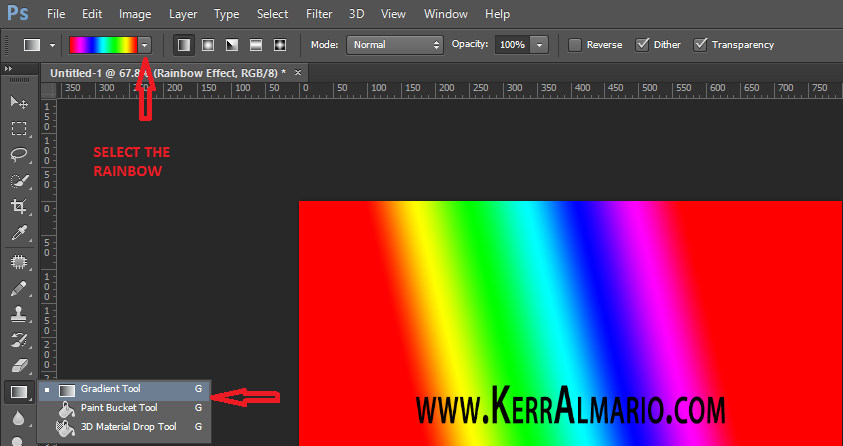
It should look like what I did below.

While the Rainbow Effect layer is being selected, select the Blending Mode and set it to "Overlay".

Then the picture should look like this.
.png)
And this is the final result.
I hope you had fun in this tutorial. Take care!
www.KerrHowTo.com
@kerralmario : kerr i upvoted and resteemed
Thanks man.