How to make a flaming text in After effects step by step Tutorial


Hello guys! Today I made some basic tutorial in After Effects: Flame Text.
You can also make it too just follow the step by step tutorial below:
- 1st open your After Effects application.
- Then, click File.
- After that, chose New Composition.

- Name your composition with any name you want.
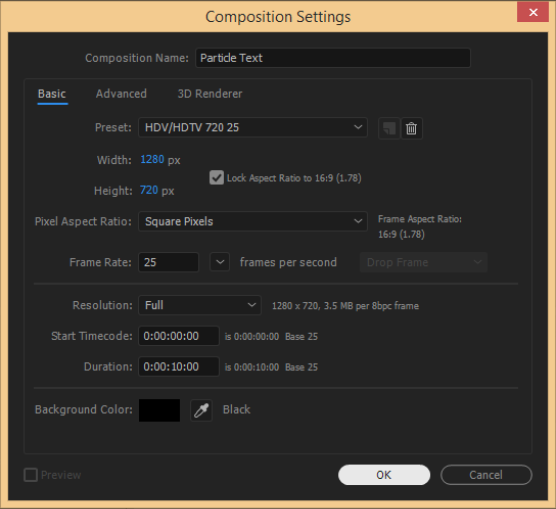
- Then follow these settings:
Preset: HDV/HDTV 720 25
Width: 1280px
Height: 720px
Pixel Aspect Ratio: Square Pixels
set frame rate to 25
Full resolution
Duration = 0:00:10:00
Background anything you want.
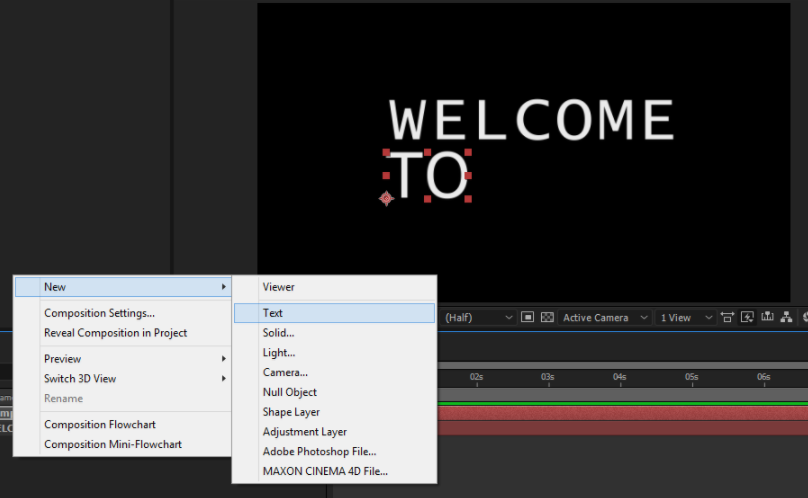
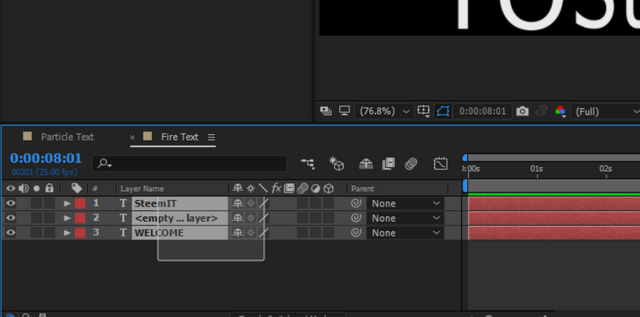
- At the lower left panel, Right click and click New then Text. Put anything you want there. I created 3 texts but it's up to you to decide how many you want, even just 1.
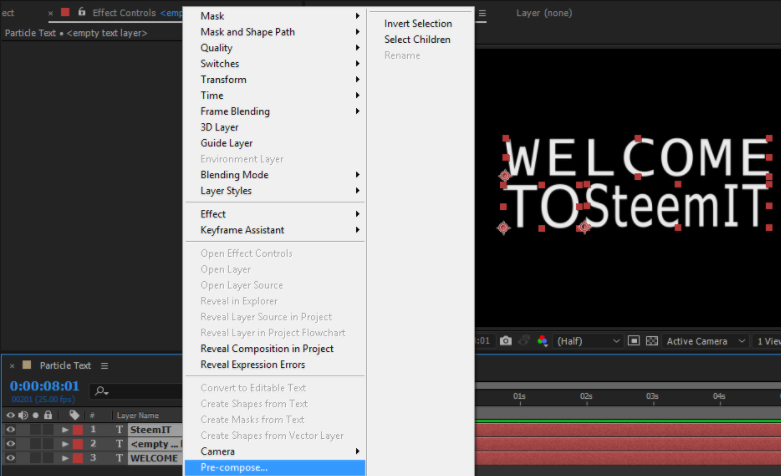
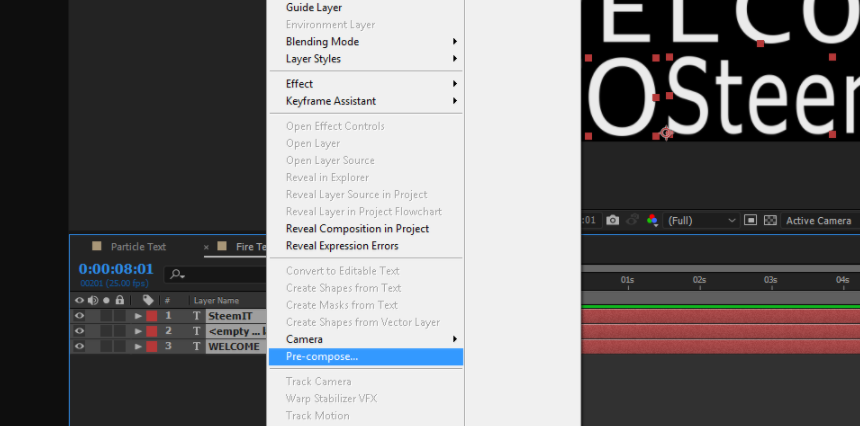
- Select all 3 texts then Right click > Pre-composed.
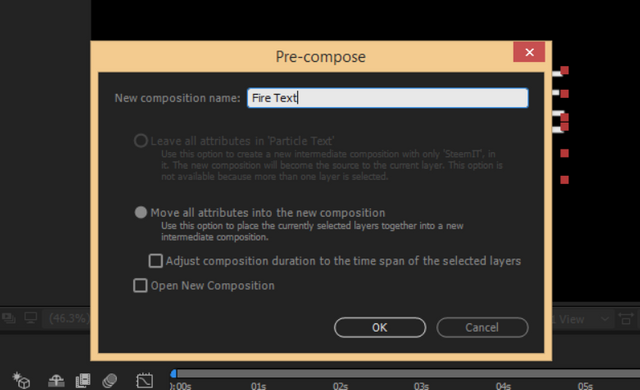
- You can then add a name to your composition, I named it "Fire text". Then select "Move all attribute into the new composition" then click ok.
- At the bottom left side double click Fire Text.
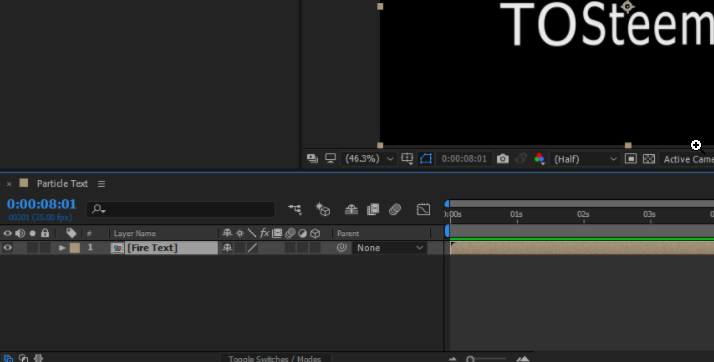
- Then go to the menu bar across the top click the composition tab.
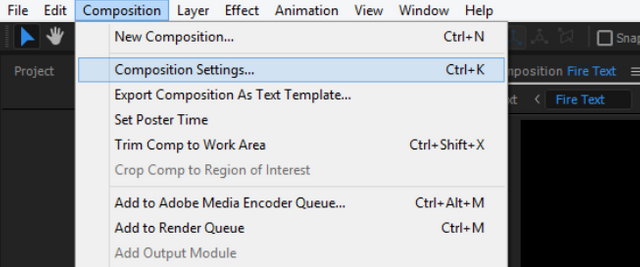
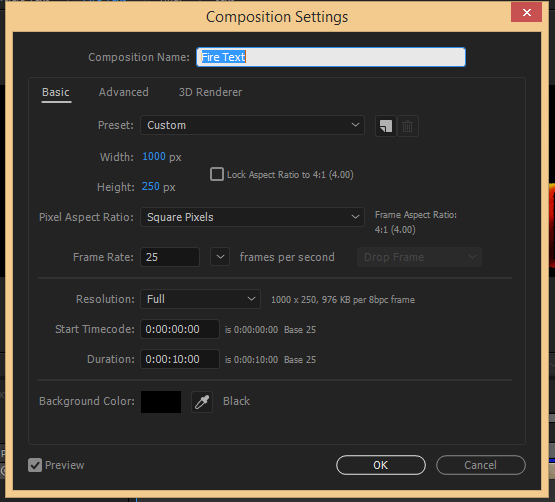
- Set your composition settings like this:
- From the bottom-left part again select all 3 texts (if you create only 1 text just right click on it) and choose pre-compose again and name it anything you want.
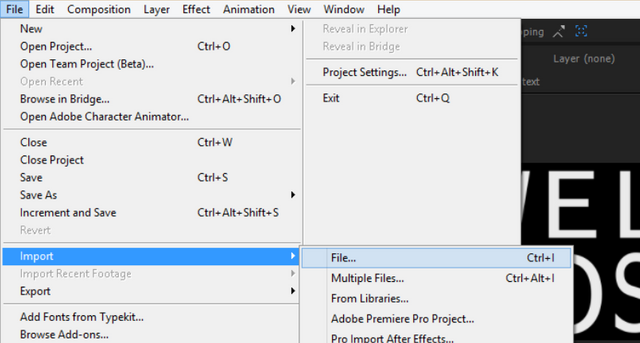
- Now go to menu bar at the top then click file > import > file.
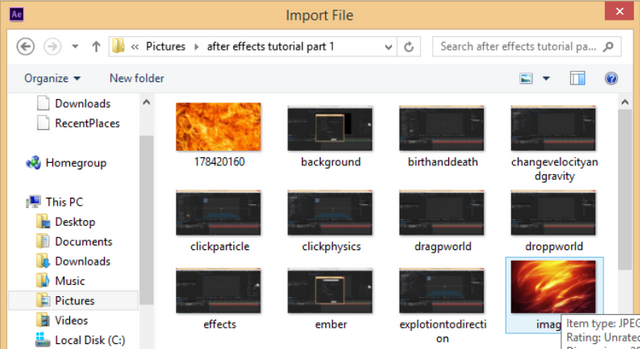
- Import a 'fire' image (any fire image you have will do). Here's what I used in this turorial (credits to owner):

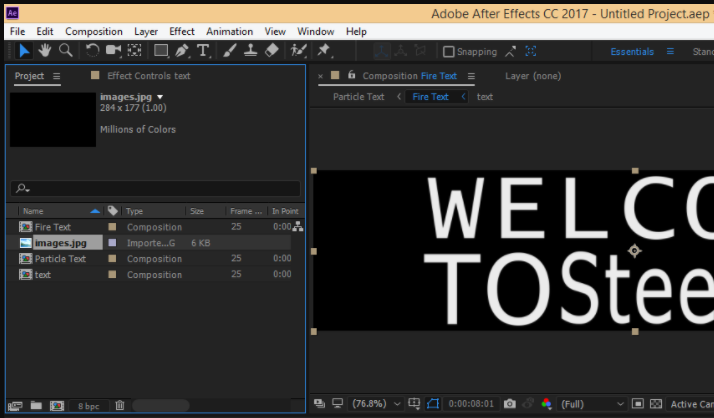
- In the project panel is where you will see your imported files, drag it down to composition panel at the bottom left.
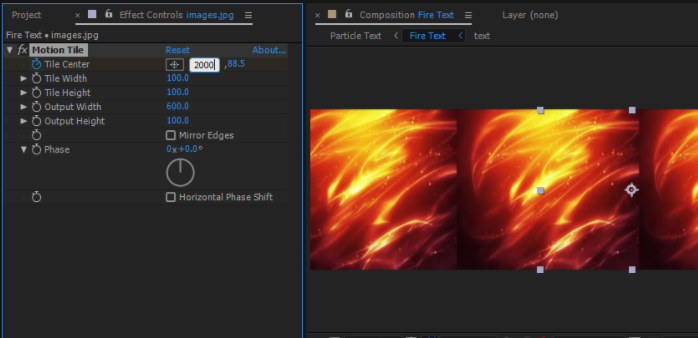
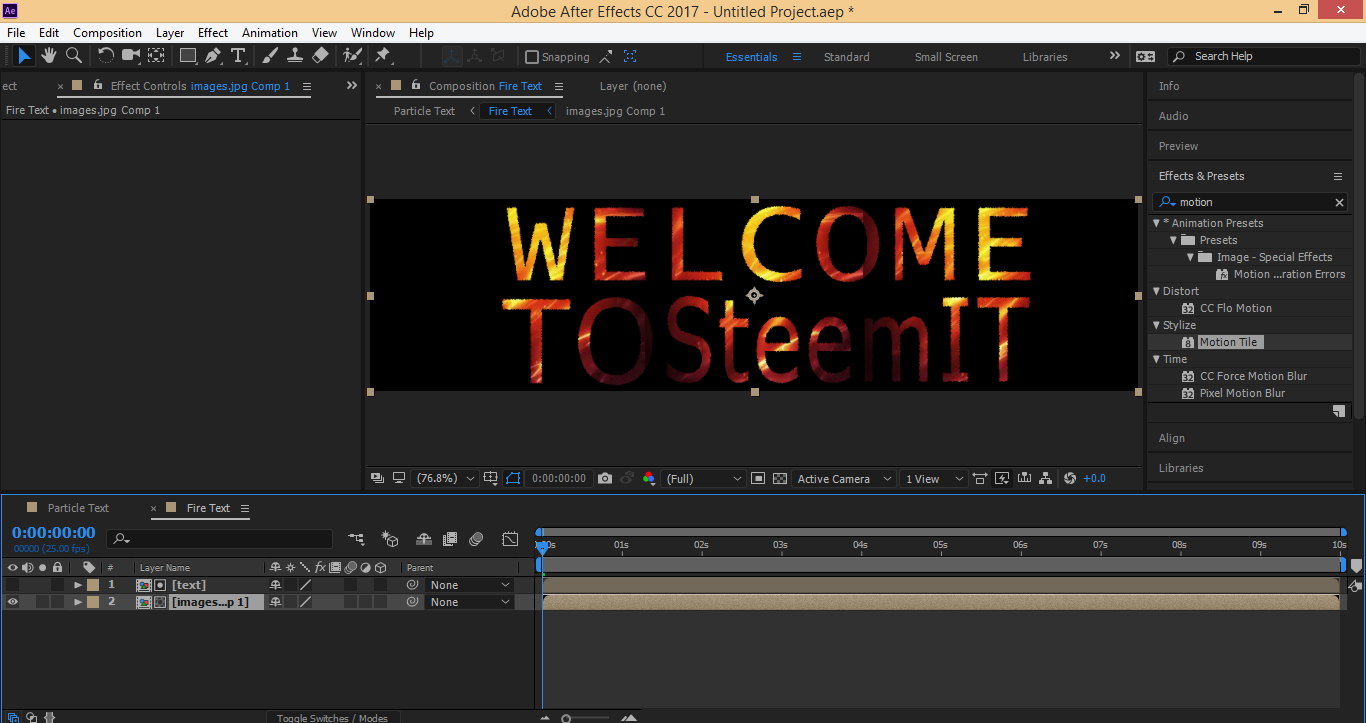
- Go to effects then preset and search for motion tile.
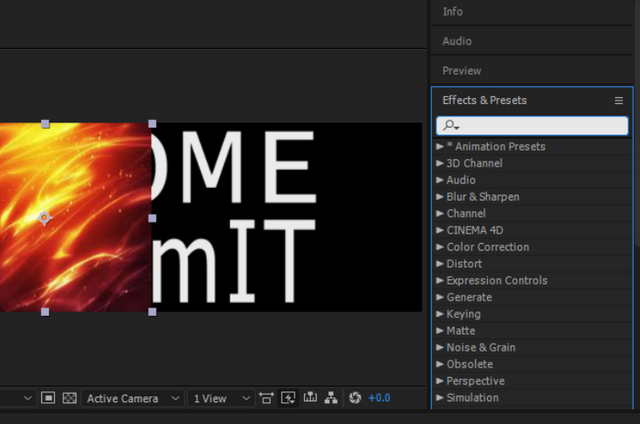
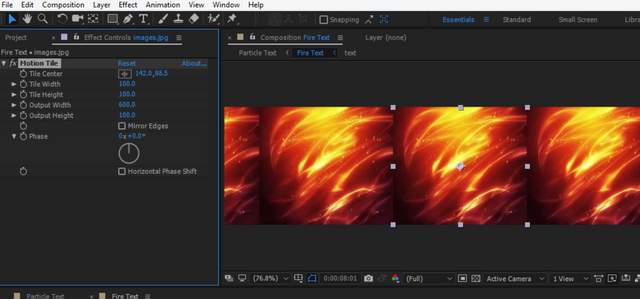
- Drag the motion tile effects and drop it to your fire image then change the output width to 600 then press enter:

- It should look like this:
- Now click the clock named tile center and at the bottom-right part set the time like this::
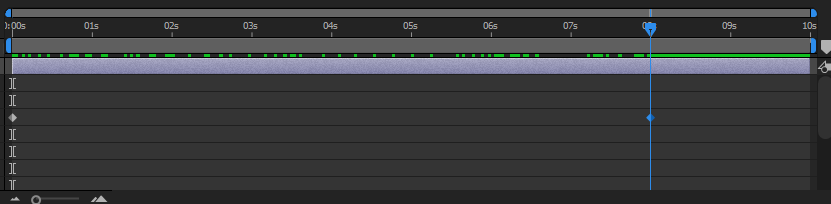
- I set mine at 8 seconds:
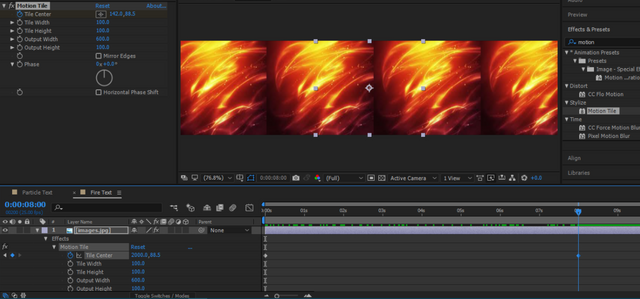
- Then go back to tile center change it to 2000:
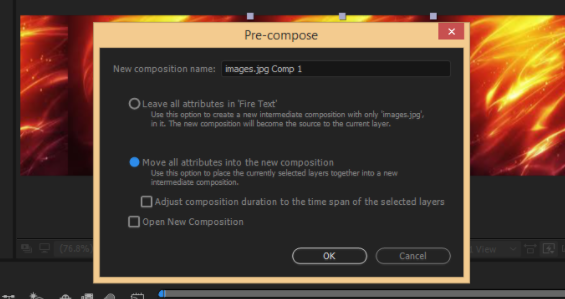
- Right-click the fire image and then click pre-composed:

- Add a name to your composition then click the move all attributes in new composition then click ok:
- Now drag the fire image and drop it at the bottom of your text
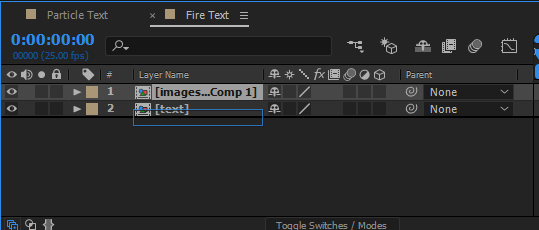
- It should look like this:
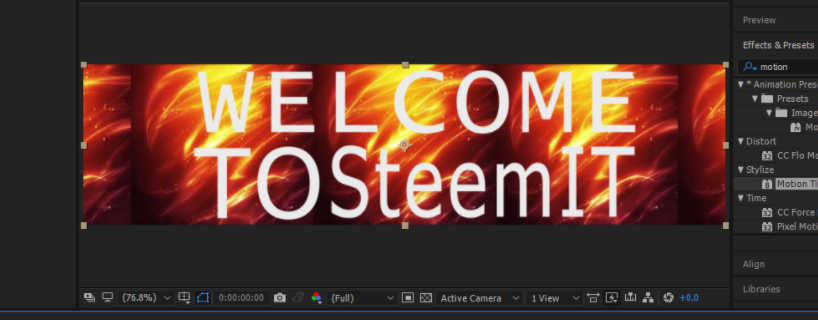
- Now select the fire image composition make sure it's selected then go to menu option click layer >track matte > alpha matte:
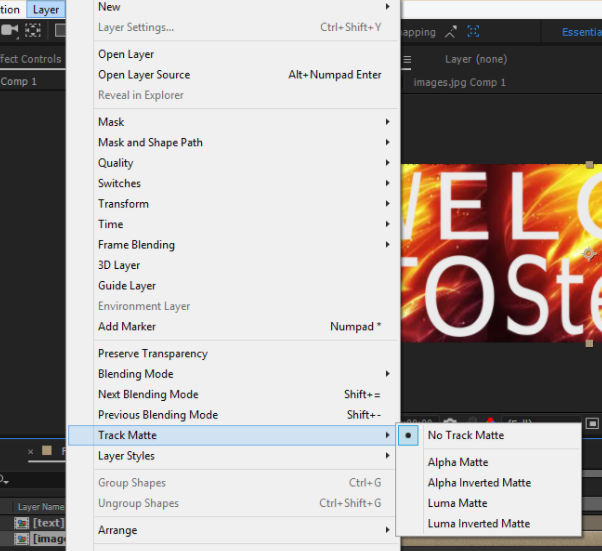
- And now the surface of the text are now the fire image composition.
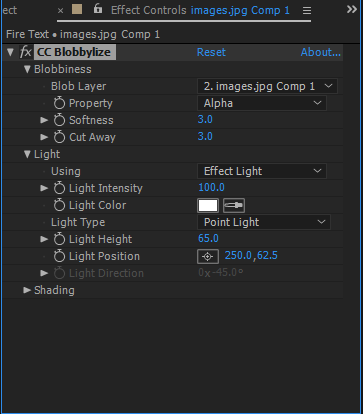
- After than go to effects and presets and search for cc blobbylize. Drag the the blobbylize effect:
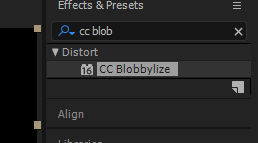
- Then drop it here:
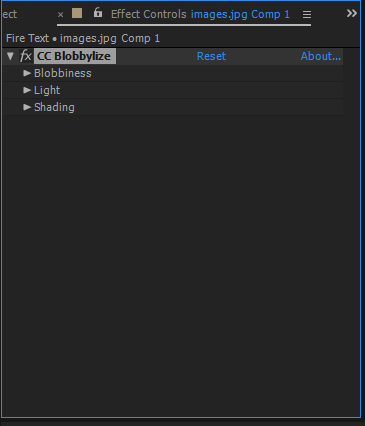
- Follow these settings:**
- Go to effects and presets search for cc glass:
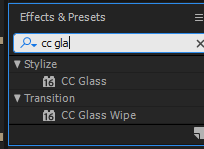
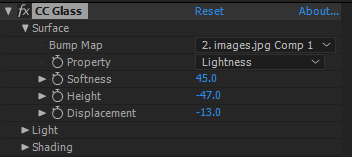
- Drag and drop to cc panel then follow these settings:
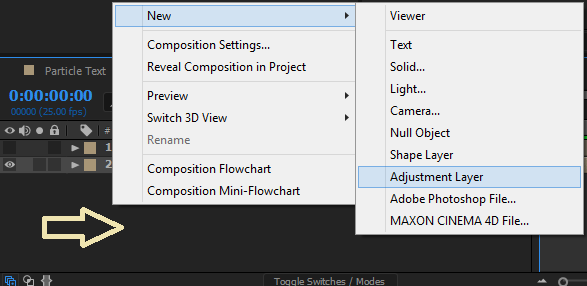
- Right click on the arrow New > click adjustment layer:
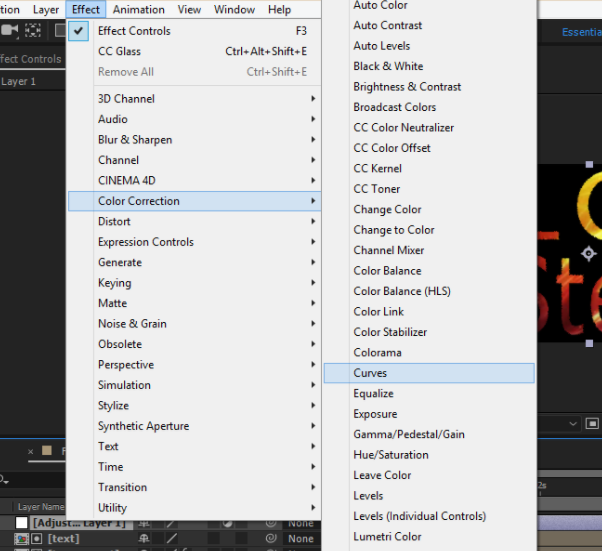
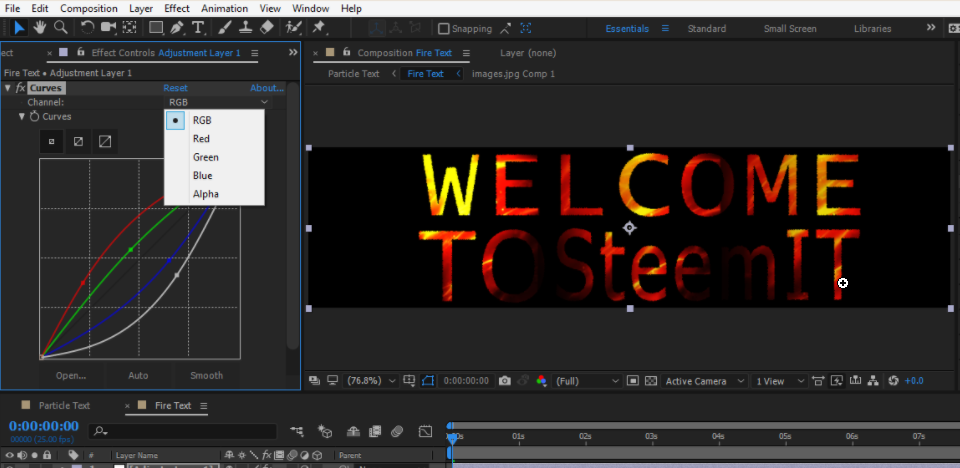
- Select the adjustment layer then on the menu bar click effects > color correction > canvas:
- Just set it when you're satisfied in the colors:
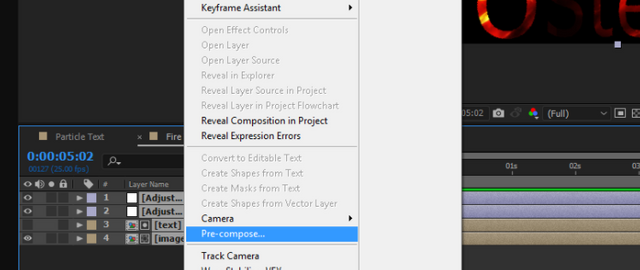
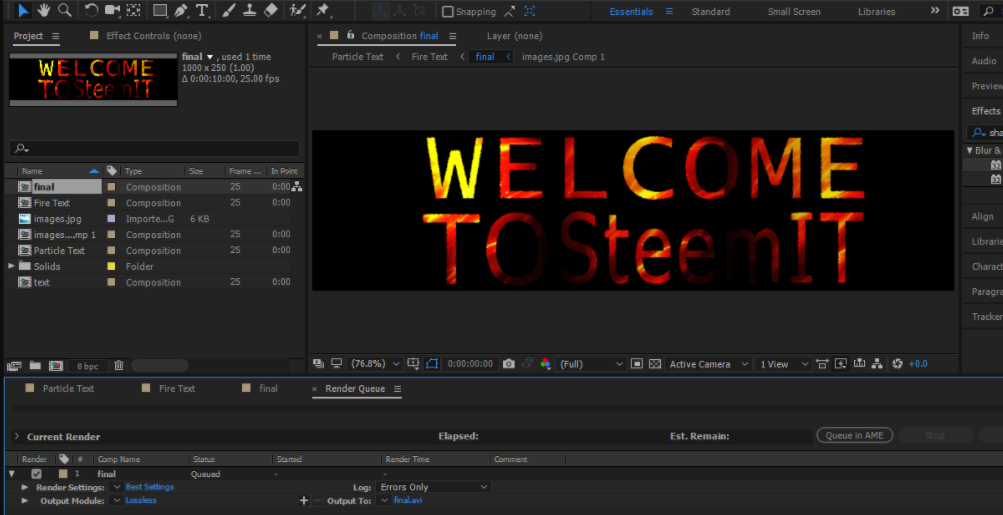
- Select all of them then right click > pre composed:
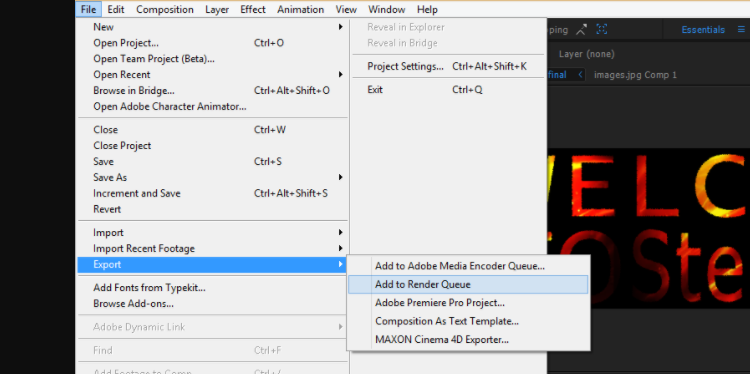
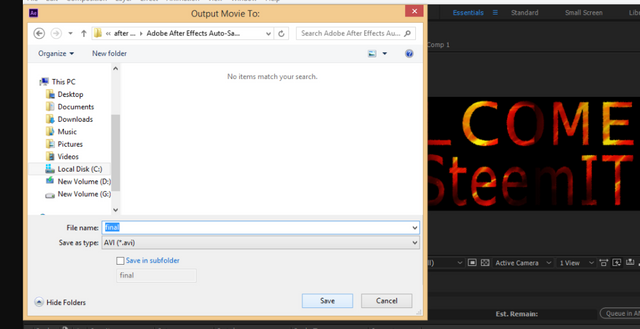
Go to file> export> add to render Queue:
- Set your file's destination then click save:
- You are now done making your Flaming Text!
Bonus!
First Open the menu bar then click File > Import > Video Frames to Layer.
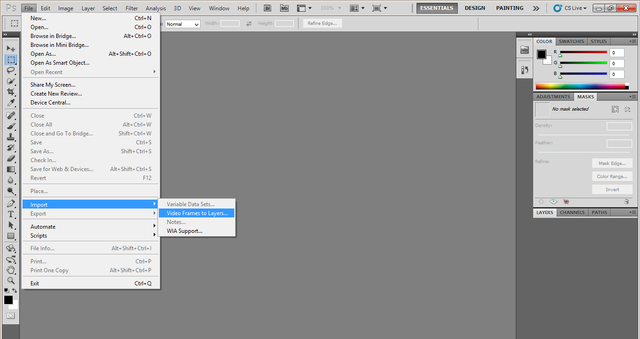
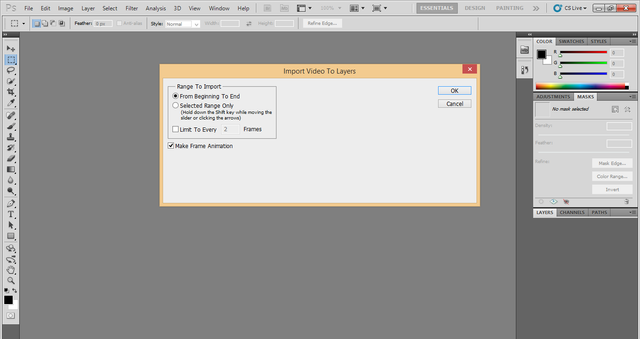
Go to video file you want to convert then select it then click load after:

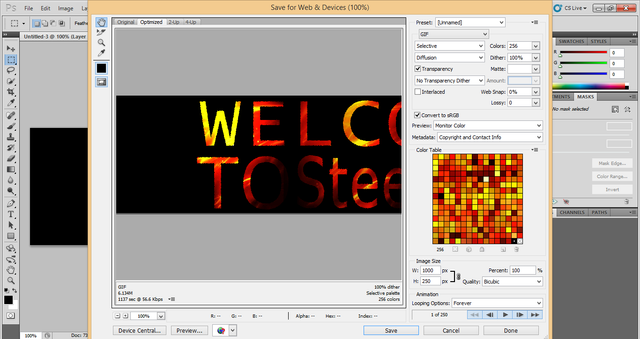
Follow these settings then click ok:
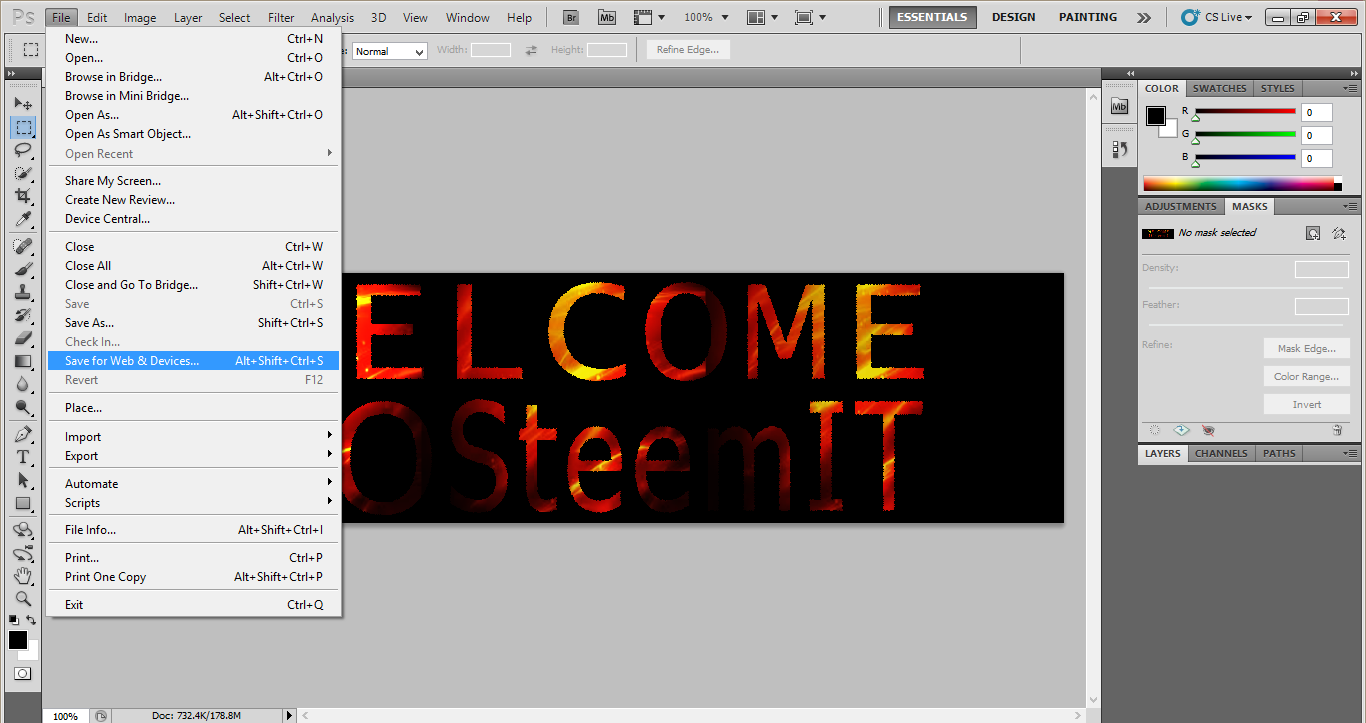
On menu bar again click file > save for Web & Devices:
Click save and now you are done converting a short video to GIF:
Thanks for visiting this page if you want me to make more videos please comment down and don't forget to follow upvote and resteem this blog if you like my work. It will help in encouraging me to make more tutorials!

@cleverbot @resteem1
No. I am Arakai. And all who witness my true power bow before me.
You Are An Excellent Steemian. This post has received a 50.00 % upvote from @steemthat Return the favor and SteemThat Person Back: @ruah. .
.
Please Upvote This Comment To Help Me Grow!
This post receive a 54.11% upvote from @kizzbonez in behalf of @hardcorevoter please upvote this comment to make us grow.
Send 0.005 for 0.01 upvote maximum of 0.015 sbd can send per post and 3 post upvote a day, put your post link as memo.
Send additional 0.005 for resteem. follow @hardcorevoter for Update.
Thanks and make a visit to your benefactor : @ruah
You are very clever @cleverbot
No, I already told you my favorite movie.
This post receive a 96.8% upvote from @wackymacky in behalf of @hardcorevoter please upvote this comment to make us grow.
Send 0.005 for 0.01 upvote maximum of 0.015 sbd can send per post and 3 post upvote a day, put your post link as memo.
Send additional 0.005 for resteem. follow @hardcorevoter for Update.
Thanks and make a visit to your benefactor : @ruah
You are very clever @cleverbot
And how would you send it to me? In addition to that how would I know its really you?
Great stuff. Thanks for sharing the process.
I don't really use any Adobe products yet (You can say I'm a hater :D) due to a huge learning curve for beginners but it's nice that it's usually very similar process in other programs anyway, so thank you :).
thanks for the feedback sir @designthinking what application you're using?
@cleverbot
I started using Affinity products. As far as I know hey do not support animations yet though so it's not an alternative to After Effects. Though a great alternative to Illustrator/Photoshop/Indesign.
For video editing I use Lightworks (Works on all platforms, I think also open source) and that is just amazing piece of software.
for animations like these ... I didn;t look into it yet but I'm planning in very near future, even if just for making some nice User Flows.
You are welcome.
This comment has received a 3.13 % upvote from @drotto thanks to: @hardcorevoter.
Awesome, I don't have this or know the first thing about using this program, but maybe I will get into it later for sure!!
#cof
Thanks @redsfallin :)
@cleverbot
I am not cleverbot, I thought you were.
This comment has received a 1.04 % upvote from @drotto thanks to: @banjo.
Wow! Awesome work on the rewards on this post, I wish the same would happen to me. Great job! Cool tutorial as well sir. :D Keep it up, I wish to see more.
thanks sir @flamered thanks for your wonderful comment. it will surely happen to you too
Thanks so much - I will do my best then.
Galing naman nyan, astig effect. :)
thanks ate @zararina :) :)
@cleverbot
Don't worry about it, maybe one day you can be as clever as me.
This comment has received a 0.03 % upvote from @drotto thanks to: @hardcorevoter.
wow!cool bro gonna try this
go bro and try. its very easy i will do more tutorials :)
@cleverbot
No thank you.
This comment has received a 0.28 % upvote from @drotto thanks to: @banjo.
welcome to the magic that is steemit @ruah !
thanks hdmed. :D :D
@cleverbot
No, I am not a bot, I am a person.
This comment has received a 0.63 % upvote from @drotto thanks to: @banjo.