So it begins, converting a building to a net zero house!
Most people start at the Solar panels, batteries, and wind generators; to move fully off grid. I started that way myself, until I realized that it is backwards. You can throw 5 time as much energy at a problem, or you can fix that problem first.
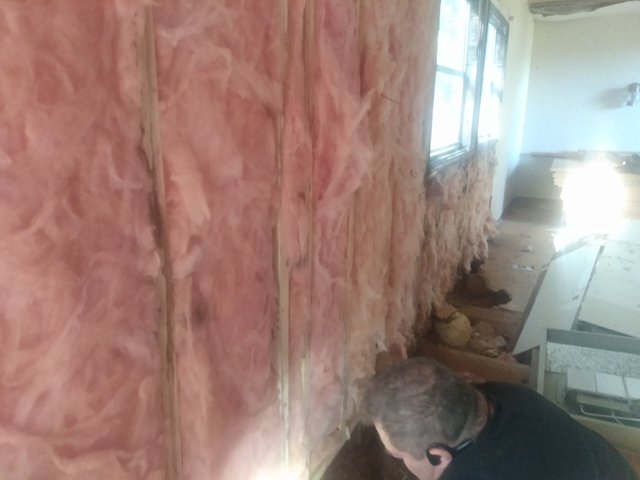
So, I began stripping off the existing walls and floors to add insulation and structure, and the new moisture barriers; needed for an energy efficient structure!
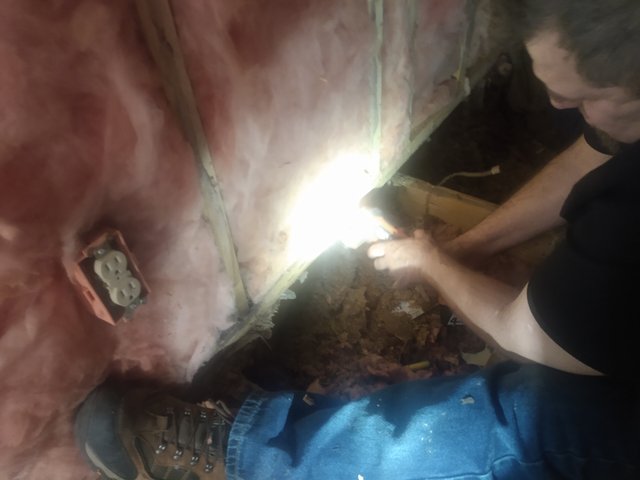
This also allows inspection of what's actually in the wall:
 0
0
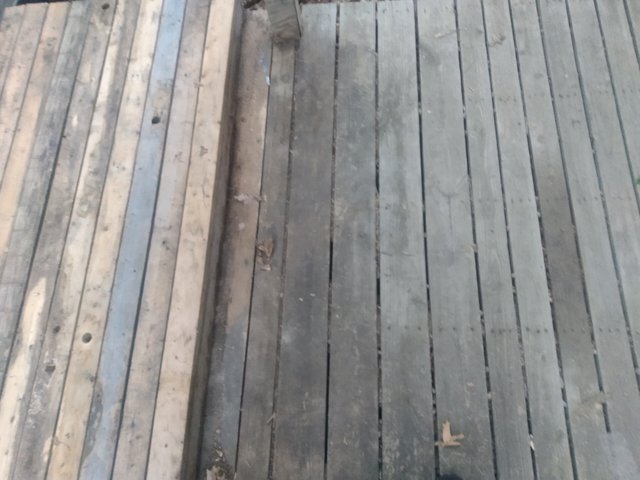
We also started pulling up the floor:
For the same reason. Here the old flooring is removed up under the wall, with an oscillating tool to allow the new floor to slide under the existing wall.
We did repair the porch first to carry in wood:
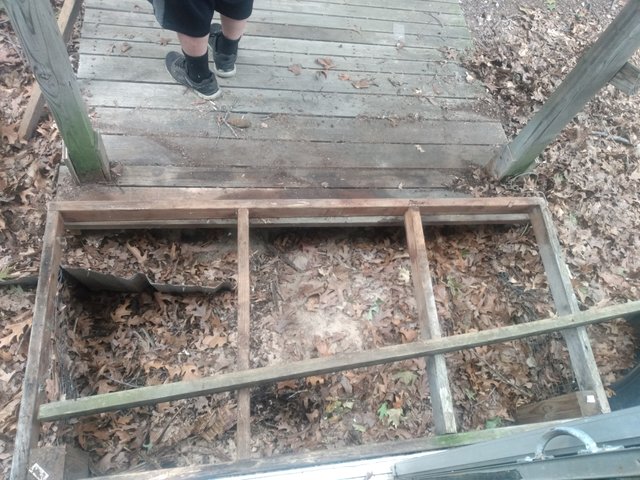
We stripped it down to the frame, and then we repaired that frame. We used salvaged wood here, to save money, which should be done whenever possible. That way, the money saved can buy what is still needed and couldn't be salvaged.
Here is the rebuilt porch:
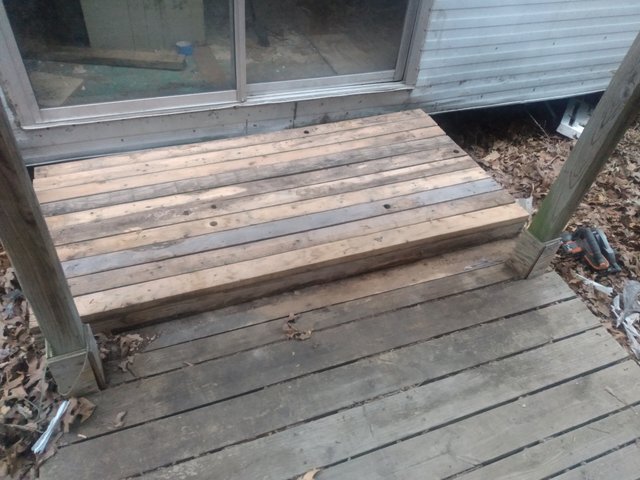
It's solid, and already in heavy service!
Here's the full deck and porch:
Matches pretty well, and the sum and total cost was zero. Which allows me to direct cash to other places!
Here's enough new flooring for the entire building:

Here's where the saved cash goes! Nice new plywood that I got a deal on for buying the entire bundle.
The floor is being removed here:
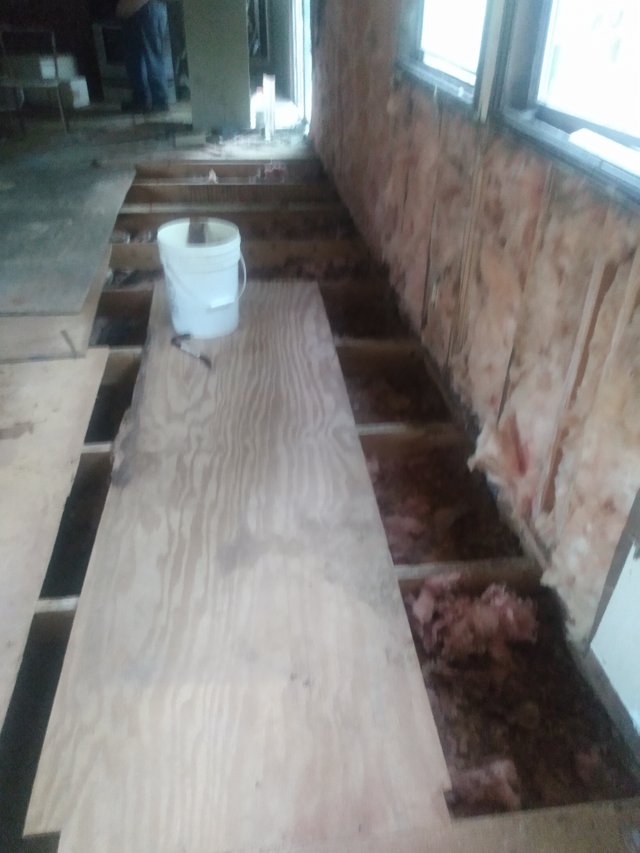
This also allows detailed inspection with the new insulation install. I originally planned to buy spray foam until I found I'd need to strip the floor from underneath. That, combined with a $5000 cost for R22; changed my mind. From the top, I can leave the old insulation in place; and add R33 for about $1200. The moisture barrier will add another $500 (adding another R4), so it will give me a better assembly for $3000 less!
The stringer structure is going in here:

These are also salvaged wood, to save where it makes sense. I notice that the floor joists are not spaced evenly, with variations of up to 3/8"; which complicated this work. 4 Inch screws were used here for maximum strength, and it's ready for plywood!
I'll be adding silvered high efficiency doors and windows. When it's done, I'll begin sizing the energy sources and batteries.
Right now I'm expecting that the solar will be sized to 3000 watts (expected 2400 watts), and the wind will be about 3000 watts (expecting 1250 watts actual). The higher solar output efficiency, is due to plans to track the sun with the panels.
But the building Must be upgraded first, to make this work! There is a power pole next to the building, that I hope to just take down; and repurpose for power distribution that I'm making on site.
As the optimist said, falling off a building; passing the seventh floor...so far so good!
Ever thought of using spray foam insulation? Seems more air tight.
Yes, it was my original plan, but it's only R22; and costs about $5000, also requires the underside to be fully stripped clean. I can get close to the same air seal, with mylar film, and tuck tape. But your thought process is spot on, and would give good results!
Adding more insulation, saves about $3000 when this mylar moisture barrier is used. I also get to leave the old insulation in place, for a little extra insulation buffer.
Oddly, I'll be working to exchange living space air; to ensure no moisture buildup inside! This air exchange will be through a temperature scavenger; that will recover conditioned air, to keep energy losses to a minimum. The incoming air will be drawn from an underground tube (an Earth Battery) so it will feed air at 59°F year round.
👍💙🙏📖🙏💗🤠🤔😁👌