Quixel for starters
Hi,
Let's talk about Quixel really quick (lol...)
So there are many apps and programs to make textures, as artists we try to reach as real as possible textures and materials.
So how to do it?
Well, simple way it draw, but it's not that simple...
Download! that's always great but you might want something of your own no?
https://texturehaven.com/
Is a good free place to get some high end textures but again, you might look for something of your own.
Substance designer and painter, ultimate power! but at a cost... yup this tool does cost money and getting it is a bit of pain in the pocket...
Quixel?
Yup! As long as it's free (time is running out but no one know when?) so feel free to use it as much as you want!
But how to work with it?
Simple, yet, you do need to know a little about how to work with materials.
First get Mixer, this is the main app we gonna work with.
The name is pretty self explanatory, you "mix" materials in order to make new ones.
Bridge, is slightly different, it's the integration of materials to different applications and due to the collaboration of Epic and Quixel the app is more Unreal Engine native but you can still use it for whatever you want.
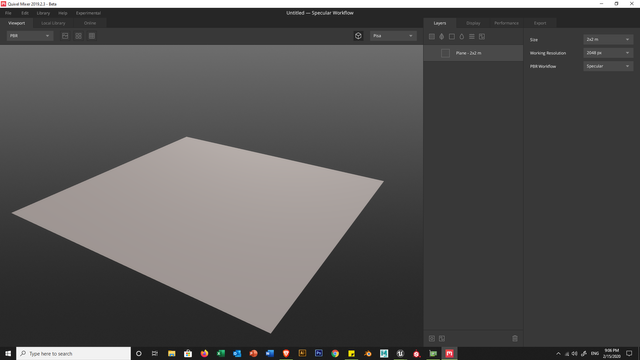
Now it's empty, all you got is just a plane, lets add a new "Solid" layer.
This layer would be the "base" of all out work.
To add Solid layer press the small square between the leaf and the water drop.
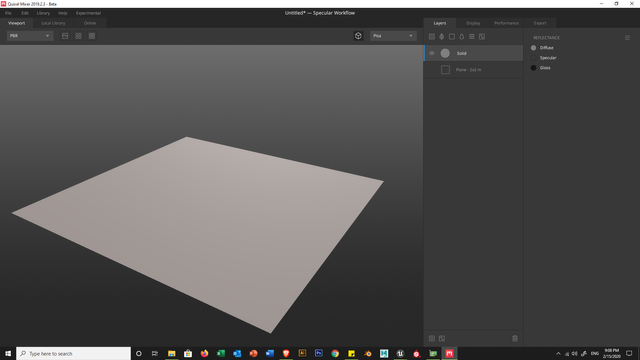
Cool, now we got 3 parameters we can work with, but they are pretty useless as we can not see anything happens...
Lets add some surface layer, near the leaf there is another square with dots, this will open the surface gallery.
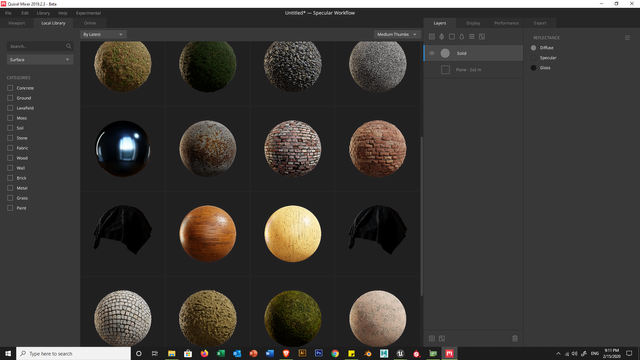
Now it know, mine is efferent from yours it's because I downloaded many items and played with them a little, Hey it's free for now use it!
Lets select the Forest Roots and add it to our surface layer.
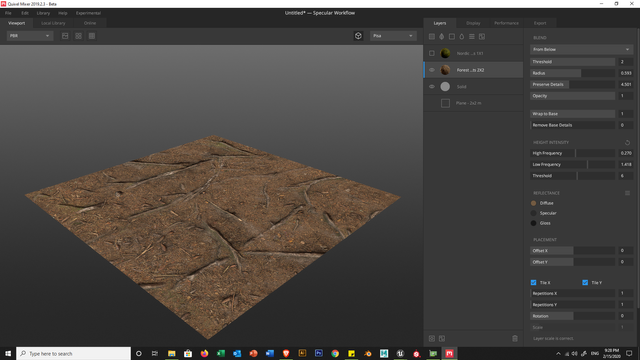
Nothing? no worries, look to the right now we have many many options to select from!
first choose on the top, "From Below", after all it's the base layer which is where we want to put stuff on.
Then mode the Threshold all the way until it's full, now we start to see something happening!
Ok, now Radius push it until there are no white spots, and give it just a little more.
Then choose the Wrap To Base and push it all the way until it's full.
There are many other options you can play around with but this is purely for you to decide to use or not, basically you should get something like this.
Excellent, now lets add another surface, this time the Nordic moss.
Now things get a little tricky, THINK how your surfaces blend, so in this example, we got Moss and moss usually grow ON TOP of stuff and not below, well depends where you live but 99% it grows on TOP, therefore we need to change the blend to From Above.
Now, this is the part where you need to play with the Threshold and decide how dense or light this moss surface should be.
Also, to get more accurate details use the Radius bar, this time we don't need to wrap to base, I decide I do want as I want the moss to look as realistic as it can.
I slightly moved the High and Low just abut to get it right.
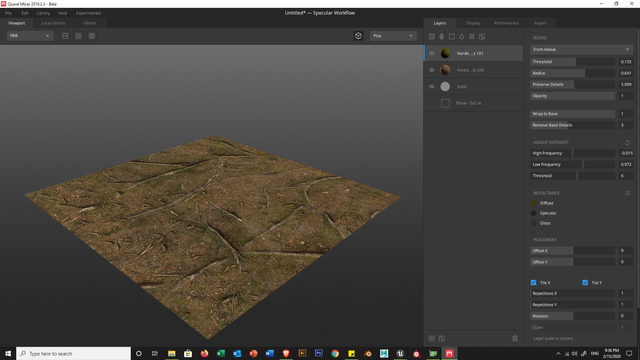
Press Shift + Left mouse and drag to the sides to change the light direction until you are satisfied, you can also change the light profiles on the top, Pisa, Indoors, Studios etc...
I've added a few more surfaces for fun and you can see them here
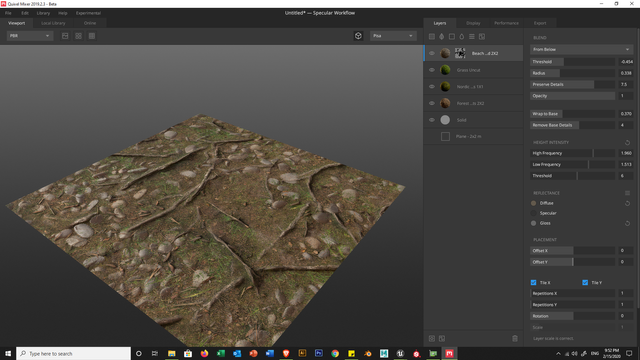
So this is just a slight taste but you can go really wild with is tool, I could show many many things you can do but there is no other way but to test and play and reach some nice results!
Hope this gave you a little idea on how to get started with this app, later I will show how I made a rail road tracks with a simple image in photoshop of some really quick black and white 2d image.
Congratulations @kerulian! You have completed the following achievement on the Steem blockchain and have been rewarded with new badge(s) :
You can view your badges on your Steem Board and compare to others on the Steem Ranking
If you no longer want to receive notifications, reply to this comment with the word
STOPDo not miss the last post from @steemitboard:
Vote for @Steemitboard as a witness to get one more award and increased upvotes!
This looks pretty cool :D Sadly I won't be using it for the same reason I ended up going with 3dCoat over Substance, no linux version XD
Though in fairness to 3dC and Substance, the former had a few more of the features I needed at the time