From Virtual Prototype to 3D Printer
Introduction
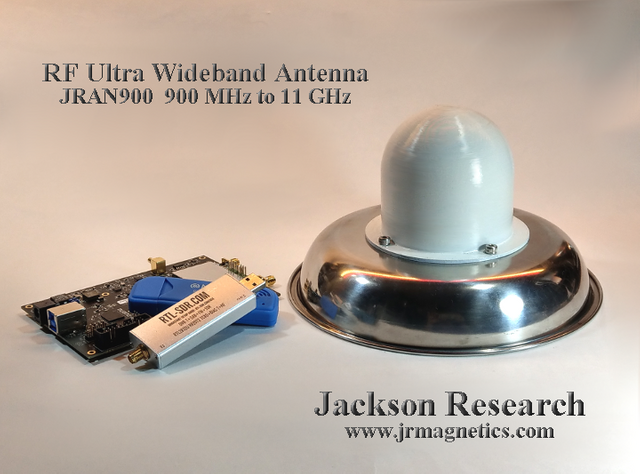
I will explain the procedure for Virtual Prototype creation starting with the CAD design and step through the process of generating a finished product with 3D printed parts. The 3D printed parts were optimized in the VP physics engine to produce a final product without the litany of prototype attempts, expensive machining and laboratory experiments. It is remarkable that computer technology allows us to go from concept to holding something in our hands that meets a specification without the time and expense of traditional development methods. This entire process is not to far away from a science fiction replicator machine.
This particular Ultra Wide Band (UWB) antenna design should be of interest to anyone using Software Defined Radios (SDR). I have not seen any commercially available wideband antennas online that come close to the performance of this design.
CAD
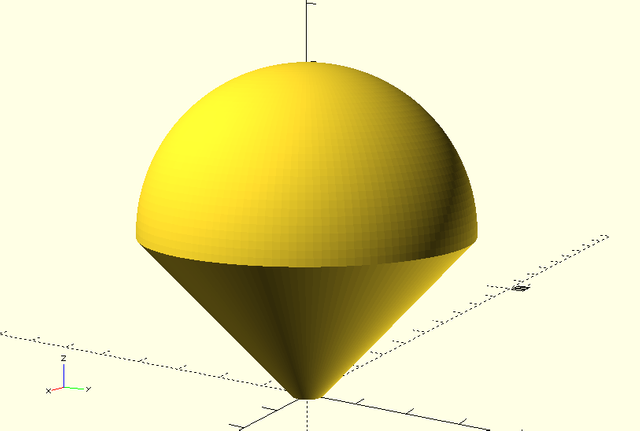
The first step in creating the finished product was to 3D model the device in a CAD application. An optimum shape for an Ultra Wide Band antenna had already been determined from research. To start the fabrication process, a 3D model object of this shape was created in a CAD application. The CAD generated output file was chosen to be compatible with the VP physics engine so that it could be imported. Several of the 3D model parameters to be imported into the VP physics engine were defined as variables so that the physics engine could optimize critical dimensions.
Virtual Prototype
The VP physics engine used in this case was highly specialized specifically for this type of electromagnetic physics solution. Although this particular VP physics engine was originally classified, it is now available in the public domain. I first ran into it at Boeing when it was still classified. It has since been modified and improved through many iterations and versions.
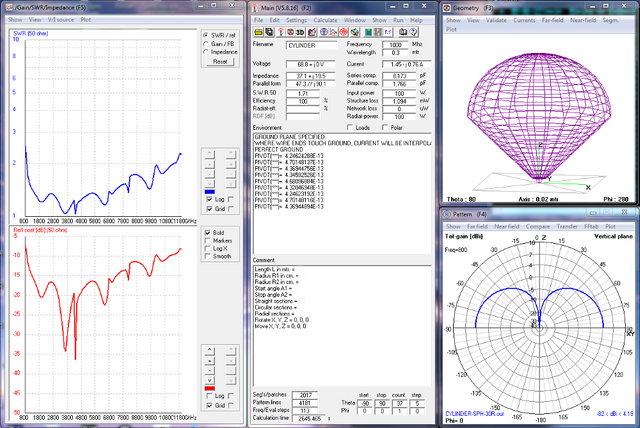
This VP physics engine uses a genetic algorithm [1] to modify the parameters that were defined as variables so that the engine could find a best solution based upon predefined constraints. The diameter of the antenna was set in the 3D model for the approximate lowest desired frequency. The other dimensions on the variables were modified by the physics engine to maximize the bandwidth and adjust the antenna input impedance to 50 Ohms. Initial conditions for the design were set and the VP physics engine was started. The result produced a bandwidth from 900 MHz to 11 GHz into a 50 Ohm transmission line with a VSWR less than 2.0 over the entire bandwidth as can be seen in the graph.
Physical Model
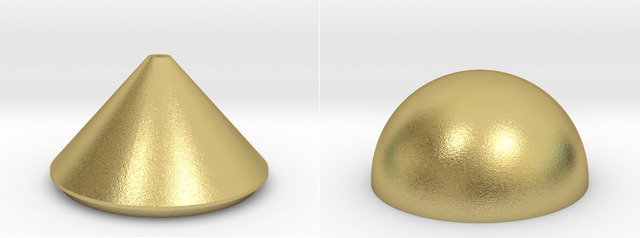
Machining this antenna is extremely expensive. Most people thinking of machine shops are considering shops that machine heavy equipment parts. This is definitely not what to do. The classical Model Shop, a type of machine shop, handles small quantities with high precision and exotic materials. A Model Shop typically handles aerospace grade parts. This is not practical for the general public by any stretch of the imagination due to price, which can easily be ten (10) times or more the cost of a 3D printed part. The solution is to have the parts 3D printed in metal, which has only been possible for the general public within the last few years. 3D metal printing outside of the aerospace industry is bleeding edge technology. Once the 3D models were created and optimized, they were uploaded into our commercial online store. [2] All of the parts for this antenna are 3D printed on demand when an order is placed. This is the ultimate in efficiency and lowest cost.
3D Physical Model
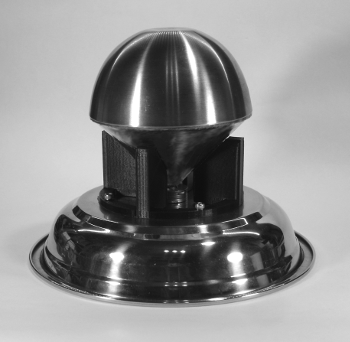
This particular antenna design required a physical prototype to verify the design procedure before committing to the 3D printed version. The assembled physical prototype shown had slightly different dimensions than the final 3D printed version, but closely matched similar design constraints in the VP physics engine. Once the procedure had been confirmed to produce accurate repeatable results, the final 3D printed version was launched. The final 3D printed metal parts, when fully assembled, matched design constraints within the precision of the laboratory instruments used to verify the final design with the radome installed.
** Conclusion**
The VP physics engine used in this design is highly specialized. We use, when appropriate, much more advanced commercially available VP physics engines, which are quite expensive. PhD level scientists and engineers are often required to operate this level of sophistication. This facilitates advanced designs that can be created simulating fully functional machines of almost any complexity you can imagine. The problem here was getting from the Virtual Prototype to a Physical Model. That required 3D metal printing which is a very recent development outside the aerospace industry.
The concept is very simple. Start with a CAD design, complete details in the VP physics engine and 3D print the pieces for final assembly. The litany of prototype attempts, expensive machining and laboratory experiments have all been eliminated. Despite advanced Virtual Prototype physics engine cost, it is still vastly cheaper and more expedient than the traditional R&D process.
Additional details on this antenna assembly are available on our website.
A review of this antenna is available at RTL-SDR.com. [3]
[1] https://en.wikipedia.org/wiki/Genetic_algorithm
Congratulations @jrmagnetics! You have completed the following achievement on the Steem blockchain and have been rewarded with new badge(s) :
Click here to view your Board
If you no longer want to receive notifications, reply to this comment with the word
STOPDo not miss the last post from @steemitboard: