I made my own Digital Cartoon! (Step by Step) #ArtWork

http://picasion.com/
Hello Dears!
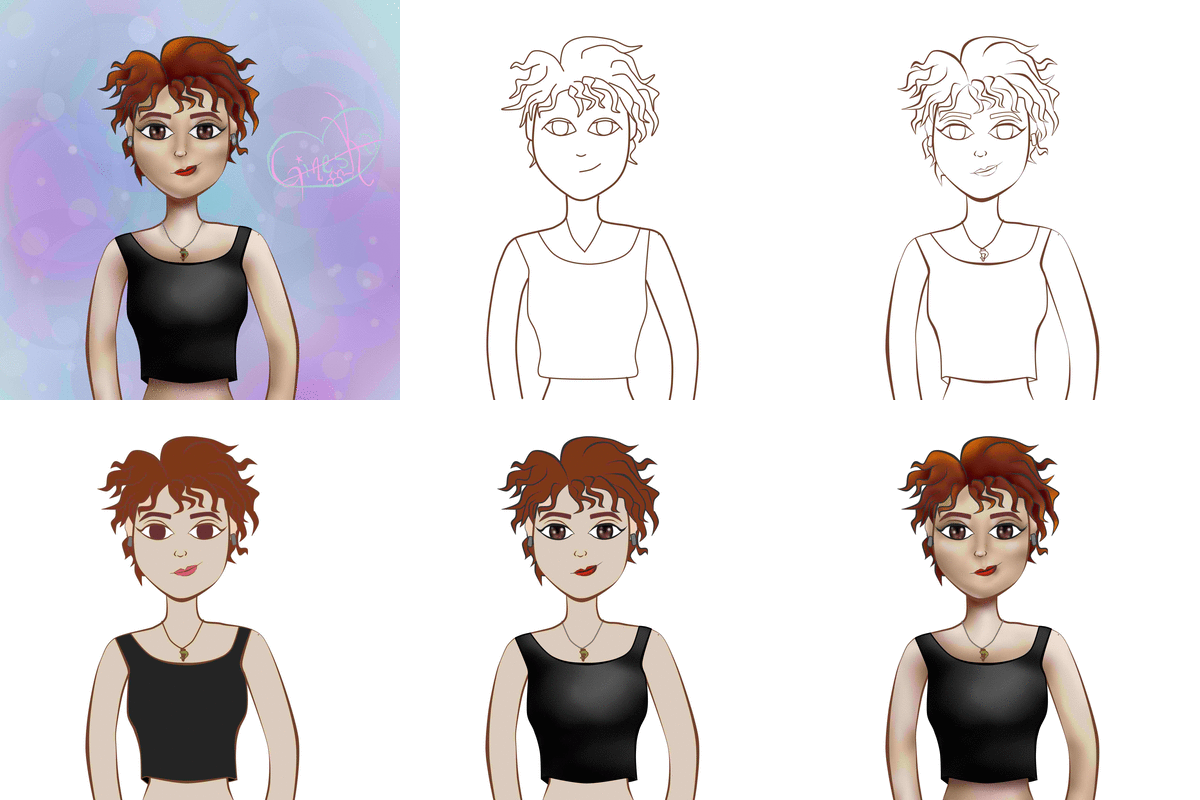
Today I'm going to show you something that I really like, the cartoons! Although, it is not the style that I always show, it is really one of my favorite styles when it comes to drawing, I am a fan of cartoons. And for being my first publication in caricature, I decided to caricature myself, since; we illustrators have tried at least once. I hope you have fun with me in this post, which is not as formal as the previous ones, since, the cartoons require more humor.
Without any more preambles.
We get to work with the caricature!
Tool:
The drawing tool used was the drawing program for computers Paint Tool SAI, better known as SAI. (I love this program).
Design:
The design of cartoons is more complex than one would think, because without many details a character is built, for me it is all art, for that reason I respect and admire the cartoonists very much.
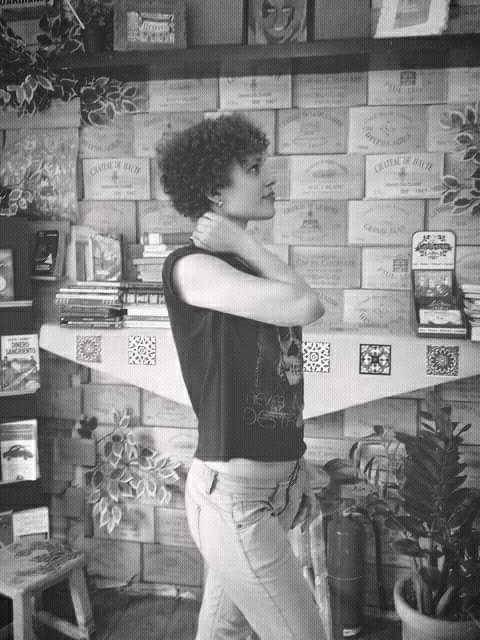
I will talk about my design, as I am caricaturing myself I do not need many reference photos, but take one in particular, and I will leave them here. With respect to the style of the illustration, I have developed it over time, seeing and copying other artists, I liked the Tim Burton style very much (Like the illustration of the corpse of the bride), I like big eyes, small noses and characters lengthened.

An anecdote about this, is that, every time I caricature, I do it with big eyes, and my mother always complains, because it says that my eyes are small, that I am a little girl and should accept it at once. Greetings mommy, it is my drawing and I put my eyes big because I like xD.
Sketch:
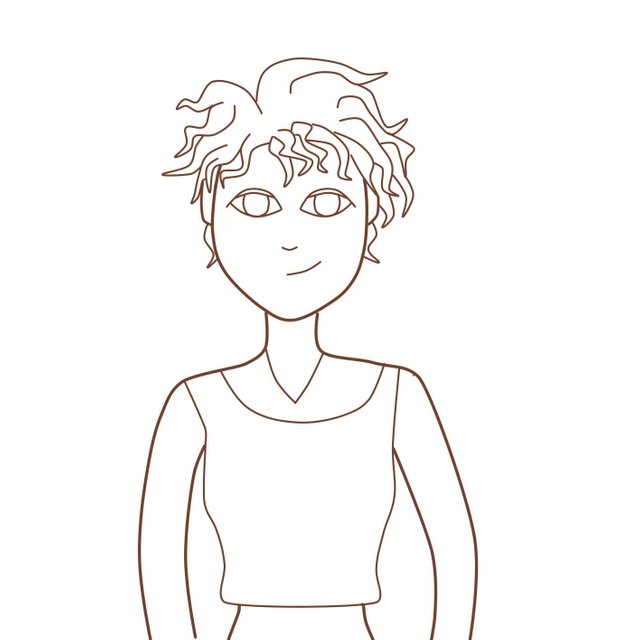
The sketch is about capturing the design that I have in mind, without too many details, I must confess that I do not have a graphics tablet, I do it with the computer mouse, so, I am somewhat slower, but more precise.

Modeling the lines (Pressure)
After I like the sketch I start to model the lines and add some details, like the tips of the hair should go, worth the redundancy, in tip, that the areas that have shadows can be thicker, (much trial and error, do not believe that it comes natural to me, at all).

Base Color
Each color has a different layer to make it easier when I want to place lights and shadows, in this part, every time I paint; there are always small blank spaces that I have to fill, one by one, in its corresponding layer. Name the layers with what they contain and facilitate the work (Really).

Shadows and lights
Maybe they think I should explain the shadows first and then the lights, but the truth of the matter is that I do everything together, in the best style of trial and error, until I like the result, I do it a bit with realism techniques, but, being a caricature distort a bit, the most important thing is to give it some depth, at least for me. Everything done with the tool "AirBrush" and a brush of blur.

Background
We added a background, as the color palette of the cartoon is quite dark, I decided to contrast with a pretty pastel background, with pink, blue and a light effect.

This has been all for today my Dears, I hope you like this post, not so technical, this illustration is also on the cover of my blog, if you read me for the first time, I have many post with tips for illustrators in #Steemit, You can shop around. A hug and I see them in my next Post.
Follow my steps...

Hermosa caricatura sigue así. Sigo tus pasos. Por cierto @Curie no vota por aquellos que colocan Curie como etiqueta solo es un comentario.
Lo puse porque vi que alguien mas lo usaba y lo votaron, es un buen dato.
Me gustó.
Ay, me encantaría poder hacer una caricatura de mí misma. Se ve divertido.
Saludos!
Anímate, no e tan difícil, saludos!