Audio from on Set to Post-Production: the Manufacturing Plant
Audio from on Set to Post-Production: the Manufacturing Plant
Recorded Files
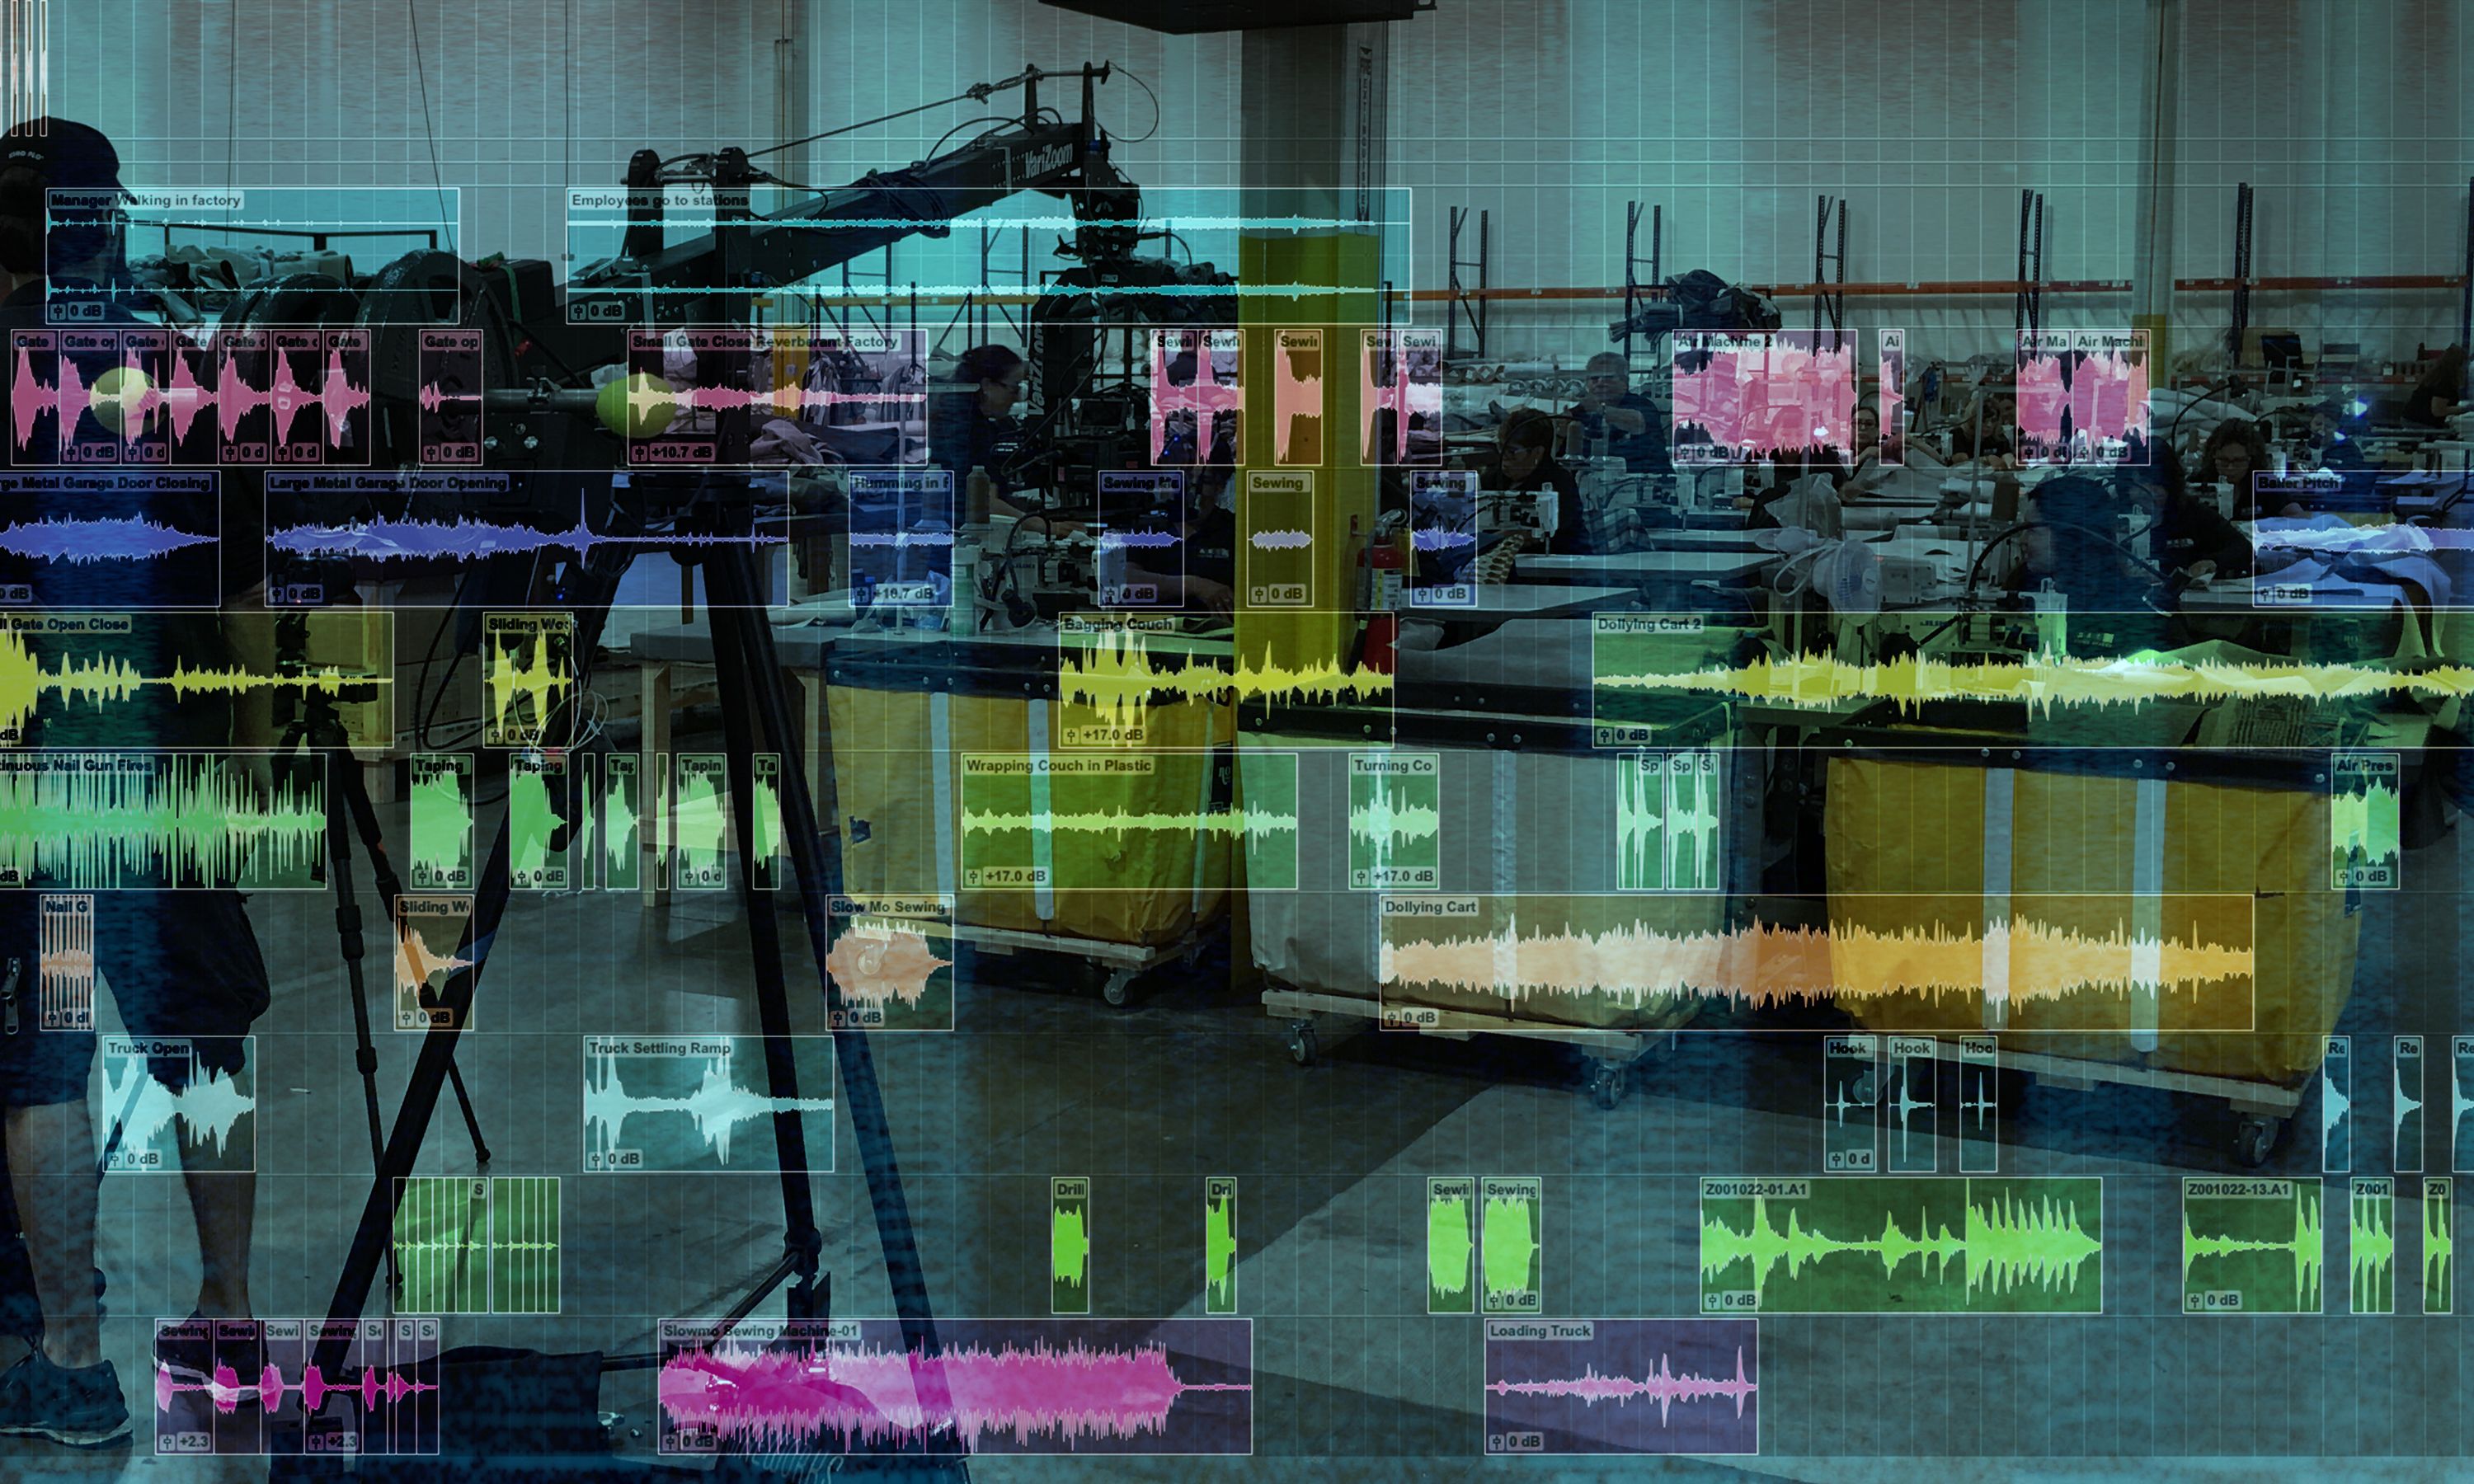
Imagine working with 91 files of 1-3 minutes each. At an average of 90 seconds per recording, we're at 8,190 seconds of audio. That's 136.5 minutes, or 2 and a half hours! This is how much audio was taken to make a 30 second track. The editing process because of this is tedious.
Editing Process
With 2 and a half hours of audio to edit down into 30 seconds, it takes great organization. From the audio file into the final product is quite an undertaking. I'll walk us through one pass of a recording to show how it goes from start to finish.
Final folder of edited audio files I will use for the music:

Original File
First I import the file and look at it.
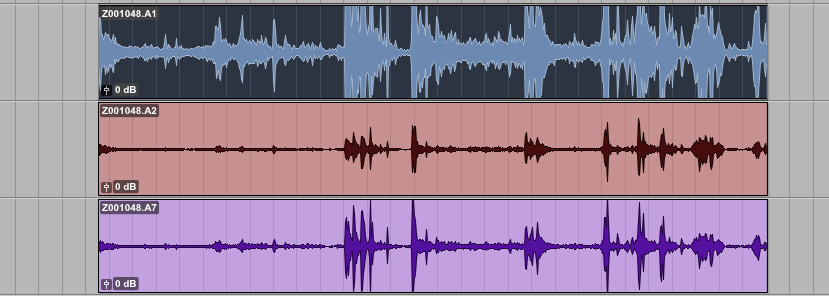
I know from the shoot that the first two channels are Mix and Wire 1, Boom is the third channel. Since boom picked up the FX the best and tends to be the most directional, I will mute the others and work with this.
Spliced Files
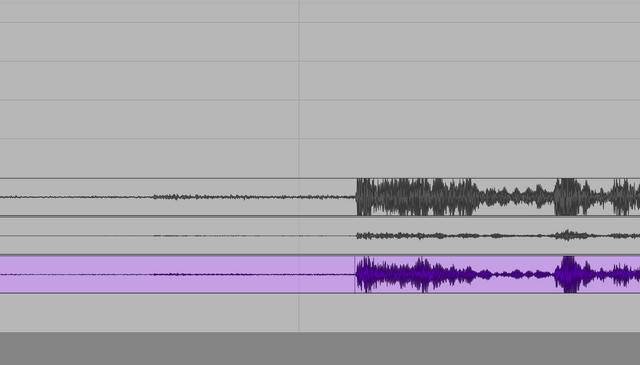
Here I exported the sliced files for your listening. All of them I edited with a fade-out at the end of the file to allow it to end softly.
Doctoring
Occasionally with a file I will have to doctor it. Sometime there's too much noise, or reverb (or not enough reverb), etc. Sometimes it takes some de-noising to make a cleaner separation for an audio file, especially if it's to use that file in a piece of music.
Original
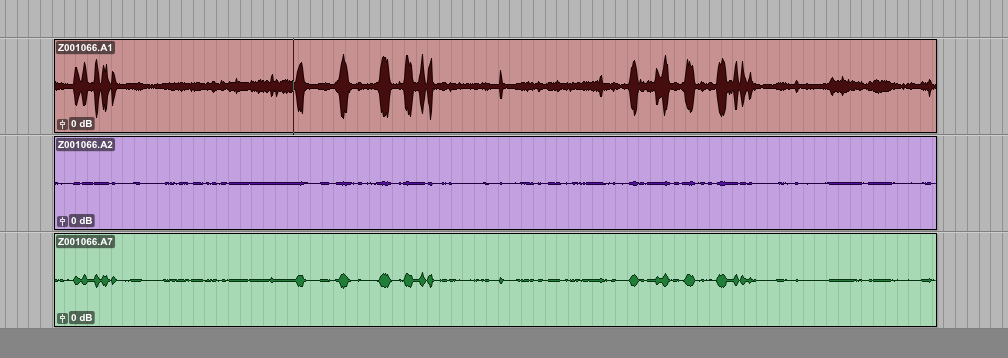
Take a listen to this file, completely unedited.
De-Noised File
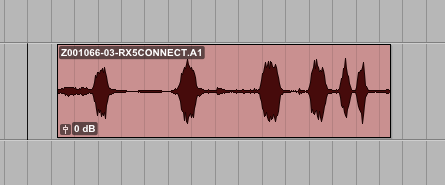
This is a much cleaner file now without the noise as extreme. Sometimes it is too much audio processing with denoising that it causes weird "artifacts" in the audio. In this case it works out fine, especially if the intention is for music.
Noise Only
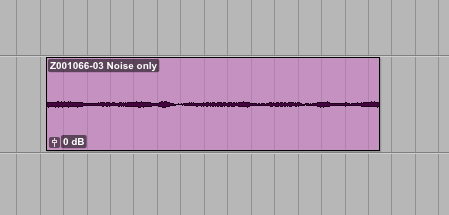
This is an example of the noise that was removed in the de-noised file. It's interesting to see what you took out to know what you're working with now.
Spectral De-Noiser
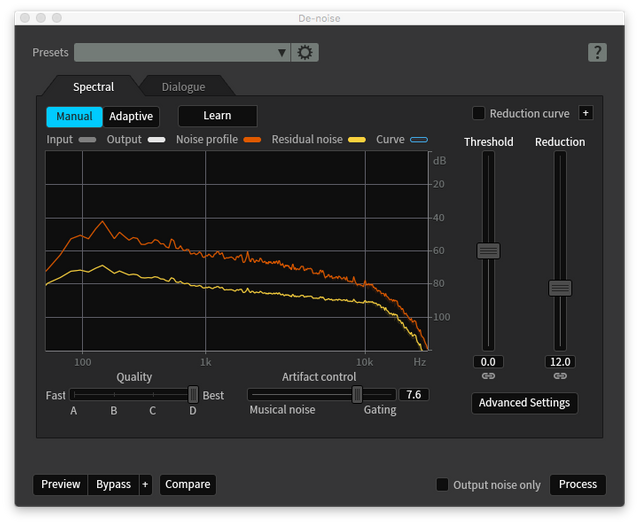
In this example I used a spectral de-noiser. It allows your to look at the file visually and see where the audio needs the most help. It's often terrifying to look at knowing how much noise the file has.
First you load the file.
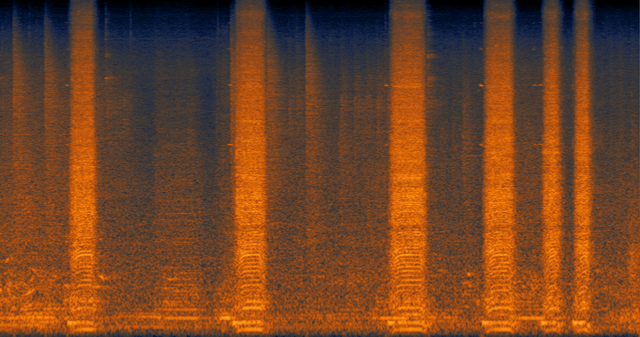
Then you select a part of the noise where the desired sound isn't audible.
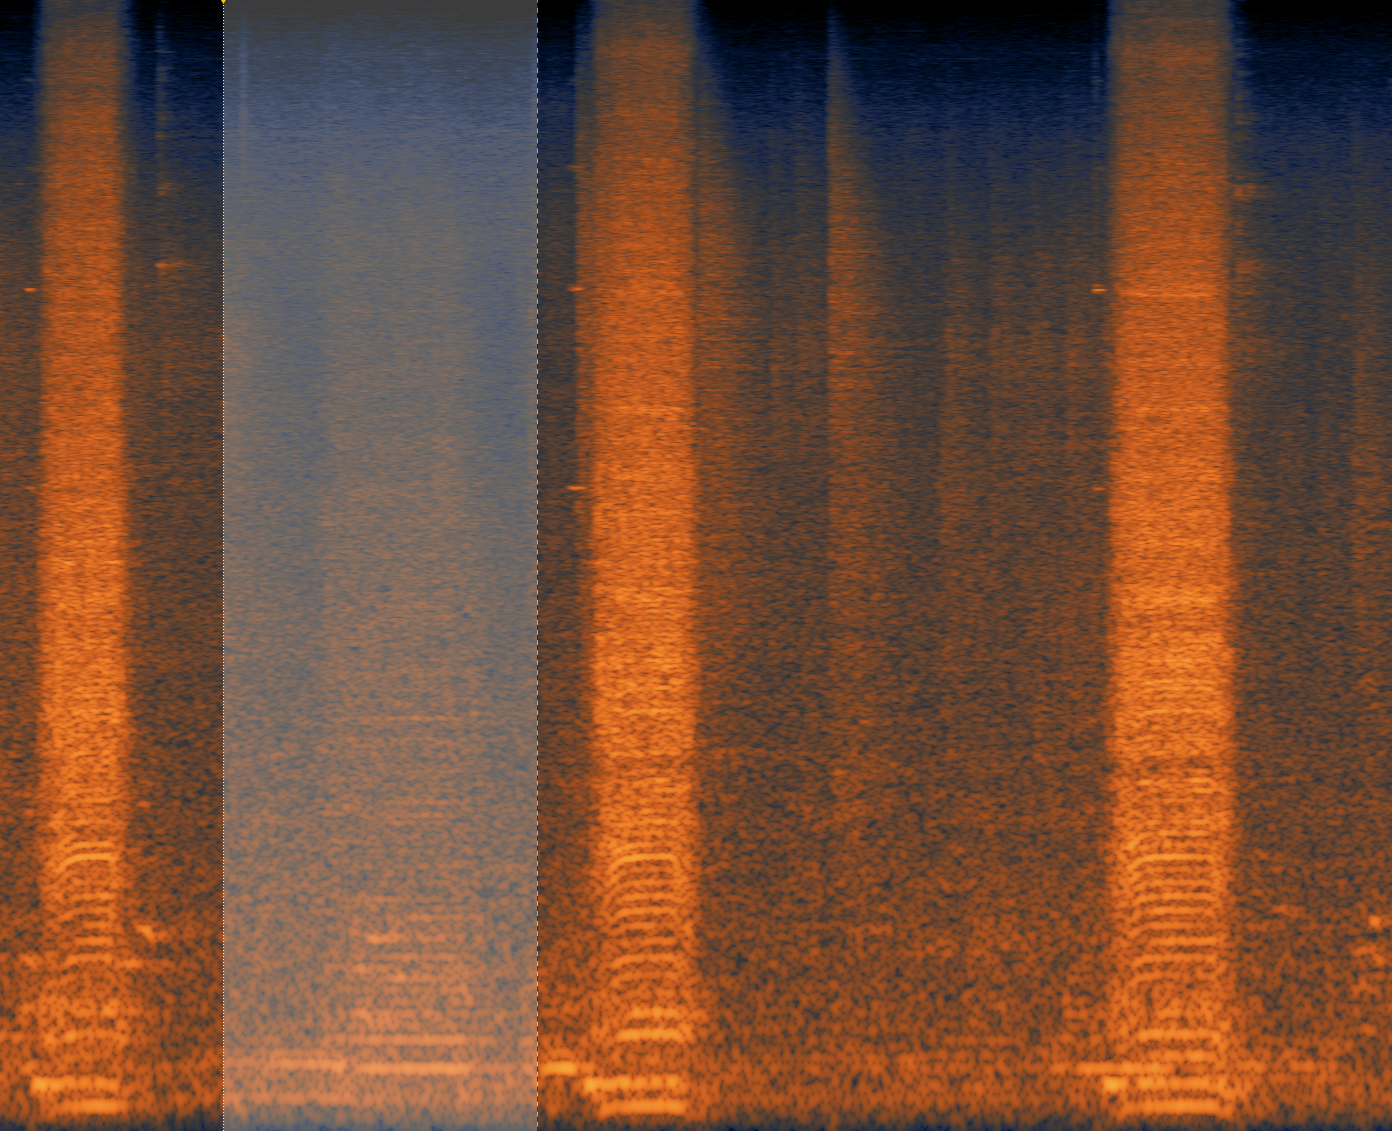
After this you select learn on the de-noiser to learn what the noise sounds like. It then runs several algorithms analyzing what typical noise environments are like compared to this one. After it learns, then I process it.
Steemians! I hope you like this post. I am passionate about audio and hope I can inspire some of you to learn more as well. Please follow, upvote, re-steem, and comment if you enjoyed this post. .

that's some funky technical noise shit man / you are a big-time audio head ! (-:

but, actually like why did you do this project ??
Thank you! This project is for a client. Just part of the gig but definitely varies from the normal type of audio or music gig I get.
Congratulations @playitforward, this post is the tenth most rewarded post (based on pending payouts) in the last 12 hours written by a User account holder (accounts that hold between 0.1 and 1.0 Mega Vests). The total number of posts by User account holders during this period was 1642 and the total pending payments to posts in this category was $3413.12. To see the full list of highest paid posts across all accounts categories, click here.
If you do not wish to receive these messages in future, please reply stop to this comment.