Steem Cartoon: The Concept of Interior Makeover
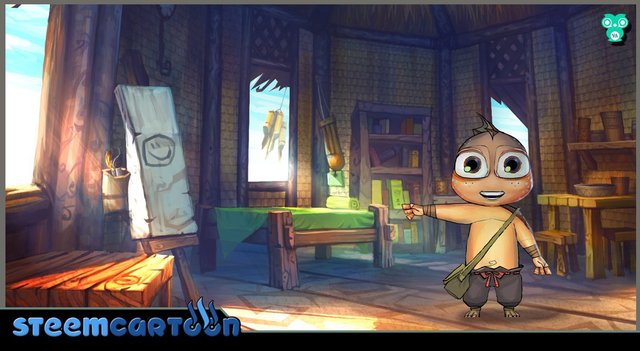
To create a concept for animation you need strong imagination. Every concept must have its target audience. That will influence the interior concept and the right colour mode for the work. I would like to share how I create a process for interior concept for the cartoon where the target audience are children below the age of 12.
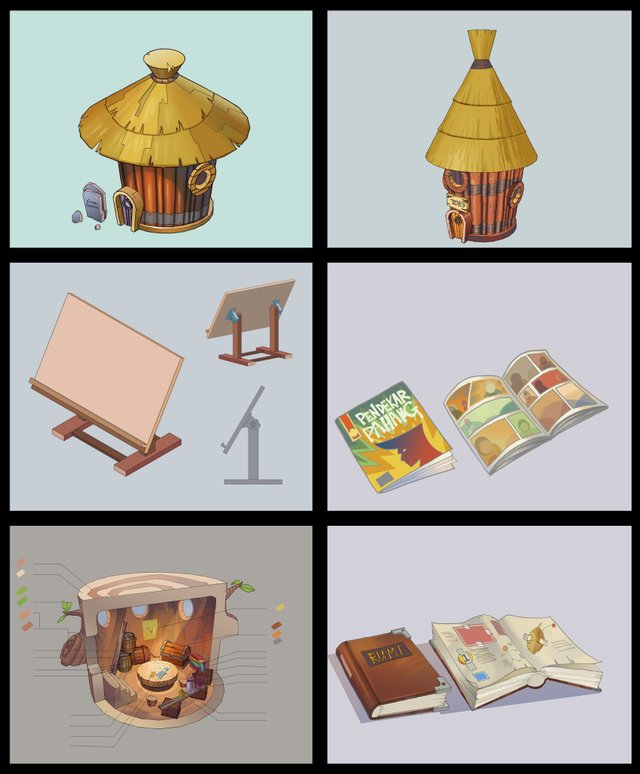
The first step is to get input from the script that we receive. We first start by creating the props. For good design I need to create something fancy and cute and this includes incorporating happy colours for these children. You can see a few examples on how the idea is hatched for this concept. After we received the input we will start with the painting to create an established shot in the interior of the house.
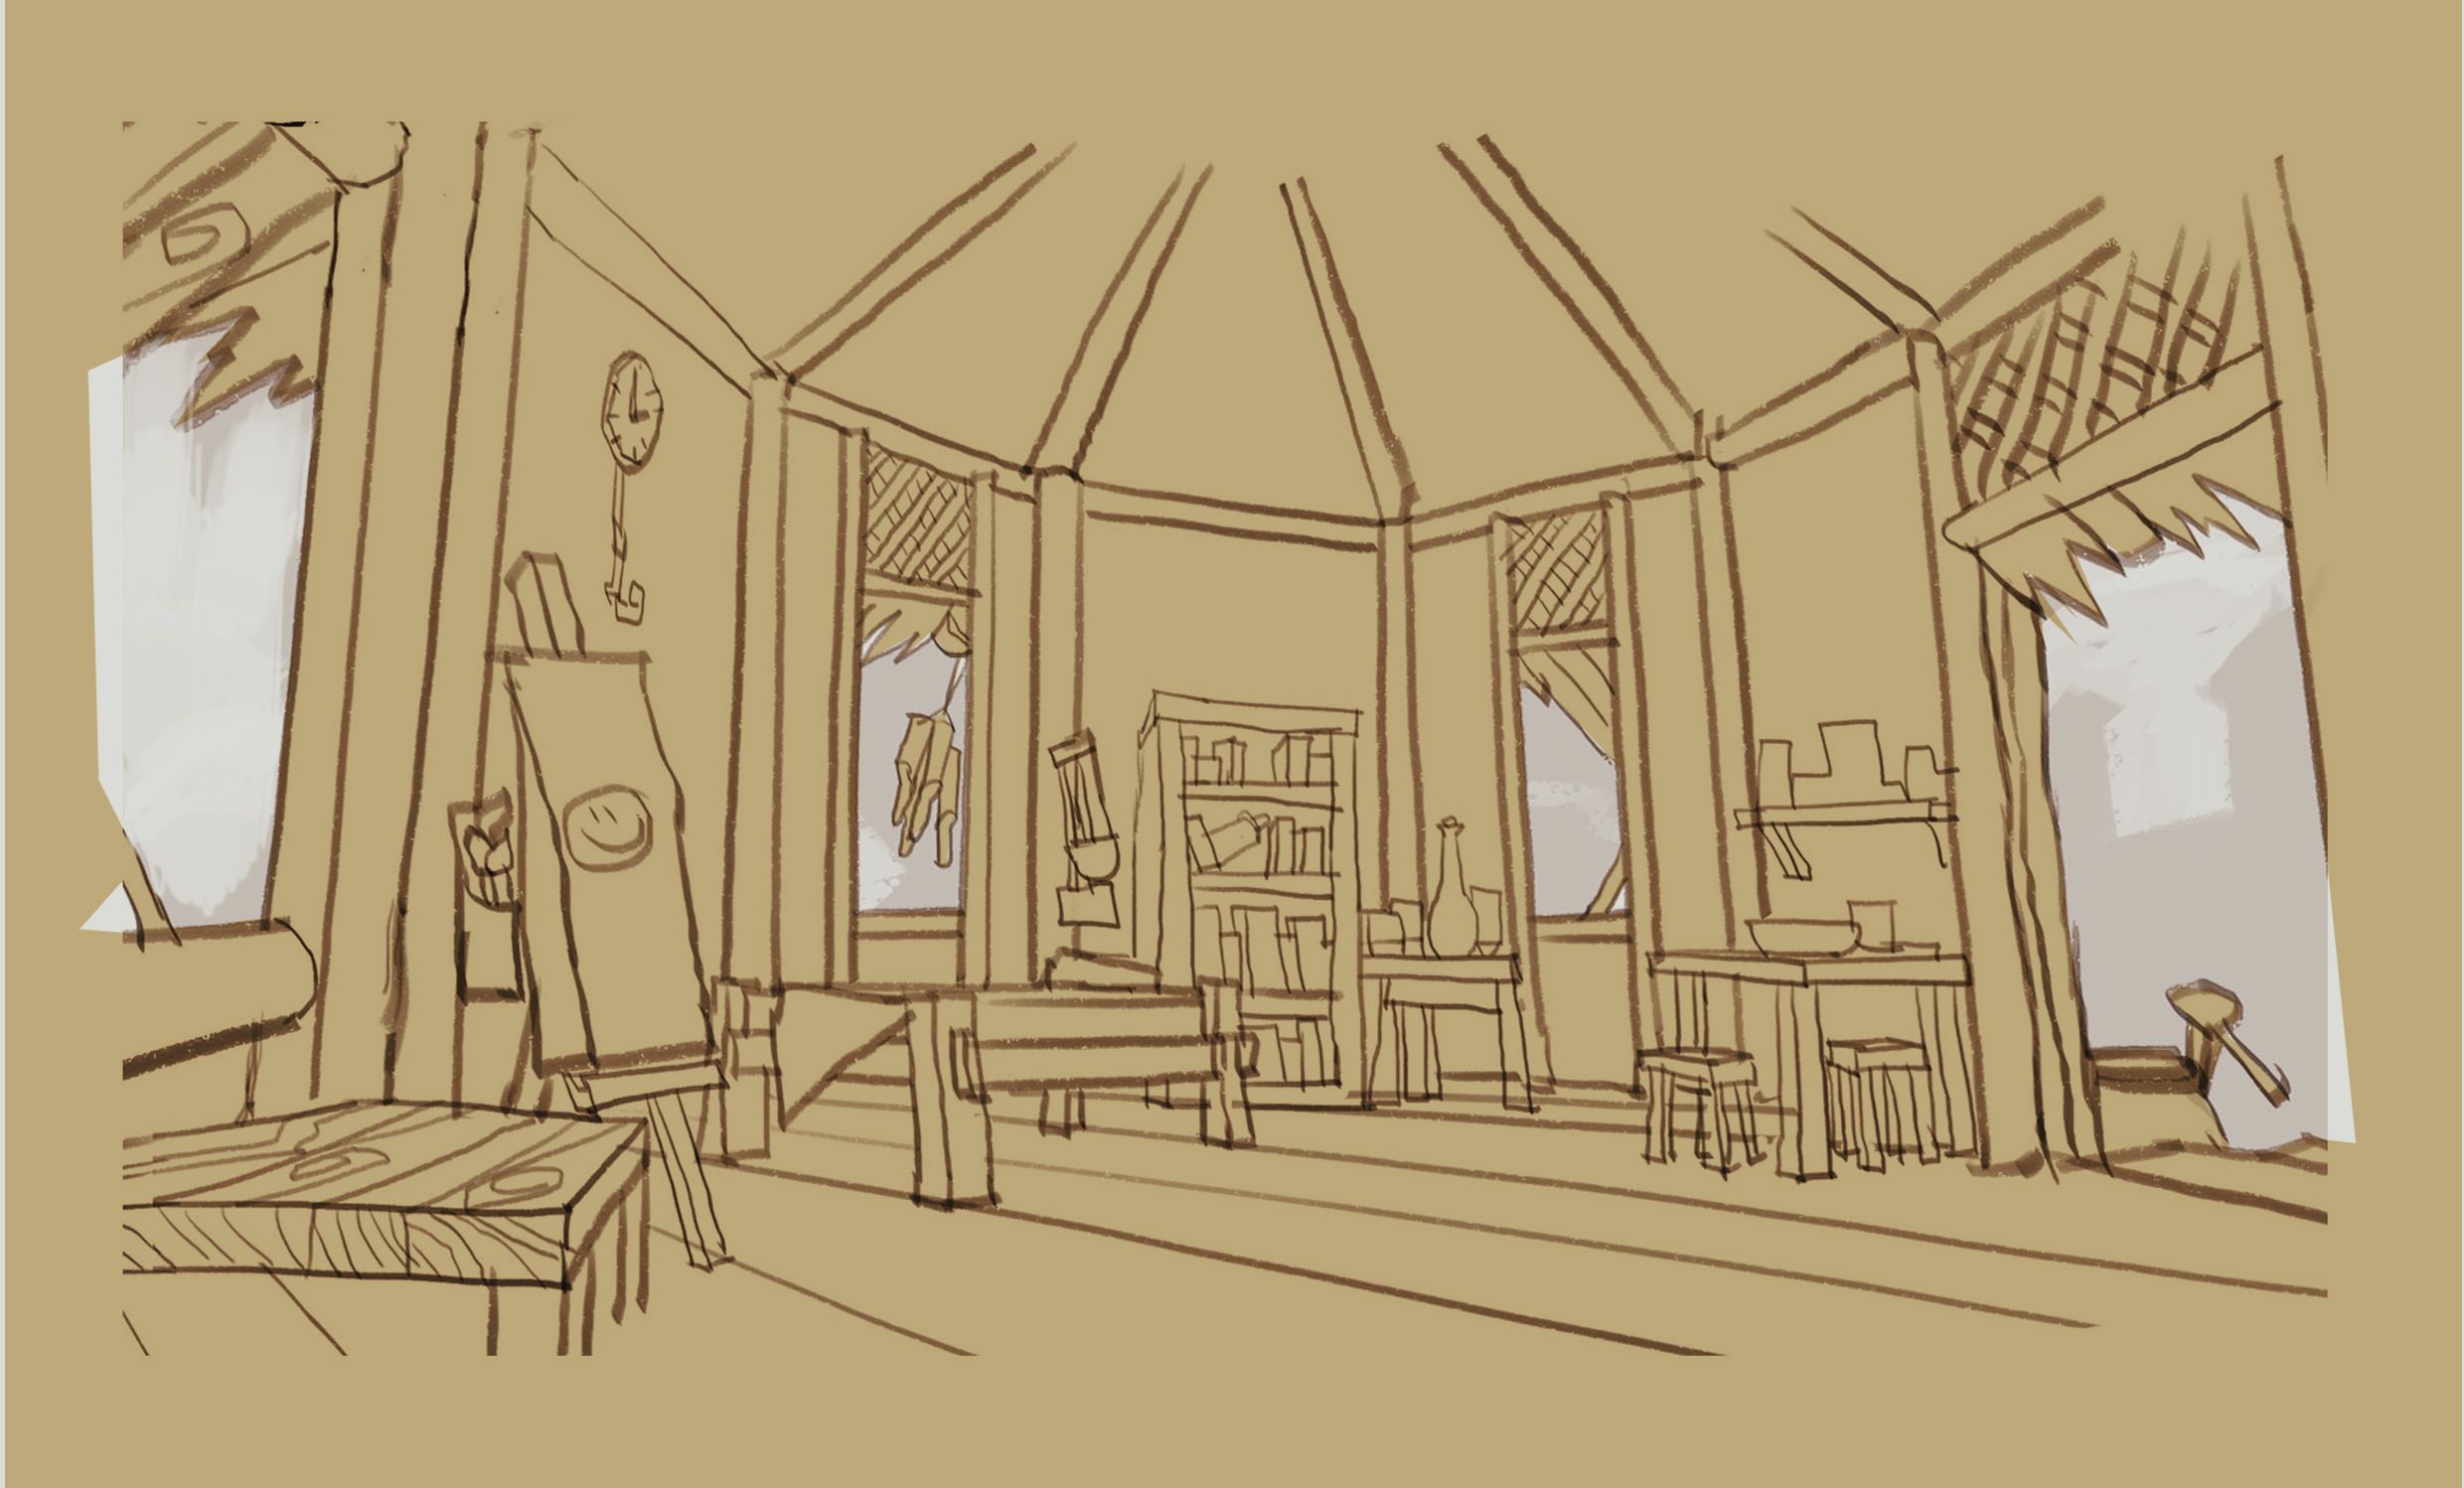
We start with some sketches that is suitable for the concept that has been determined. The look of the interior must be cute and not too high because the character in this concept is small.
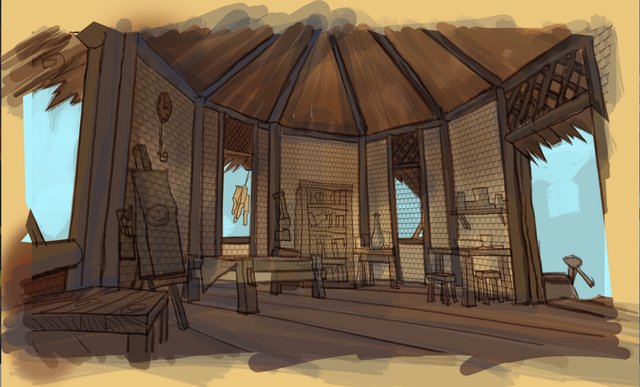
We start with some rough colouring to find the right angle for the shadow and lighting. This process I will include some textures of bamboo weaving on the walls to create a traditional feel to the house.
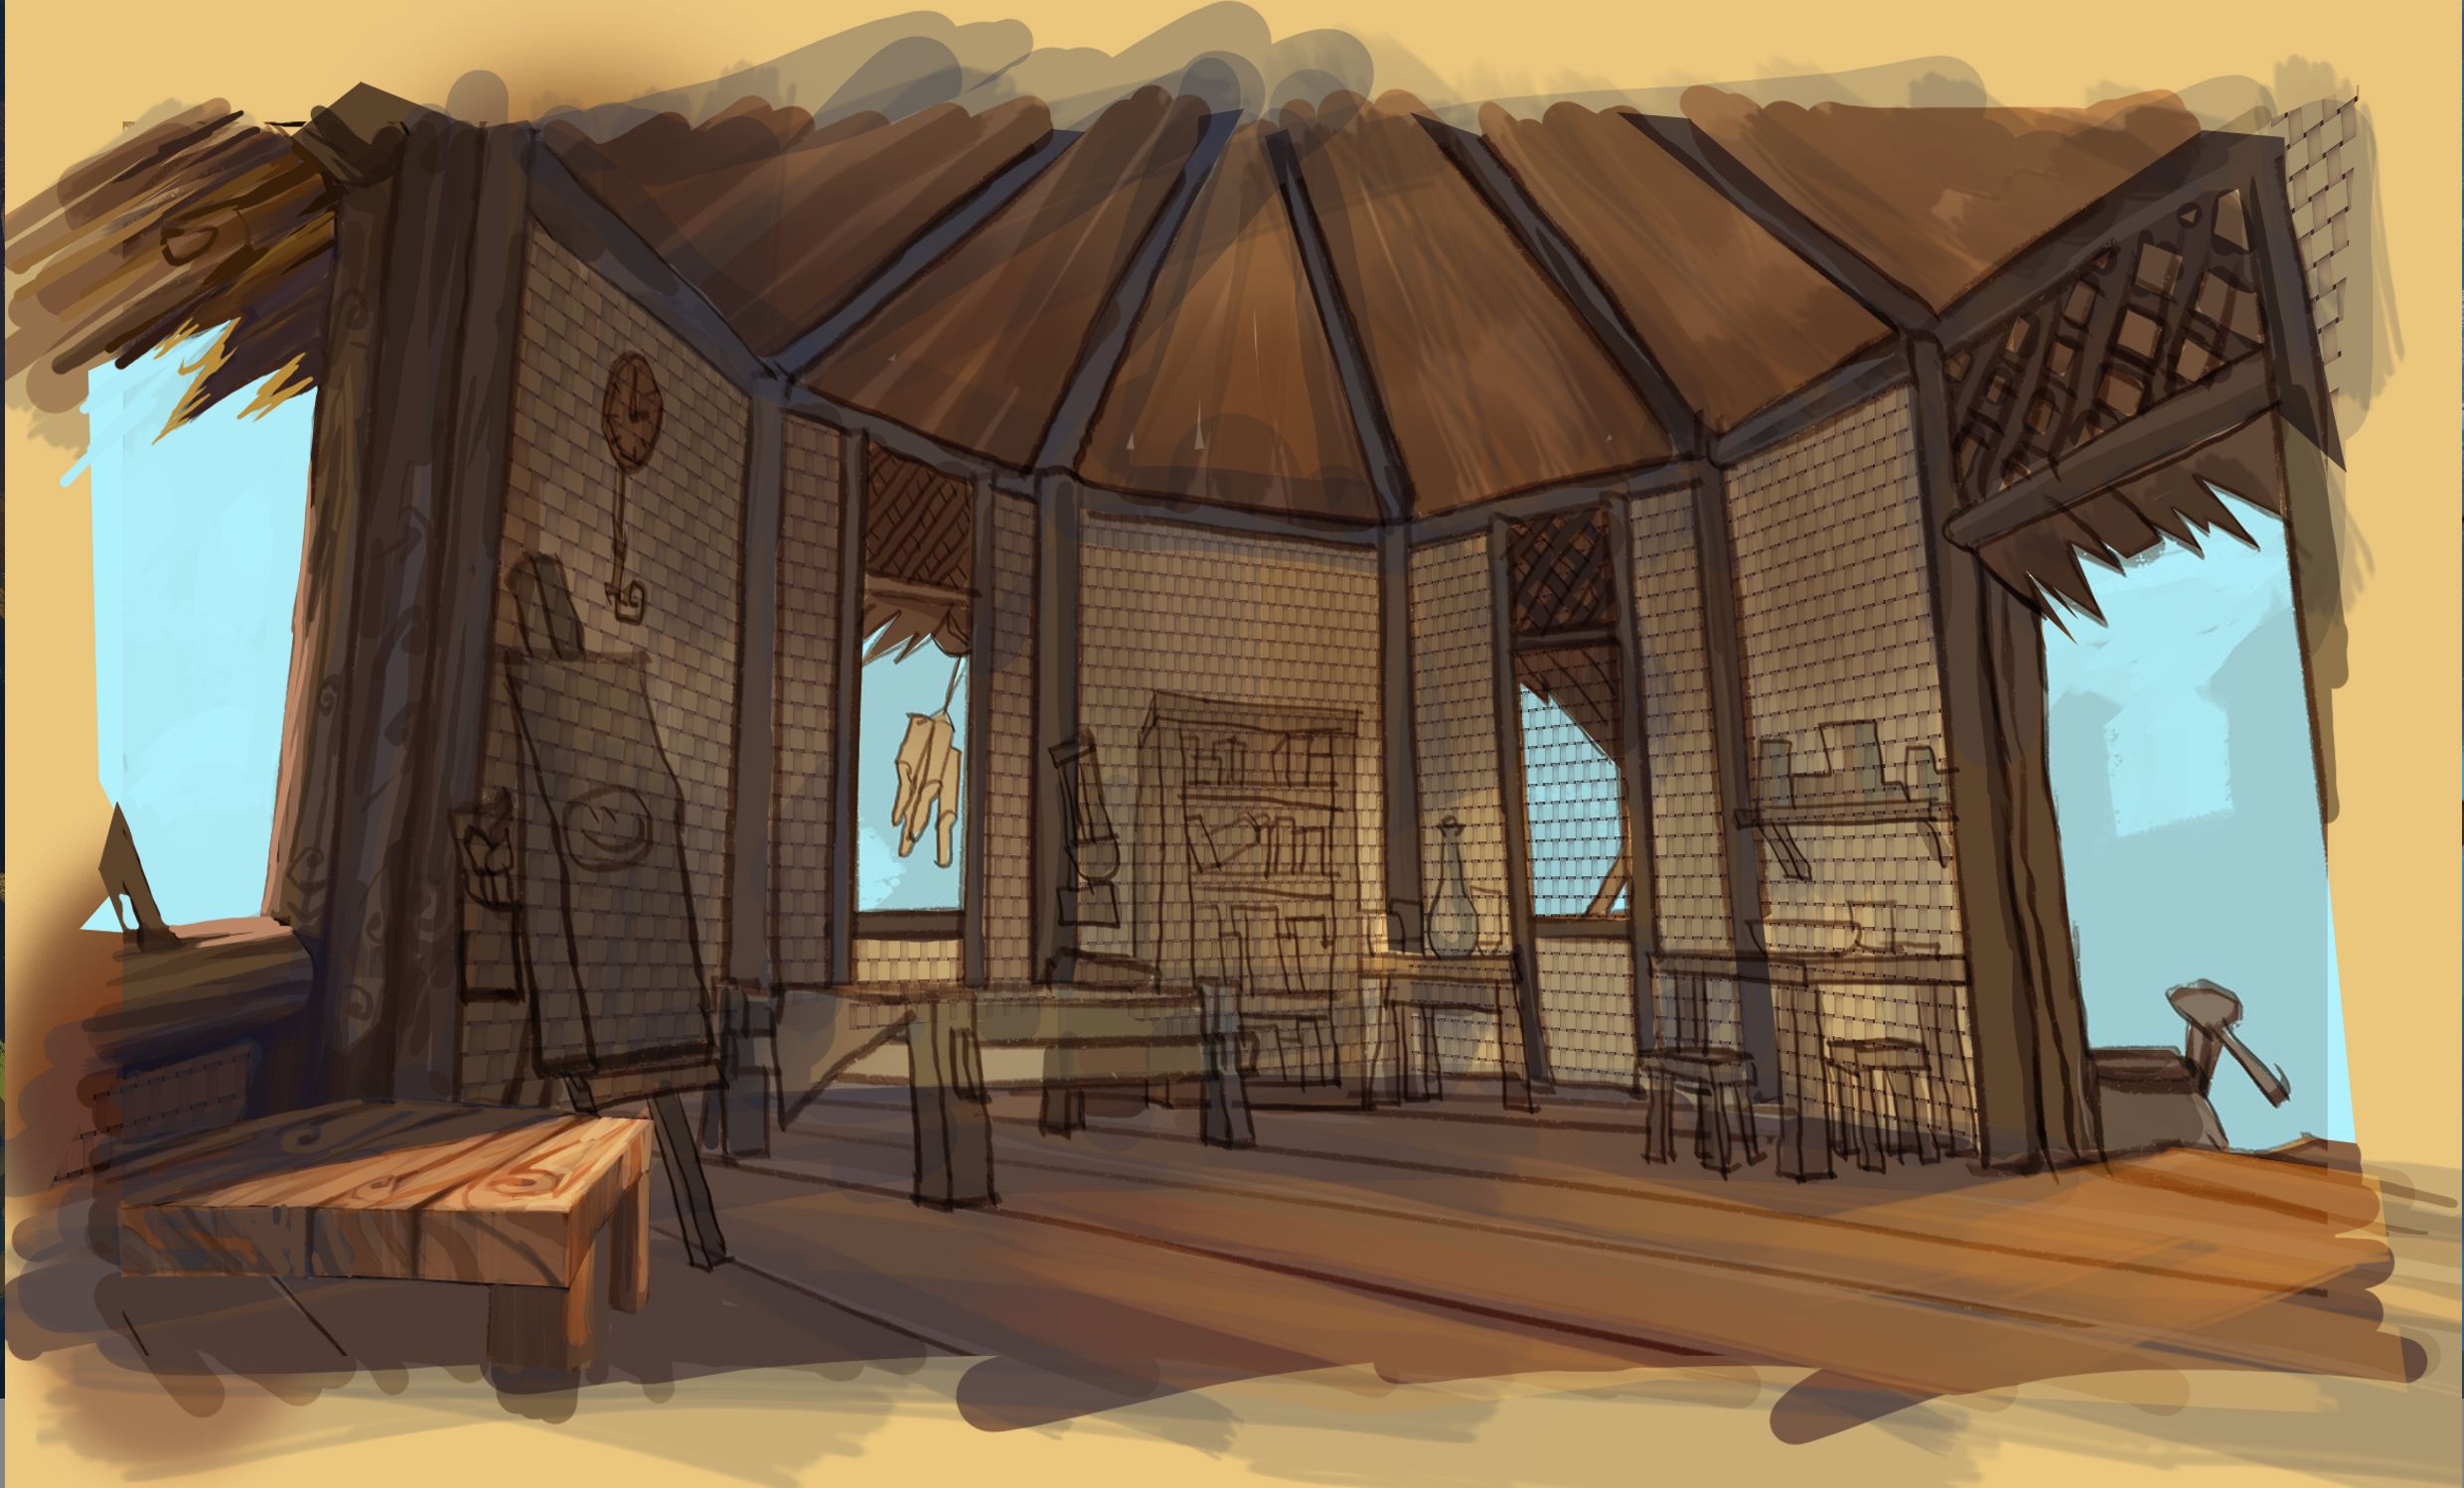
Then I will search for the right lighting to find the correct point. To get a dynamic look, I will include hard lighting on the side of the front table.
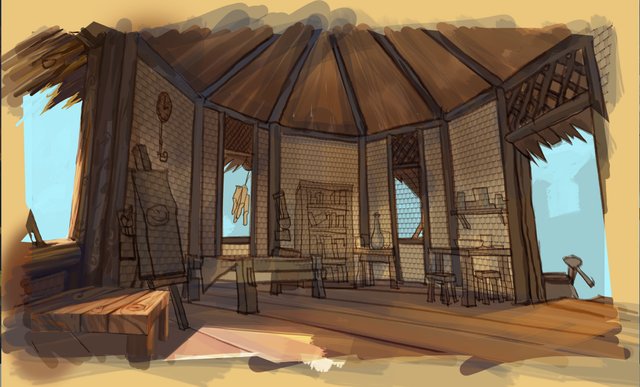
After getting some suitable lighting on the table, I will further detail it with texture and increase the light reflection that falls on the floor of the house.
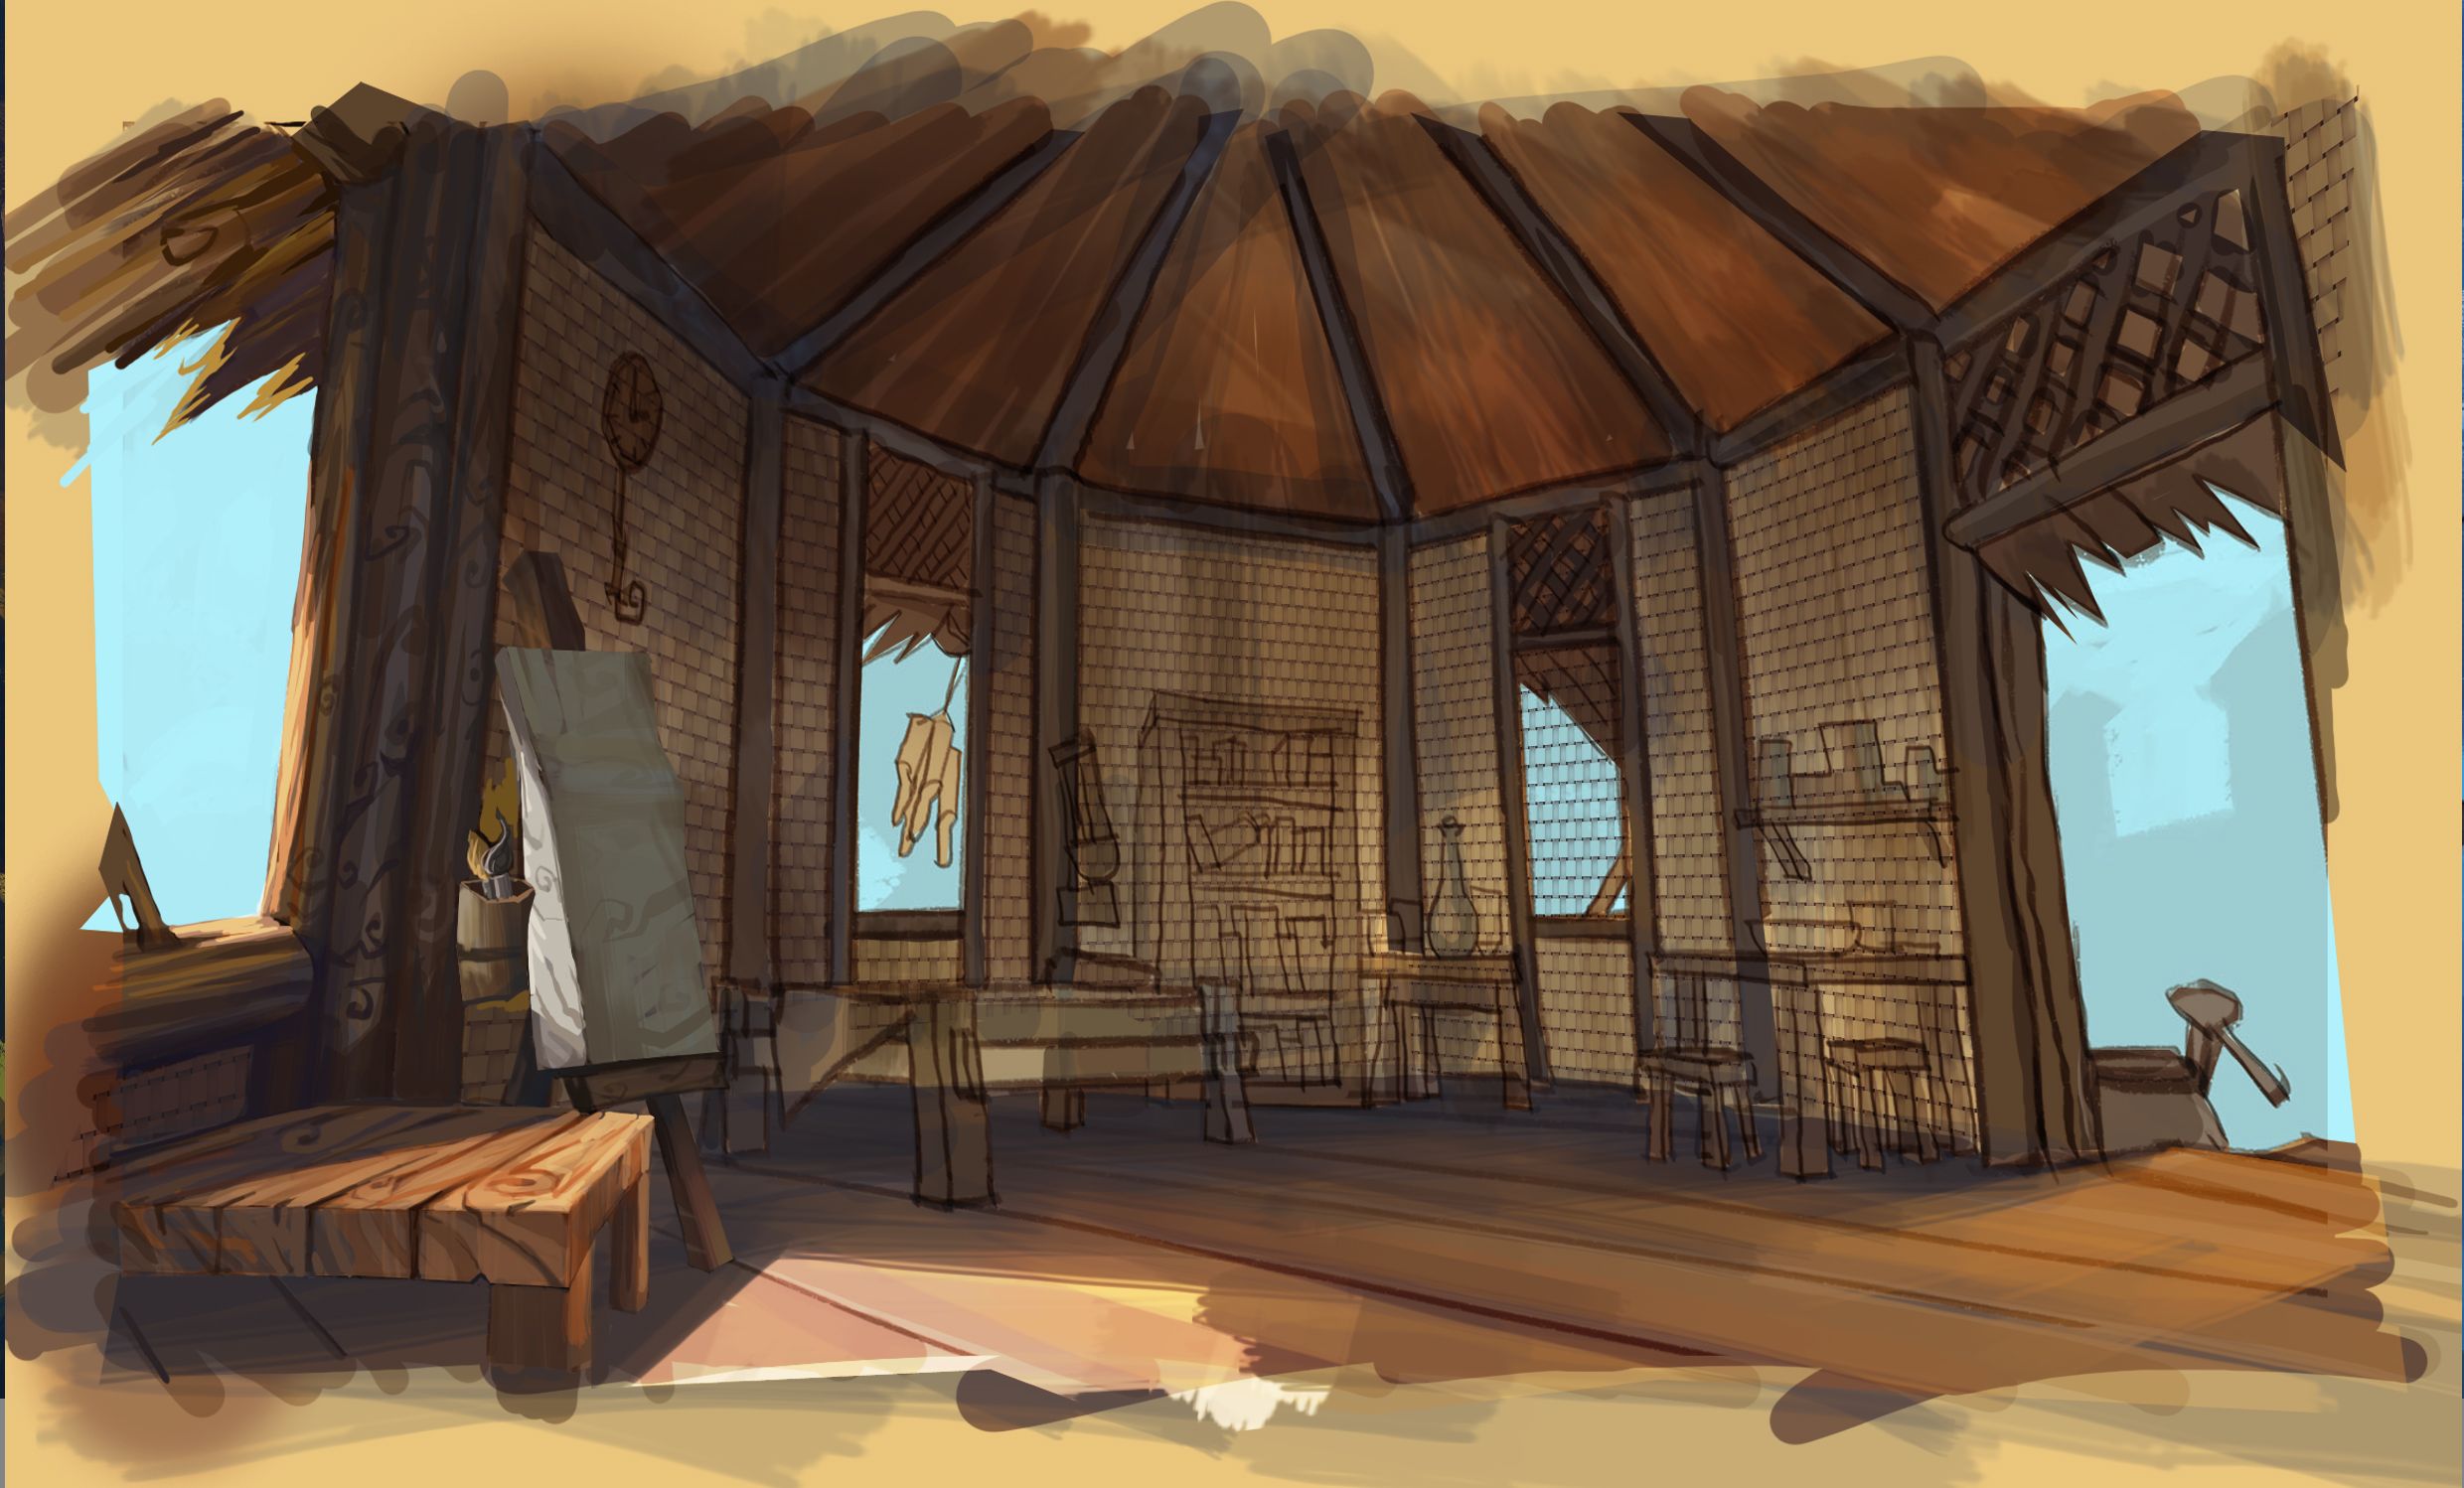
The light reflection from the floor will influence the entire interior and I will try to find some light source for this reflection.
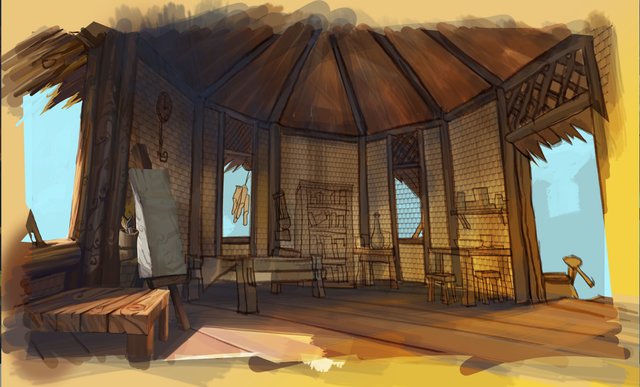
I will use the layer overlay to increase the temperature on the reflection.
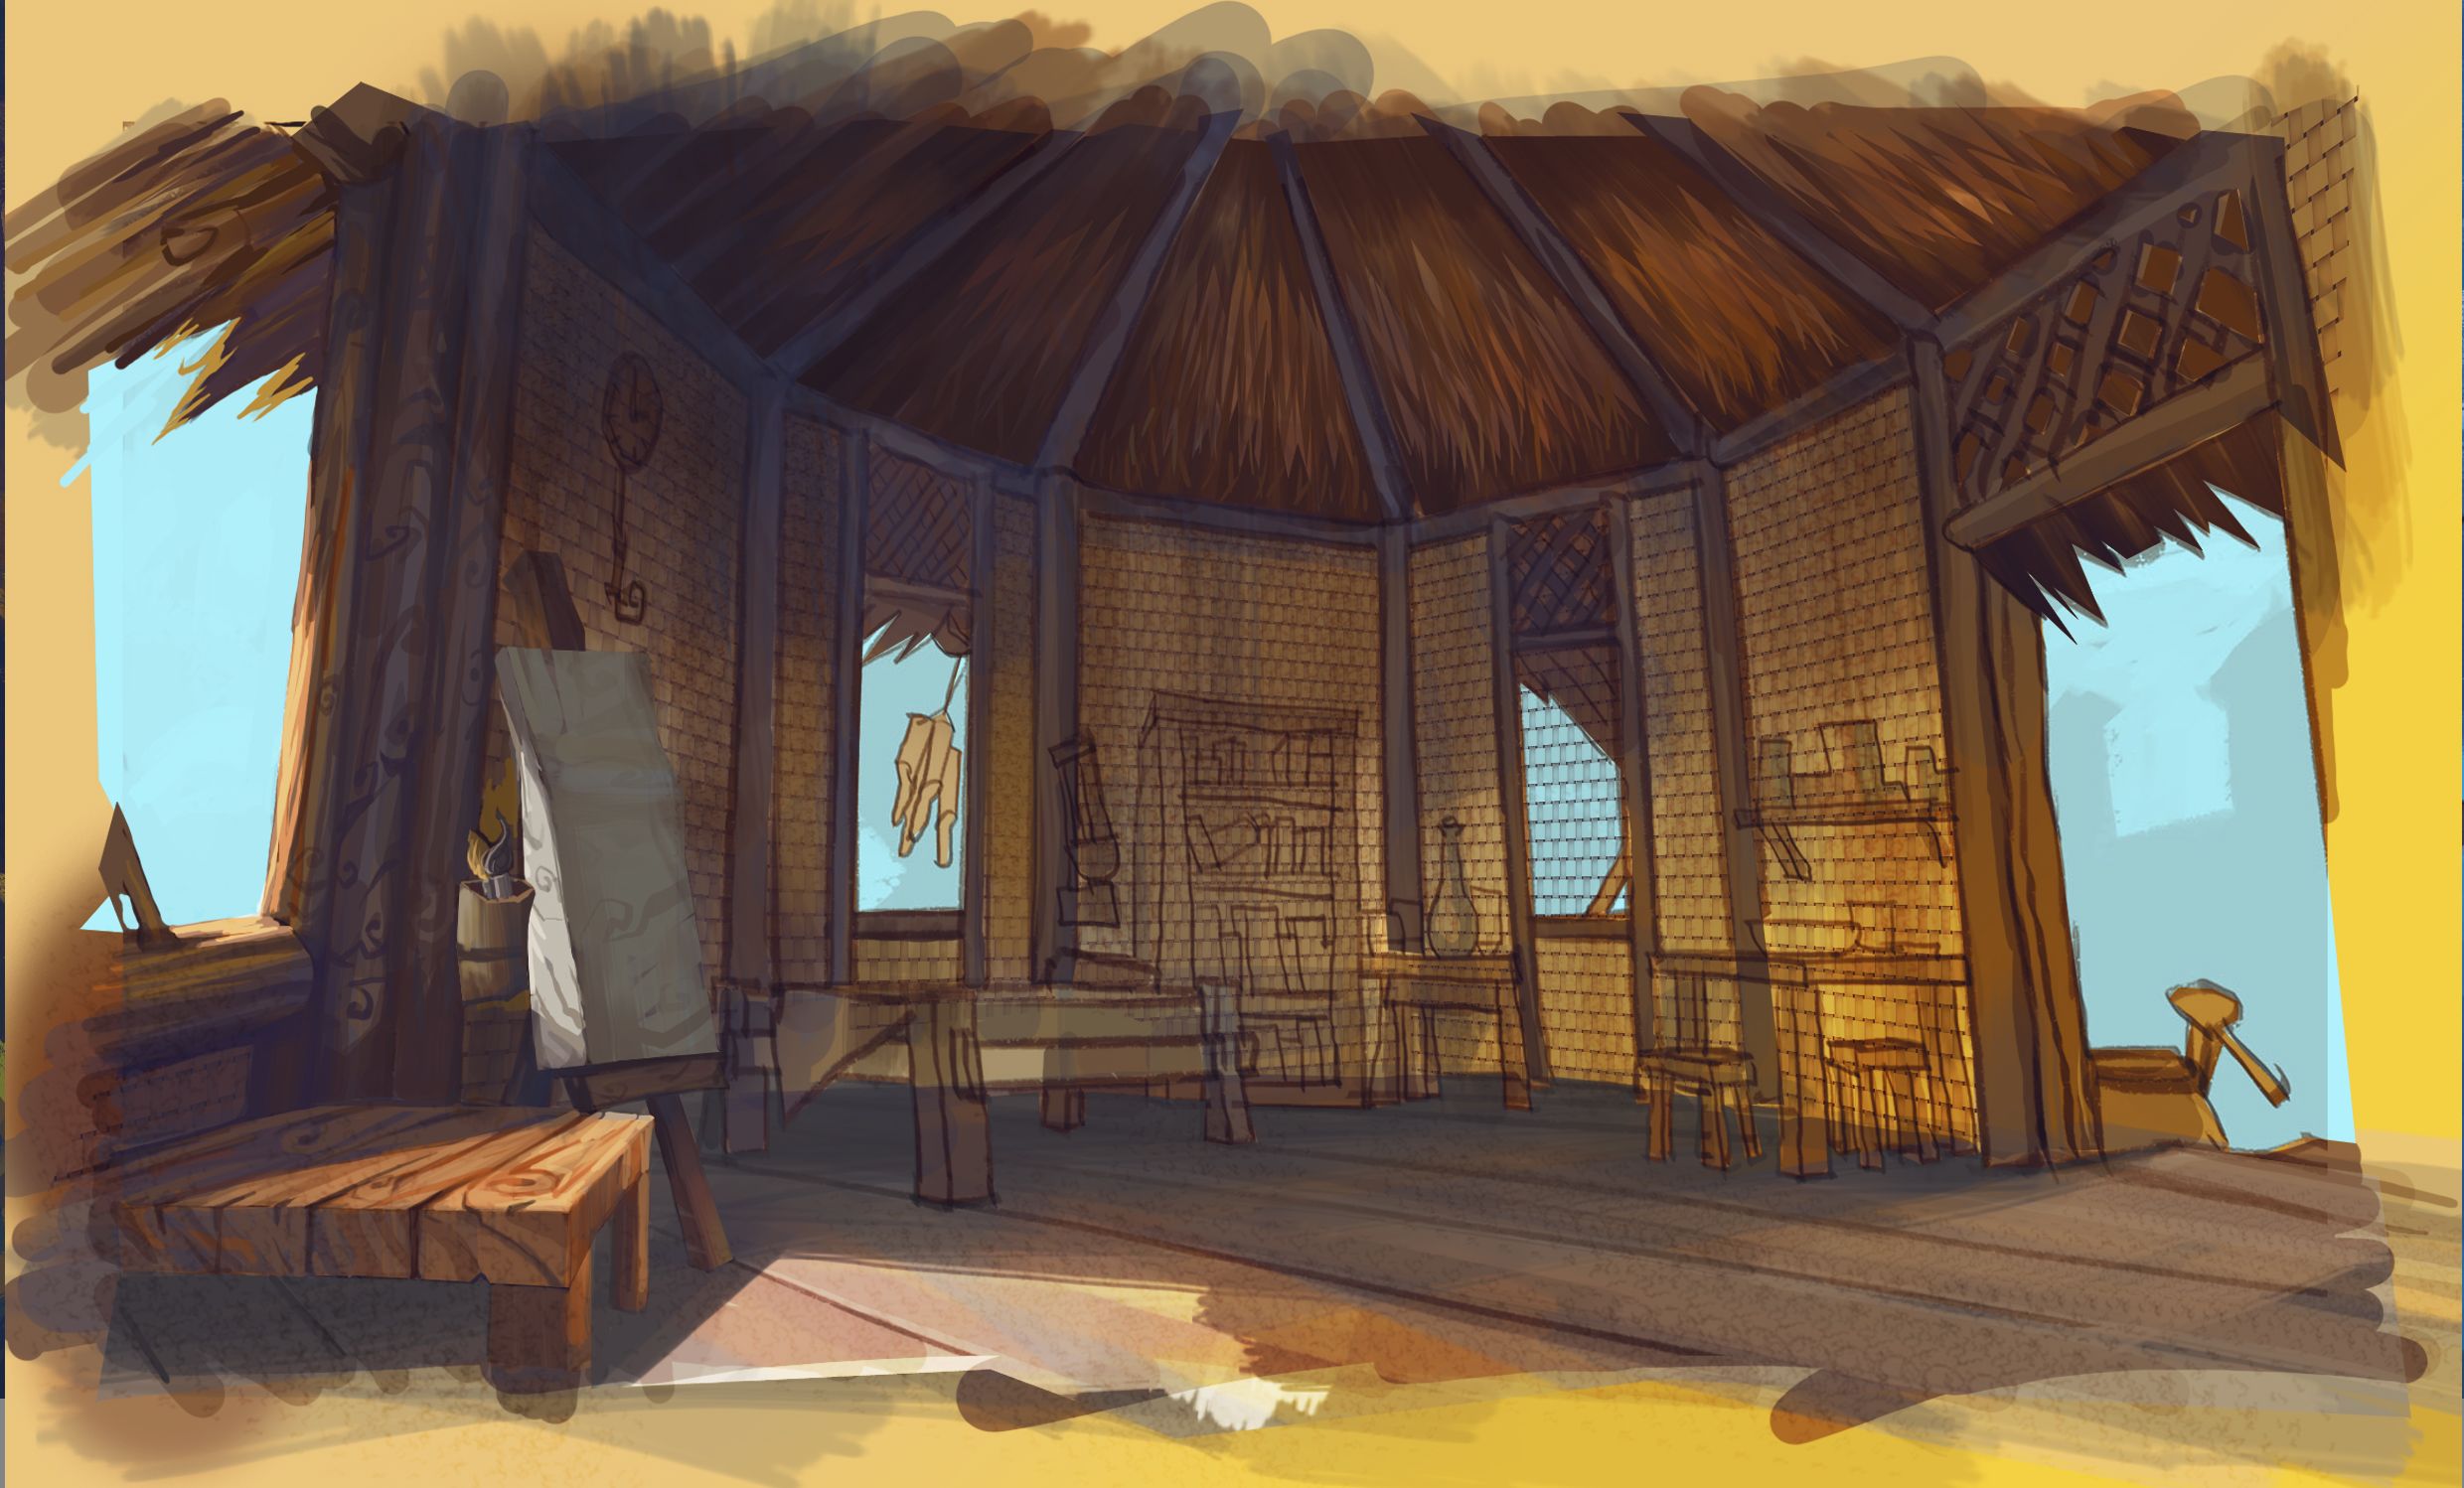
I will add some texture by using the brush on the floor and the roof of the house.
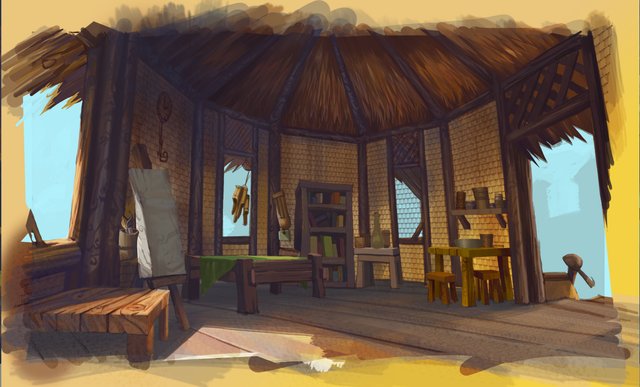
I will use the medium range of colours on each household items.
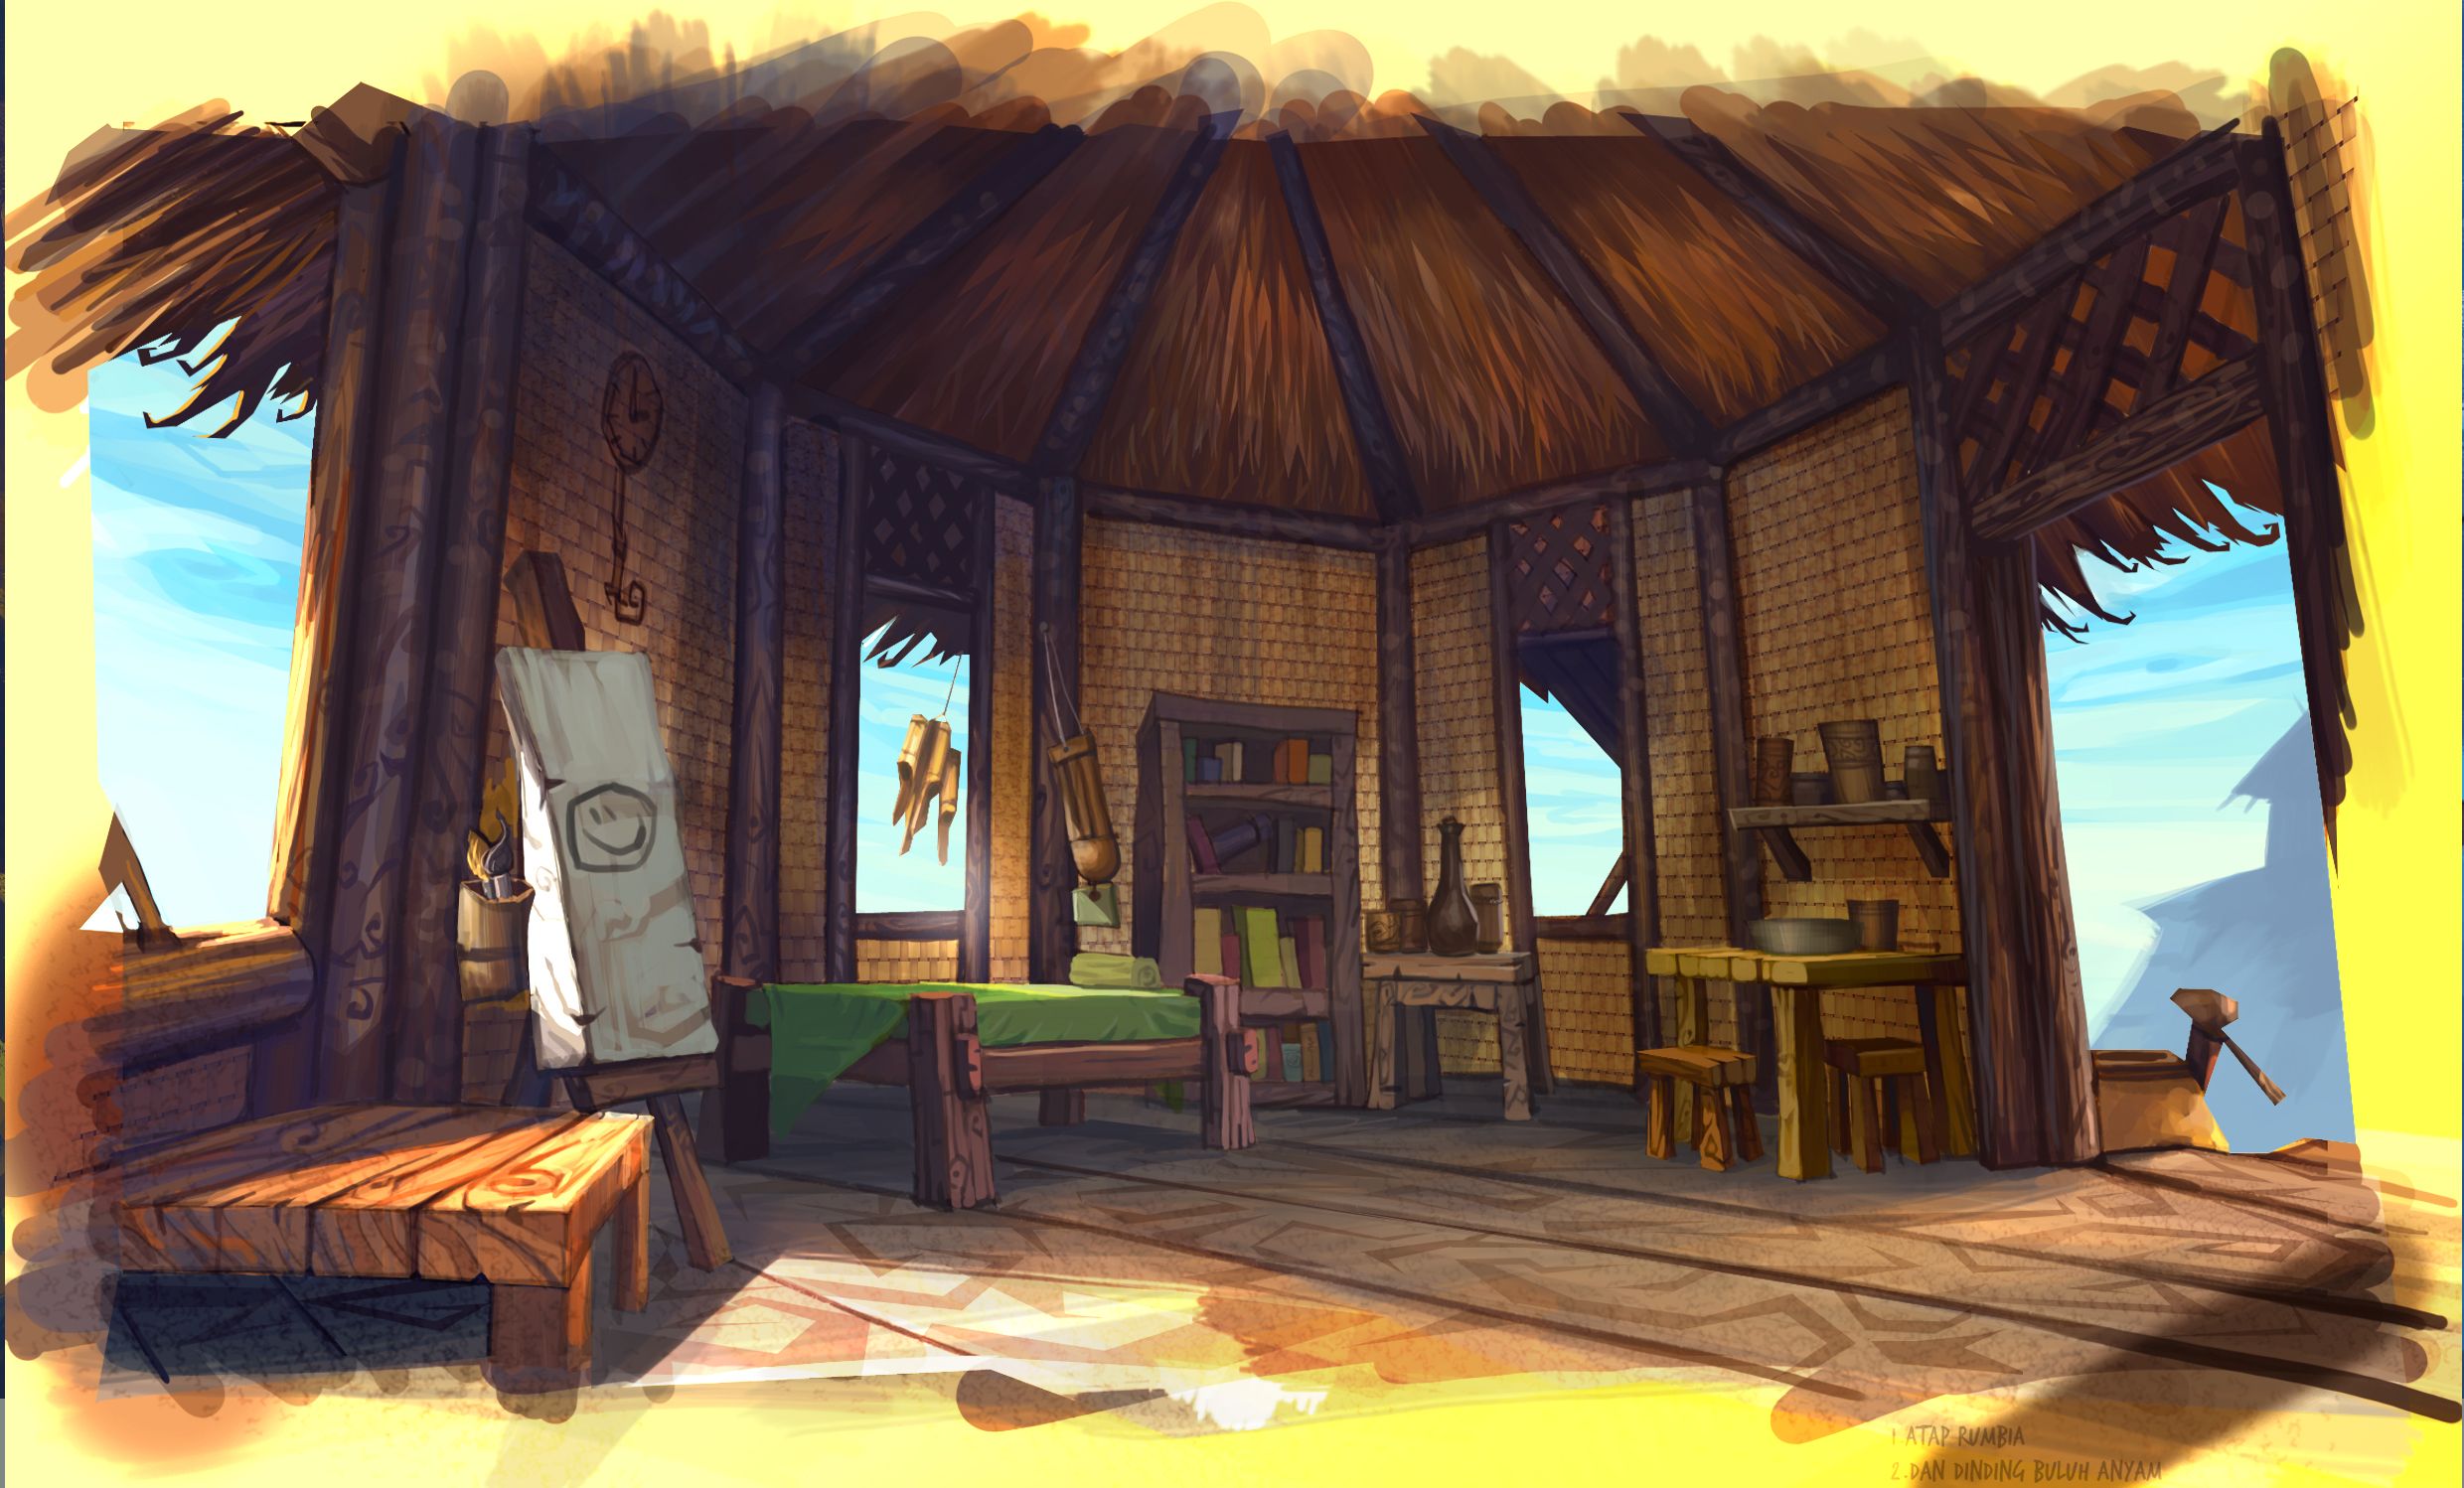
I will increase the contrast on the painting to achieve the right mode and feel.
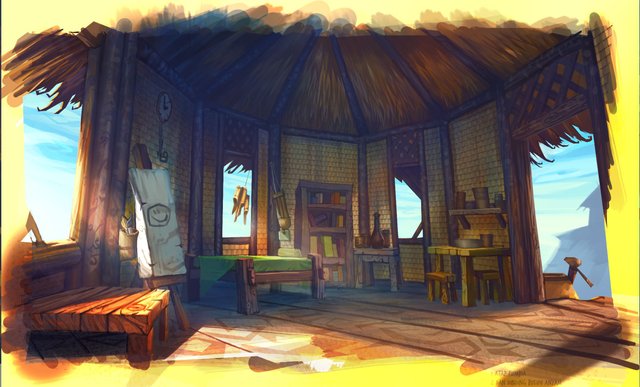
After increasing the temperature for the parts that was hit by the light by using overlay brush to balance the entire painting, I will do more detailing to tidy up the painting of this concept.
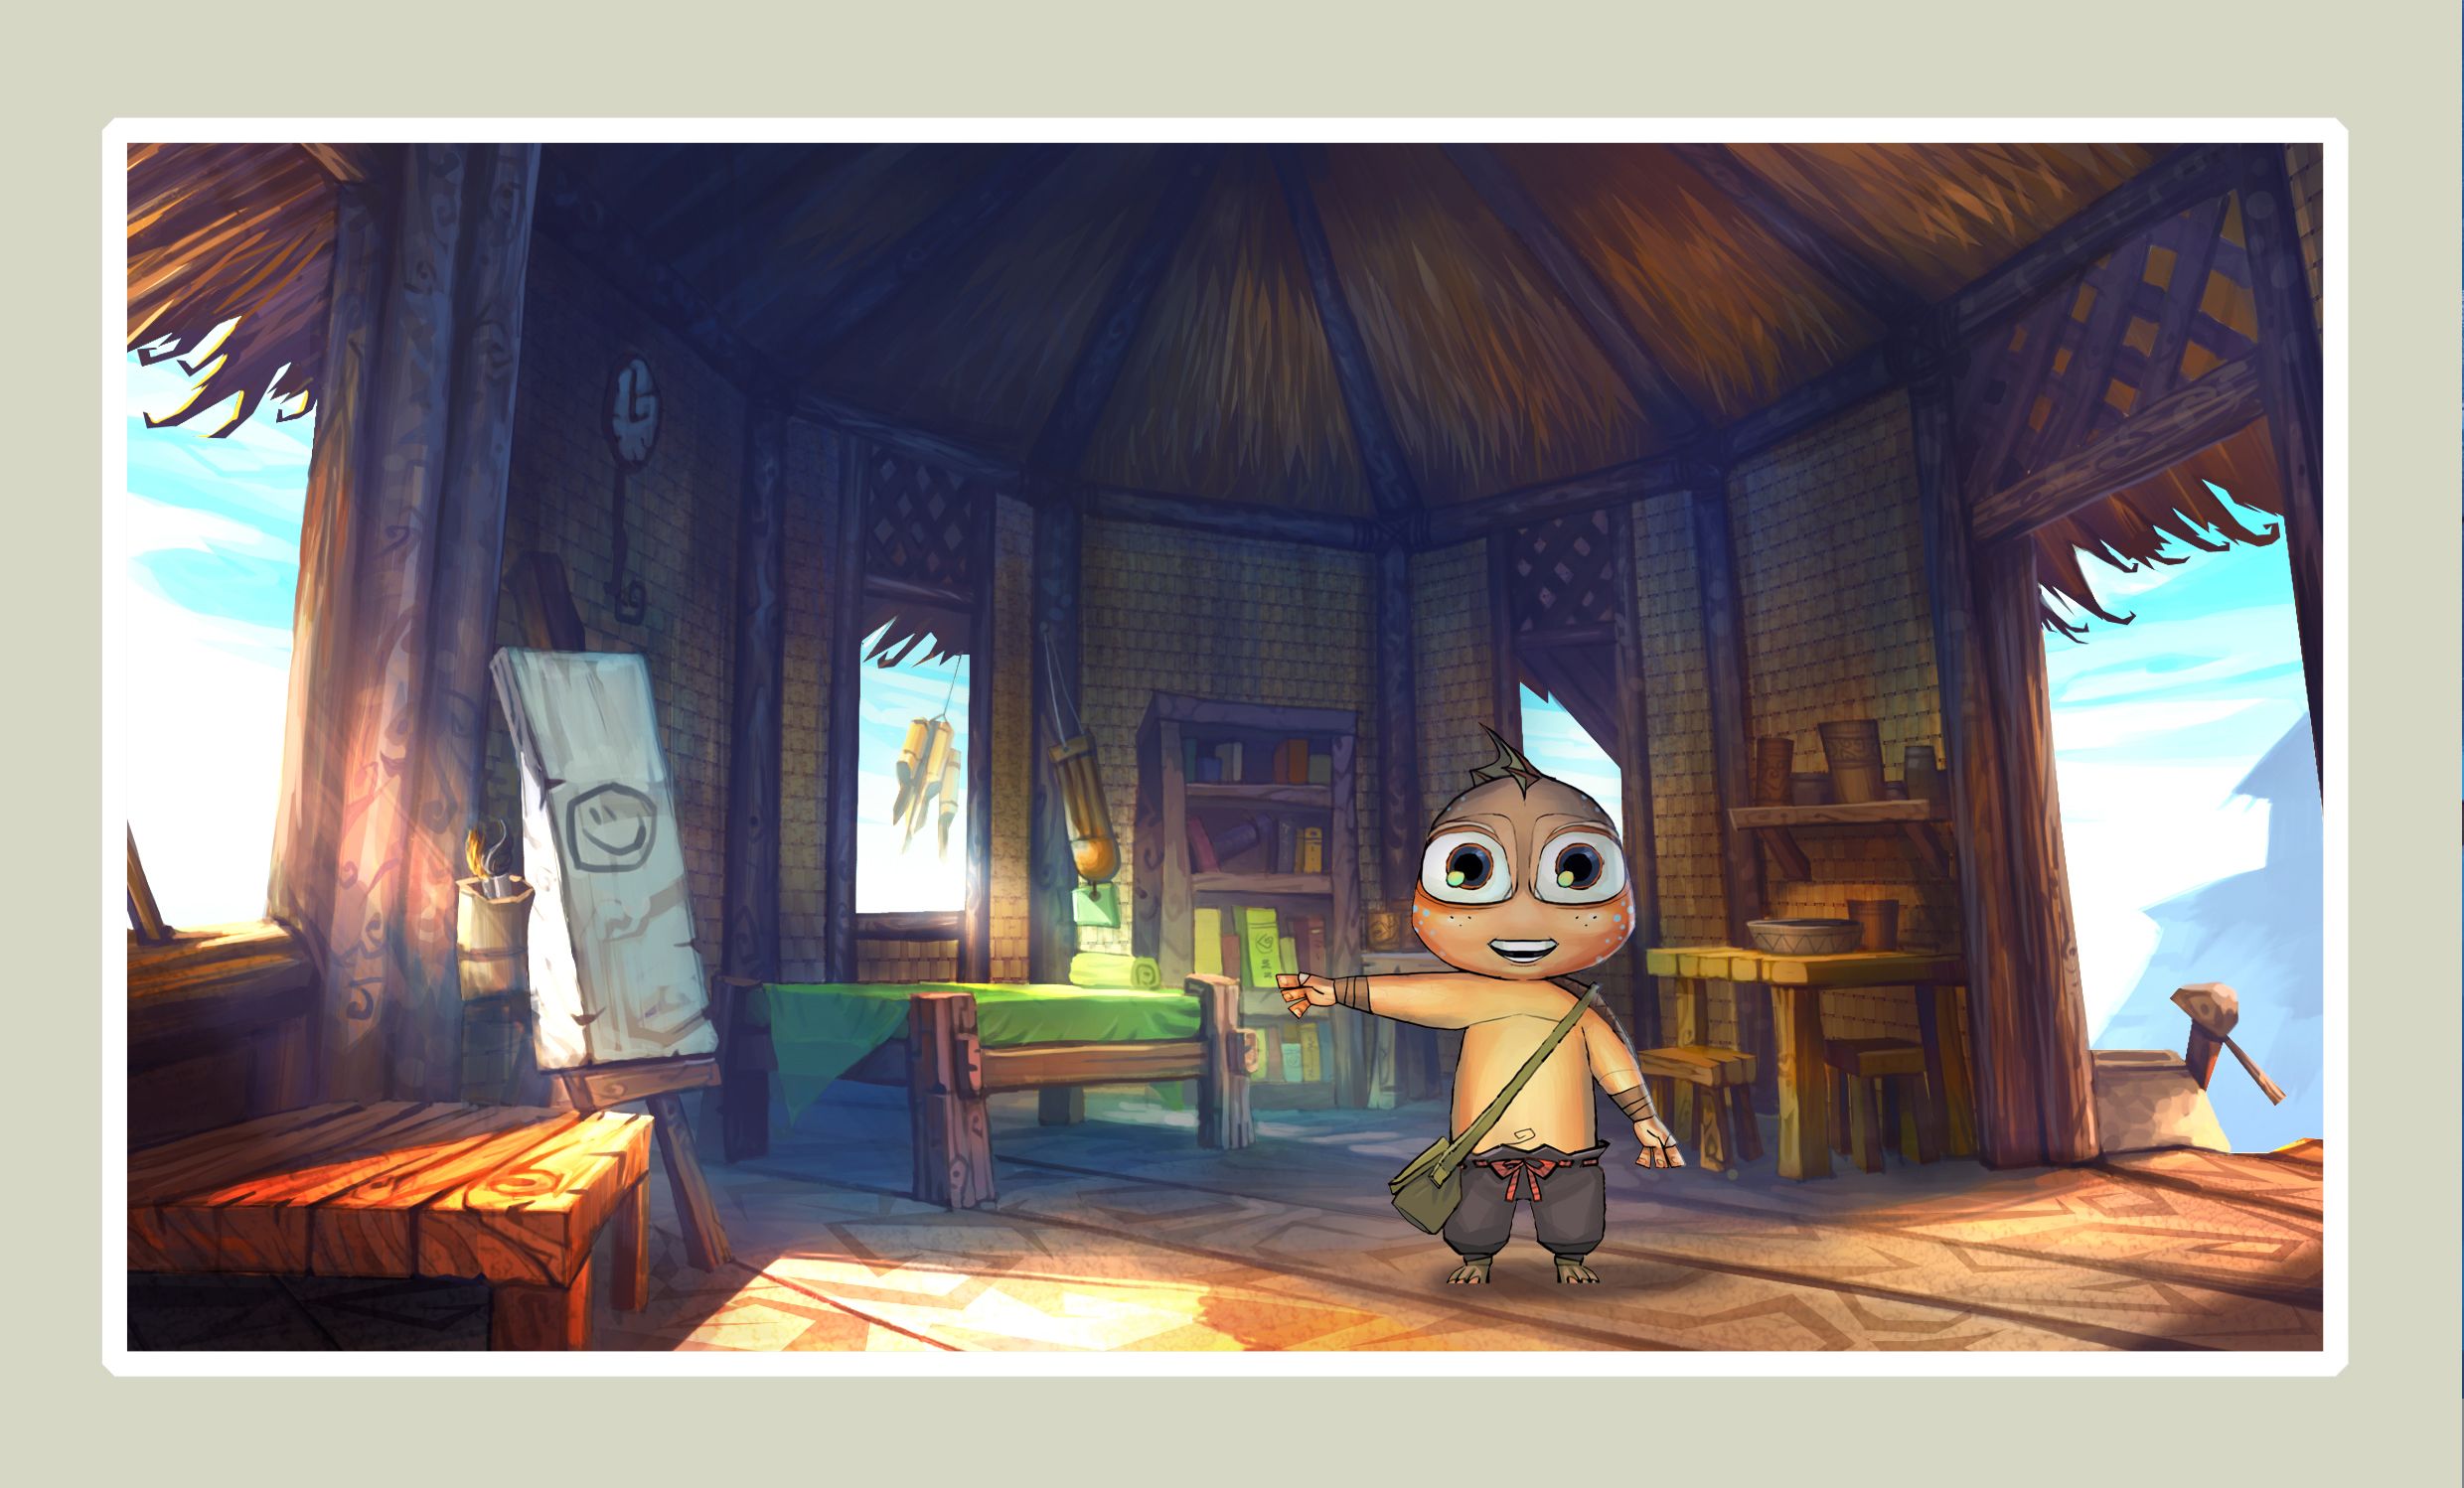
Now we can include the main character to see the entire result on the concept painting that has been completed.



credit to @zomagic

halamak halamak kenangan nie hincikkk
Hahaha jangan di kenang en.
Cantik!