(DIY) 3D Steemit Hexagon Bubble Blower + tutorial
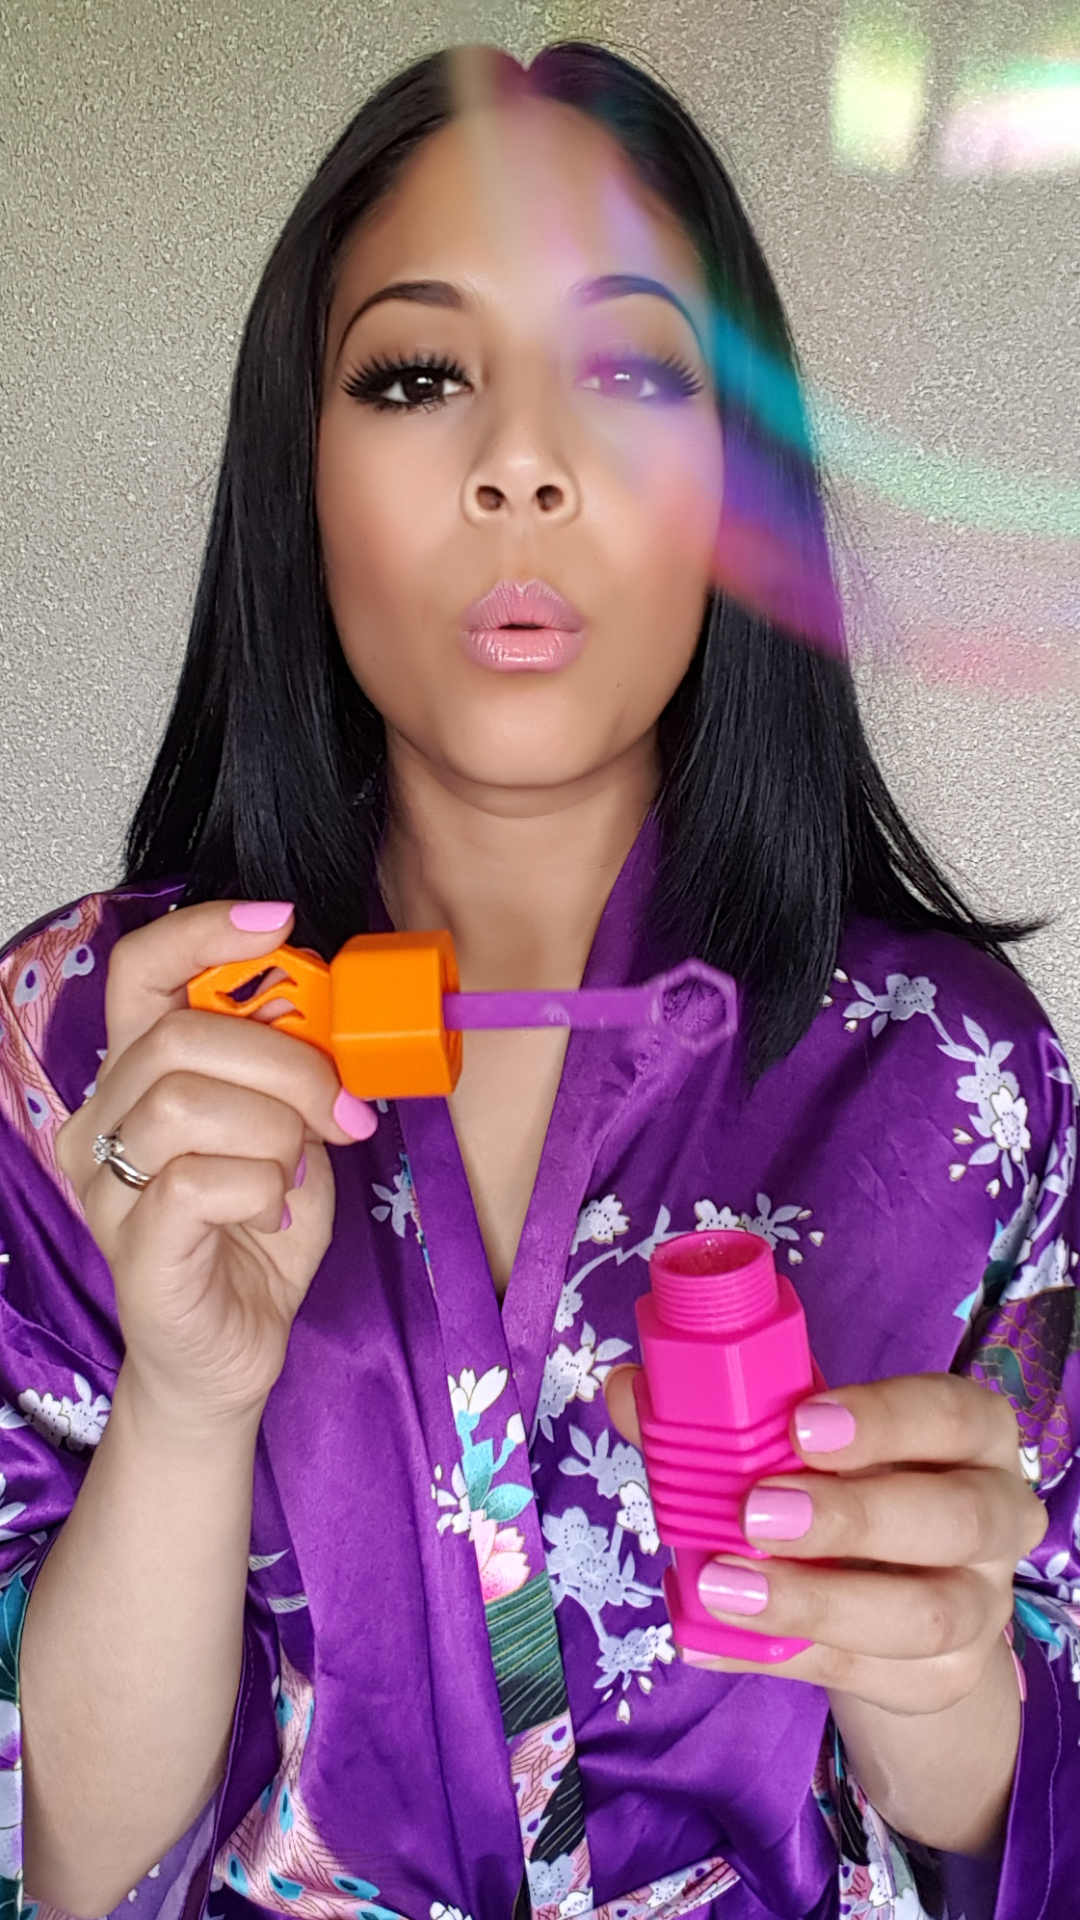
Don't let anyone burst your bubbles...
When I wanted to design this bubble blower, I was thinking what shape I wanted. I did not want to make a simple bubble blower like you see very often in shops. It needs to be unique! I also had to remember that my 3D printer is only able to print items not that high (<15cm>.
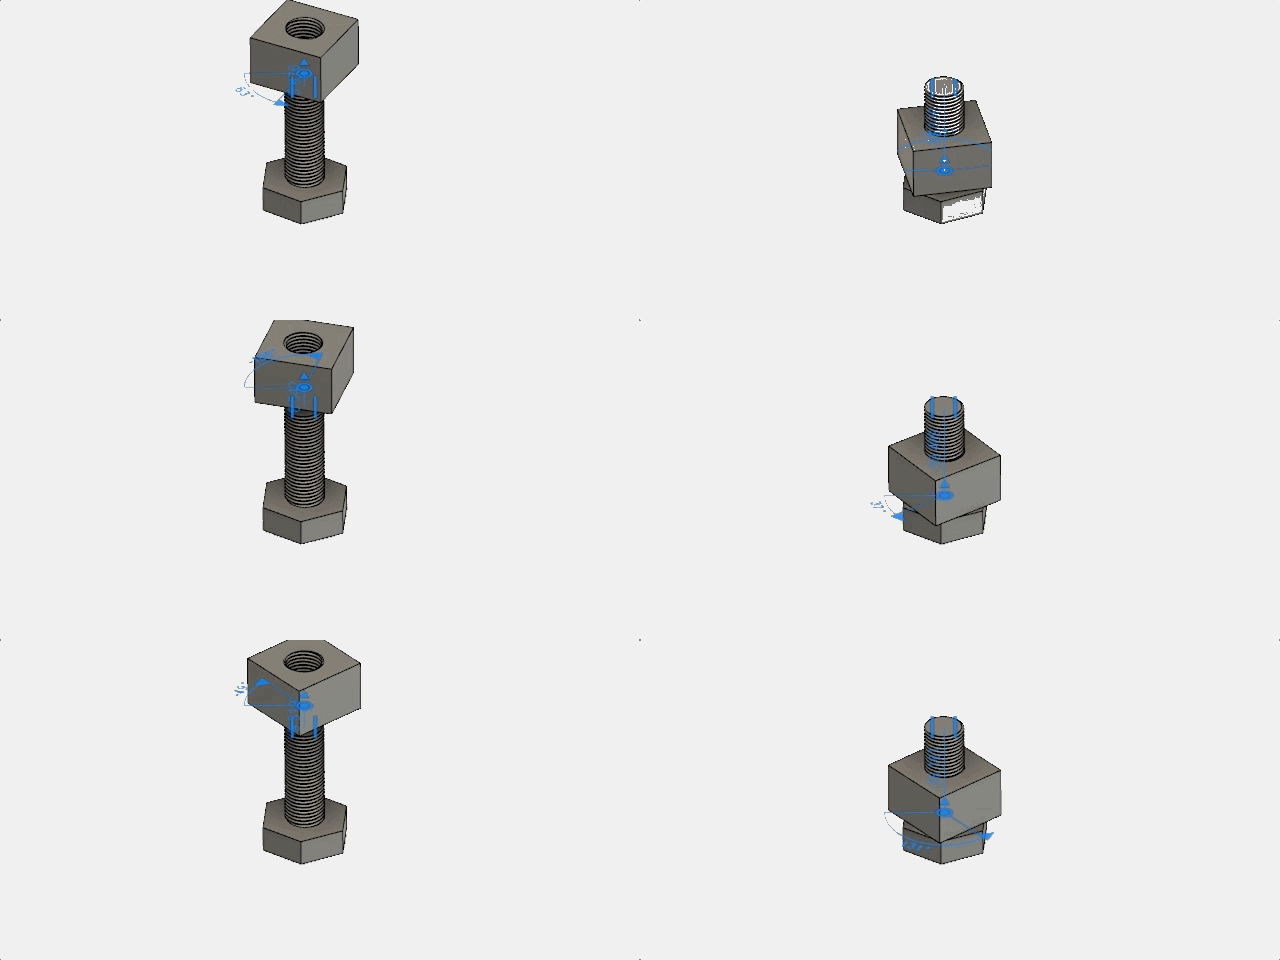
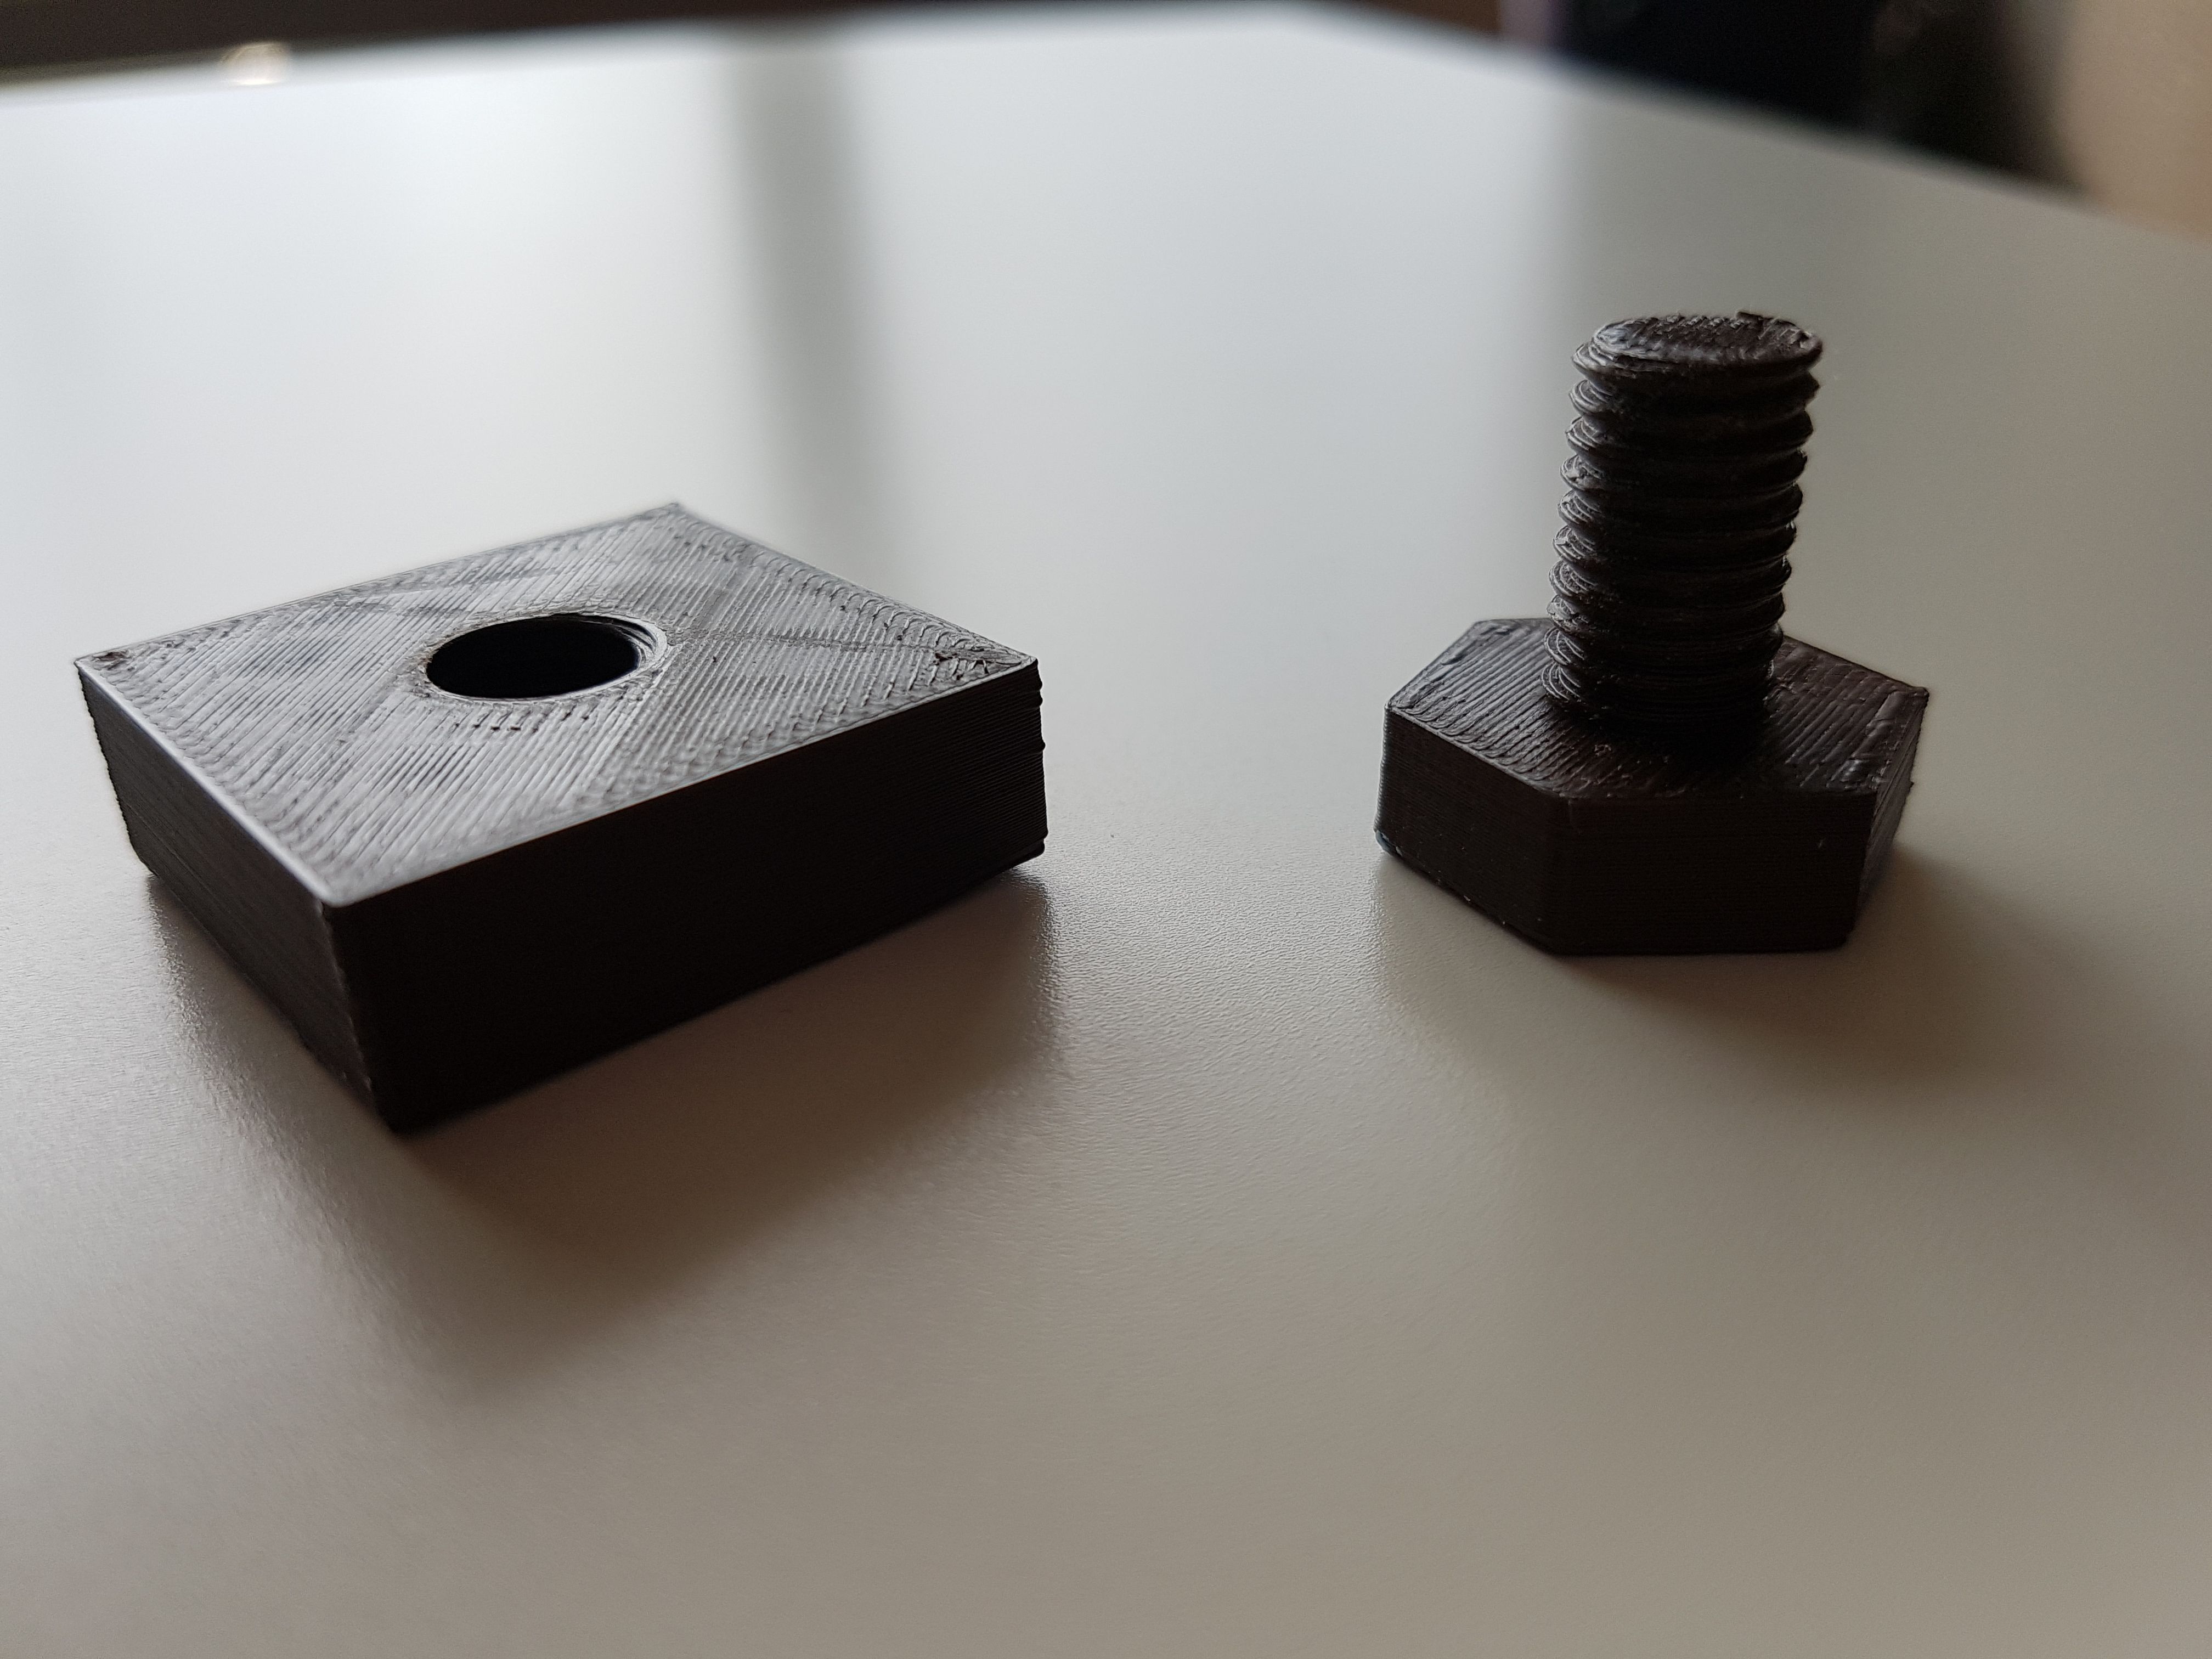
First, I was thinking how to make sure that the bottle cap fits well with the bottle. So I saw a tutorial on Youtube how to make a nut and bolt, by Short to Ground. He explains it very well! Below you see the nut and bolt I designed. It's a simple thing, but I needed to understand this in order to make the bubble blower.
After I printed the nut and bolt, it looks like this:
.jpg)
As you can see, it fits!
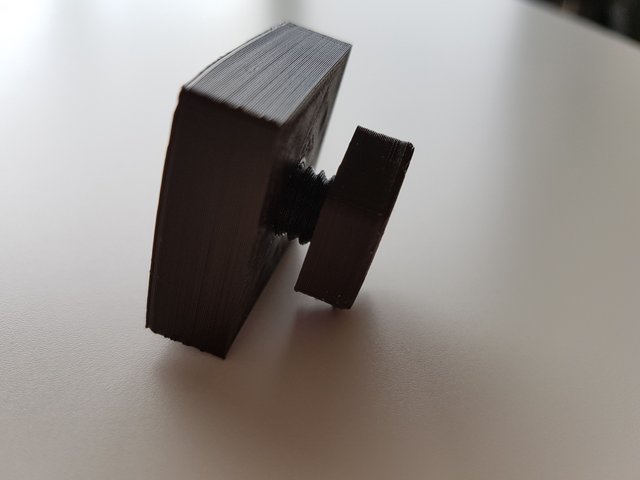
Now it's time to design the bubble blower.
Below the steps explained in details.
First, go to Sketch and choose Polygon- Circumscribed Polygon. We choose one with 6 angles(Hexagon). Go to Sketch and choose Offset. Offset= 3mm

Go to Create and choose Extrude. Extrude the hole polygon 5mm.

Go to Extrude again and choose now the inner polygon. Extrude 70mm.

Go to Sketch and choose circle. Now make a circle on top. Diameter here is 28 mm. Go to Extrude and extrude the circle 12 mm.

Go to Sketch and choose Offset. Offset the circle for about 2-3 mm. Go to Extrude and extrude the inner circle down. Here -75mm.
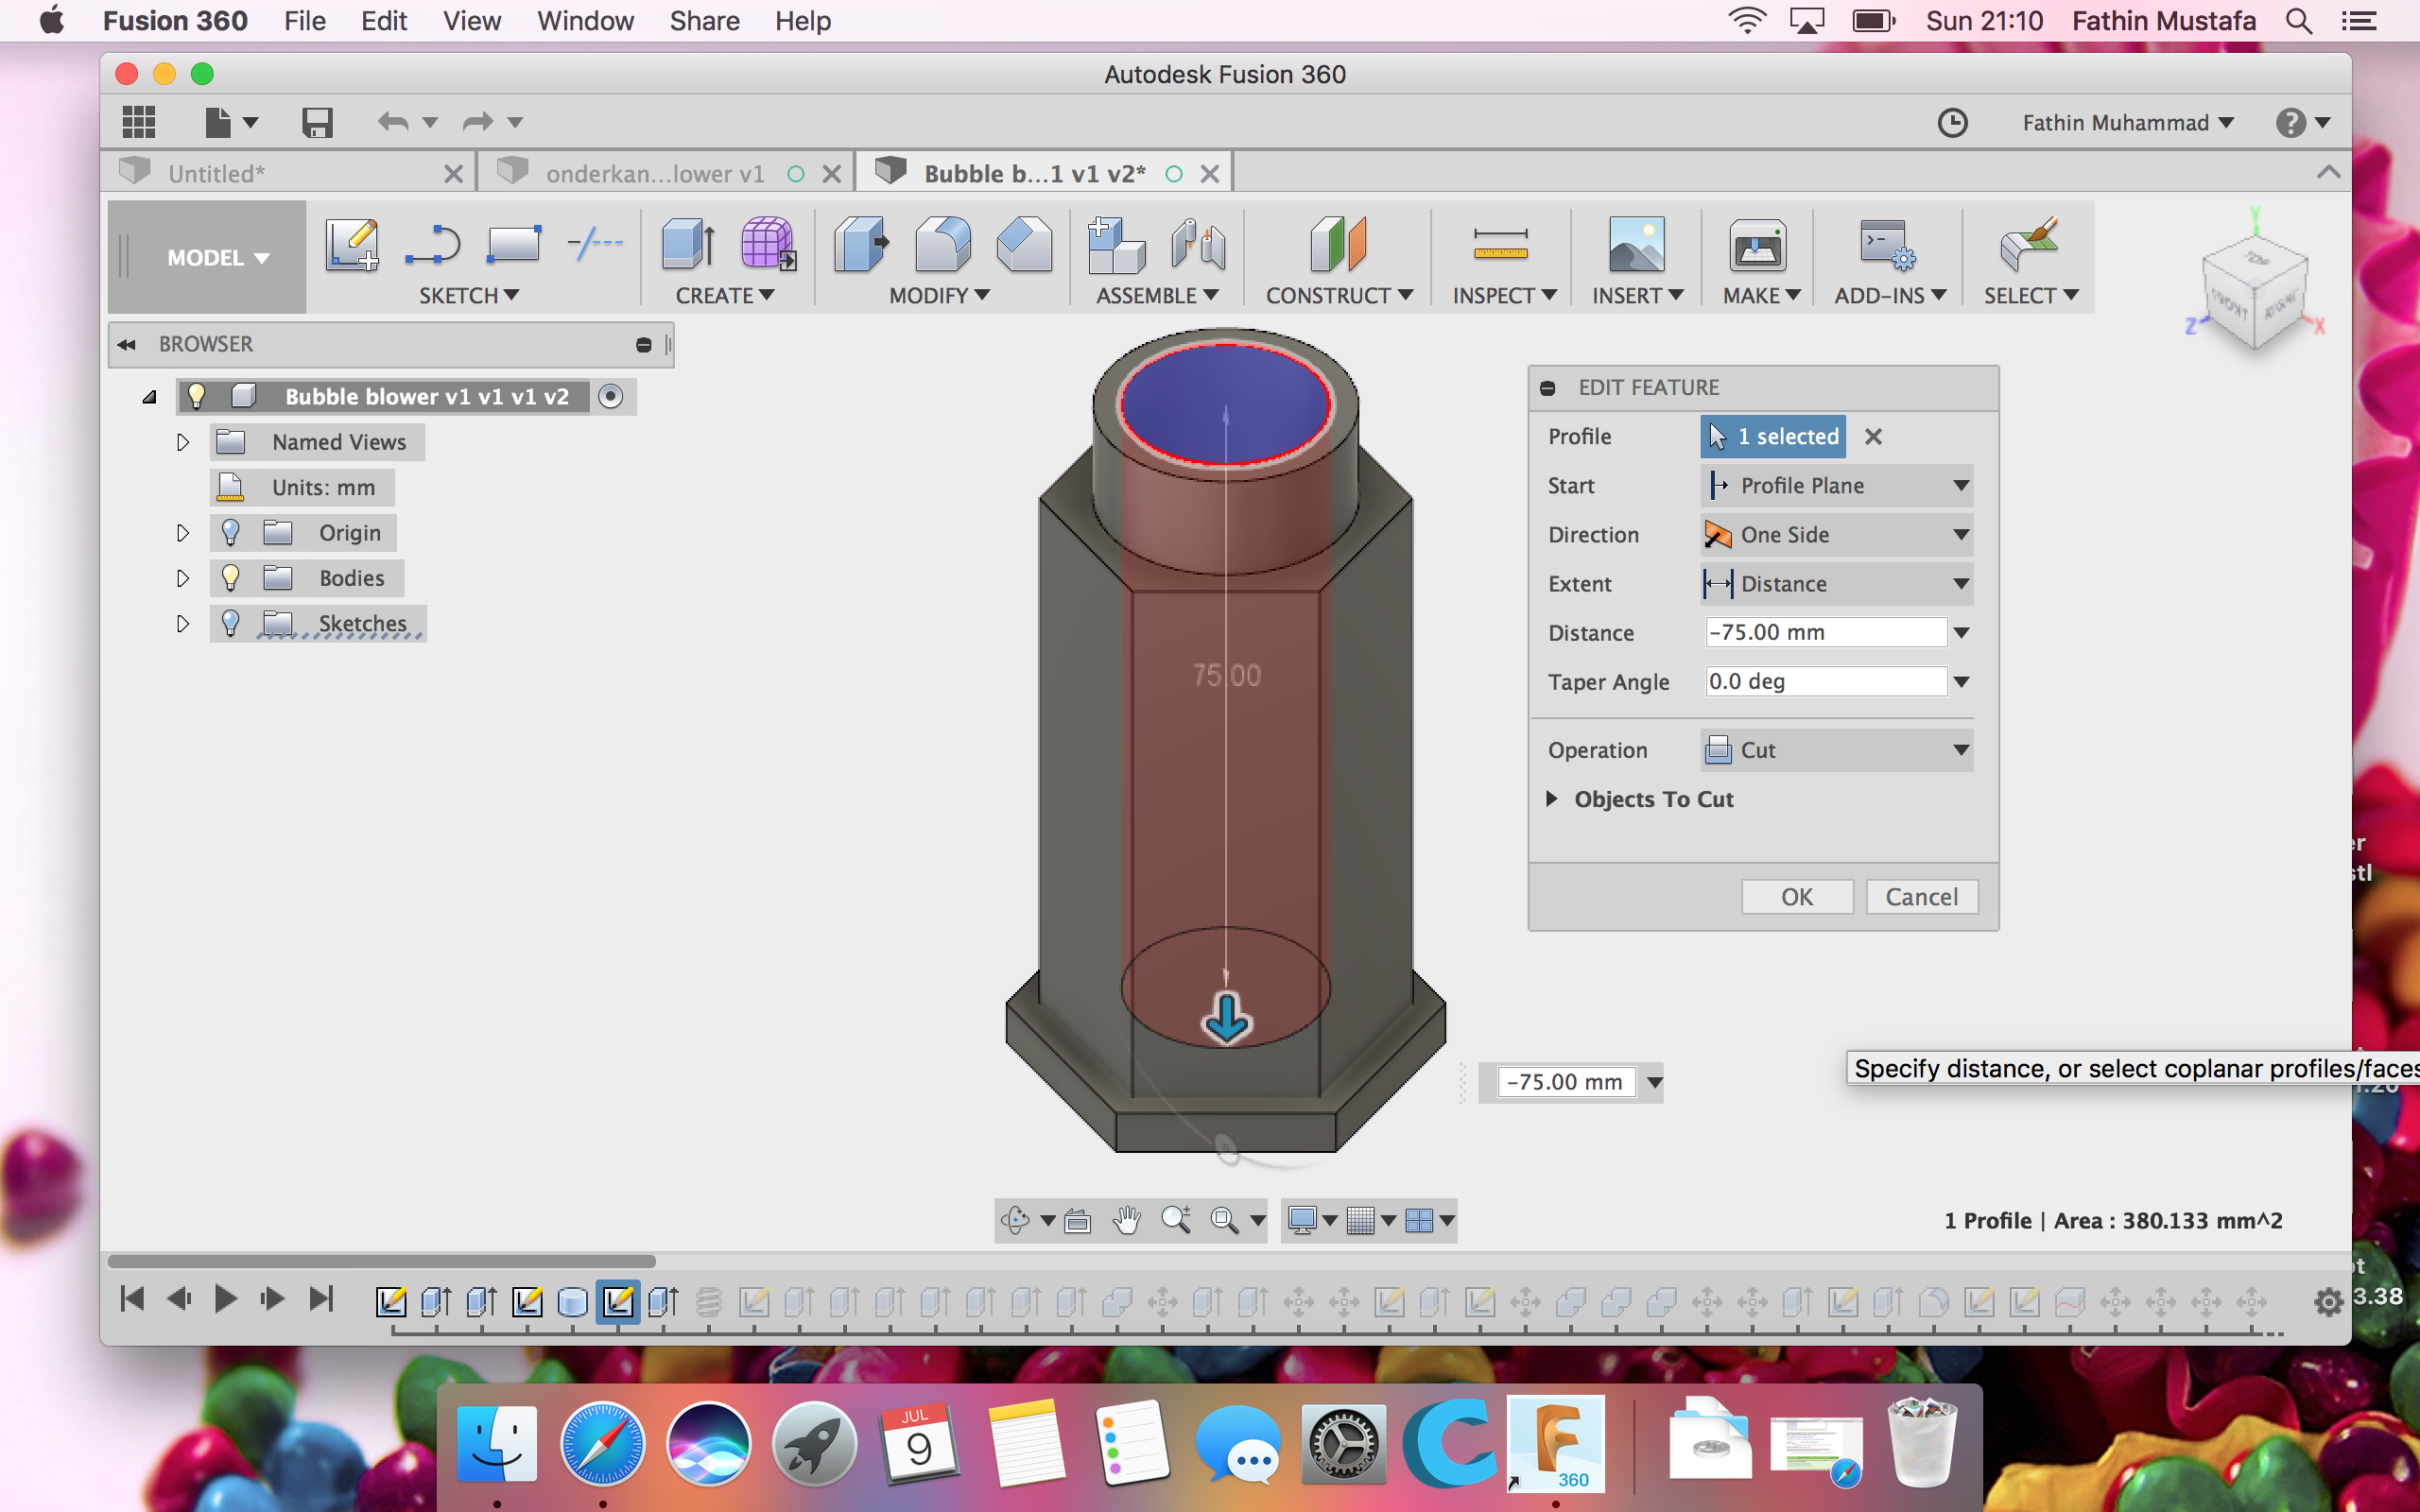
Go to Create and choose Thread. Click on the side of the extruded circle.
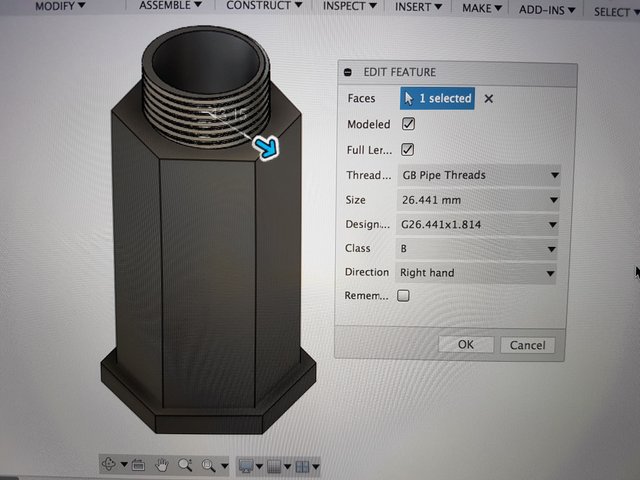
Go to the sketches on the left side below. Extrude the sketch of the polygon.
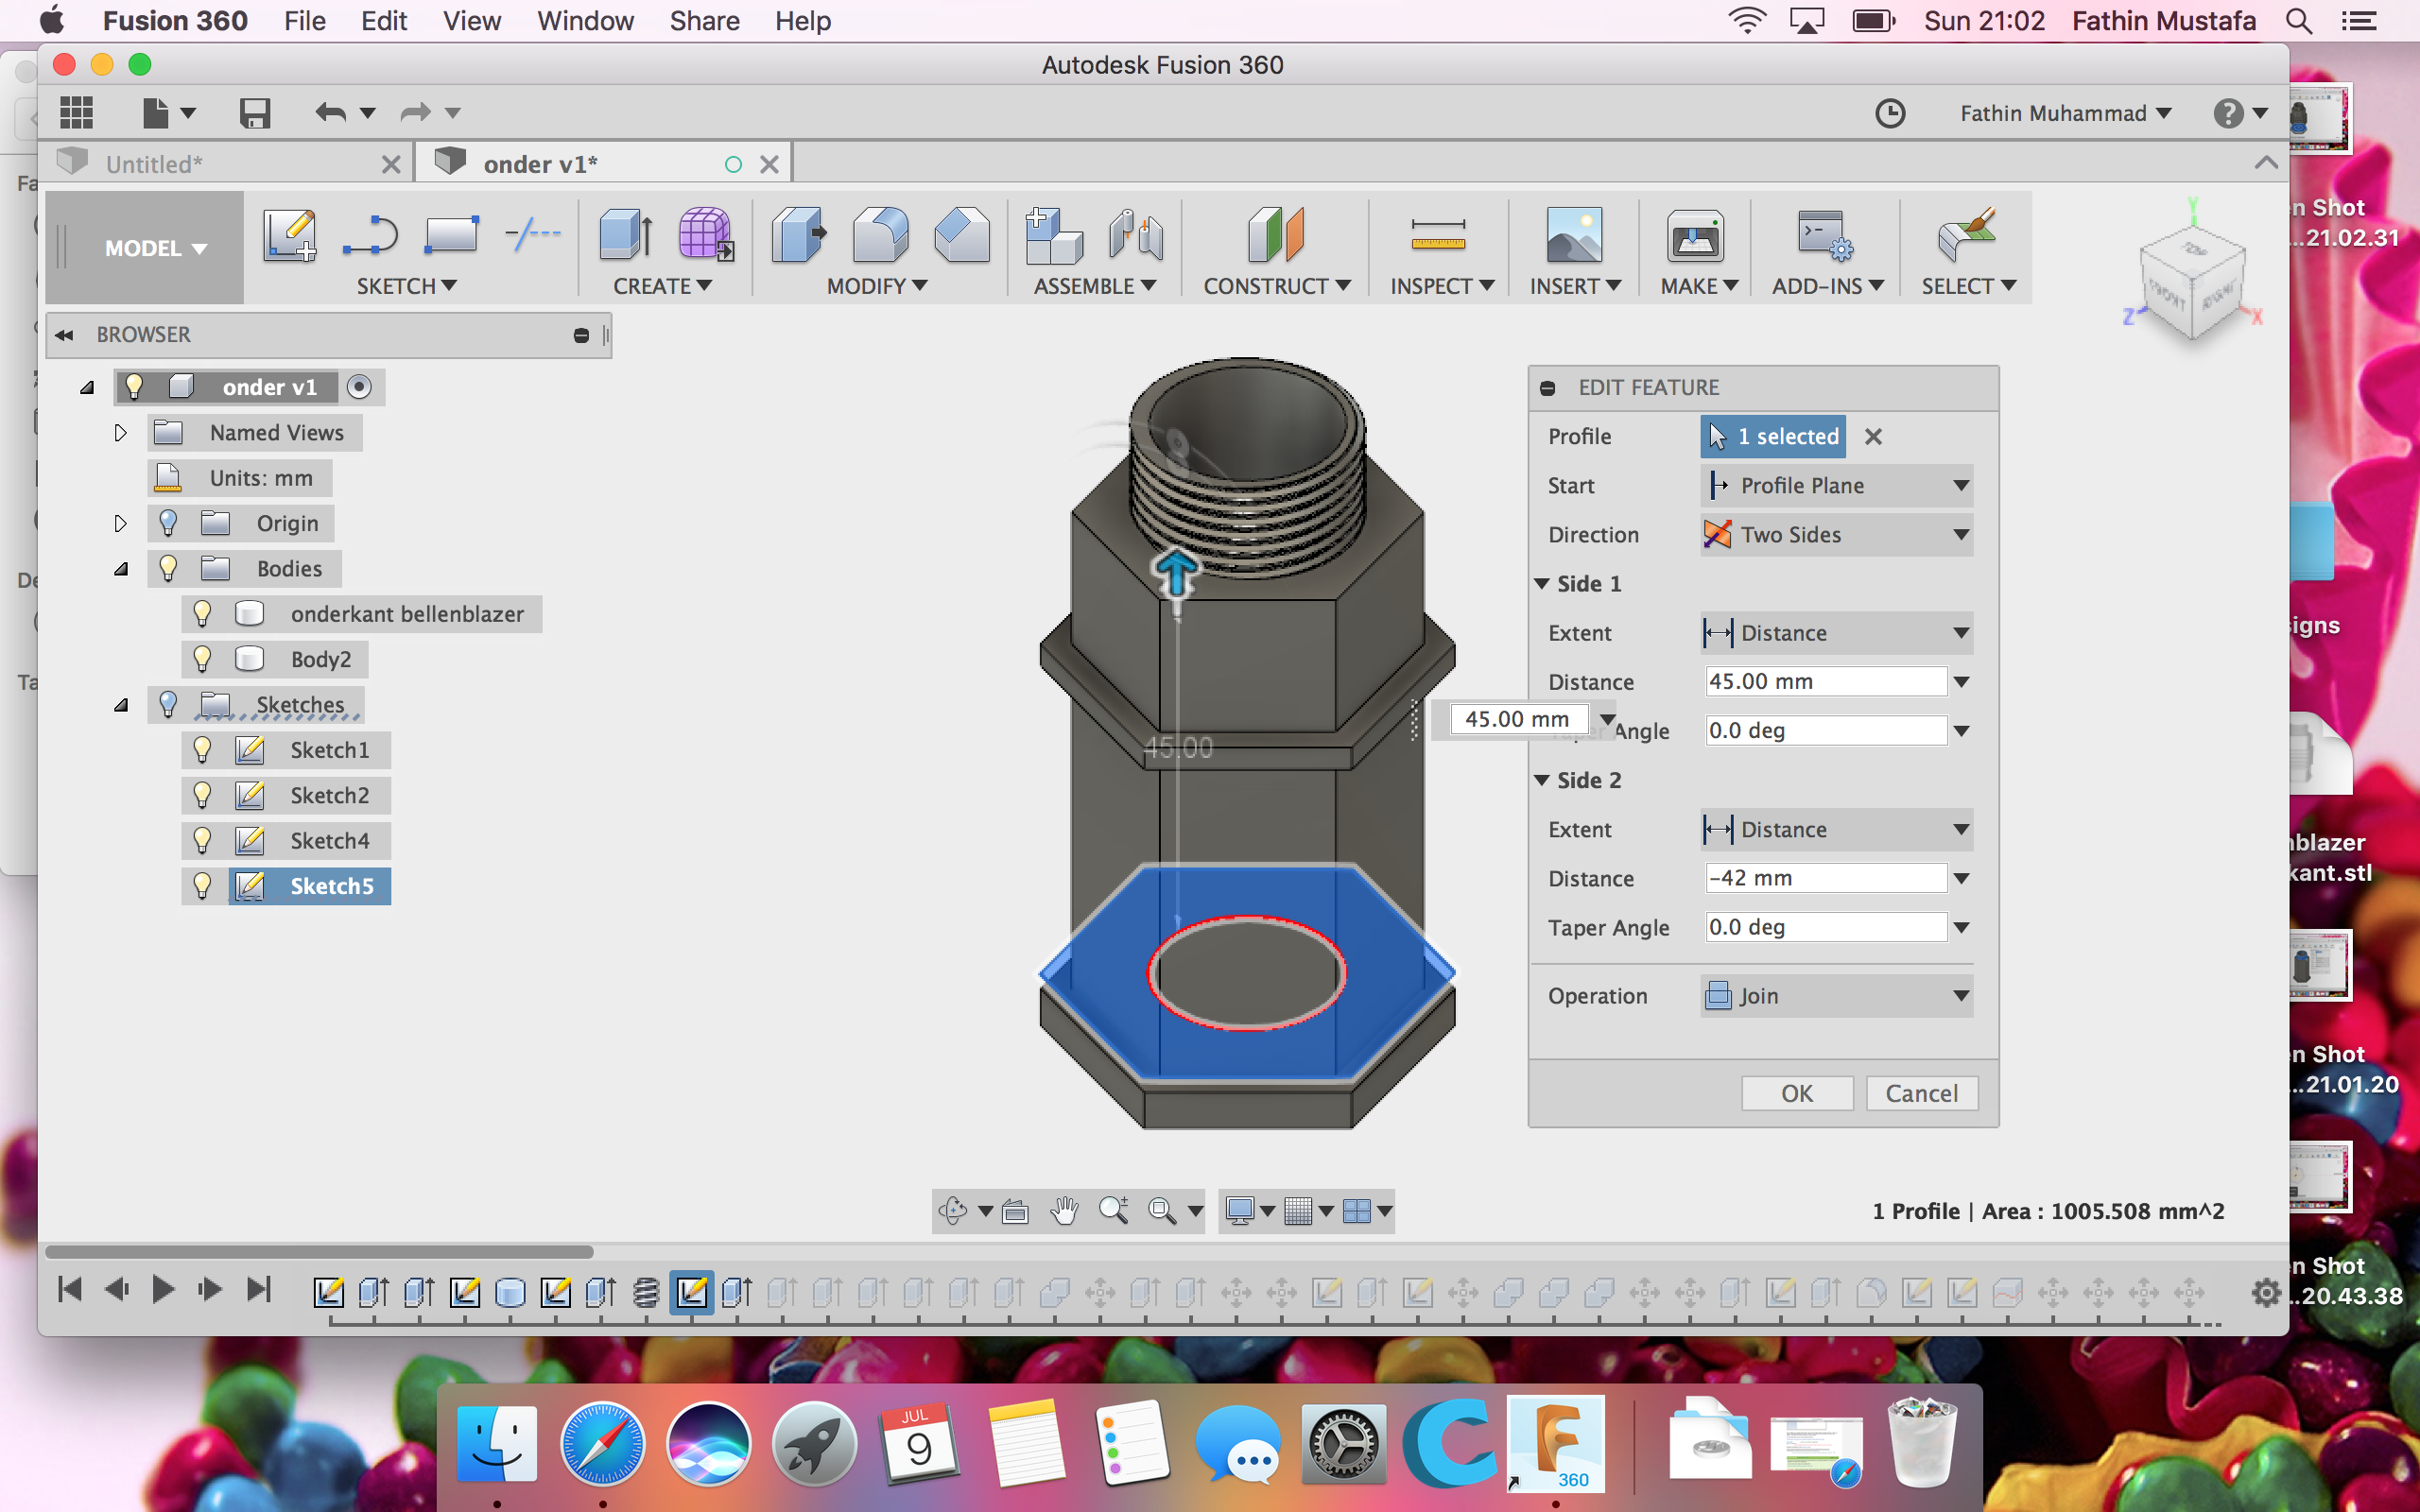
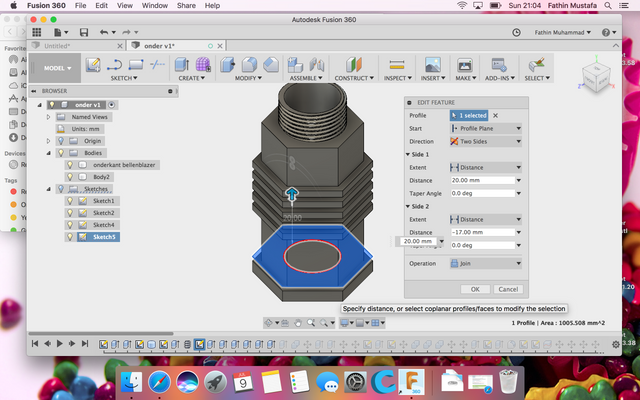
Go to Modify and click Fillet. We are going to smoothen the edges 5mm. Click on all edges.

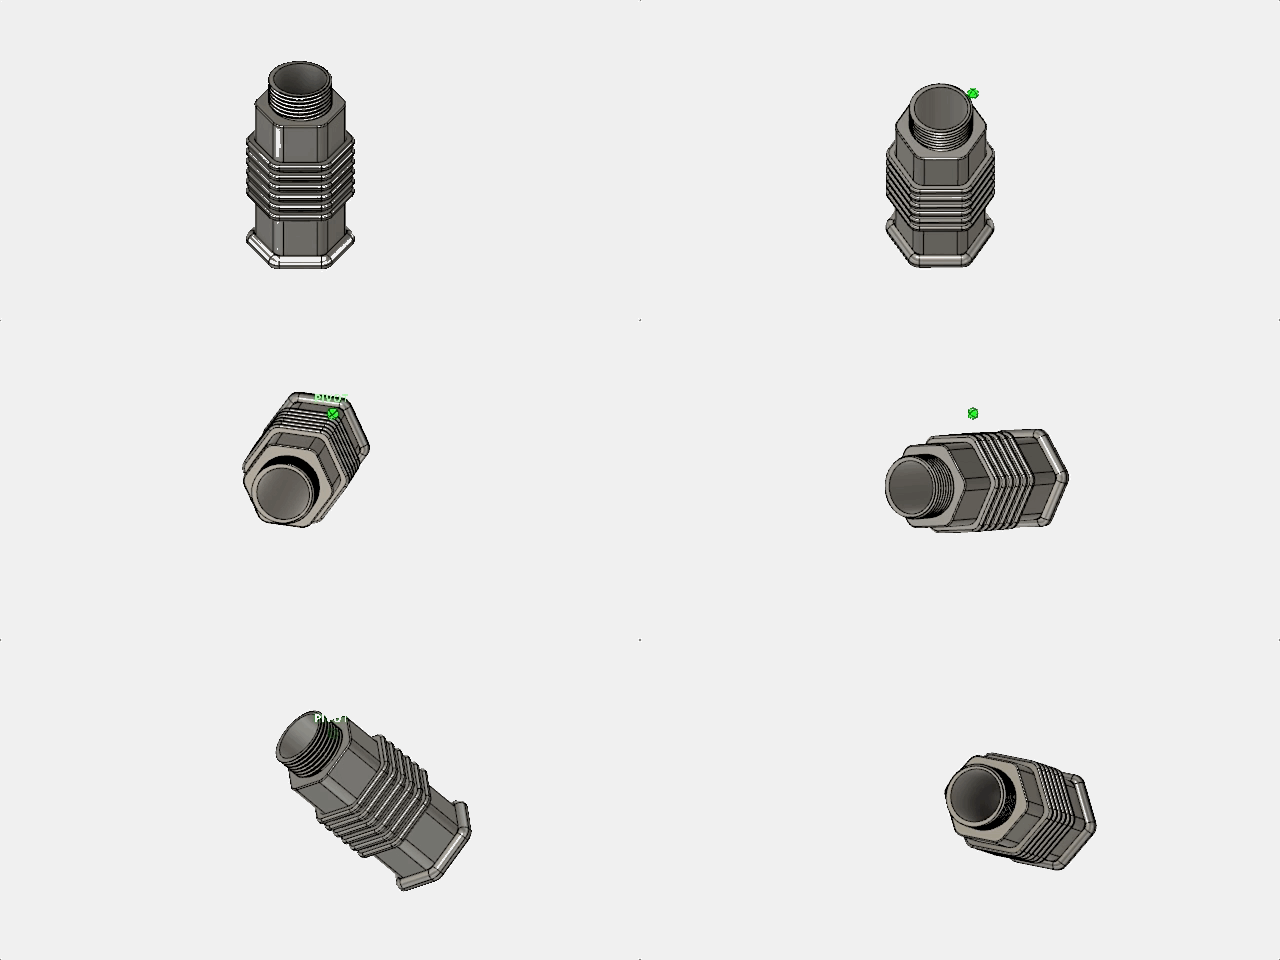
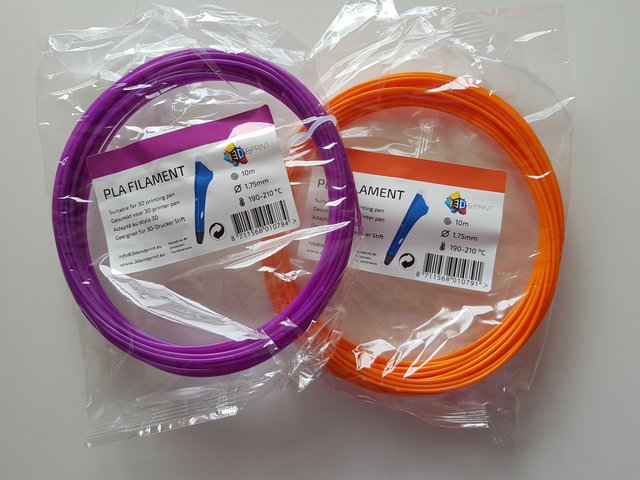
Bottle is done! I bought 10 meter of purple and orange filament at a budget shop. It's the same type of plastic and size. So I give it a try! Now we print it!
.jpg)
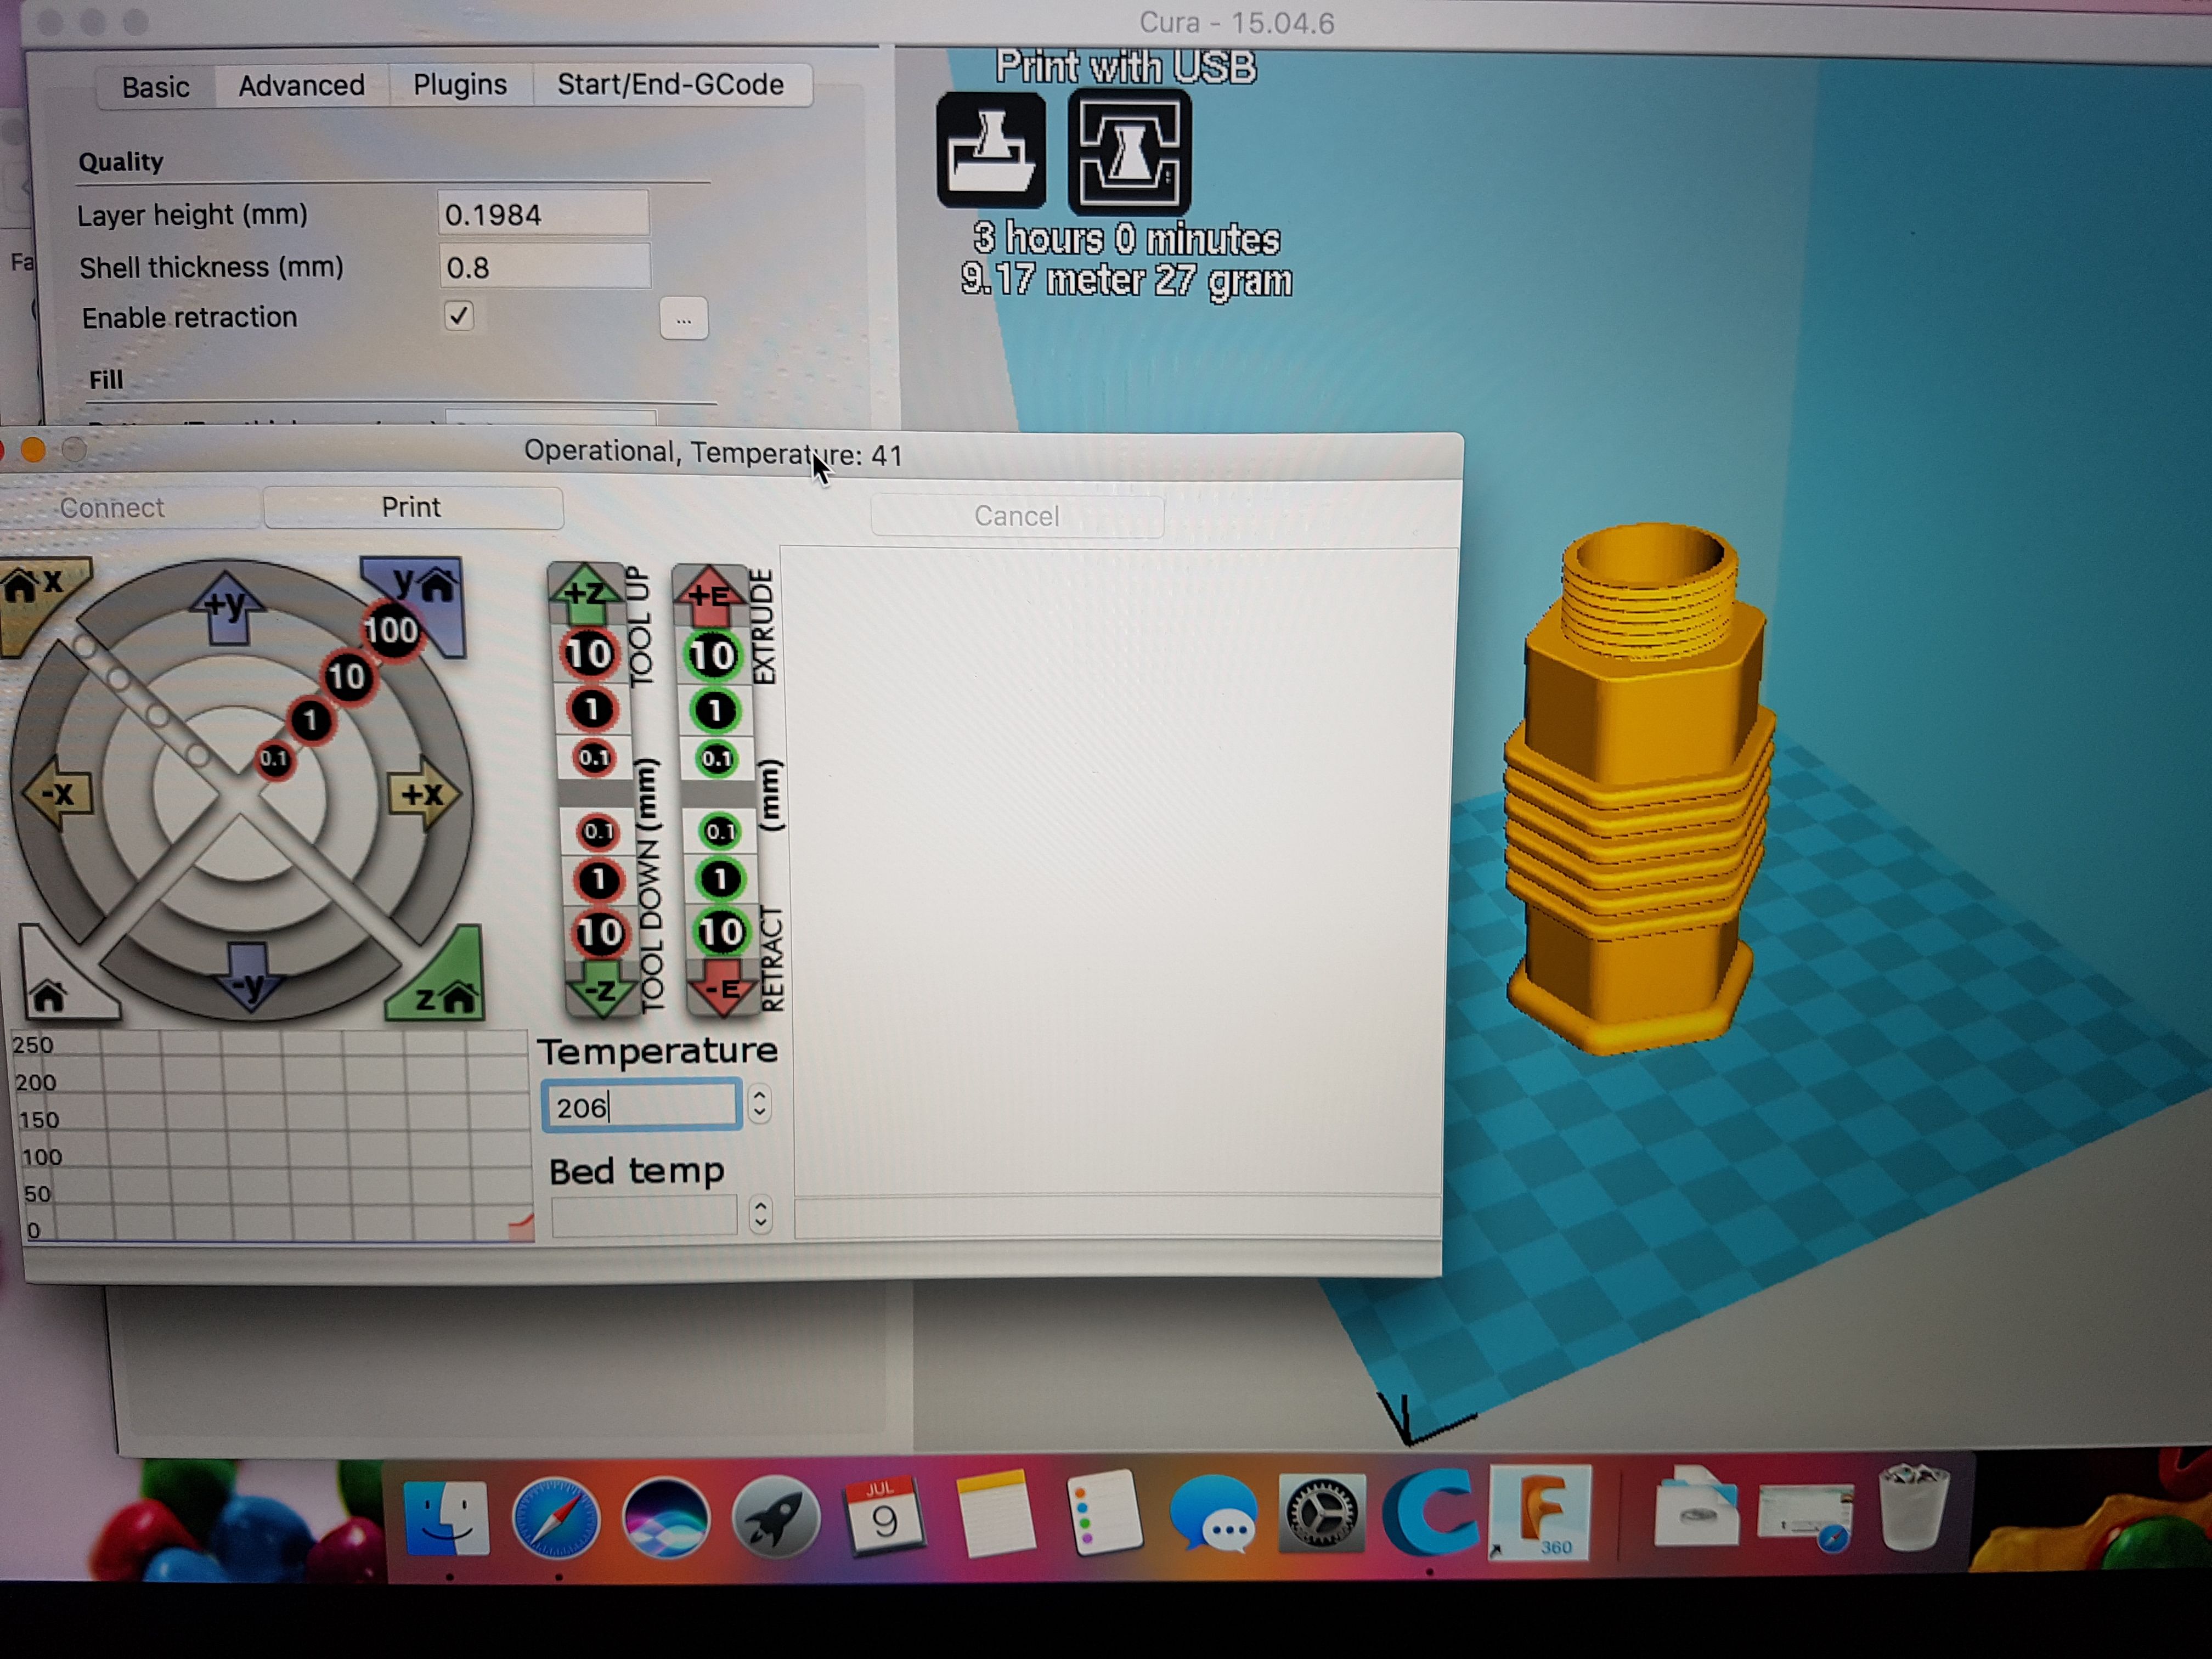
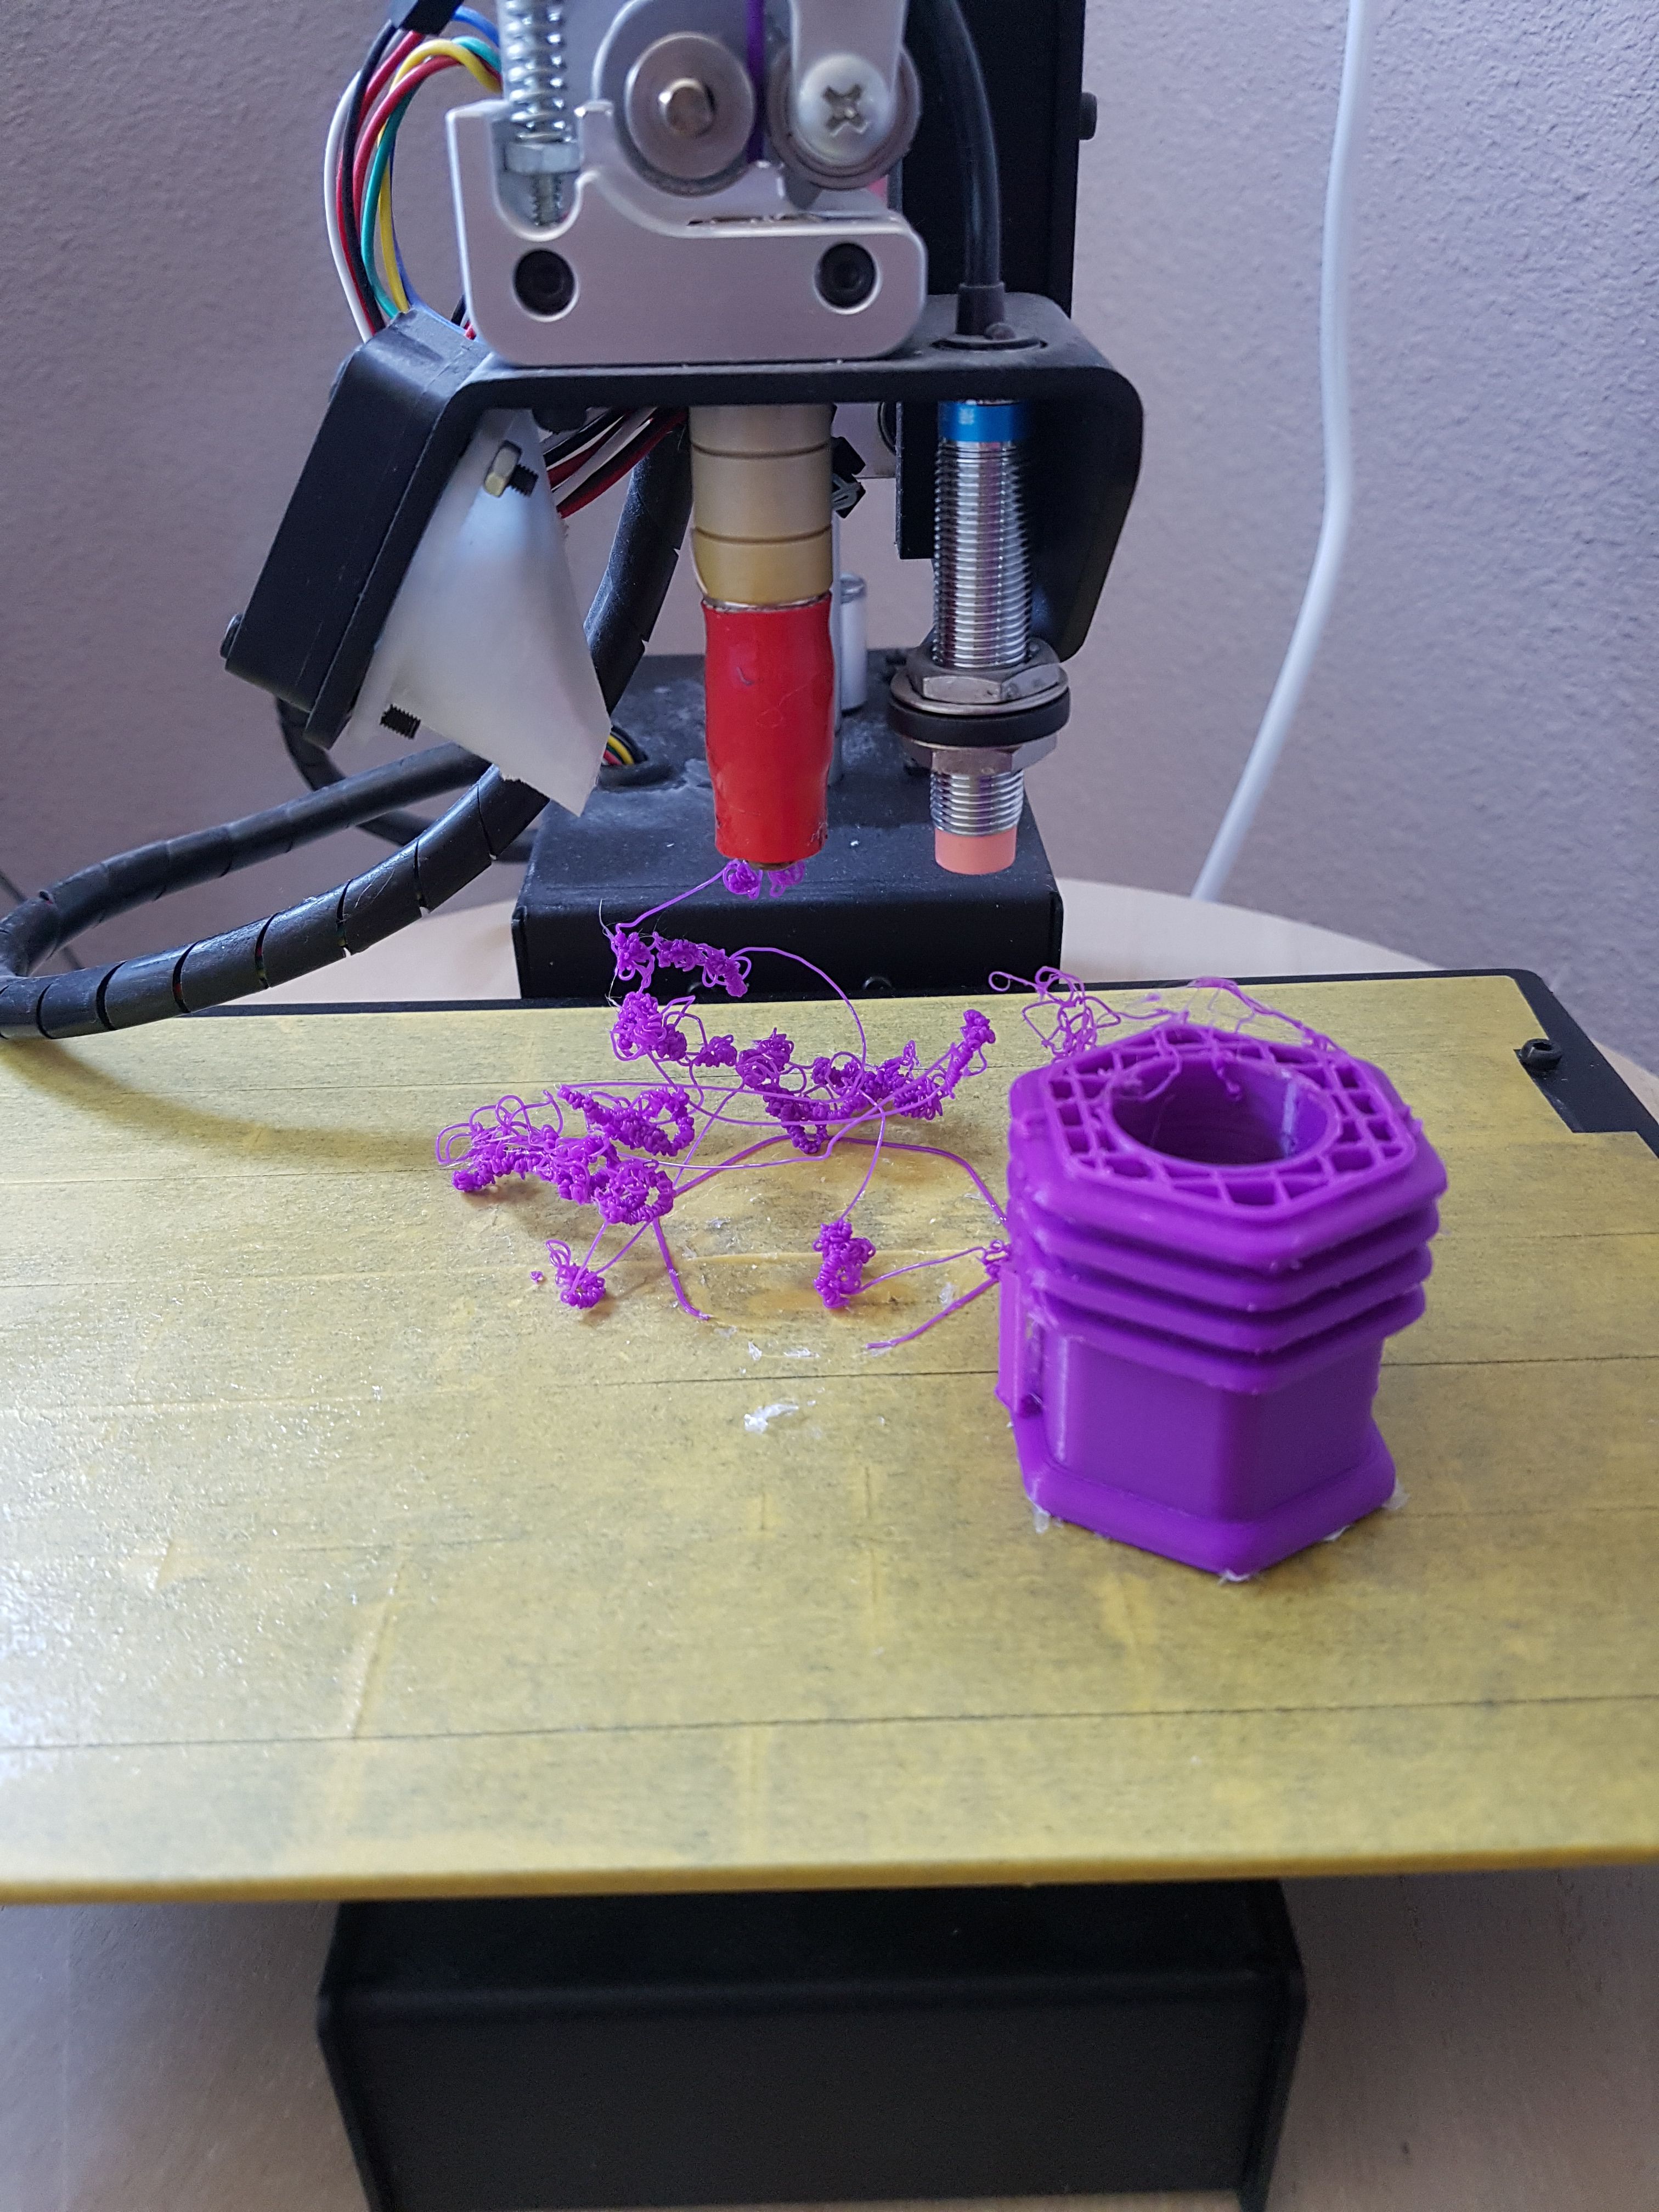
Something going wrong here! :-(((. I did not put enough glue on the touching plate and that's why it is moving away, or let's say, sliding away!
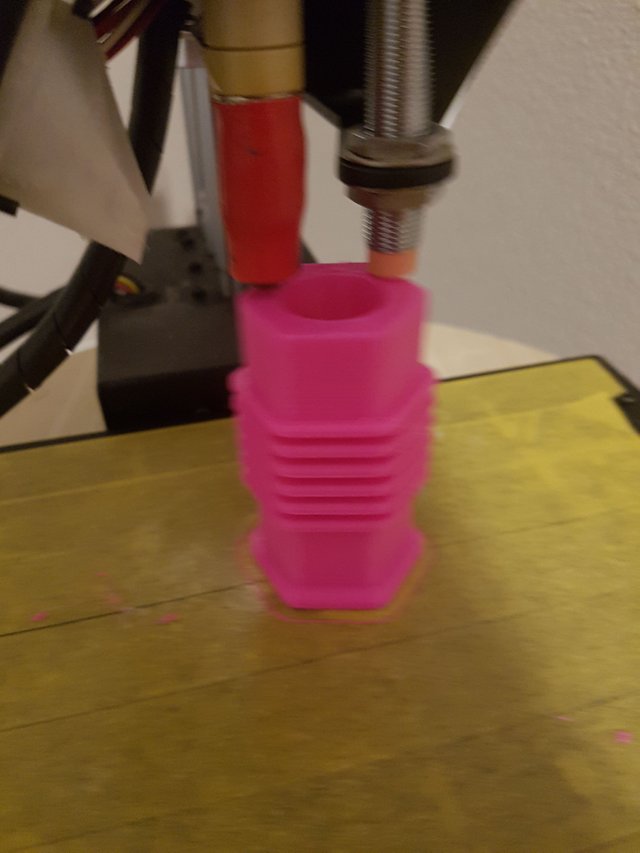
It failed many times! I blamed the printer! I thought it was over for me. :-(. But after a while I noticed, together with my husband, it was not the printer's fault, but the laptop's fault. My laptop was sleeping........So I changed the settings but still I was watching the printer like a Doberman watchdog!
Now we go to the bottle cap.
Make the same Polygon and offset like the bottle.
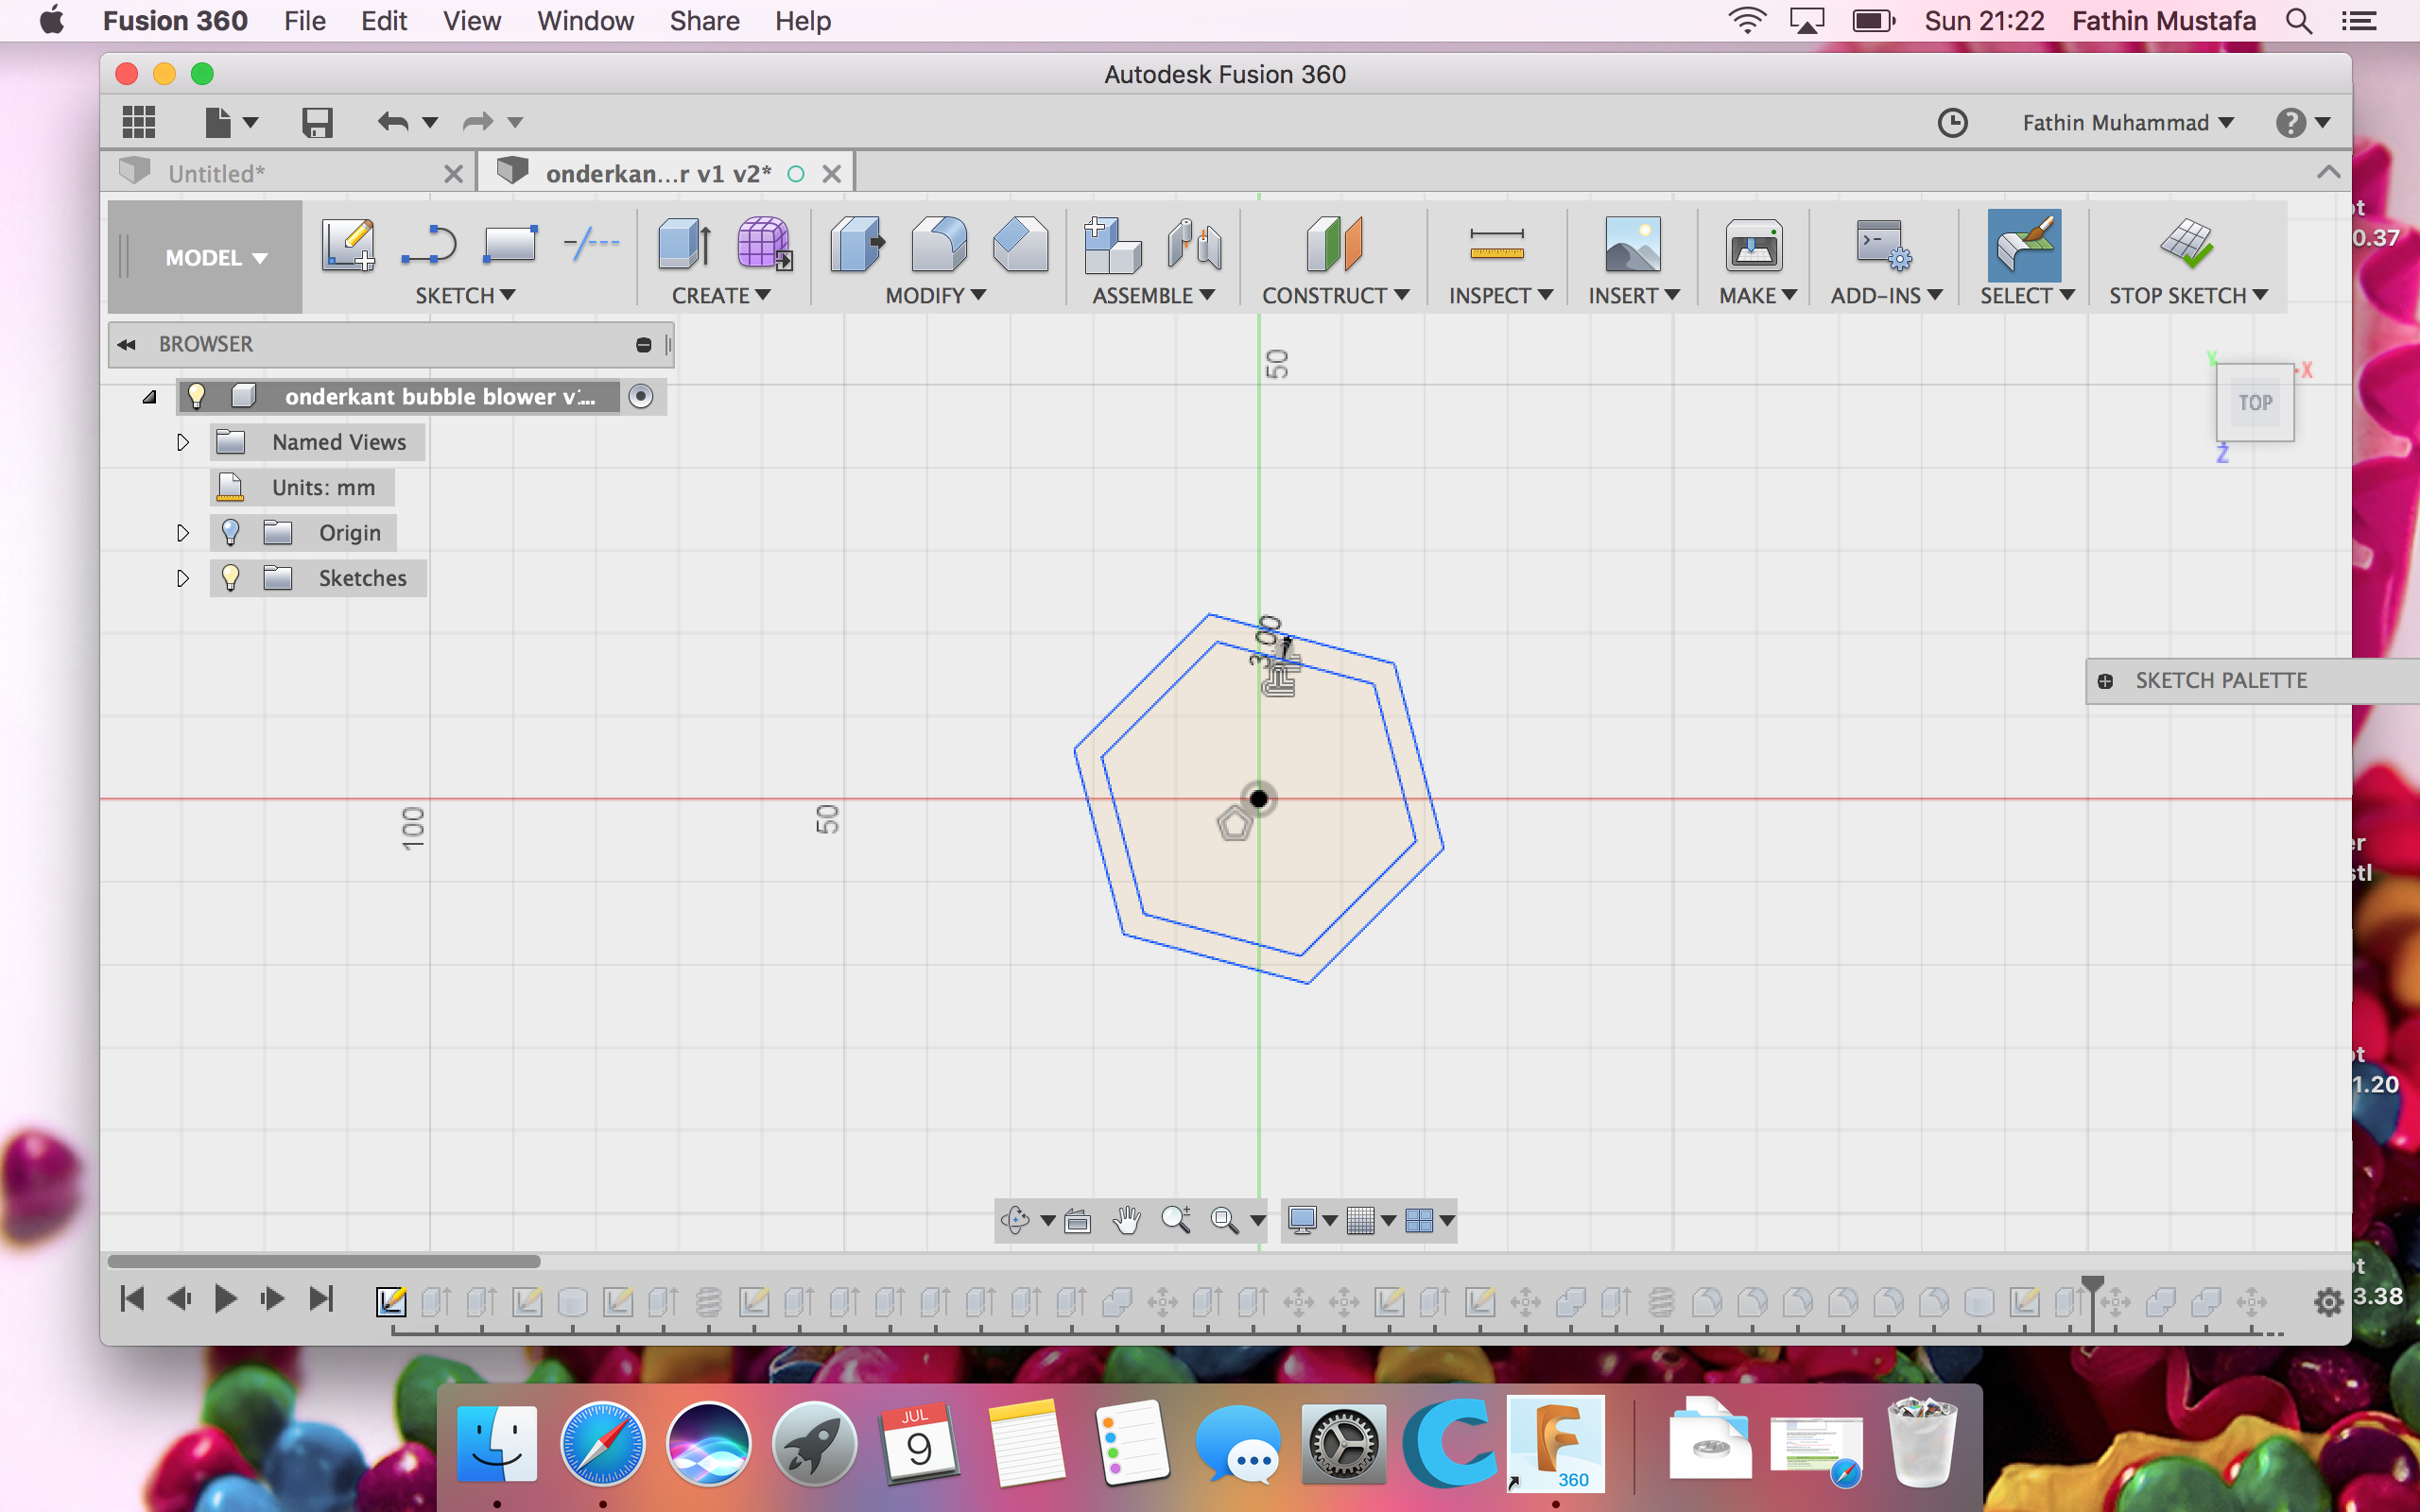
Extrude it 25 mm.
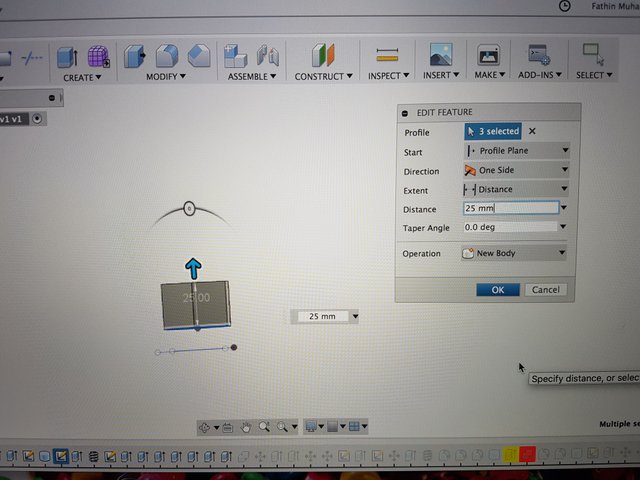
Create another polygon and extrude it 6 mm.
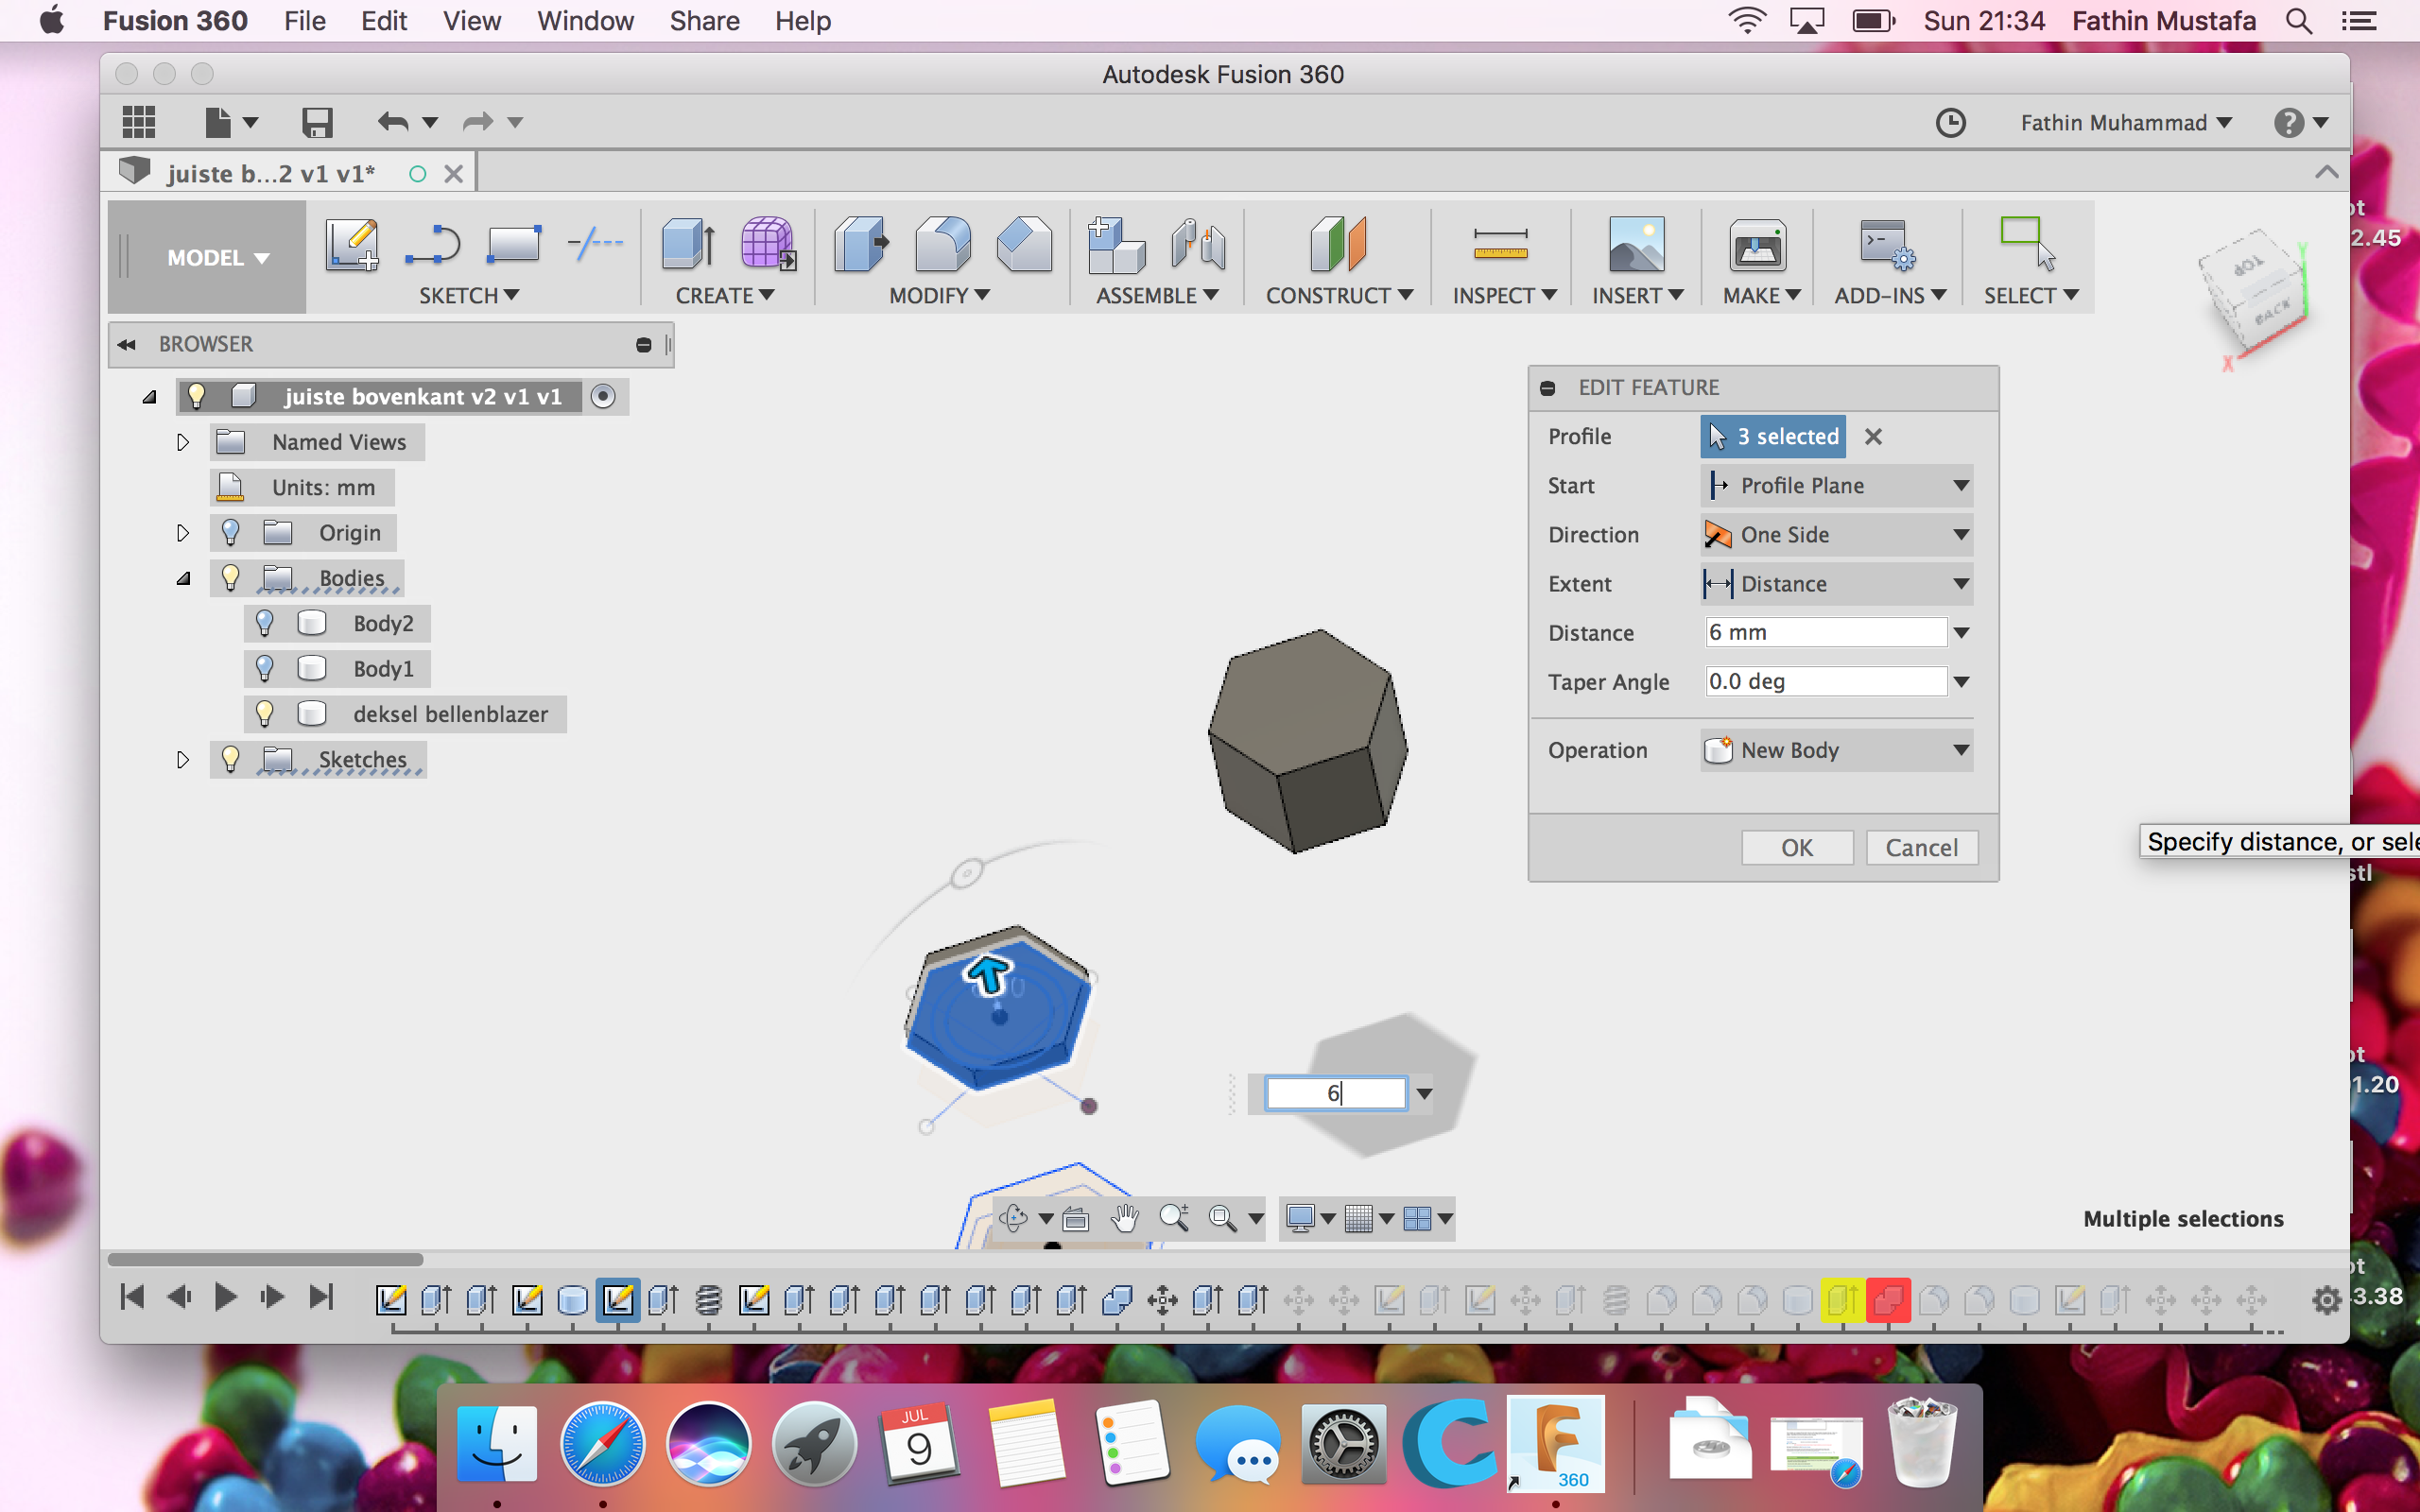
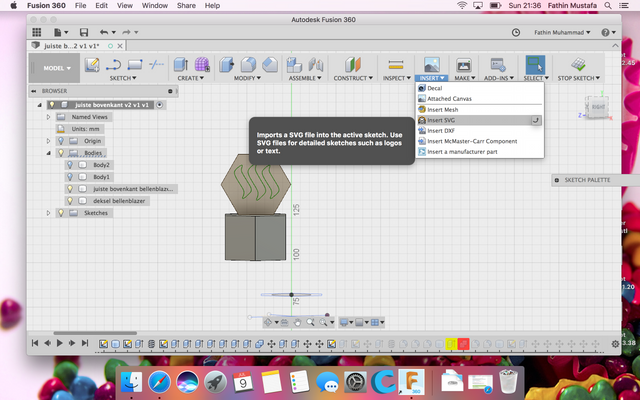
Put the 6mm polygon on top of the bottle cap my moving it. Now go to Insert and choose the Steemit logo. Place it in the middle and extrude it.(Cut).
![9D.png]
( )
)
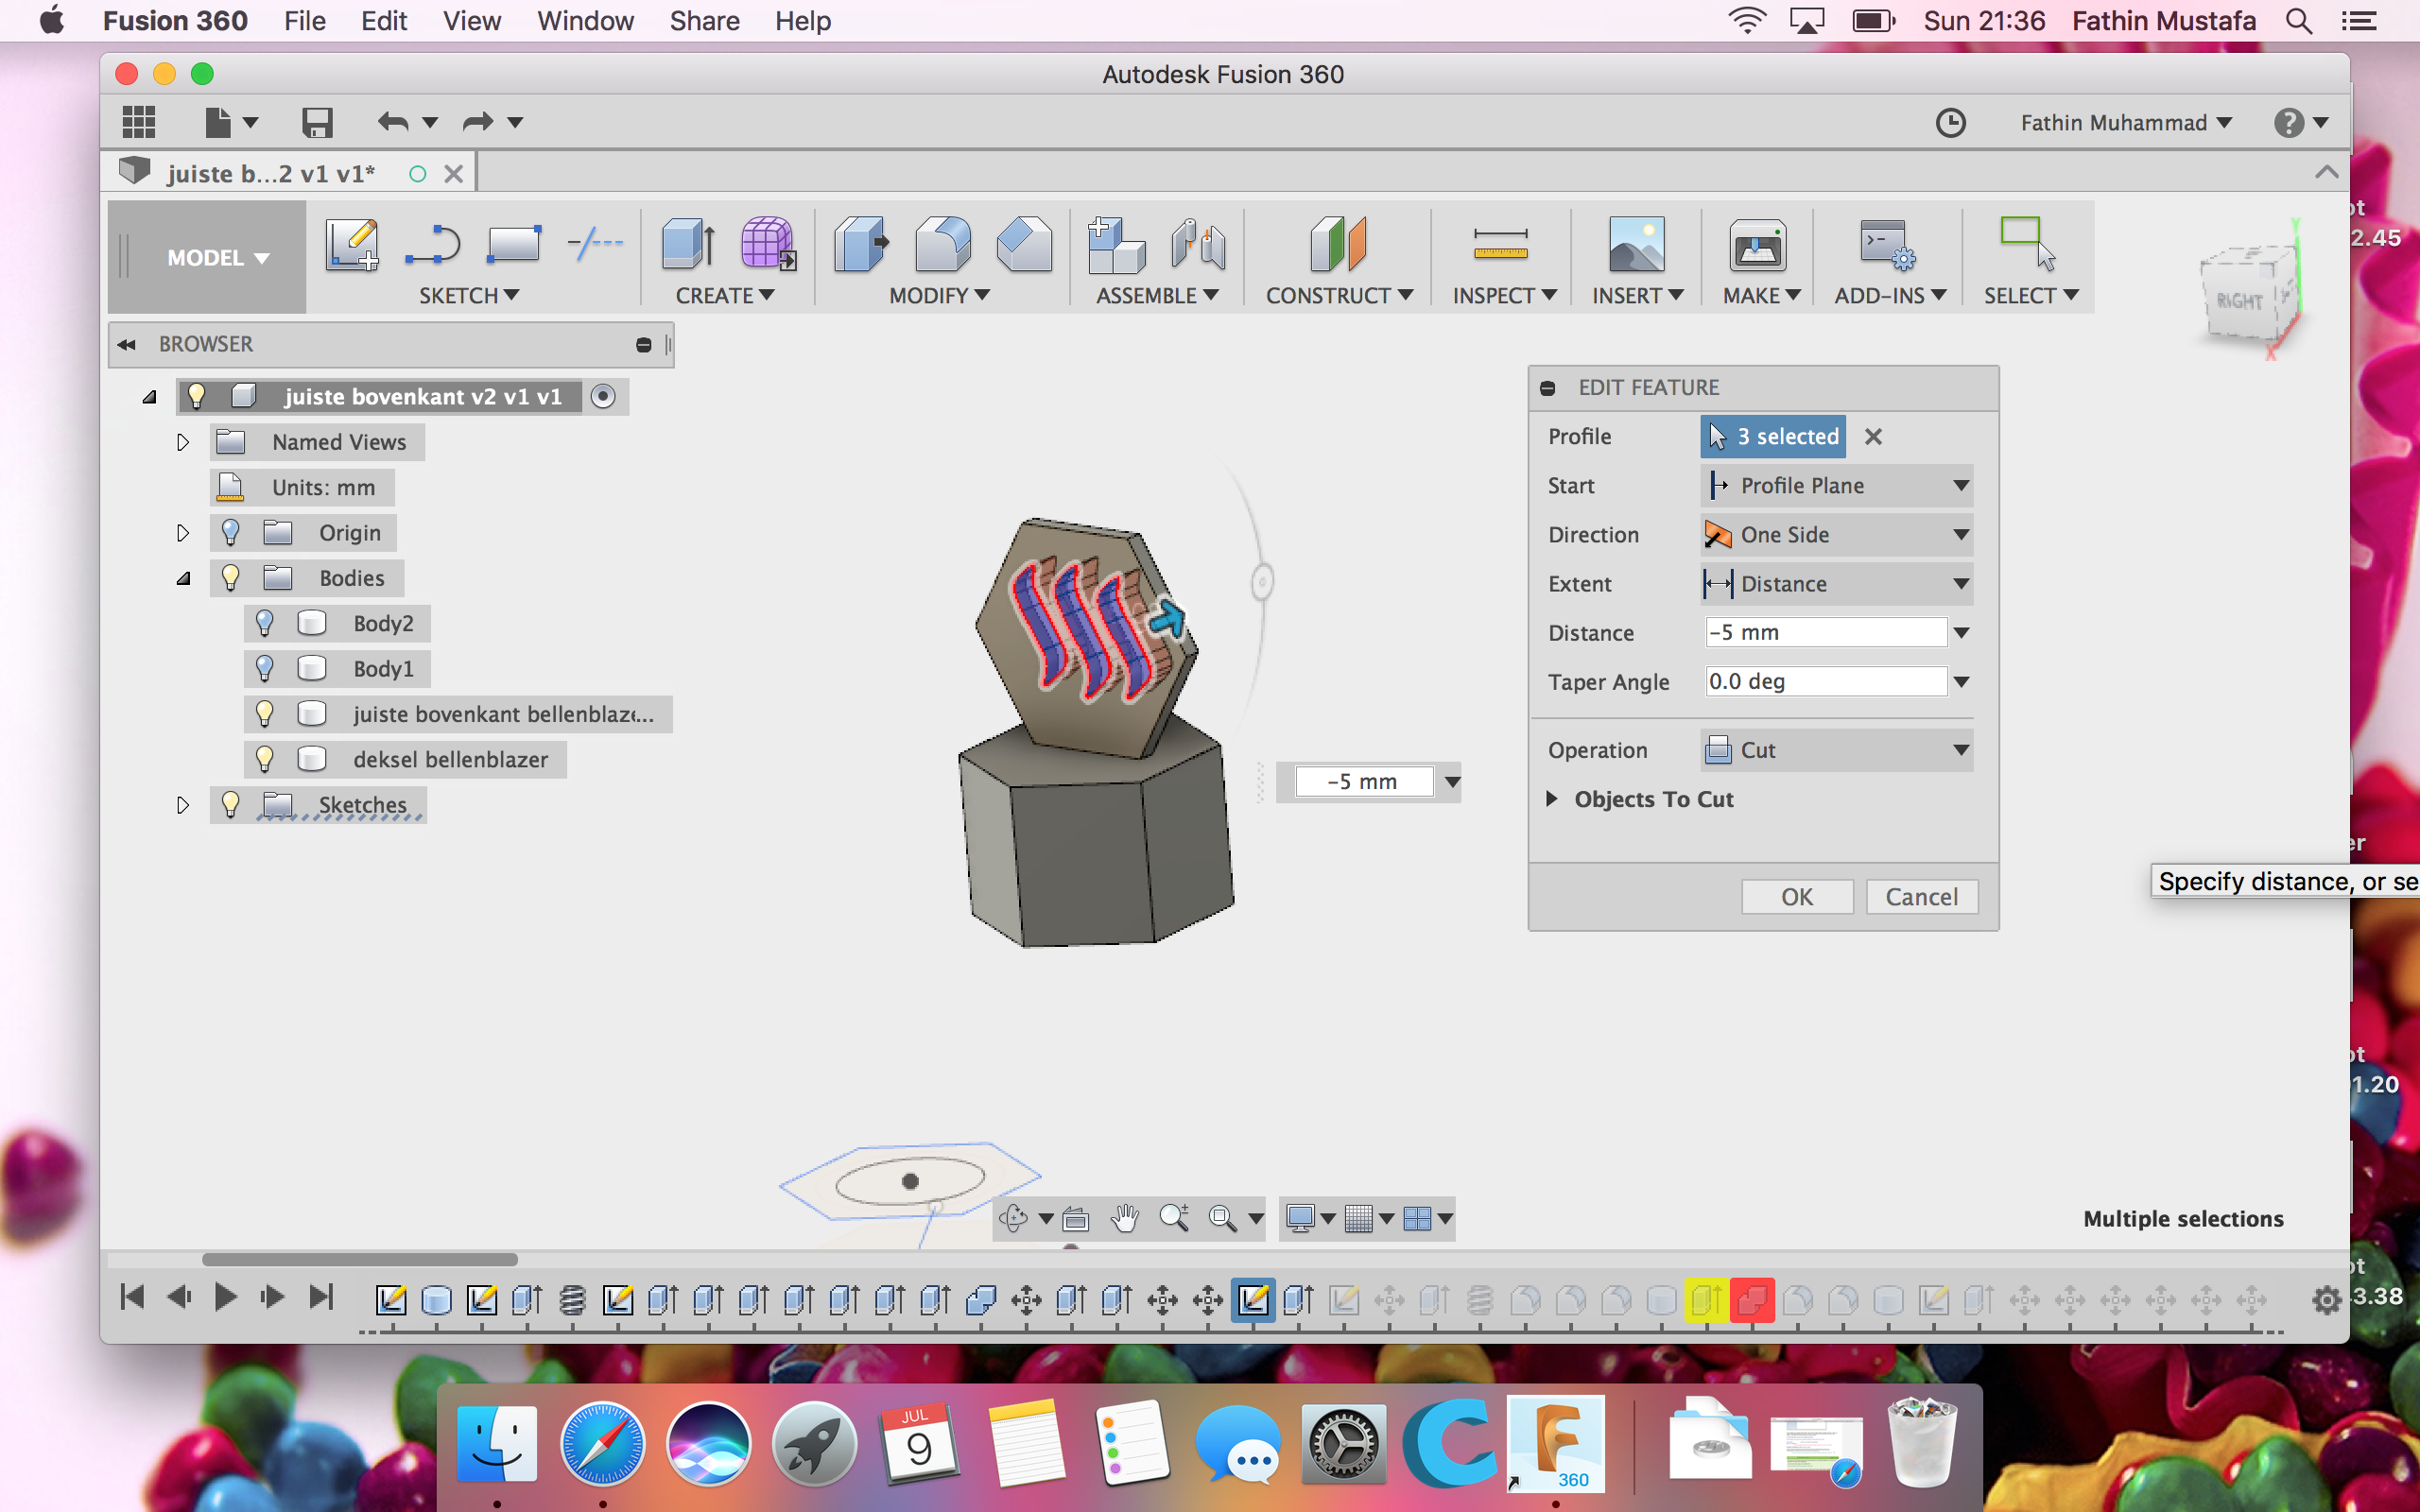
Go to Sketch and choose Circle. Make a circle underneath the bottle cap.

Extrude the circle with 15 mm.

Go to Create and choose Thread. We do the same measurement like the bottle.

Go to Modify and choose Fillet for the edges.

For the bubble stick to fit in the cap, we need to make a rectangular, center it inside and extrude it.

Now we make the stick and the polygon hole.

Combine the two bodies.

Bottle and stick are done!
![dop bubble blower.gif]
( )
)
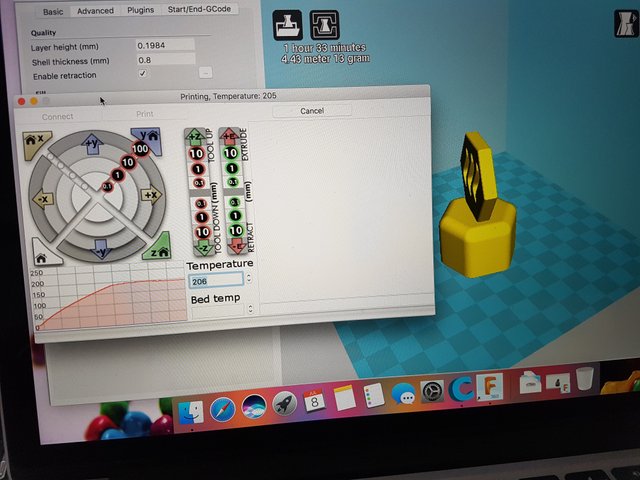
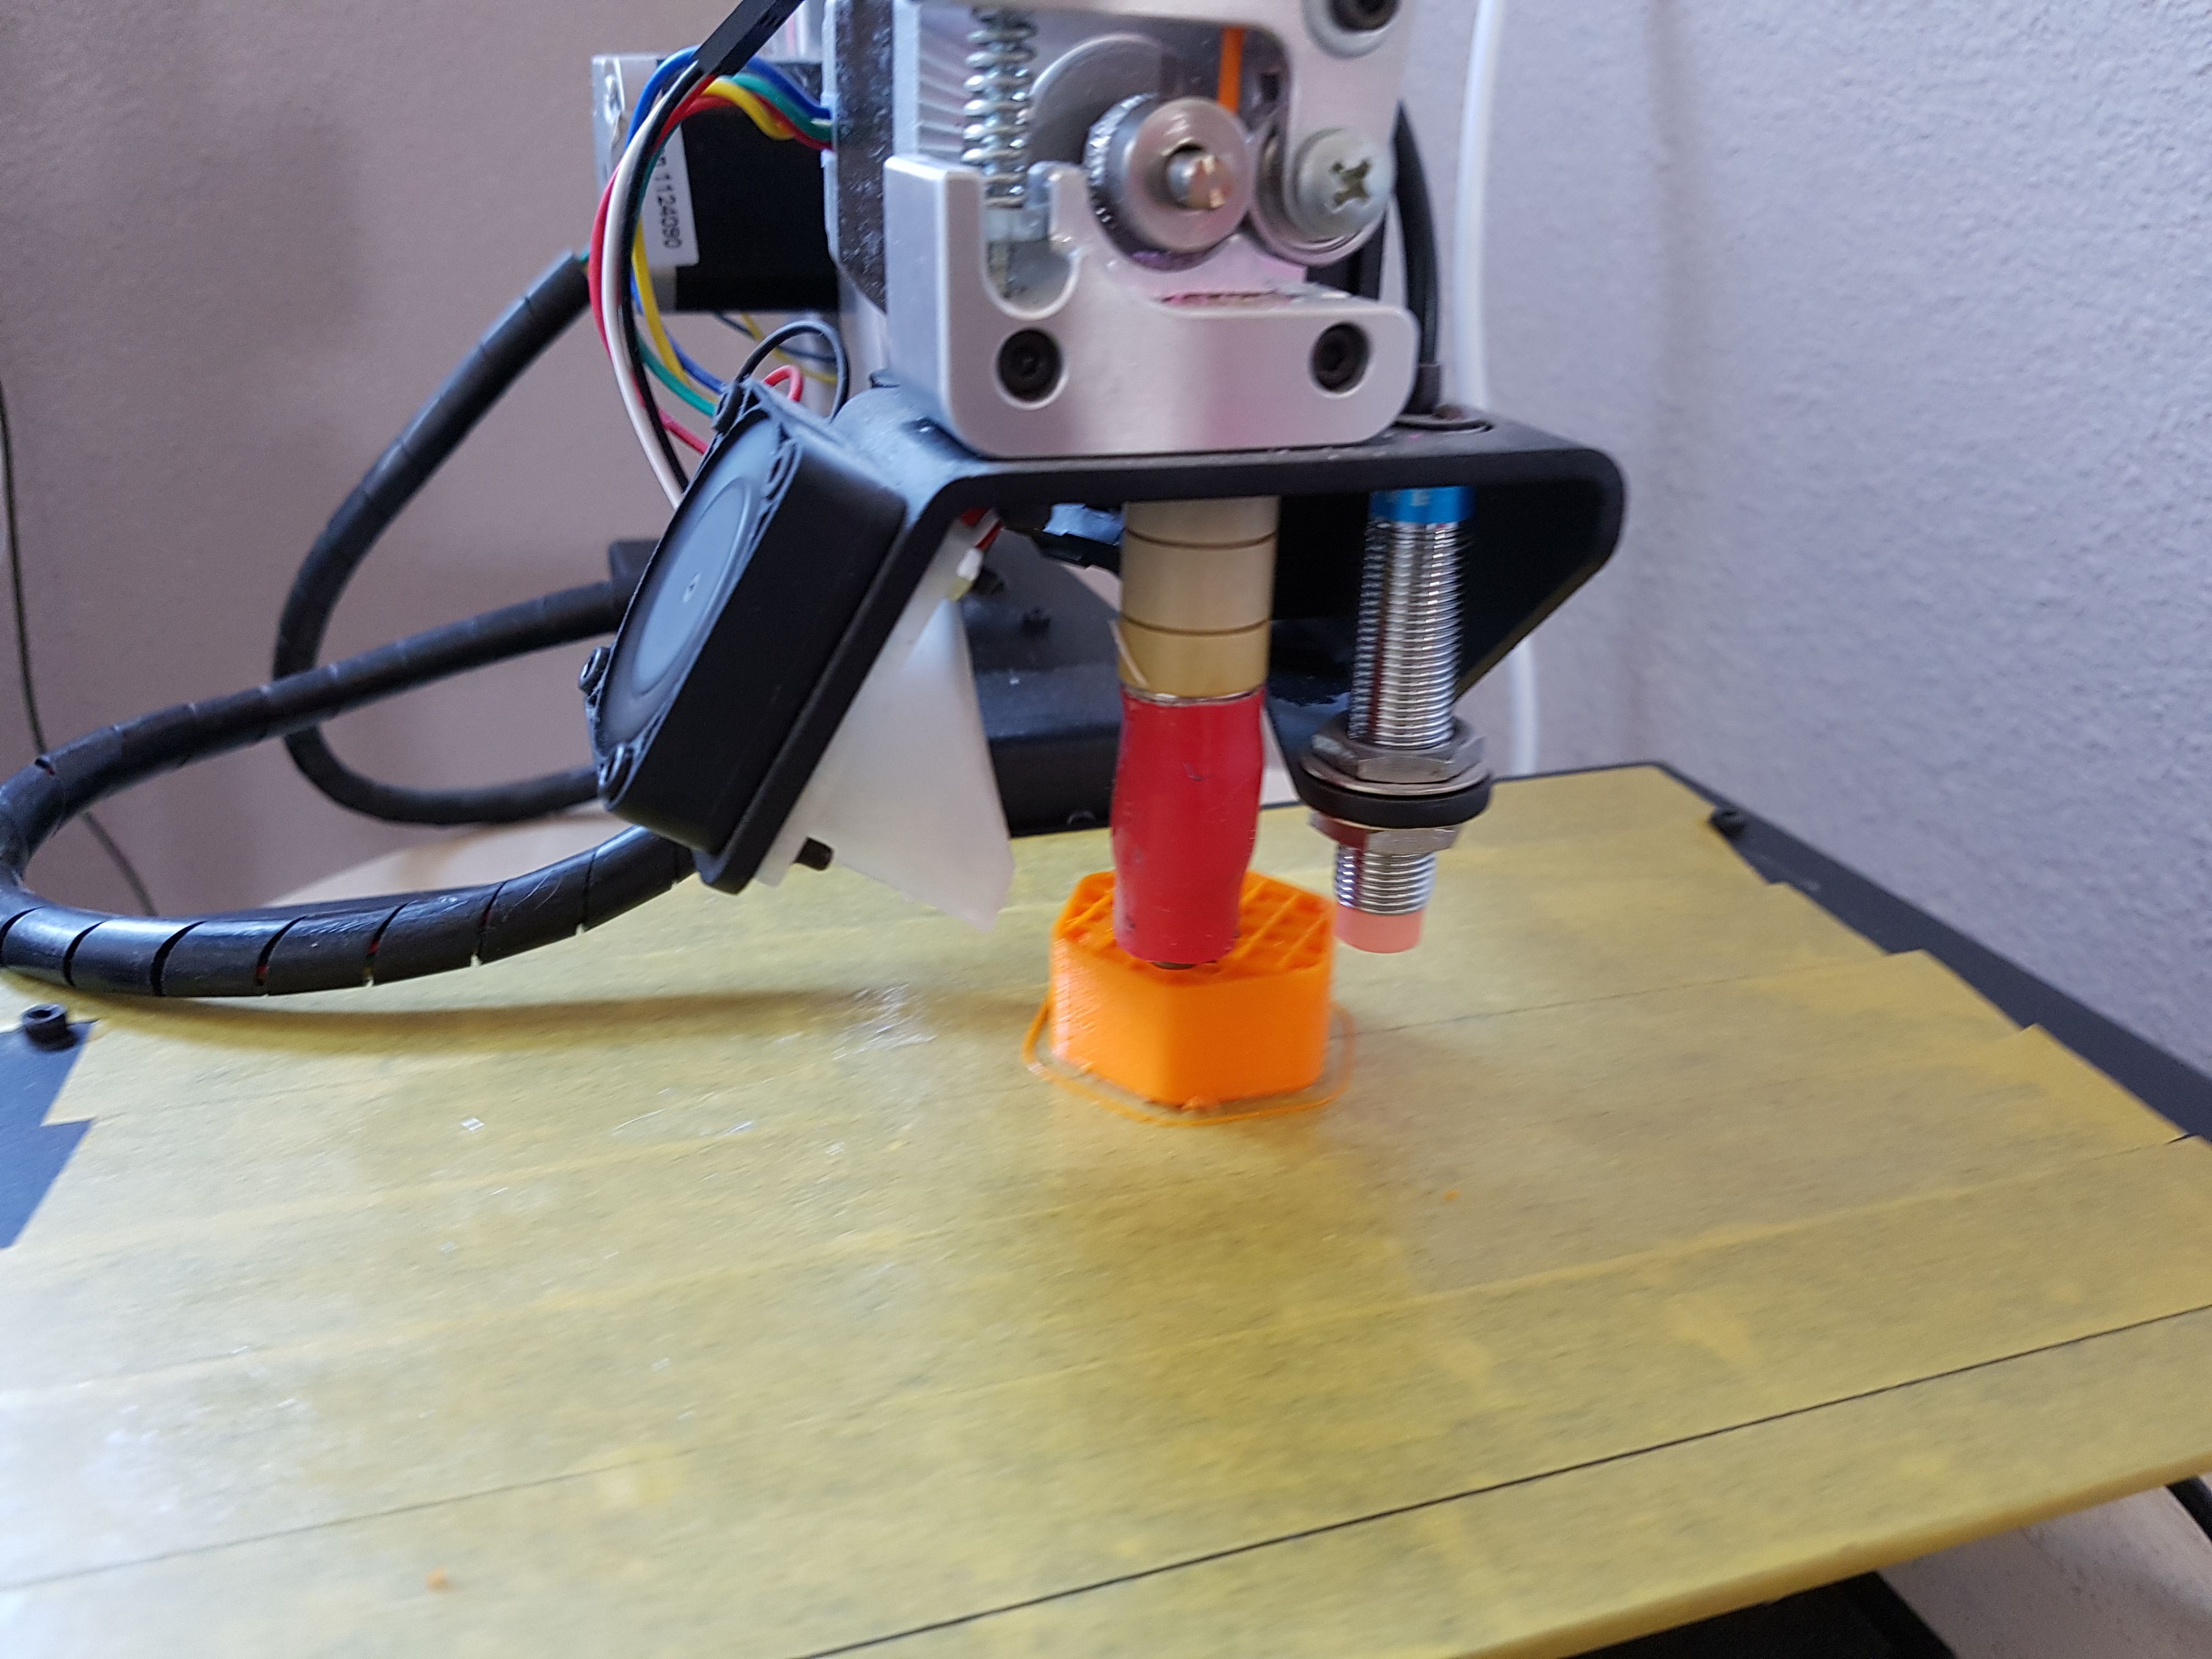
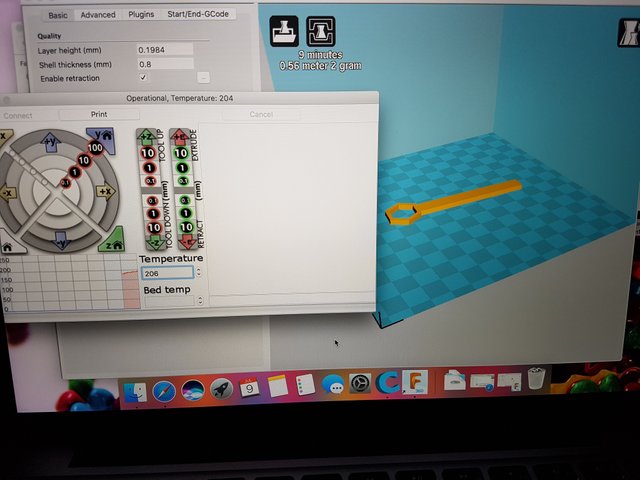
It failed as you can see 7 times!
That's about 8 hours and 40 meters of filament! I was really crying! I thought I could forget about this bubble blower.
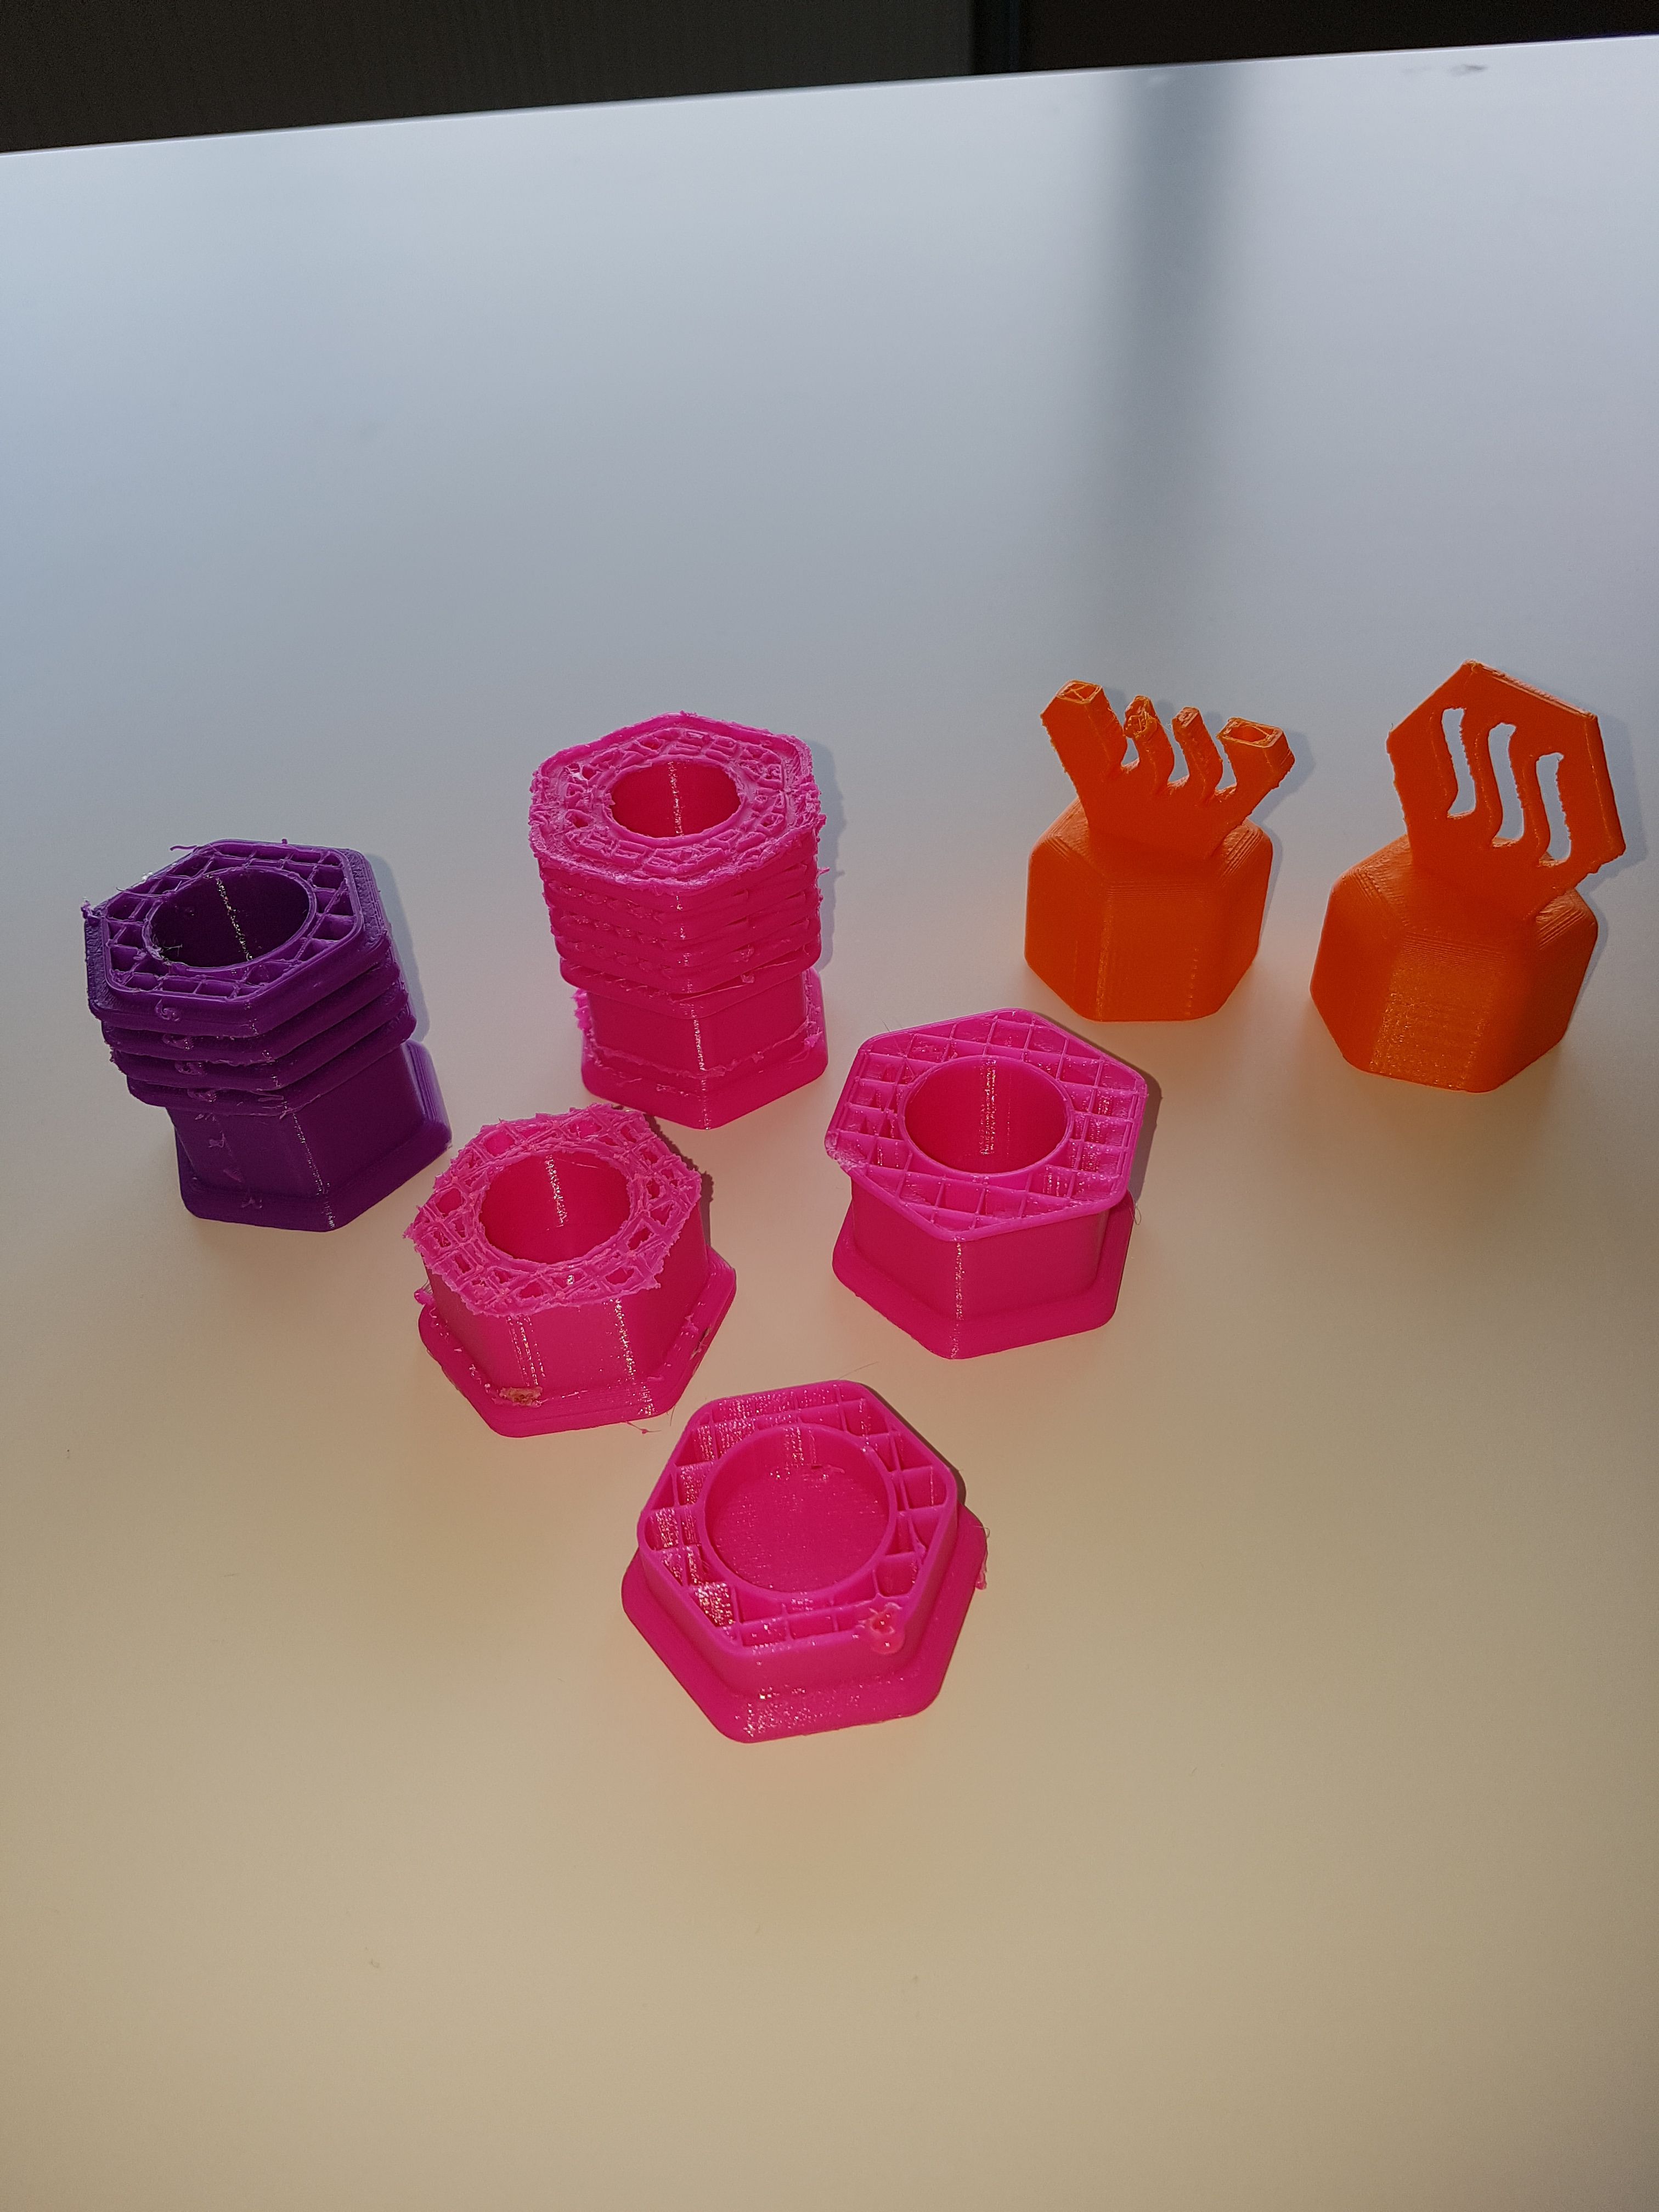
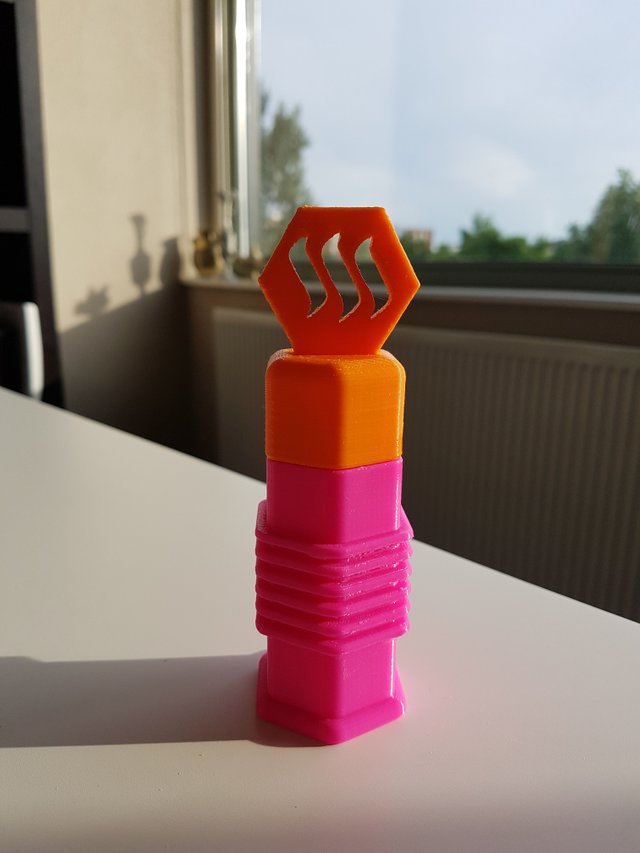
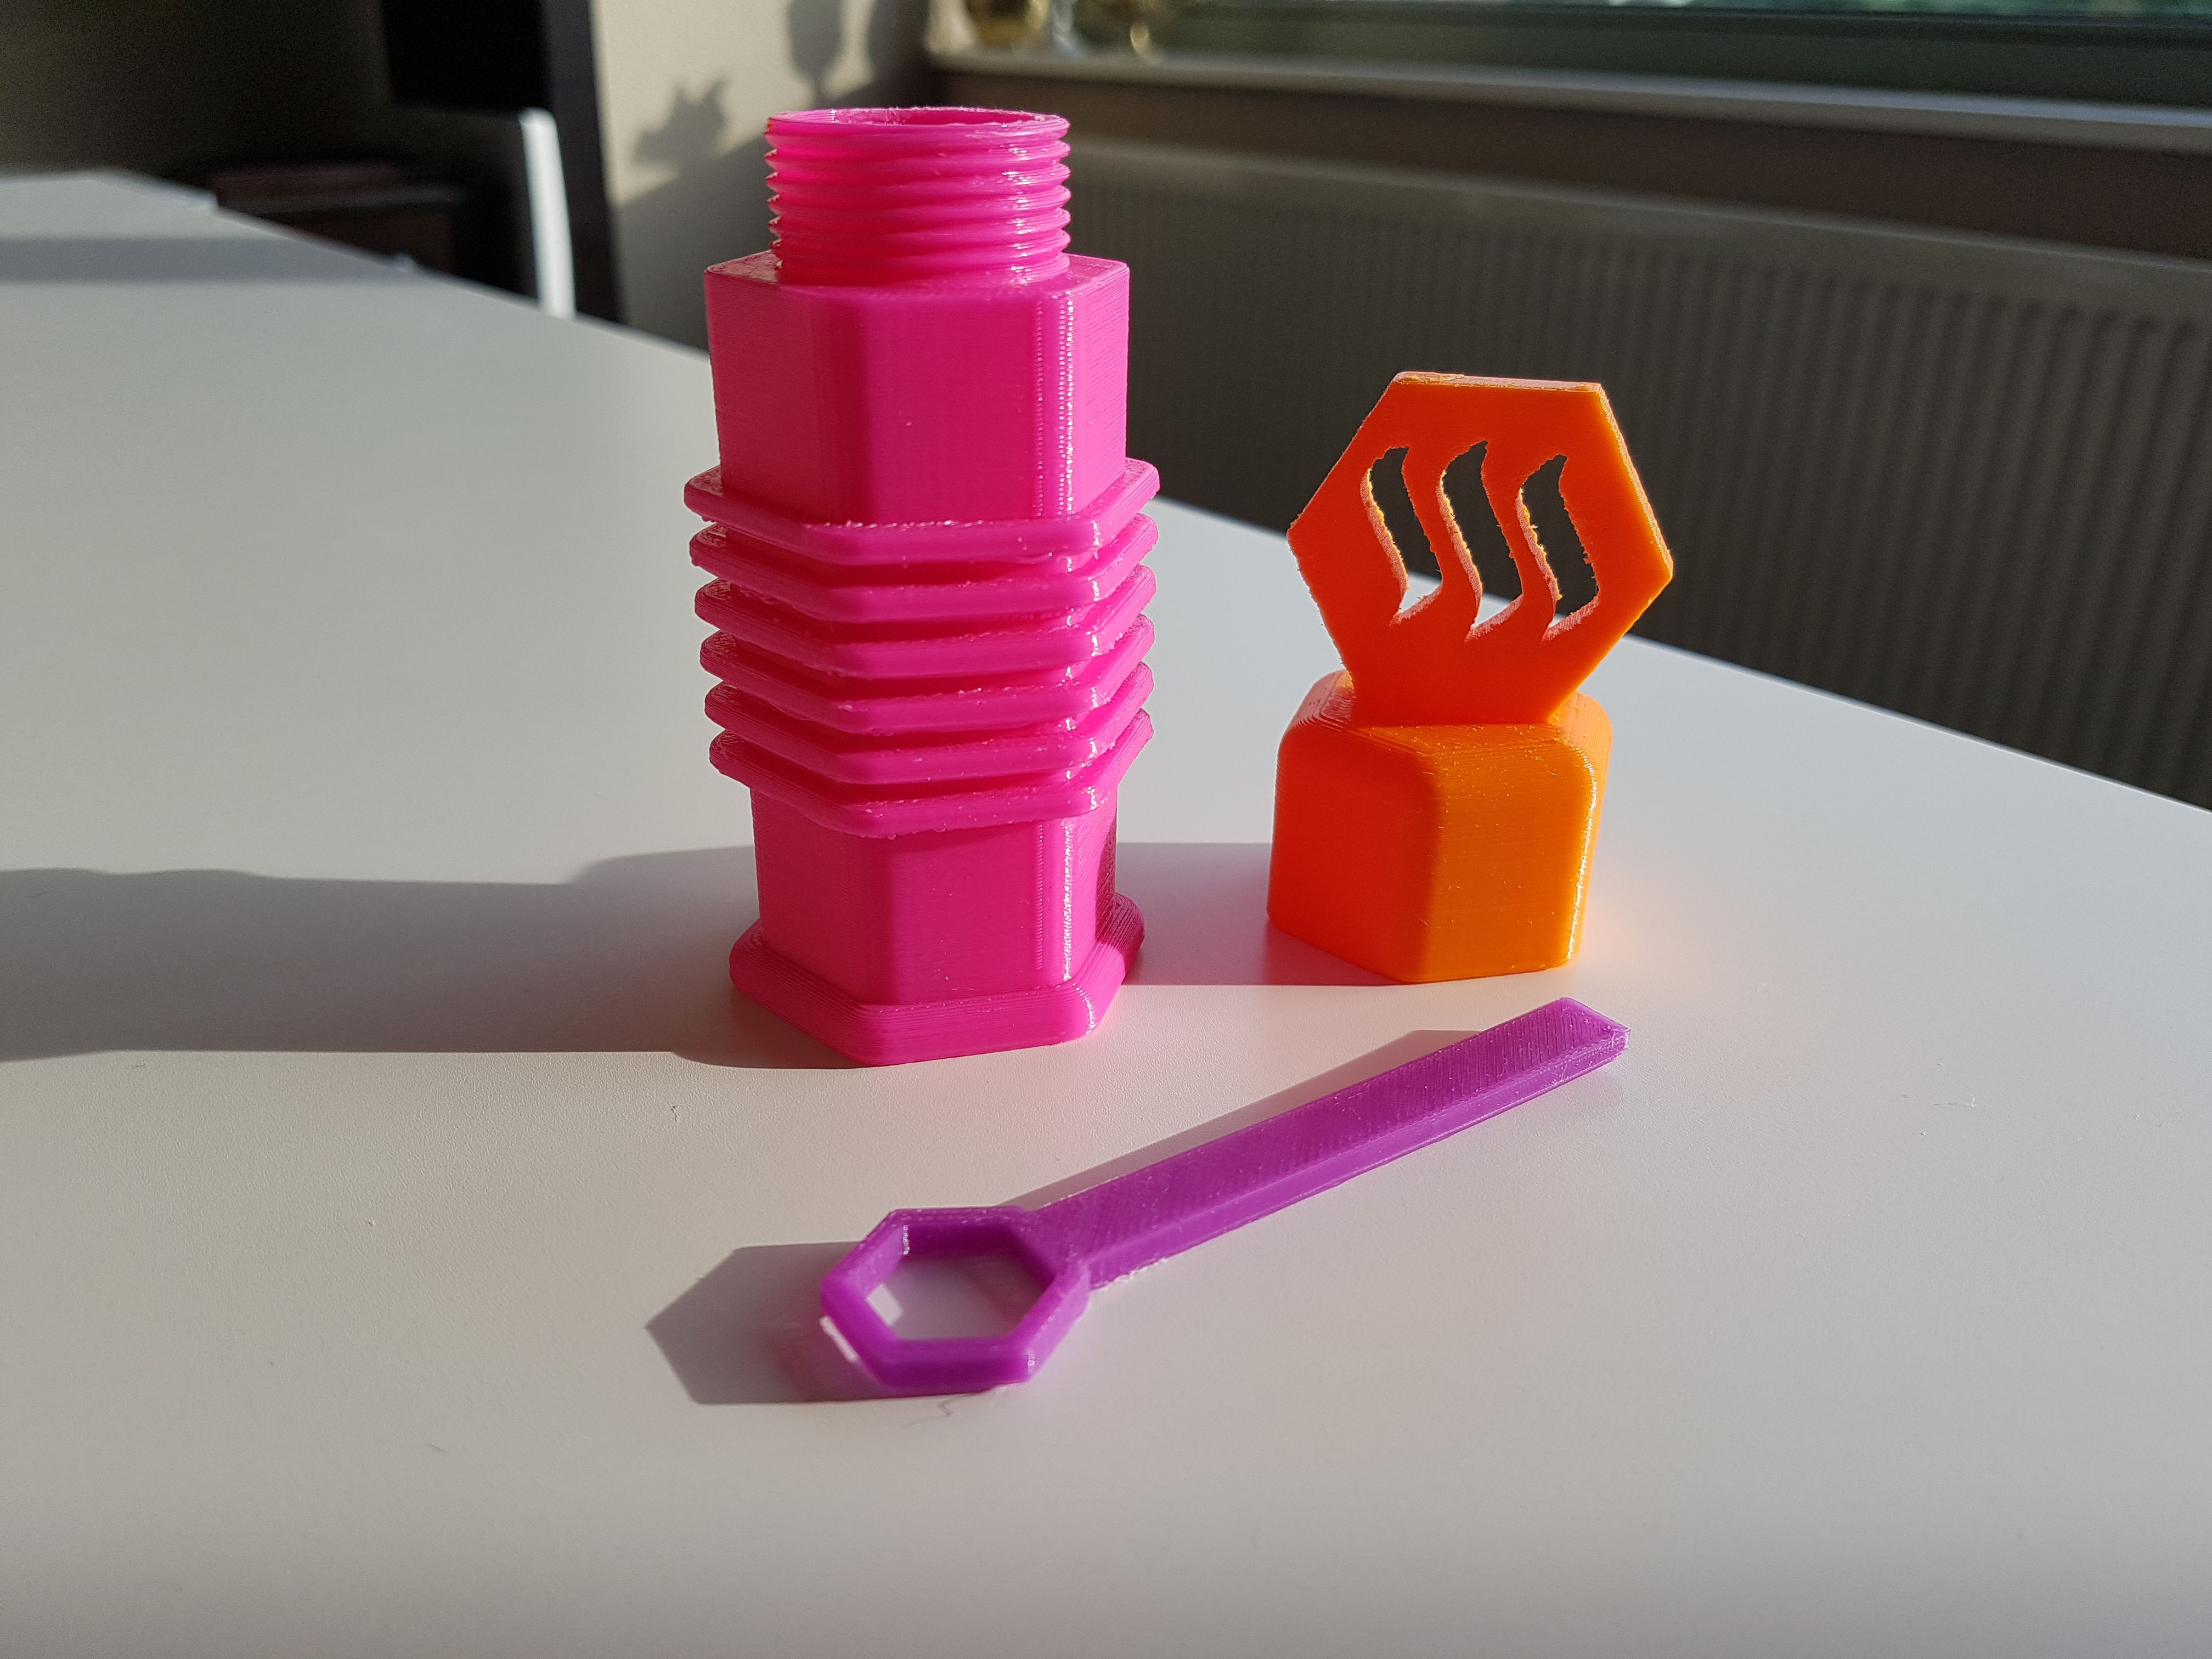
I bought glue to glue the stick inside the hole. But I did not need to glue it at all. Because I made the rectangular hole a bit bigger than the size of the stick(0.25 mm) I could just click it inside! I also made sure that the stick is equal to the Steemit logo.
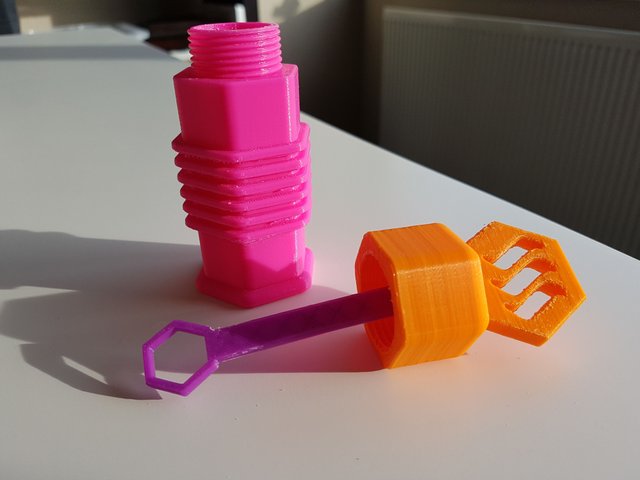
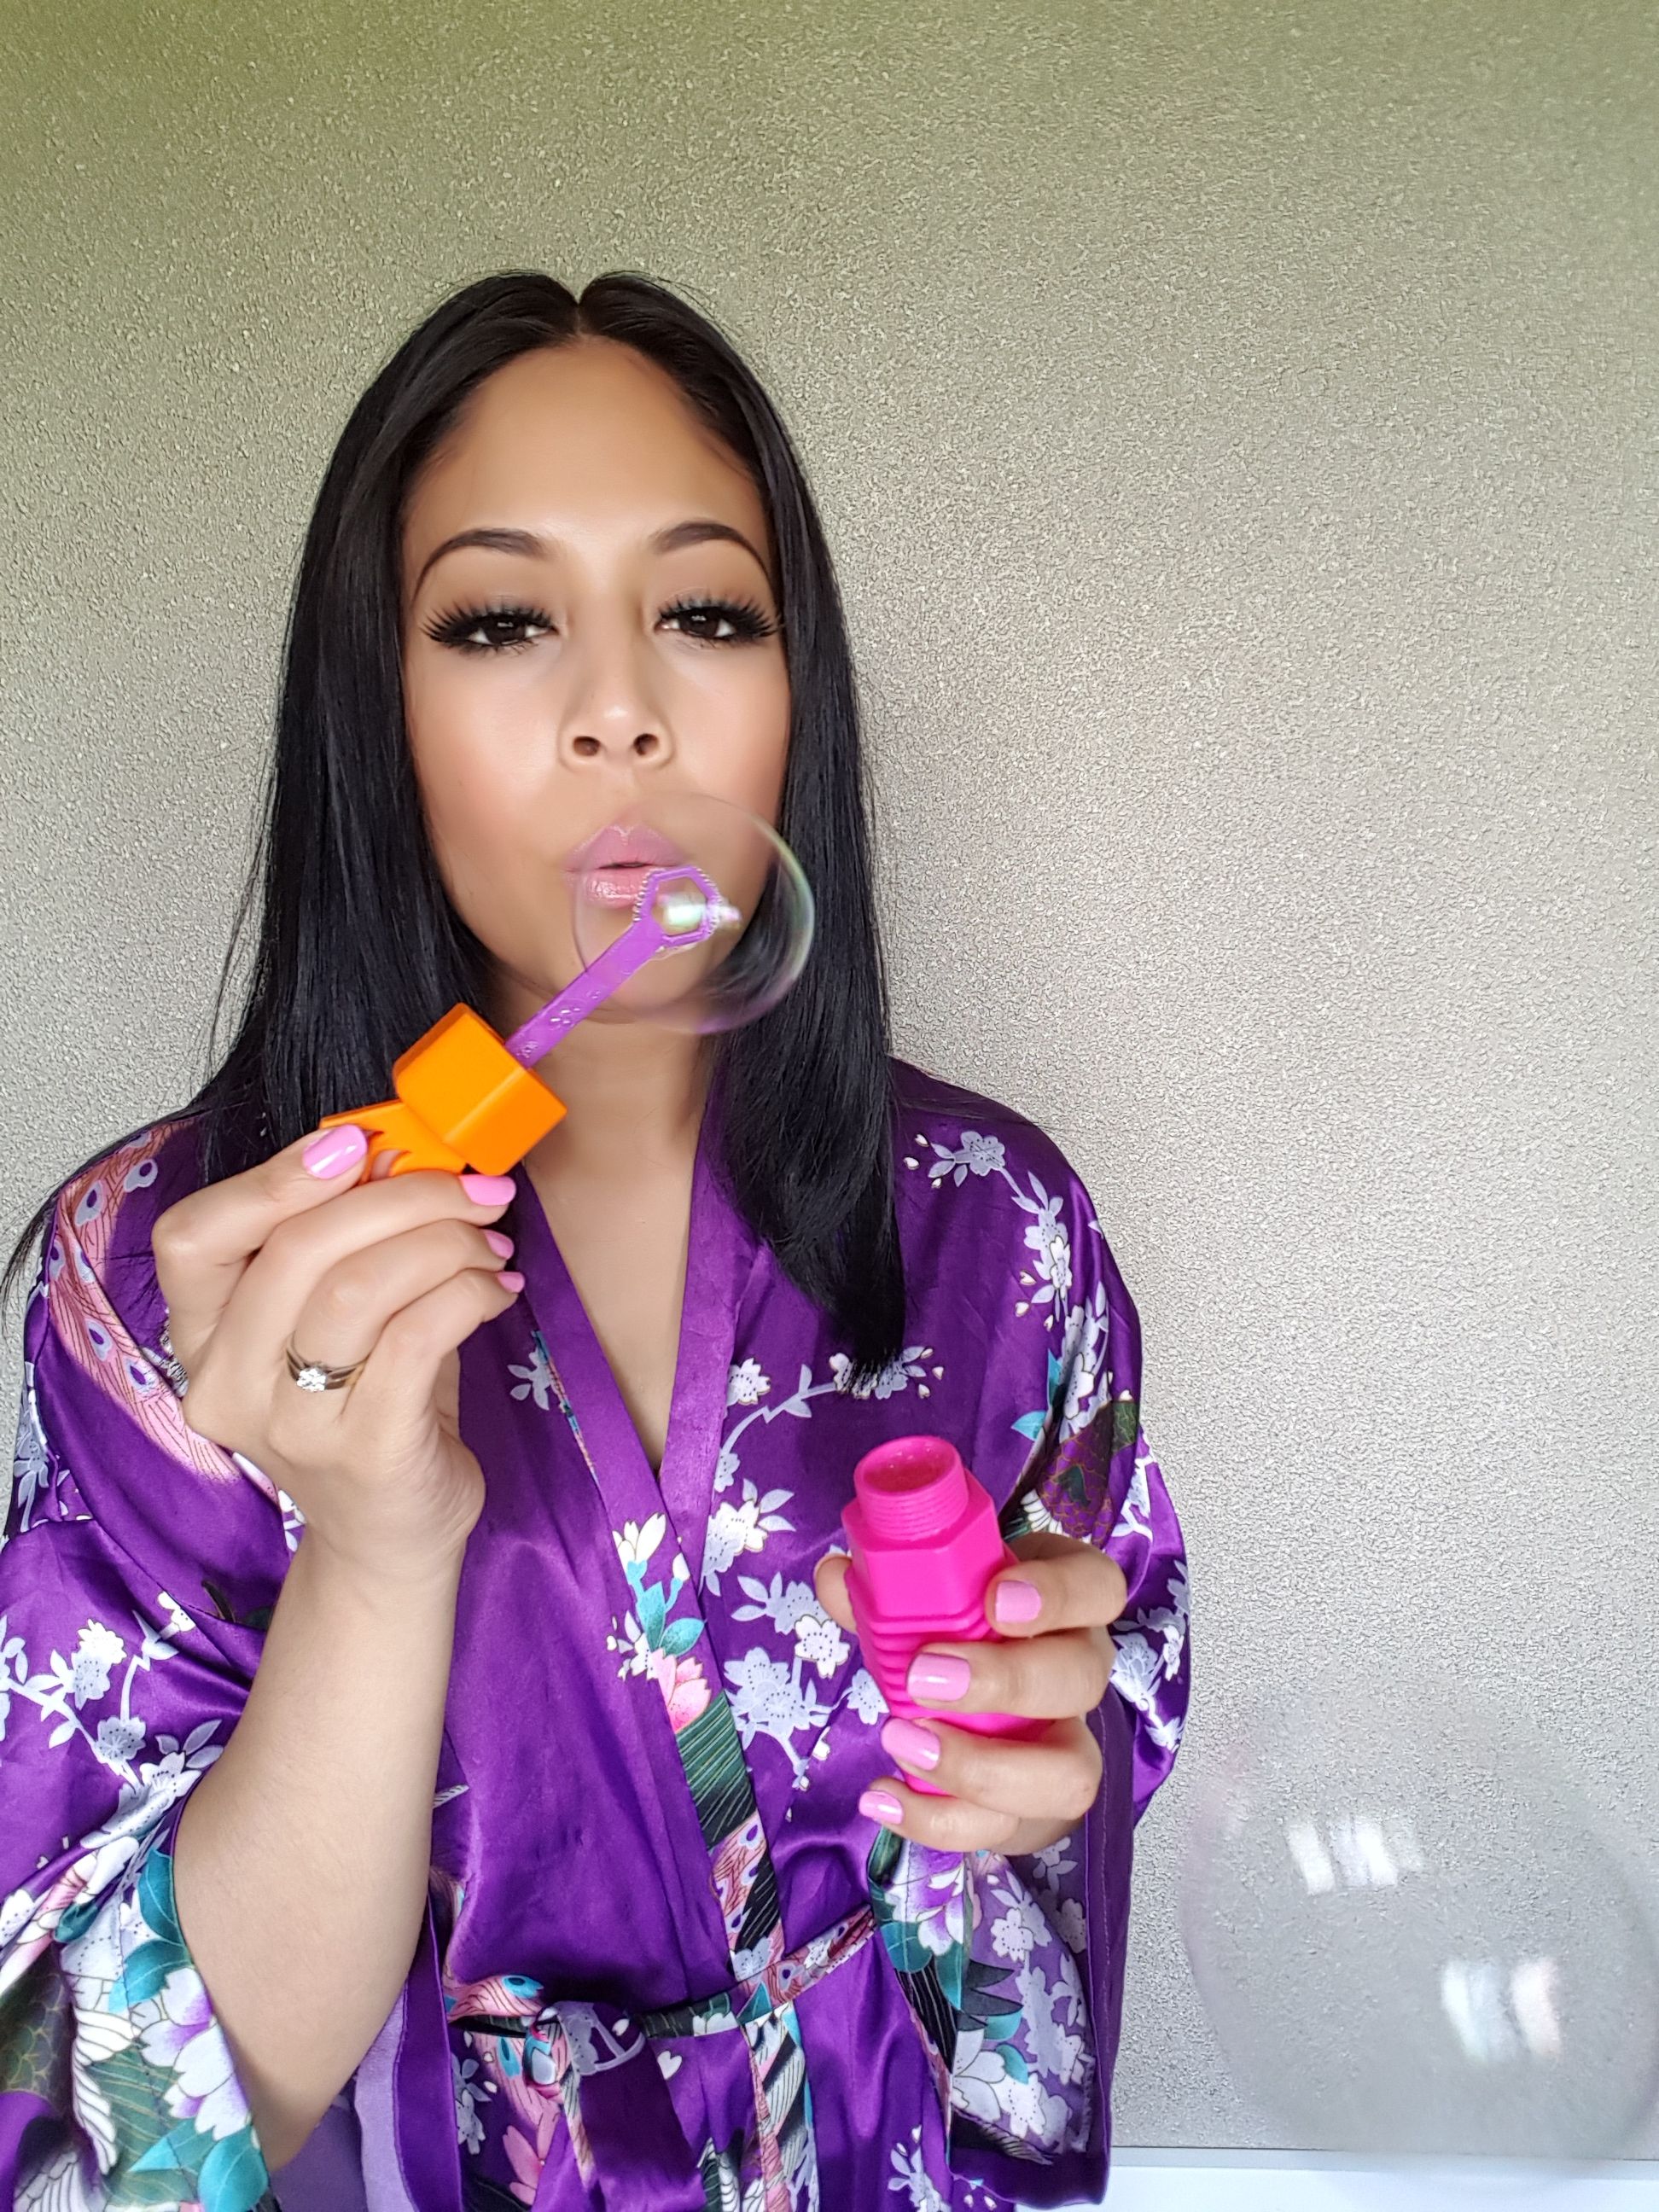
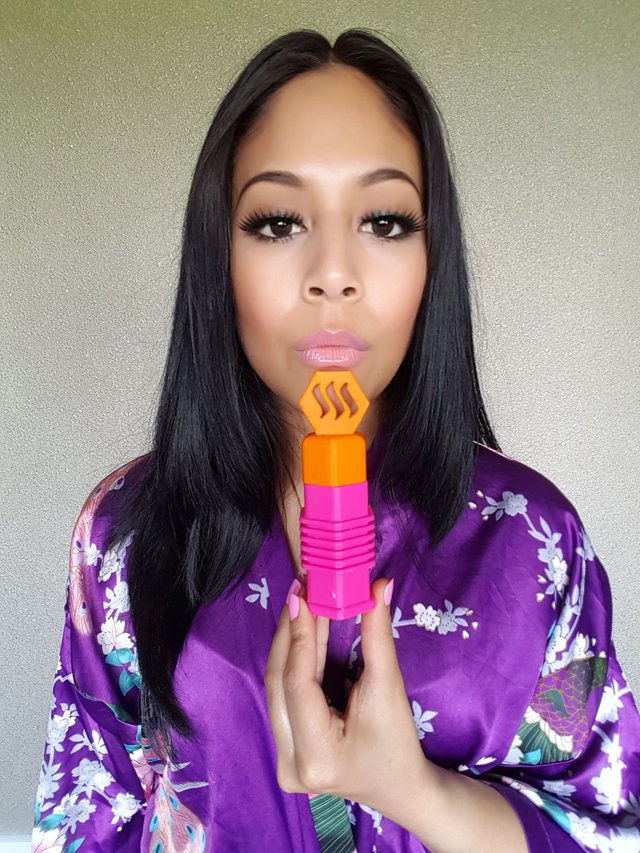
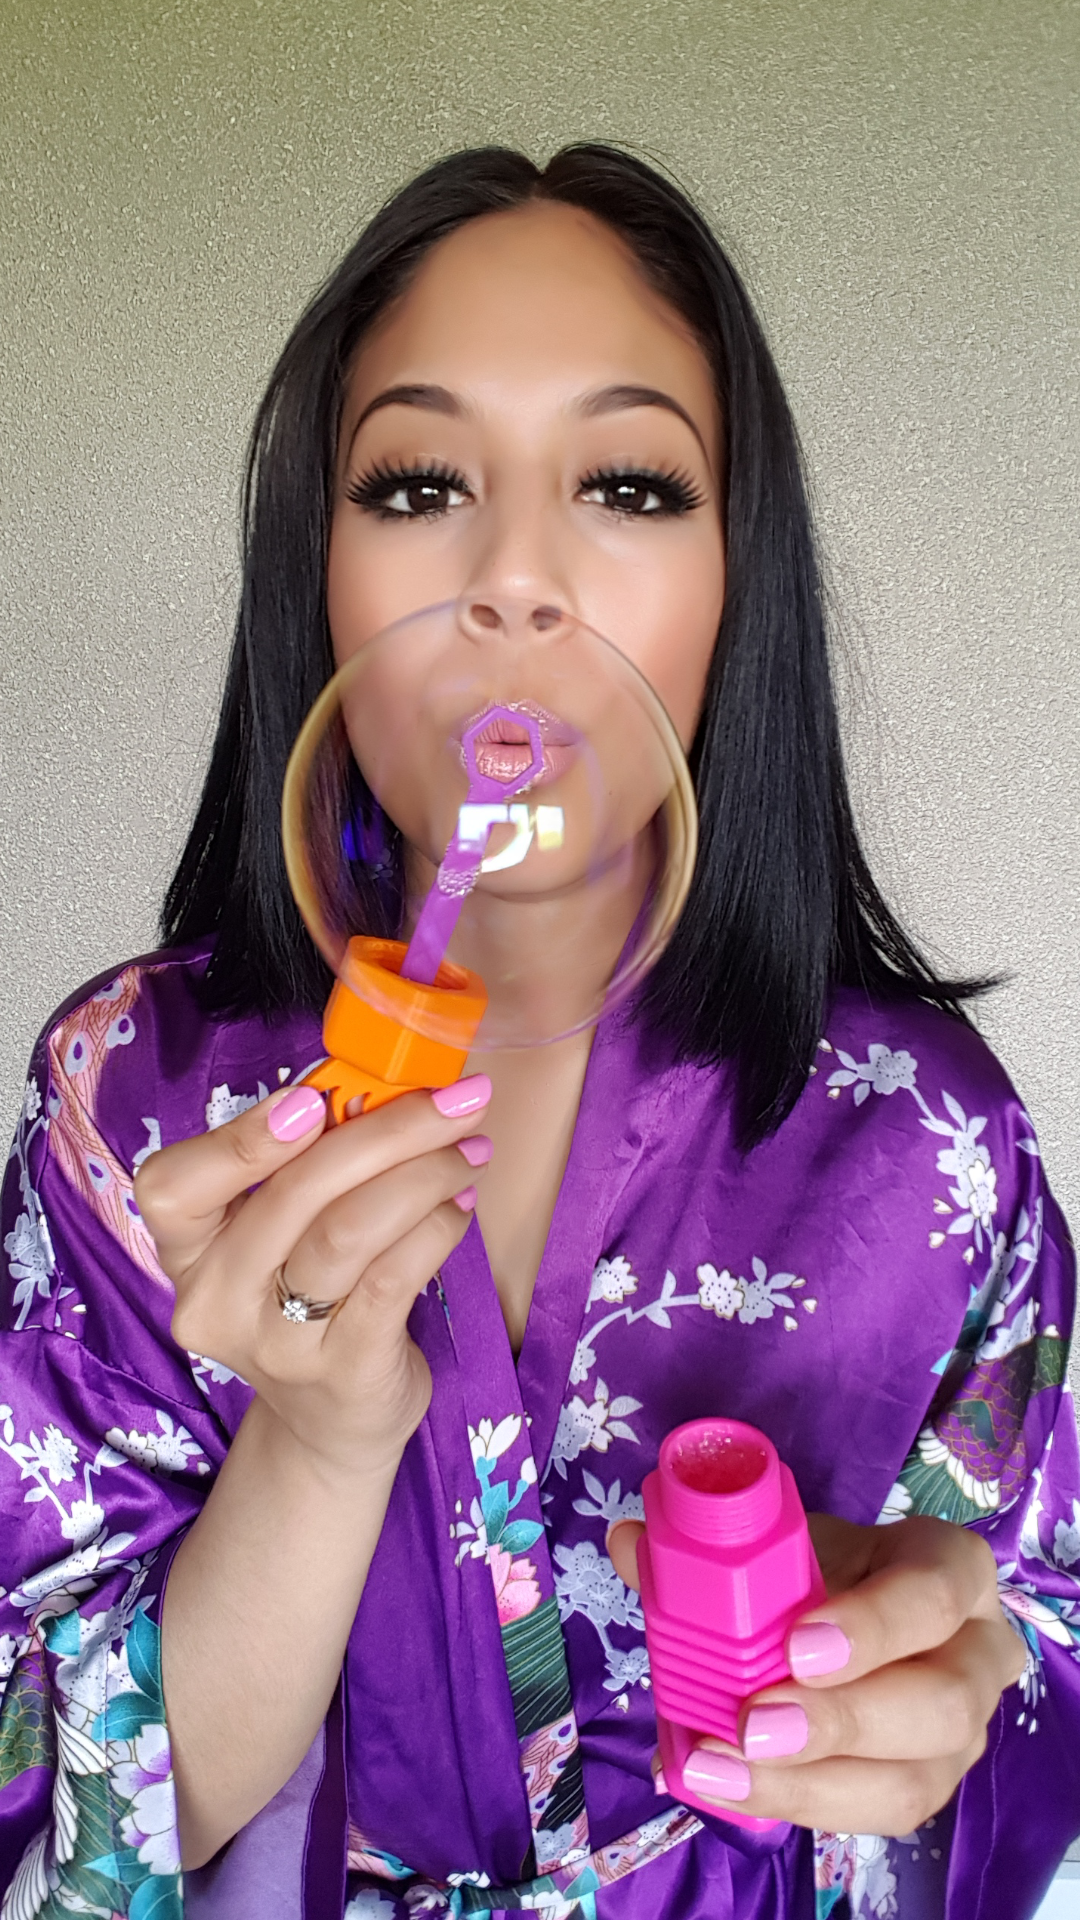
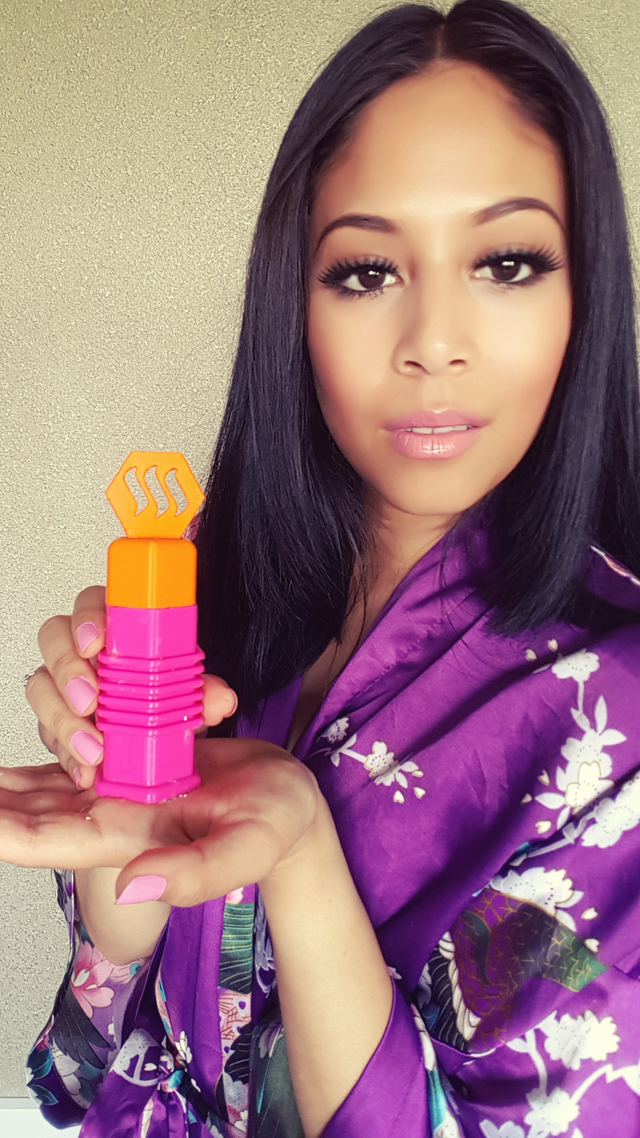
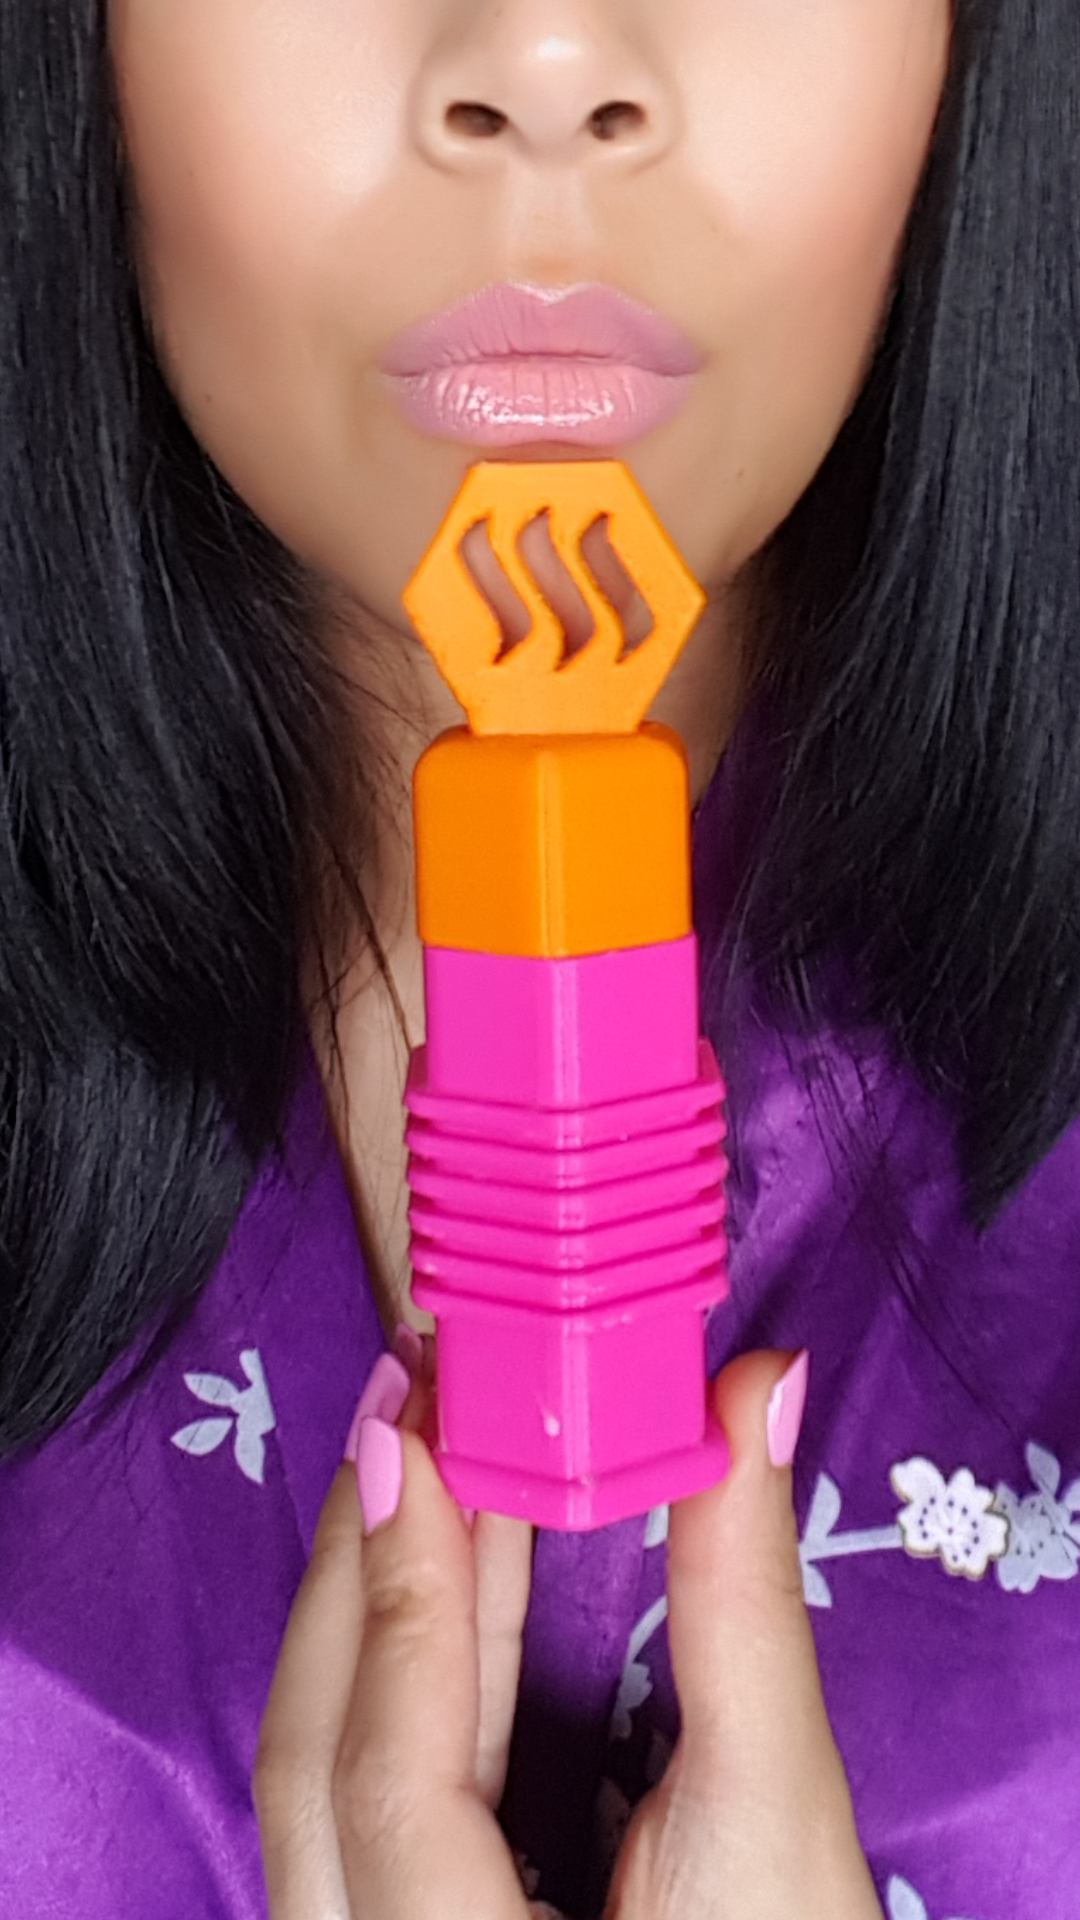
I hope you like the Steemit bubble blower as much as I do. First I wanted it in 1 color, but later I decided to make it in 3 different colors. I like the color combination of pink, orange and purple together. Color Blocking Bubble Blower...
Very interesting post. Thank you for the information
Thanks! You're welcome.
hey that's amazing impressive
Thanks @blazing!
that' awesome. 3D printers can be used for anything =)
I just did a little DIY project today that is very easy to do:
https://steemit.com/diy/@blocklab/diy-project-2-vodka-bottle-flower-vase
Thanks @blocklab
The steemit ones look so cool!
Great Photographs :)
Thank you @arckrai :-)
:)
Great post! I also got into 3D printing just recently and it can be really frustrating if it fails to stick on the bed. But I never thought it could be that much fun when it is successful :D Keep up your good work!
Thanks @brickster! Its nice to meet another 3d designer :-). I would like to see more of your work too. Nice kitty btw. Was it difficult to design?
I have to admit I didn´t design the cat myself. It came on the SD card with the printer. But you can also find it here: https://www.thingiverse.com/thing:1328335 . But I am thinking about to do some designs myself when I am done with my CNC project. But I am afraid that I am not as creative as you are :S Looking forward what you will come up with next!
What a great idea to make your own bubble blower!
3d printing looks really hard, is it as hard as it looks?
Thanks @biglipsmama. If you're newbie like me, it is hard..... it can take a few hours :-(. But a pro could make it in less than 30 minutes i think :-D
Guess like anything practice makes perfect.
your doing so well, your projects are really great!
Thank you @biglipsmama for your kind words :-)
That's amazing. That's a lot of work and so many pictures. What did it fail so many times?
Thanks! It failed because apparently the laptop went to sleeping.... i did not know that. :-)
Great idea!
Thanks @automaton :-). Have a nice evening!
very cool wonderfull post
Thanks @joha09sohi. Glad you like it.