Wordpress on Digital Ocean for Steempress-io plugin

Have you heard of @steempress-io?
Source
Steempress is the WordPress plug-in built and operated by @fredrikaaand @howo to allow automated posting from any WordPress blog to the STEEM blockchain! Steempress aims to help you monetize your content and reach new audiences with your content by displaying it on numerous front-ends.With the current delegation of 1,000,000 steem power, @steempress-io is working to curate content published to the Steem blockchain using the SteemPress plugin for WordPress. I have gone ahead and set up my own server on Digital Ocean and installed the plugin. The experience has been wonderful so far.
For more information on Steempress check out @steempress-io.

Simple WordPress One-Click Install on DigitalOcean.
WordPress is one of the most popular content management and blog platforms in the world, now integrated with the Steem blockchain anything is possible. The widespread of Steem can now commence.
Lets Start. First, make an account on Digital Ocean, What is really cool about Digital Ocean is it can cost you $5 a month to run a small blogging site.
Creating A WordPress Droplet
- To create a simple Wordpress Droplet from the DigitalOcean Control Panel, open the Create menu and select Droplets:
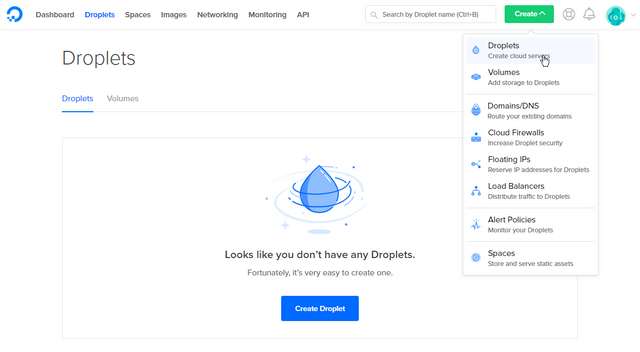
Now choose an image:
- You'll need to switch from the Distributions tab to the One-click apps:

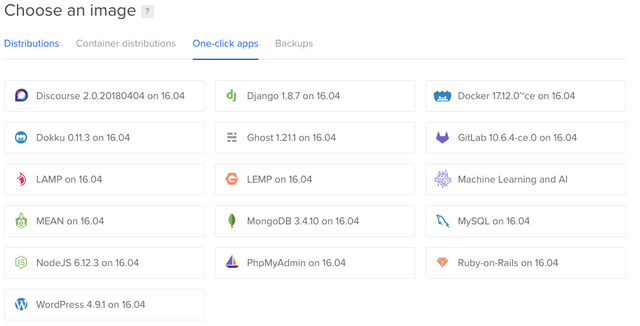
Now Click WordPress to select it as the image.
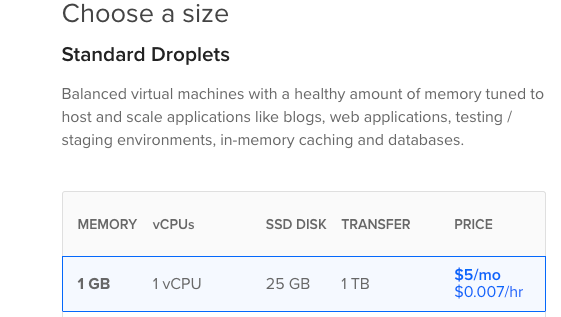
$5 a month 1 GB
As stated above to run a small Steempress blogging site you can have the lowest resources available to start, once your blog starts to gain traction you can always upgrade them.
Choose a data center region closest to your you.
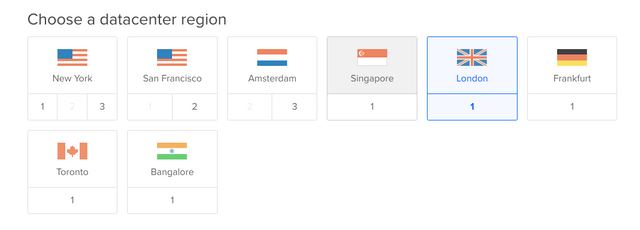
Choose a hostname
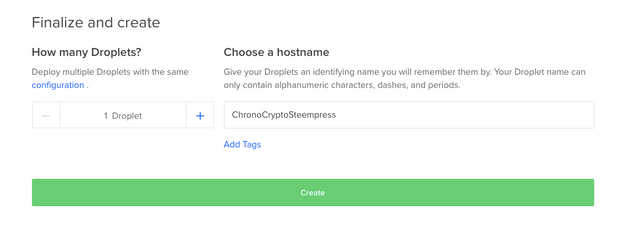
When you've made your choices, simply click Create, it will create an install everything for you within minutes.
Once the Droplet is created, its address will be displayed, with your Nameserver as well:

Click the address that was created for your own droplet, to copy it to your clipboard. In the next step, we'll use this to view the Wordpress site and finish the installation.
Step 2 — Check Your Placeholder Page.
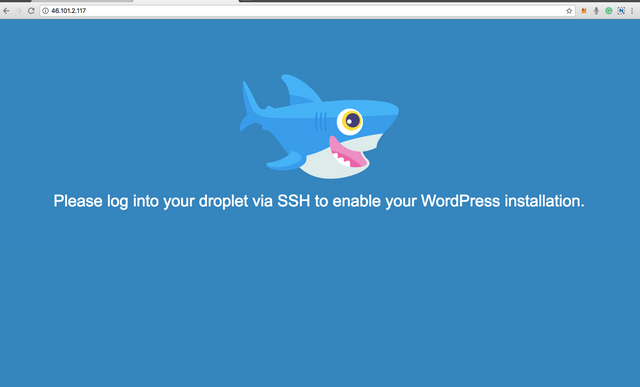
At this point there is nothing you can do, the next step is to log in to your droplet via SSH to enable Configuration.
Step 3 — Access your Droplet via SSH
Once you are ready to continue, open a terminal on your computer and log into your Droplet as root (or your administrative user) via SSH with this command (substitute with your Droplet's IP address):

It will ask you for the current password which you should have gotten in an email from Digitalocean. Follow all the steps in the terminal to install wordpress on the droplet.
Step 4 — Configuring your WordPress website
After the WordPress installation has been enabled you must visit the Droplet's IP address in a web browser which in this case would be http://46.101.2.117/ You should see the following page:
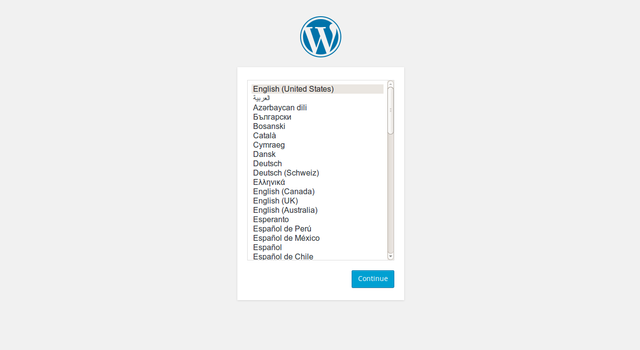
Follow all the directions in this screen after that it should be a piece of cake, you can leave the address as the IP or you can purchase a Domain and just follow the prompts in Digitalocean to direct your domain to your droplet.
Instead of continuing the steempress plugin tutorial I am just going to paste a great one so you can follow, it should be a breeze now considering you already have wordpress installed.

Tutorials : SteemPress to Write Steemit Post on Wordpress
by: @apkmopo.com
Posted from my blog with SteemPress : http://165.227.31.6/2018/06/18/wordpress-on-digital-ocean-for-steempress-io-plugin/
this is the economy of the future!
very nice info.. thanks buddy