DIY lighting snoot tutorial
A snoot is a piece of plastic you strap to your flash to make a beam of light in the shape that you want. And as everything in photography, it's a piece of plastic that you can buy from 17 to 200$. So I watched several video tutorials and compiled them with what I had at home to make my own DIY snoot
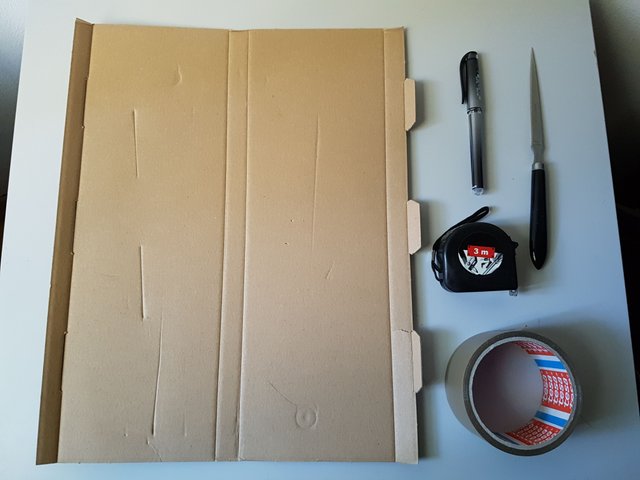
Material and tools used:
- A piece of cardboard
- A pen
- A tape measure. Or better with a ruler to, unlike me, draw straight lines
- A blade or scissors (here I used my letter opener as it has a sharp blade)
- Adhesive tape
Steps:
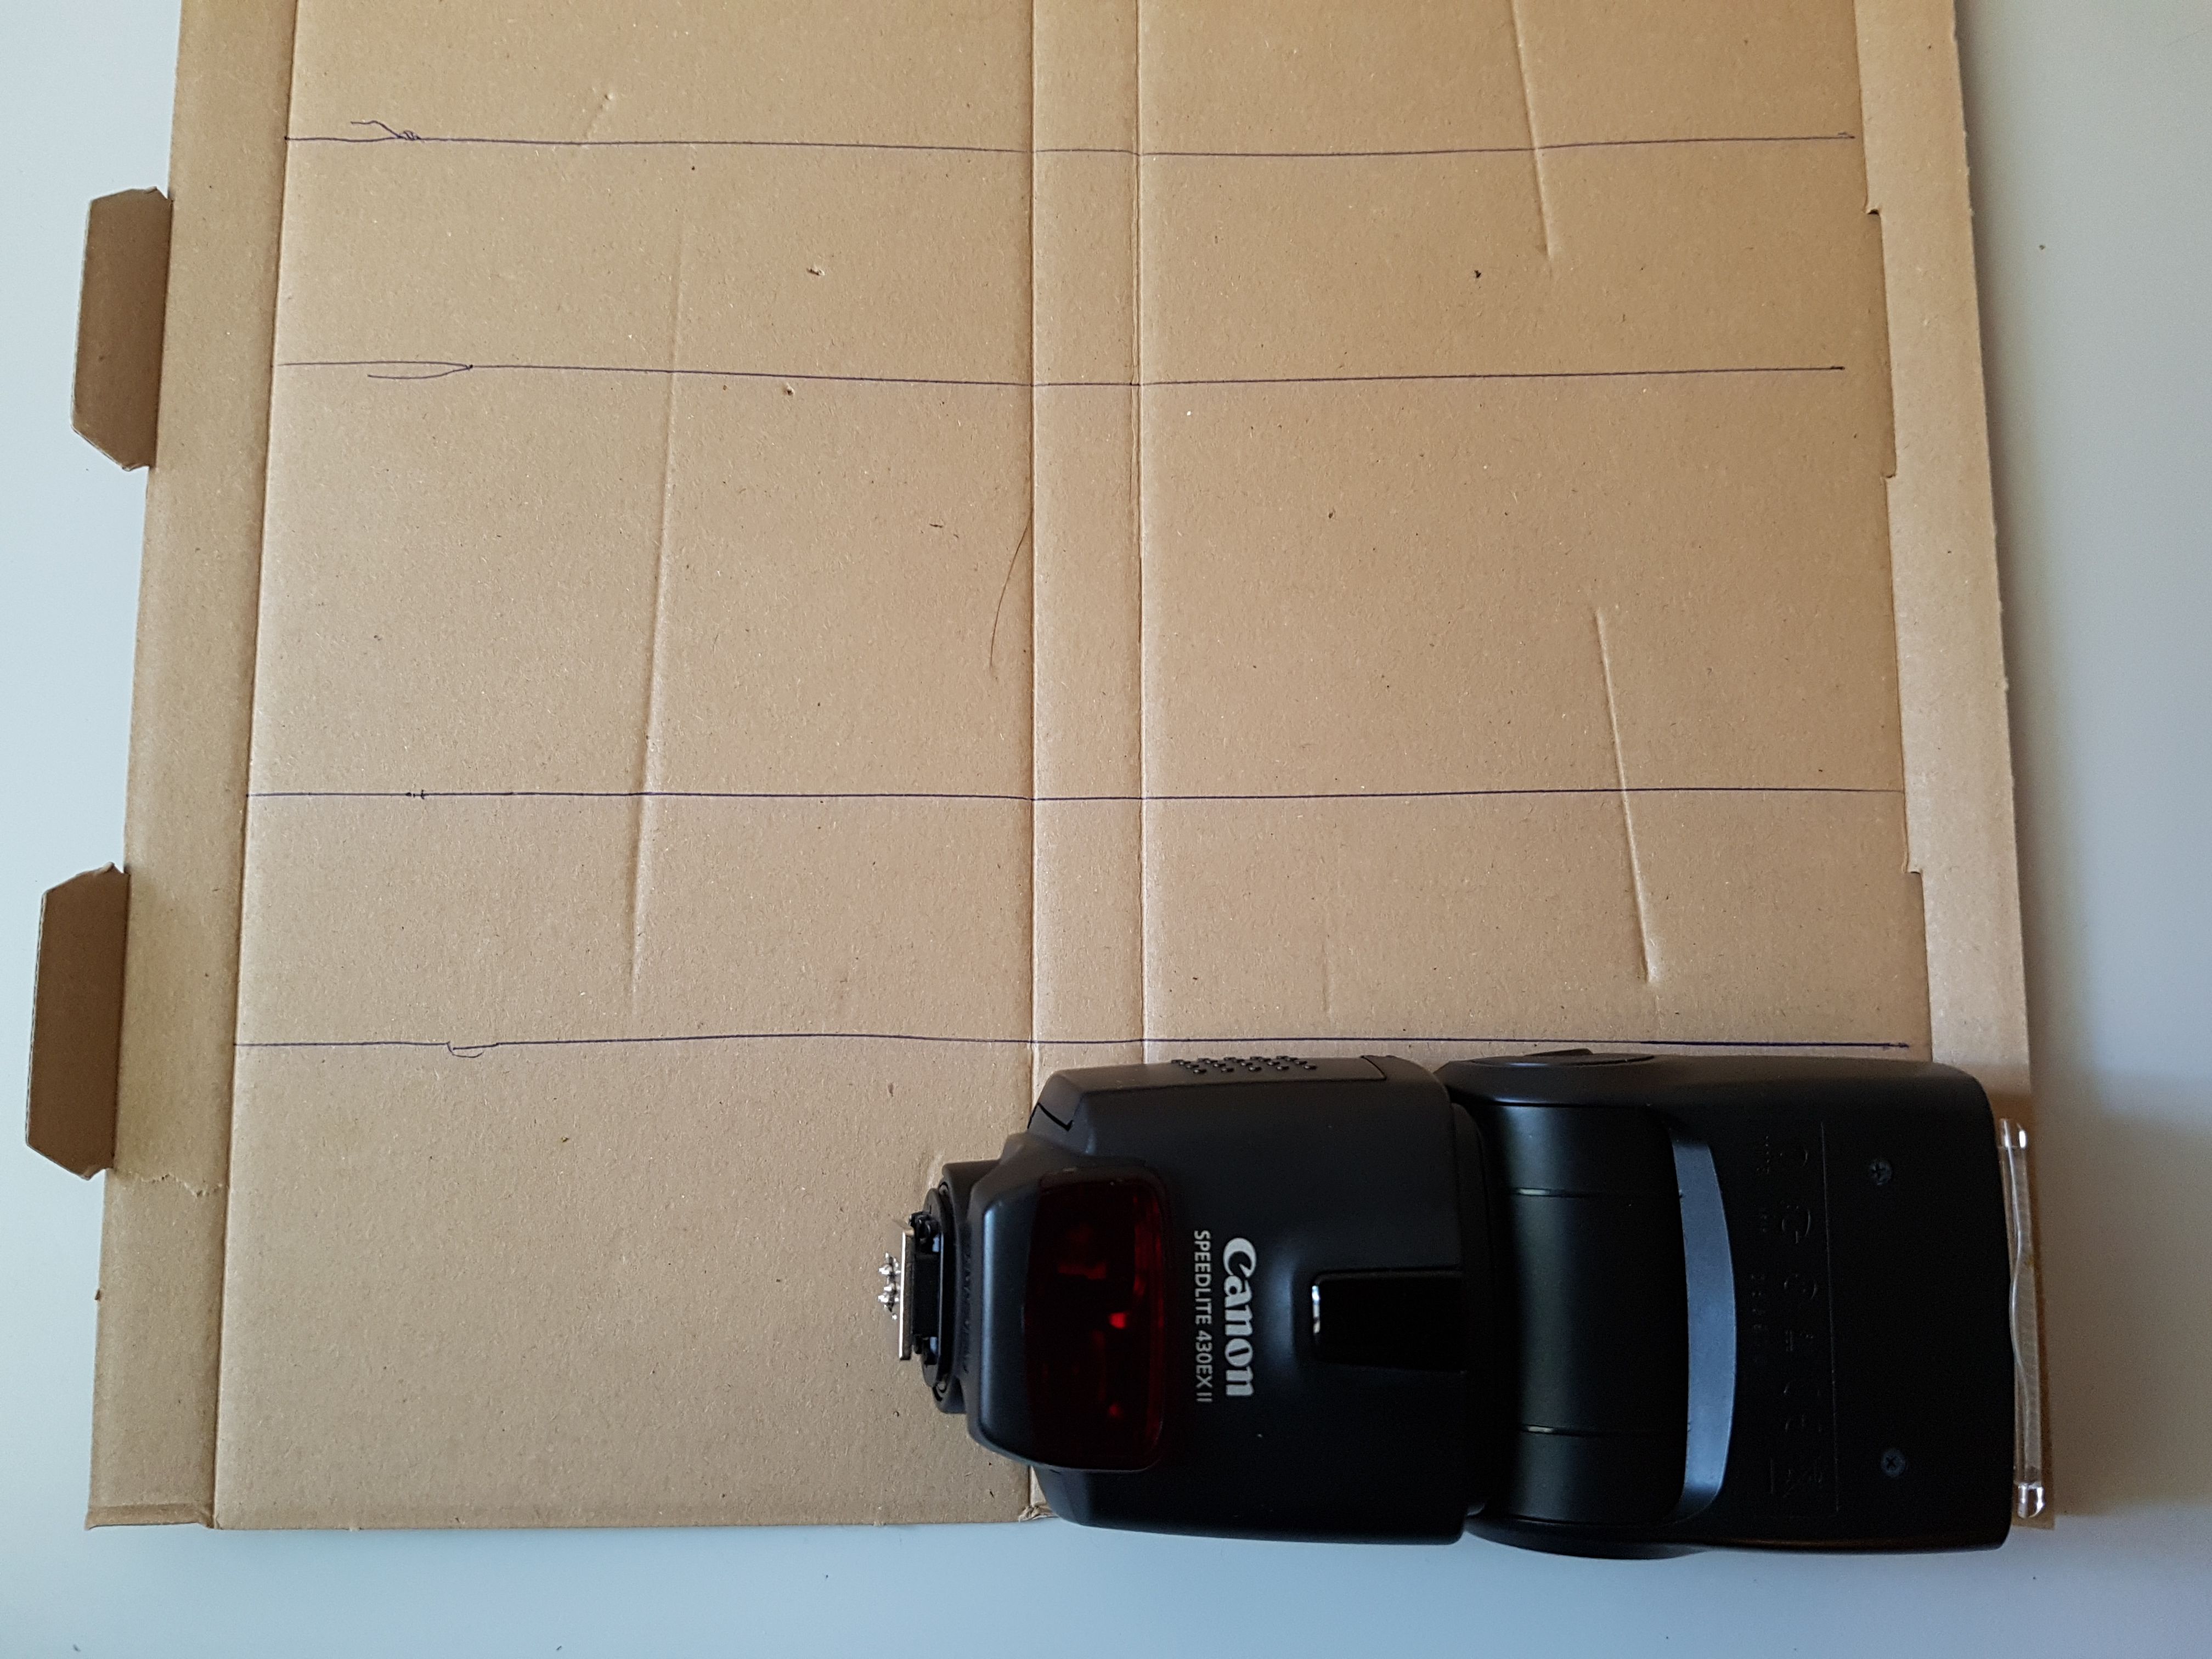
- Place the flash on the cardboard to measure its sides and draw lines corresponding to the sides
- Cut on the 4th line
- Use the blade to precut the 3 middle lines. This will help to fold into a box
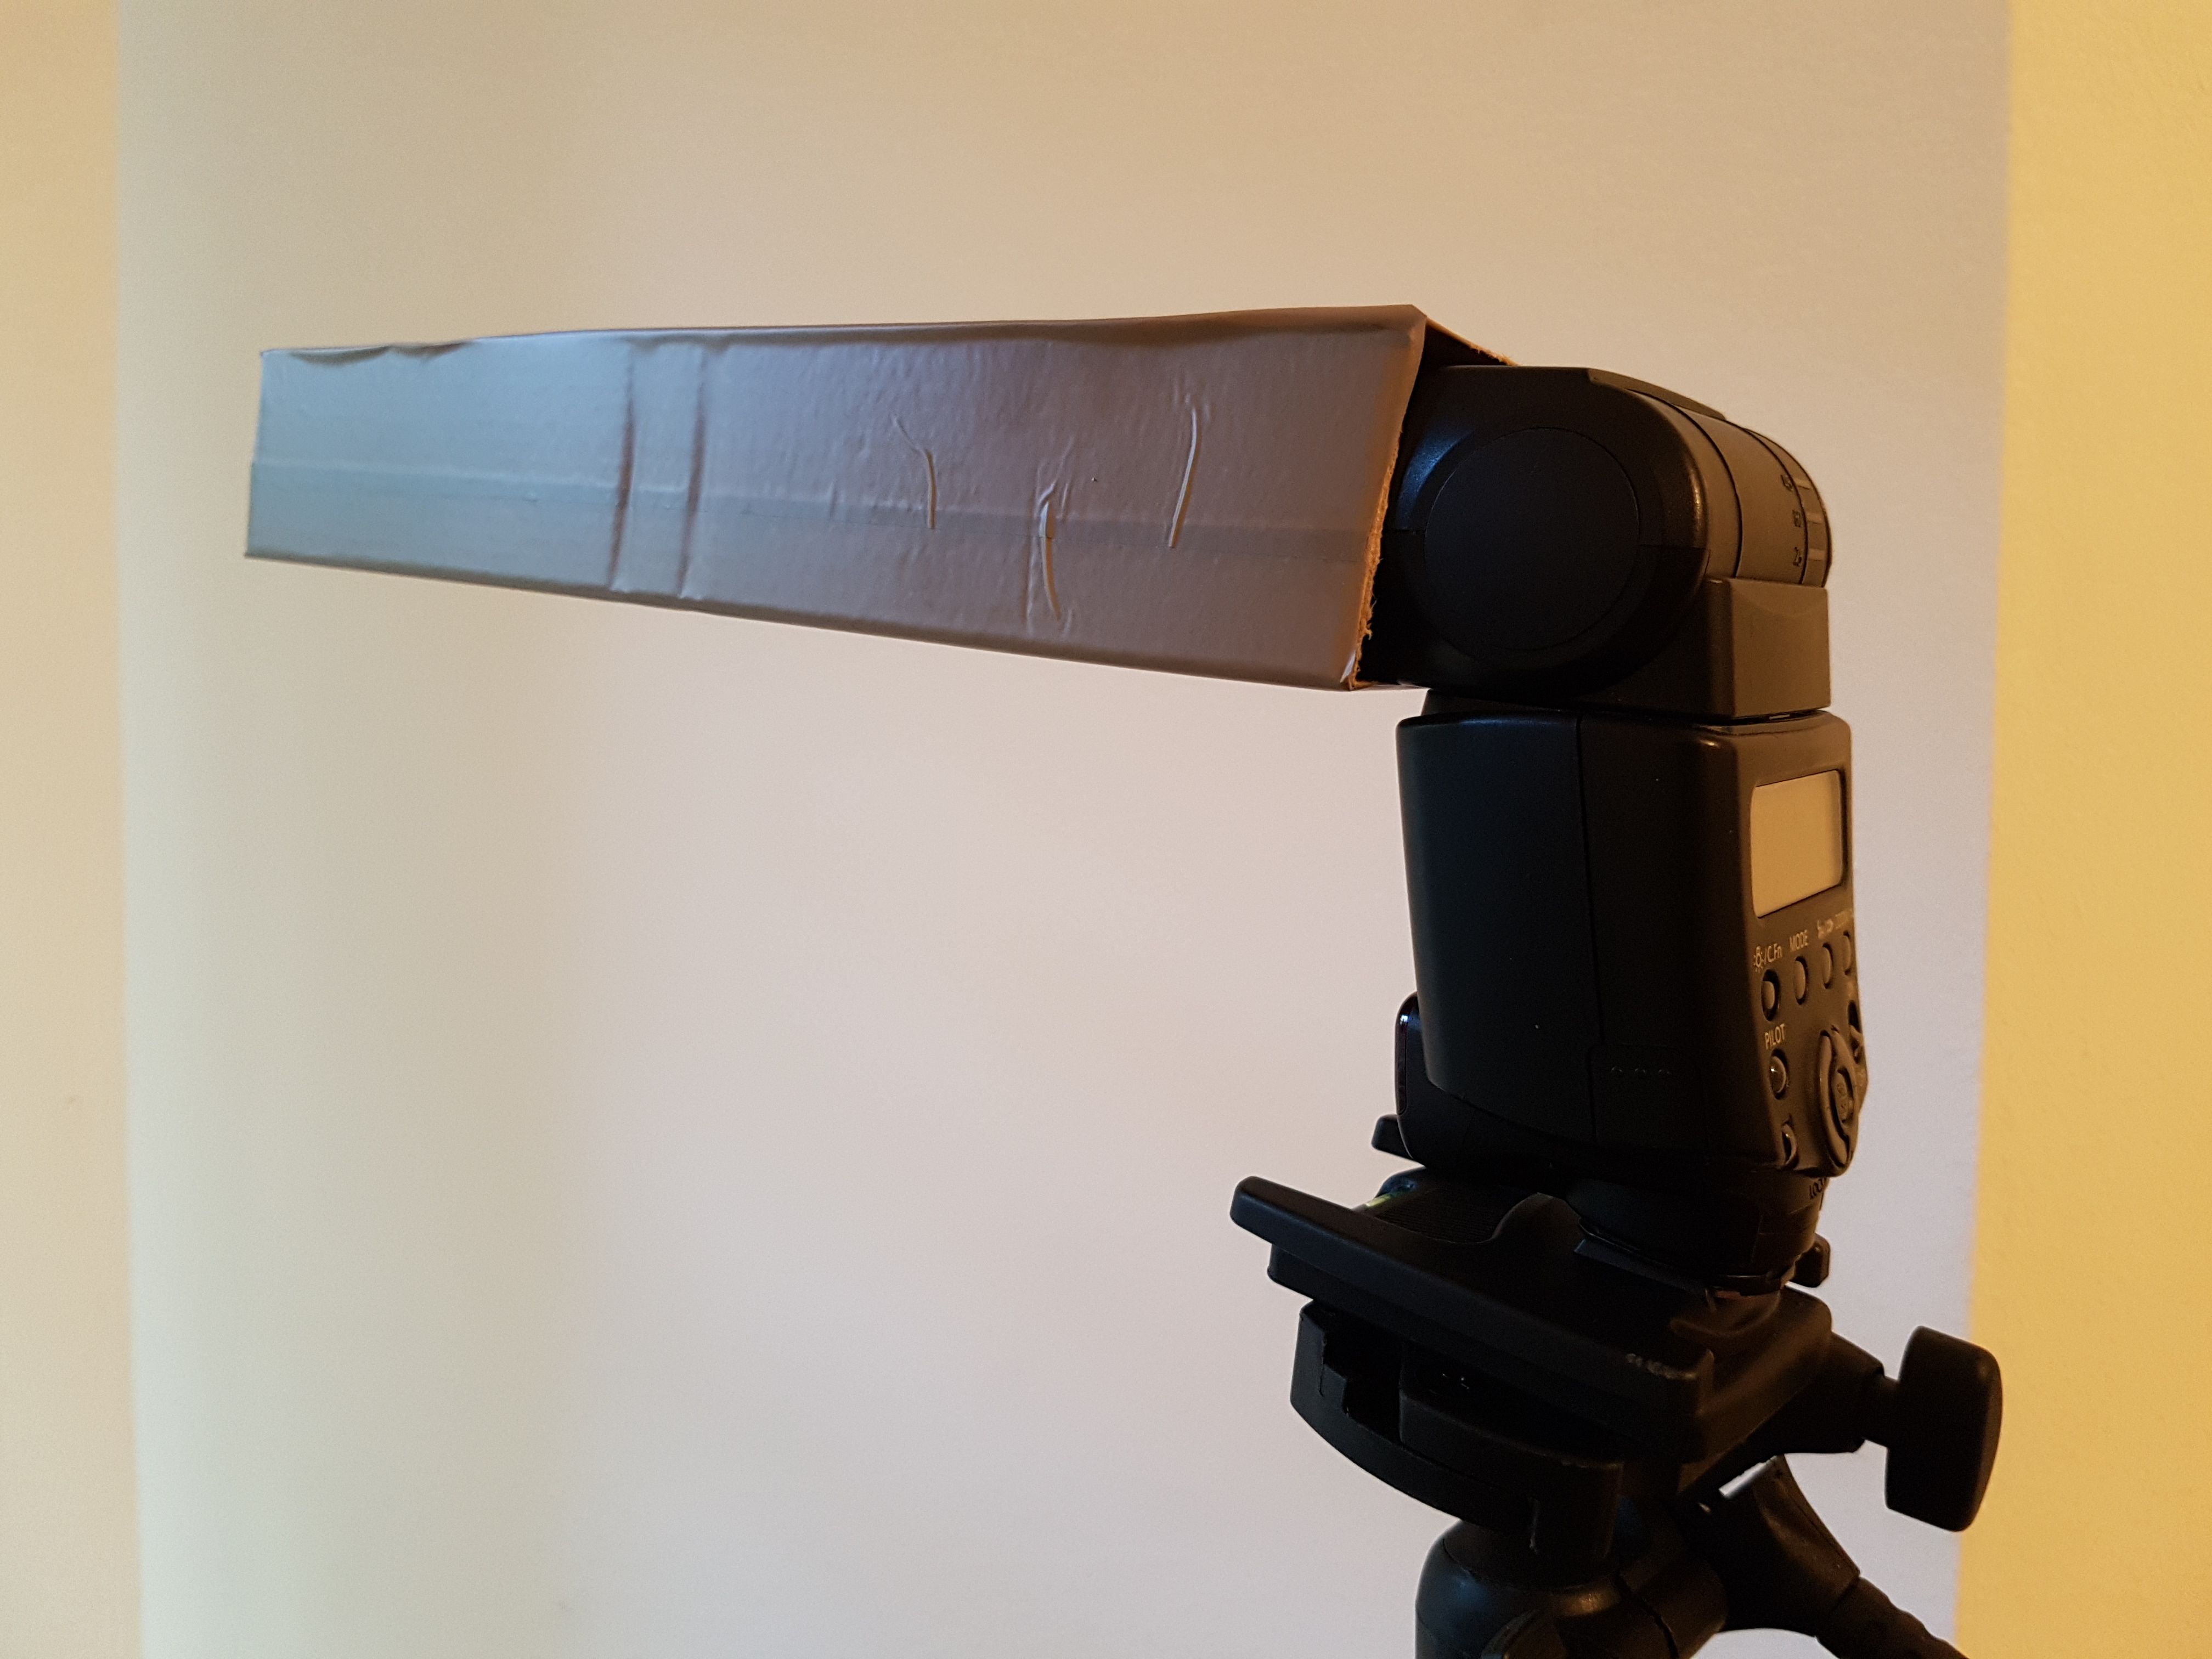
- Fold the 4 sides into a box and tape all the corners to secure and shape it
- Plug the snoot to your flash and shoot your photos!

20180425_181053.jpg](https://steemitimages.com/640x0/https://steemitimages.com/DQmYw4to49YWefFJoDQTMSDGe9A6YPkBqof8y2g9ZN4VuPt/20180425_181053.jpg)
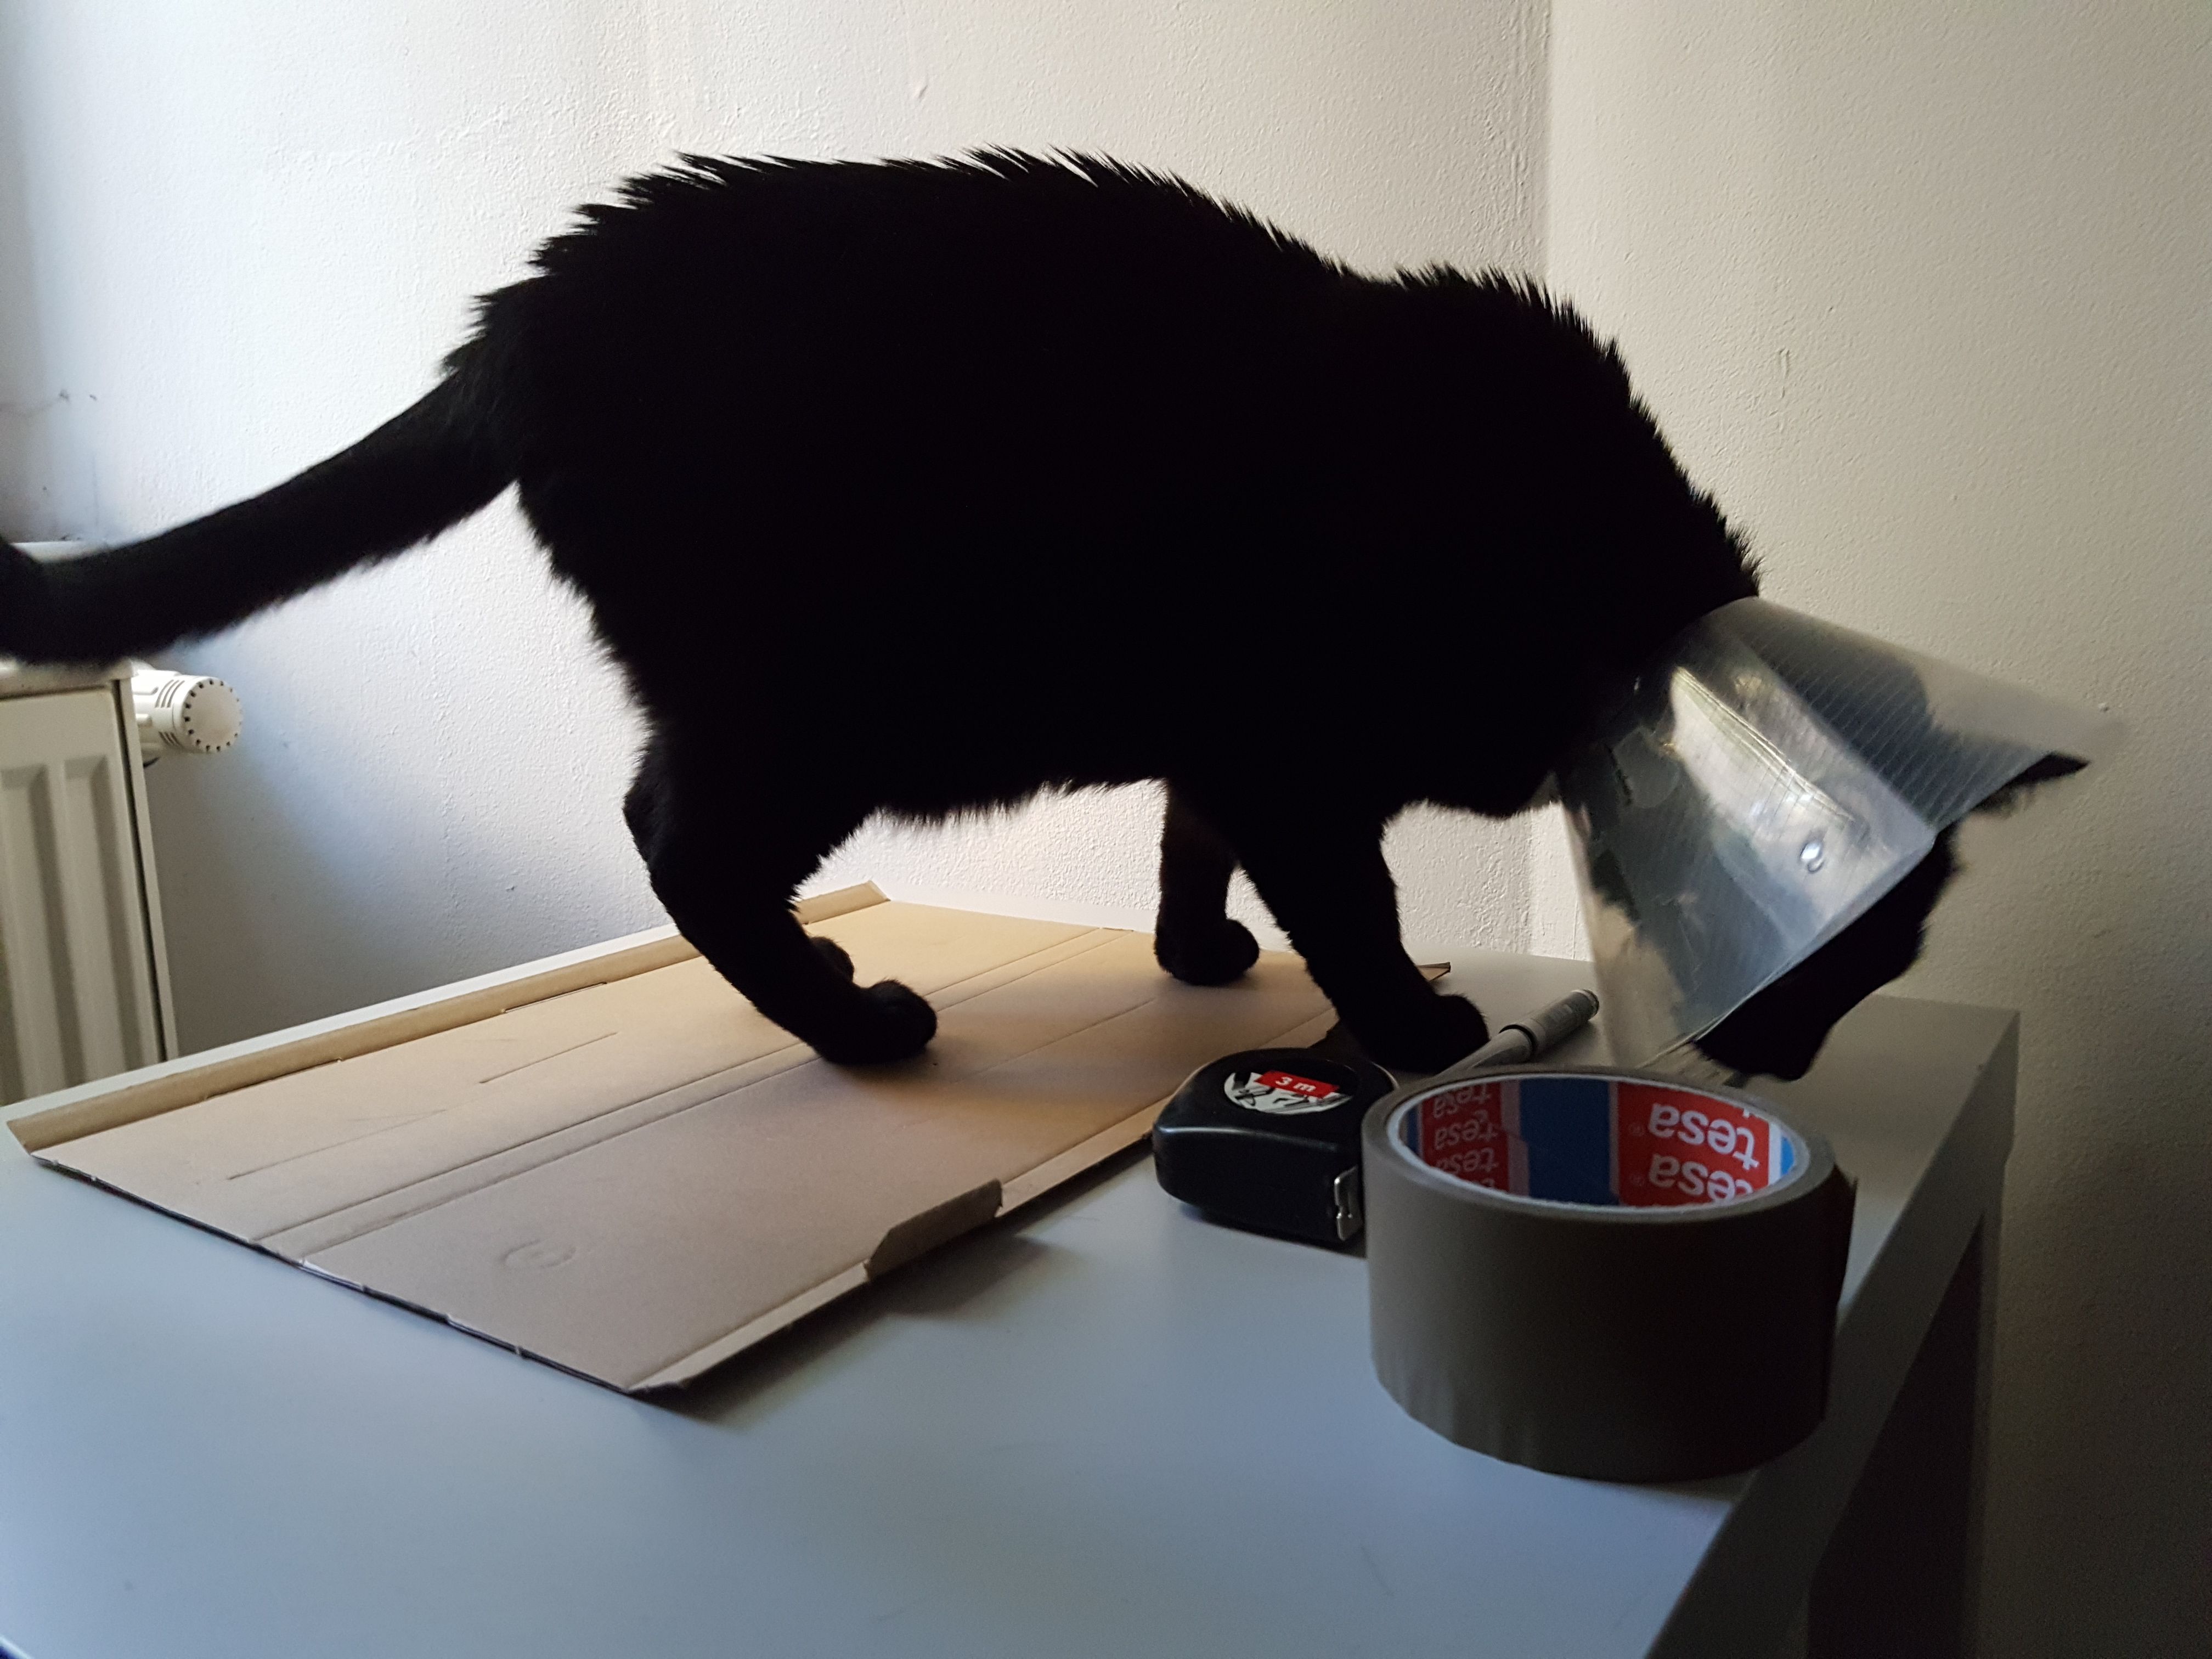
The cat came to assist me, maybe because she also has something plugged to her head at the moment, but I don't recommend that step


The result:
My next DIY snoot will be with a Pringles box to get a round light shape. In that case it's even easier to do: you just need to eat the Pringles, clean the box and plug it to your flash.
Let me know if this was useful and if you have other tips to make snoots.
Congratulations @miamorgan! You received a personal award!
You can view your badges on your Steem Board and compare to others on the Steem Ranking
Do not miss the last post from @steemitboard:
Vote for @Steemitboard as a witness to get one more award and increased upvotes!
Congratulations @miamorgan! You received a personal award!
Click here to view your Board