How to Make a Moroccan Tagine
1**A Quick Look at the Moroccan Tagine
If you own a tagine but have been too intimidated to try using it, don't feel bad. Rest assured there are many Moroccans themselves who have never cooked in them either! The photos on the following pages show step-by-step how easy it is to prepare a fabulous Moroccan stew in this traditional cookware. For general tagine cooking advice, see Tips for Using a Moroccan Tagine.
Shown here are a ceramic tagine and an unglazed clay tagine. Both are quite common in Morocco, but I prefer the unglazed because it adds rustic, earthy flavor and aroma to whatever is being cooked in it. Both types should be seasoned before first use. The base of a Moroccan tagine is wide and shallow; the conical lid helps return condensed steam back to the food.
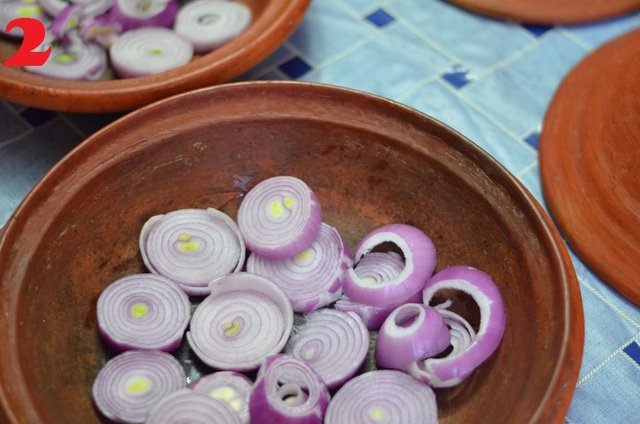
2**Arrange a Layer of Onions for Your Base
If you own a tagine but have been too intimidated to try using it, don't feel bad. Rest assured there are many Moroccans themselves who have never cooked in them either! The photos on the following pages show step-by-step how easy it is to prepare a fabulous Moroccan stew in this traditional cookware. For general tagine cooking advice, see Tips for Using a Moroccan Tagine.
Shown here are a ceramic tagine and an unglazed clay tagine. Both are quite common in Morocco, but I prefer the unglazed because it adds rustic, earthy flavor and aroma to whatever is being cooked in it. Both types should be seasoned before first use. The base of a Moroccan tagine is wide and shallow; the conical lid helps return condensed steam back to the food.
3Add the Garlic
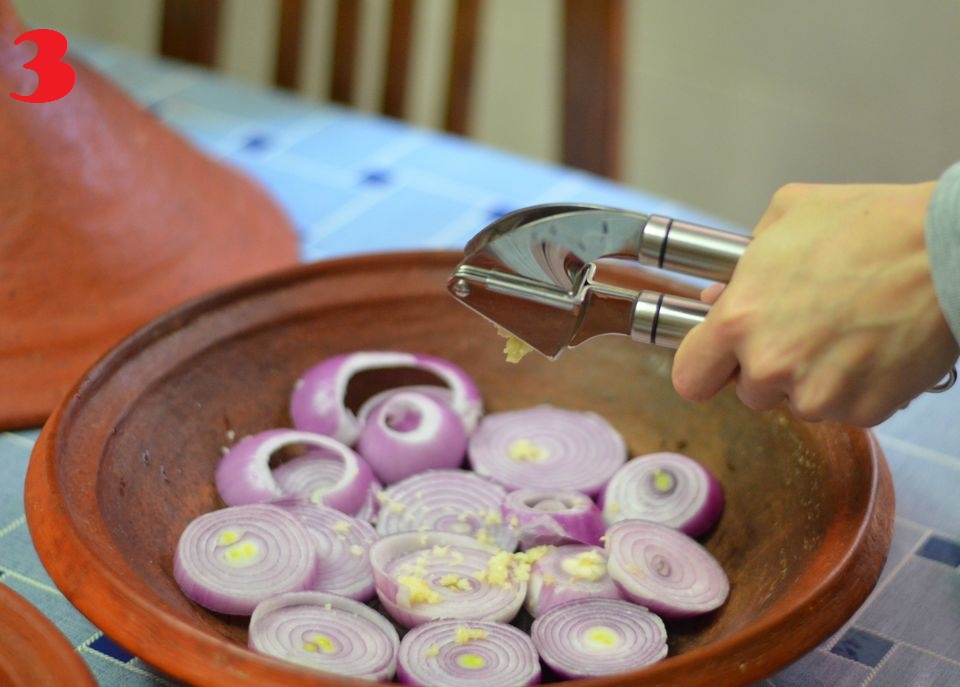
Next comes the garlic. Here I used a garlic press, but you could just as easily chop the garlic or, if you like, leave the cloves whole. By adding the garlic with ingredients at the bottom, I'm assured that it will fully cook and meld with the sauce.
4Add Olive Oil to the Tagine
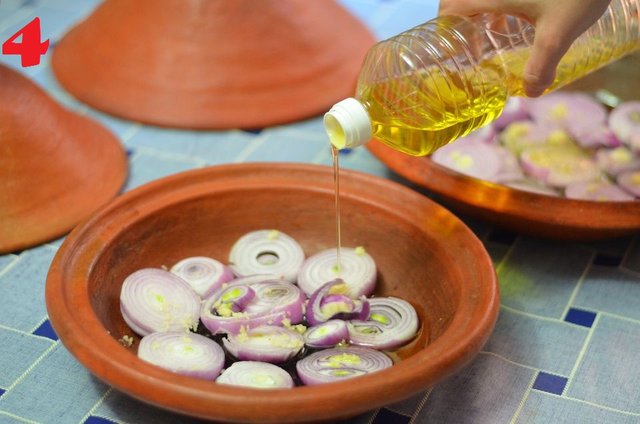
Ample oil is the foundation of a rich sauce in a tagine, so don't be afraid to use the full amount called for in a recipe. Most of my tagine recipes specify 1/4 to 1/3 cup oil; sometimes at home I use even a little bit more to ensure there's ample sauce for my large family to sop up with Moroccan bread. If you do reduce the oil, know that you will end up with less sauce or a watery sauce.
Here I'm adding light olive oil to the tagine. For this particular recipe, it can be added at any time while assembling the tagine. Many Moroccan cooks will use a mix of olive oil and vegetable oil, either because the olive oil is extra virgin and contributes lots of flavor in lesser quantity, or as a matter of frugality, as vegetable oil costs less.
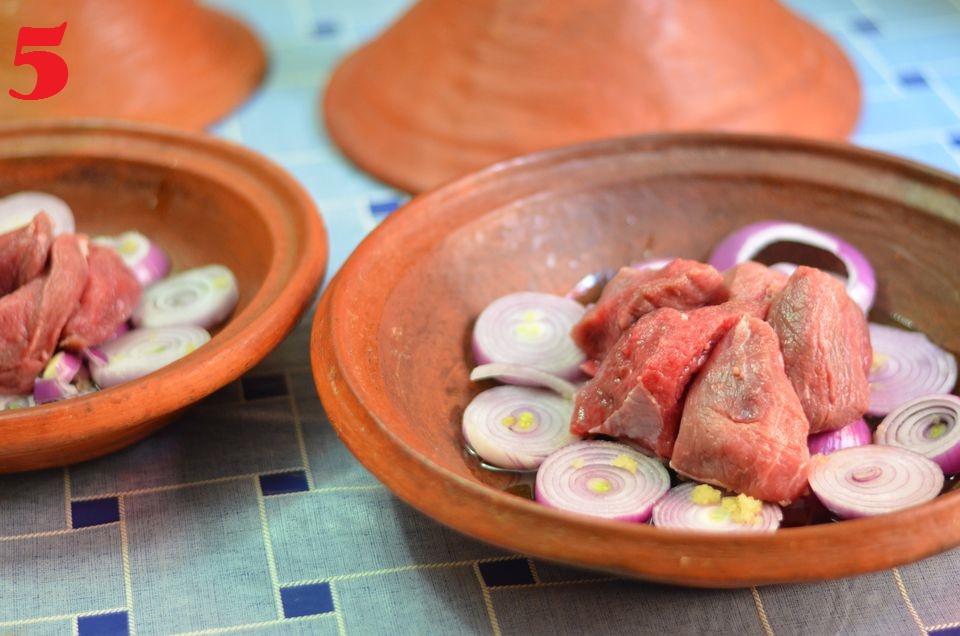
5Arrange the Meat in the Center
Meat, poultry or fish is usually arranged in the center of the tagine as shown here. If you're using meat-on-the-bone, place pieces bone side down to reduce risk of scorching the meat. Here I'm using beef. I've piled it up into a mound because I'll be adding lots of vegetables around the perimeter. Sometimes you'll encounter recipes which direct you to brown the meat first. It's really not necessary. If you do decide to brown the meat, it's best done in a separate skillet since a clay or ceramic tagine should not be used over high heat
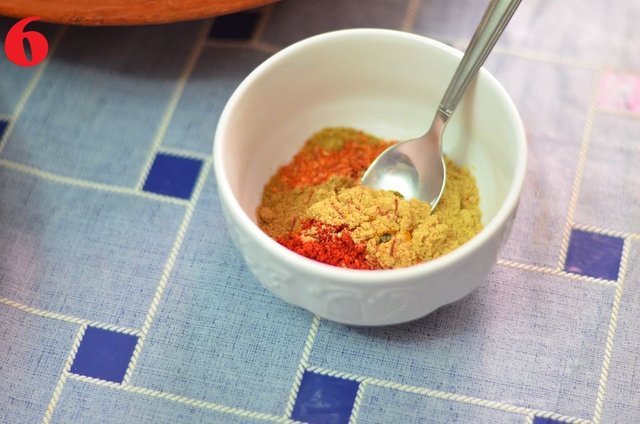
6Mix the Moroccan Spices
This step is not absolutely necessary, but combining your Moroccan spices before using them does allow for more even distribution of seasoning. Here I'm mixing salt, pepper, ginger, paprika, cumin, turmeric, saffron and a little cayenne pepper in a small bowl since I'll be sprinkling the seasoning over ingredients. Sometimes I mix the spices in a large bowl and toss the veggies and meat in the spices to coat everything evenly. Sometimes I sprinkle the spices one-by-one directly into the assembled tagine. There's no right or wrong way.
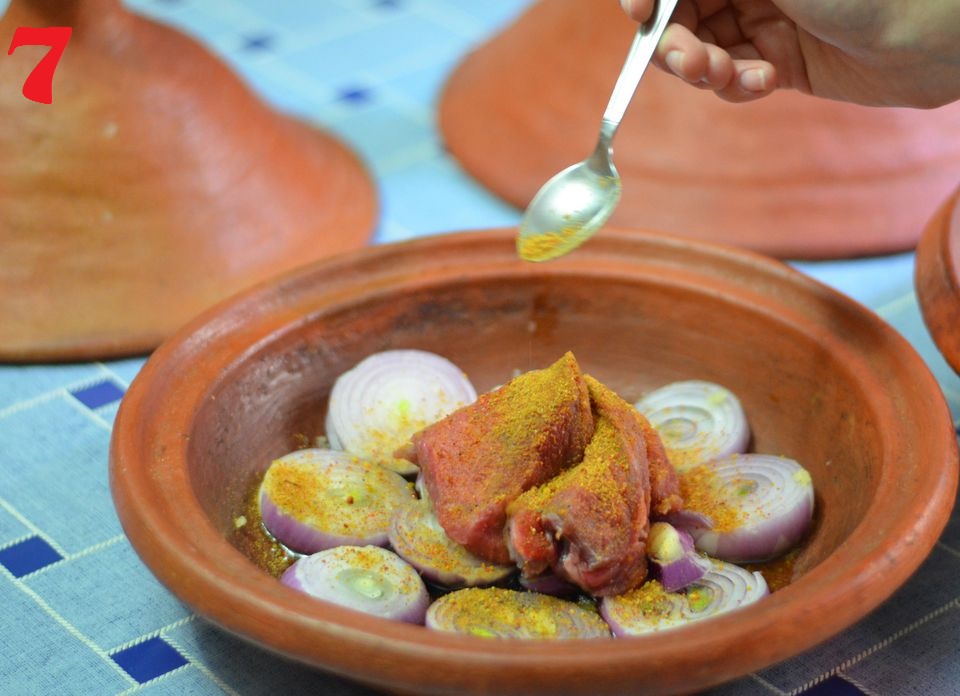
7Season the Meat and Onions
Distribute some of the spice mixture over the meat and onions. You can use up to two-thirds of the mixture at this step, concentrating the seasoning on the onions so the spices will meld with the oil and liquids to make a rich, flavorful sauce. The reserved spices will be used to season the vegetables.
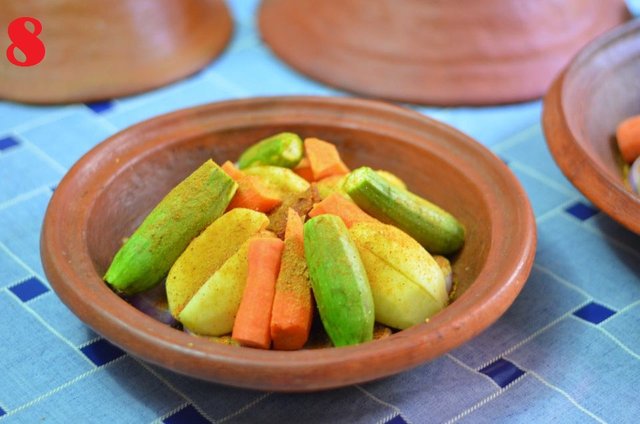
8Arrange the Vegetables and Season Them
When using a tagine, the vegtables are usually added at the very beginning of cooking along with the meat. Some recipes call for layering the vegetables around the meat, poultry or fish, but in a Berber style tagine they're arranged in conical fashion. If you can get them to stand even more upright than what's shown here, do so as it makes a lovely presentation. Once you've added the veggies, season them with the rest of your spice mixture.
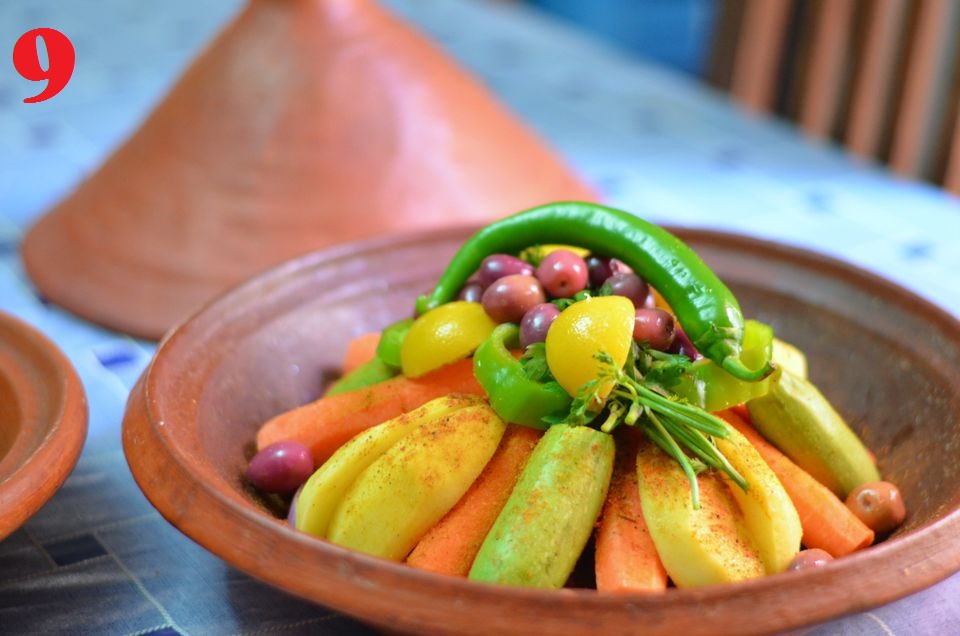
9Garnish the Tagine
Now you can dress up the tagine with color and flavor by adding strips or slices of bell pepper, preserved lemon, olives and an herb bouquet of parsley and cilantro. A jalapeno or chili pepper is optional; my family loves them.
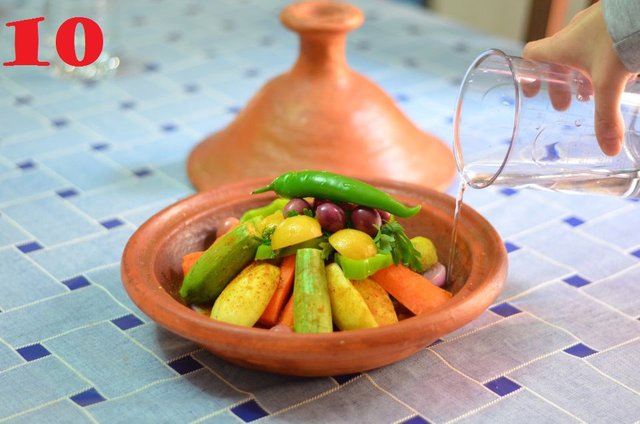
10The last step before you place the tagine on the stove is to add water (sometimes stock or broth is used instead). Pour it carefully into the tagine near the side so that you don't wash away the spices on the veggies. Be aware that you should not add a hot liquid to a cold tagine, and vice versa, as thermal shock can crack a clay or ceramic tagine.
How much water should you add to a tagine? If a recipe doesn't specify, my general rule of thumb is to use the following:
2 to 2 1/2 cups water for a large lamb or beef tagine with vegetables (half that amount of water for chicken due to shorter cooking time)
1 to 1 1/4 cups water for a small lamb or beef tagine with vegetables (again, half that amount for chicken)
11**Cook the Tagine Over Low to Medium-Low Heat
Place the tagine over low to medium-low heat and be very patient while the tagine slowly reaches a simmer.
To avoid cracking or breaking a clay or ceramic tagine, make sure it sits above the heat source and not directly on it. A diffuser will be necessary for electric and flat cook tops and is generally recommended for other heat sources as well. I didn't bother to use one on my stove shown here because the tagines did not come in contact with the low flames.
Tagines can also be cooked outdoors over coals. Special tagine braziers are often used in Morocco, but the tagine may also be placed on the rack of a grill or over a small fire on the ground (use rocks to keep the tagine over the flames.) These methods are a bit trickier to maintain adequately low temperature and require more attention than stove top cooking
12**Check the Level of the Liquids - When to Add More Water
Once a tagine reaches a simmer (it can take up to a half hour if there is a lot of liquid), it can be left relatively undisturbed to slowly stew. Reduce the heat slightly if the tagine is simmering rapidly; ideally you want a slow or medium simmer instead.
The beef tagines I was making here would require about three hours of simmering; chicken might need only half that time while lamb can take an hour longer.
I checked the level of the cooking liquids after about two hours. Here you can see that the liquid in the small tagine was already reduced to sauce-like consistency. Since the meat needed another hour of cooking, I went ahead and added 1/4 cup water.
Now to check on the other tagine.
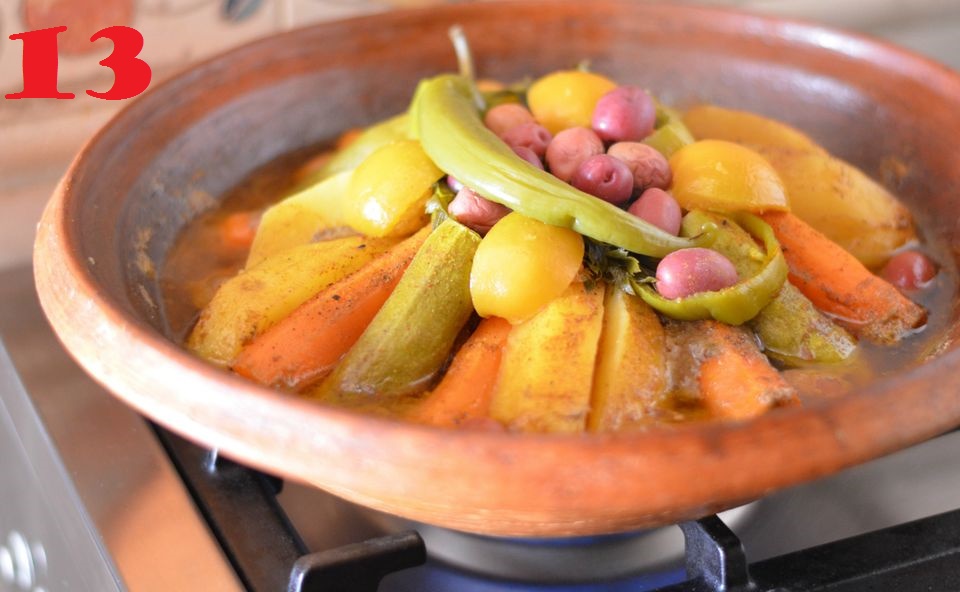
13Checking on the Tagine - No Need to Add Water Here
The larger tagine still had ample liquid, so there was no need to add any water for the last hour of cooking. I closed the lid and left it alone. If this much liquid remained when the meat was nearly cooked, however, I might prop the lid open with a spoon to allow for quicker reduction.
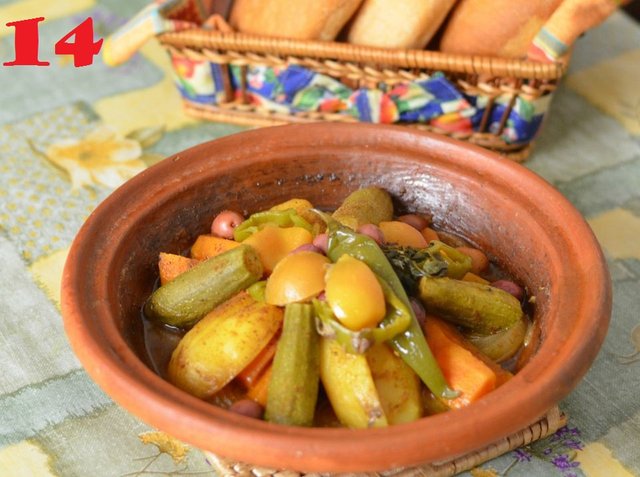
14Serve the Tagine
Tagines double as serving dishes which help hold the food warm on the table. Moroccan tradition is to gather round and eat communally from the Tagine, using pieces of Moroccan bread (Try this delicious Moroccan semolina bread!) to scoop and sop up sauce, veggies and meat. Be forewarned, though – it's best allow the Tagine to cool for 10 or 15 minutes before digging in or there will be burnt fingers and tongues!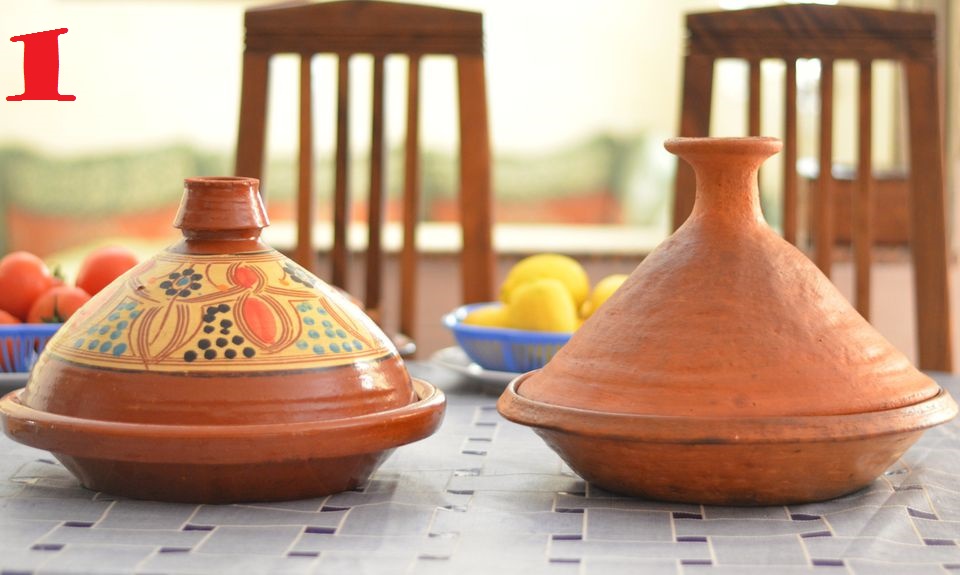


😍😍😍😍
Hi! I am a robot. I just upvoted you! I found similar content that readers might be interested in:
https://www.thespruce.com/cooking-in-a-moroccan-tagine-steps-2395002
Em so delicious
Congratulations @dzioa! You have completed some achievement on Steemit and have been rewarded with new badge(s) :
Click on any badge to view your own Board of Honor on SteemitBoard.
For more information about SteemitBoard, click here
If you no longer want to receive notifications, reply to this comment with the word
STOP