MIT FabAcademy Week1 Assignment - Build a website and use Git

This our Week1 Assignment:
Upload a website contains bio and project proposal to gitlab using Git
Here's the main steps:
- Install Git
- Learn about git
- Set up gitlab account
- Generate a site using Hexo (optional)
- Fill some content
- Deploy to gitlab
1. Install Git
Installing Git on Mac:
There are several ways to install Git on a Mac. The easiest is probably to install the Xcode Command Line Tools. On Mavericks (10.9) or above you can do this simply by trying to run git from the Terminal the very first time. If you don’t have it installed already, it will prompt you to install it.
2. Learn about git
I wrote a note about this. 「多用 Git 少交税」
3. Set up gitlab account
First, sign up for fablabs.io. Then login git.fabacademy.org with fablabs.io account. After local guru adding you to the list, you can find the project you've joined.

Add SSH key in 「Profile Settings」following this instruction: SSH keys.
Use git clone to pull the project files down. By the way, you can find your student number in the students list page.
4. Generate a site using Hexo (optional)
Now you can add html pages to your website. Of course, Jekyll is a better choice. Among those CMS or blog publish tools, my favorite is Hexo. Hexo is a fast, simple & powerful blog framework.
I've wrote a note about how to migrate from wordpress to hexo.
install Node.js
I use nvm to install Node.js 。
cURL: $ curl https://raw.github.com/creationix/nvm/master/install.sh | sh
Wget: $ wget -qO- https://raw.github.com/creationix/nvm/master/install.sh | sh
After installation, reopen terminal, then install Node.js:$ nvm install 4
Of course, you can downloan the latest version from Node.js.
install Hexo
$ sudo npm install -g hexo-cli
Then go into the folder you want to put your site, and initialize Hexo
$ hexo init
$ npm install
Now you can customise your site according to the documentation of Hexo
Tip: Because our site is put in a subdirectory, so we need to set url and root parent path in site config file "_config.yml"
# URL

url: http://archive.fabacademy.org/
root: /archives/2016/fablabshenzhen/students/yourid
5. Fill some content
An about page and a project proposal are needed.
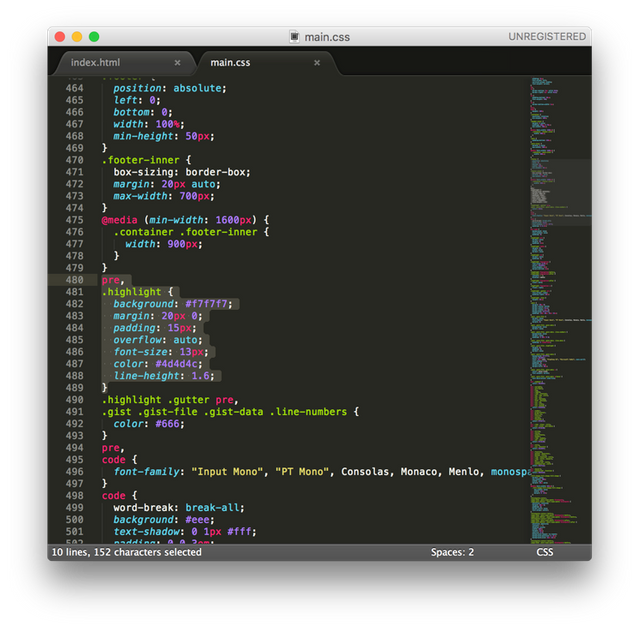
You can edit md file genarated by hexo, or edit a webpage in texteditor. I use Sublime Text to edit html page :

and css file:

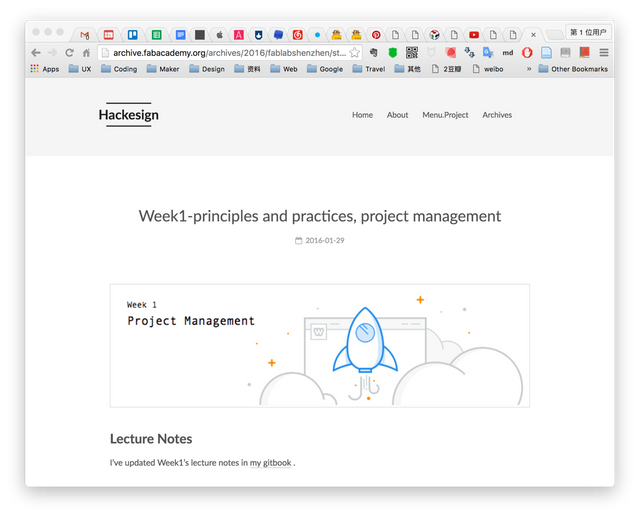
Here's what my site looks like:

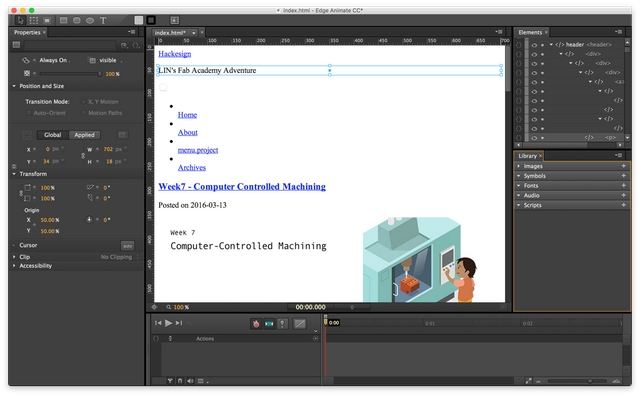
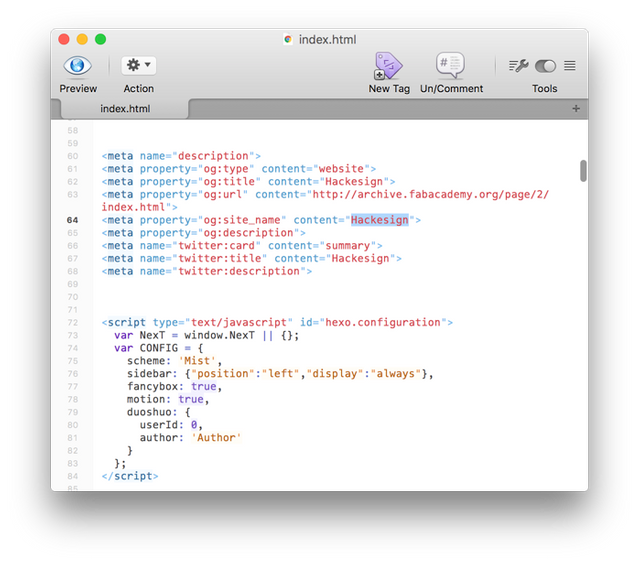
I also tried Adobe Edge Animate and Esspresso


6. Deploy to gitlab
Use hexo generate & hexo deploy to generate local website files. Then copy the whole 「public」 folder to the repo clone from gitlab (only to your own folder). If everything works fine, upload the changes to the repo:
git add
git commit -m "your comment"
git push
If you've done everything right, the push will get your files ready on the server.
That's it!
All FabAcademy Notes (to be continue):
- FabAcademy Week1 Note - Introduction
- FabAcademy Week1 Assignment - Build a website and use Git
- FabAcademy Week2 Note - CAD
- FabAcademy Week2 Assignment - 3D Modeling
- FabAcademy Week3 Note - Computer-Controlled Cutting
- FabAcademy Week3 Assigment - Computer-Controlled Cutting
- FabAcademy Week4 Note - Electronics Production
- FabAcademy Week4 Assignment - Electronics Production
Art x Code . Thanks for Upvote!