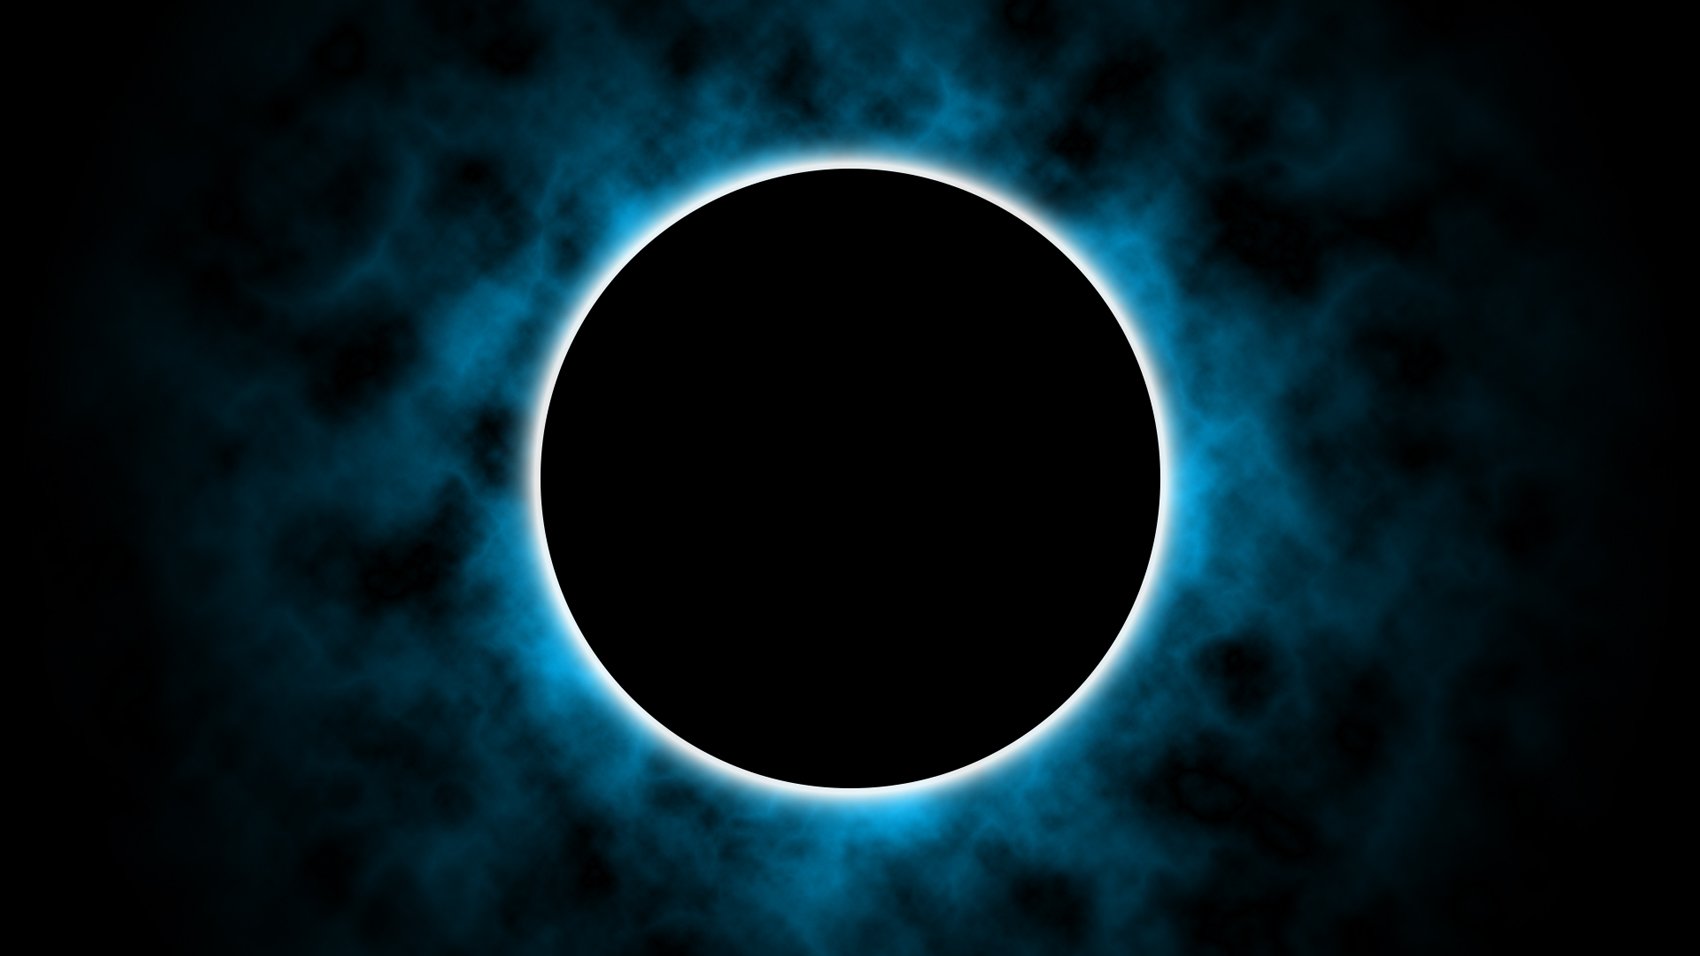
Dolunay Efekti ( Fullmoon Effect) – (TR/EN) – Uygulamalı Photoshop Dersleri

Uygulamalı Photoshop Derslerinin bu bölümünde dolunay nasıl yapılır onu göreceğiz.
In this tutorial you will find that how to make the Fullmoon in Photoshop CC.
Amaç
- Photoshop CC’de Dolunay Yapma
Öğrenilecekler
- Brush Tool
- Gradient Layer
- Filter > Render > Clouds
- Glow Effect
- Blending Options
Photoshop CC’de Dolunay Efekti ( Fullmoon Effect)
İlk olarak çalışma alanımızı açarak başlayalım. Ayarlar aşağıdaki gibidir :
Add a new document. Settings are as below :

Click here to view full size.
Layers panelini kullanarak yeni bir layer layer ekleyelim. Sonra sol toolbardaki ikili renk kısmından renkleri Foreground Color siyah olacak şekilde Background Color mavi (#00baff) olacak şekilde değiştirelim.
Add a New Layer. Change the Foreground Color to Black and Background Color to Blue (#00baff) on the left toolbar.

Click here to view full size.
Filter menüsüne gidelim. Render > Clouds seçeneklerini seçelim. Sonuç aşağıdaki gibi olacaktır.
Go to Filter > Render > Clouds. Result will be as below.

Click here to view full size.
Şimdi tekrar Filter menüsüne gidelim Render > Difference Clouds seçeneklerini seçelim.
Go to Filter > Render > Difference Clouds

Click here to view full size.

Click here to view full size.
Tekrar Filter menüsüne gidelim. Render > Difference Clouds seçeneklerini seçelim.
Go to Filter > Render > Difference Clouds

Click here to view full size.
Sol toolbardan Ellipse Tool aracını çizelim. Üst toolbarda ayarlar gözükecektir. Ayarları; Shape, Fill Black, Stroke None, 700x700 px olacak şekilde değiştirelim.
Select the Ellipse Tool on the left toolbar. Ellipse' Settings will be appearance on the top toolbar. Change settings to Shape, Fill Black, Stroke None, 700x700 px.

Click here to view full size.
Move Tool aracını seçelim ve aşağıdaki gibi daireyi merkeze yerleştirelim.
Select the Move Tool then click on the circle and move it to the center.

Click here to view full size.
Layers panelindeki Ellipse Layer 1 e çift tıklayalım. Blending Options penceresi açılacaktır. Outer Glow seçeneğini seçelim. Gradient Color kısmına tıklayalım. ( Dikdörtgen içine alınmıştır.)
Double click on the Ellipse Layer in the Layers panel to open Blending Options panel. Select the Outer Glow. Select the Gradient Color.

Click here to view full size.
Gradient Editorde "Foreground to Background" seçeneğini seçelim. Renk skalasında da soldaki rengi beyaz sağdaki rengi de mavi(#00baff) olarak değiştirelim. Renk skalasının üstündeki iki işaretçiden sağ tarafta olana tıkladıktan sonra Opacity değerini 0% olarak değiştirelim.
Select the "Foreground and Background" and set the left tab color White and set the right color to blue(#00baff). Click the tab above the right blue tab and set it to 0% Opacity.

Click here to view full size.
Blending Options daki diğer ayarla ise aşağıdaki gibidir.
The other settings in Blending Options Panel are as below.

Click here to view full size.
Layers panelini kullanarak Gradient Layer ekleyelim.
Add a Gradient Fill Layer in Layers Panel.

Click here to view full size.
Ayarlar aşağıdaki gibidir.
Settings are as below.

Click here to view full size.
Gradient layerın maskesini seçelim. Sonra sol tolbardan Brush Tool u alalım. Brush Tool'un ayarları aşağıdaki gibidir.
Select the Mask of Gradient Layer. Then select the Brush Tool. Brush Tool Settings are as below:

Click here to view full size.
Dairenin iç kısmını ve etrafını Brush Tool ile boyayalım. Çalışmamızın son hali aşağıdaki gibidir.
Brush on and aorund the circle. The result is as below. Finish.

Click here to view full size.
Teşekkürler. Thanks

Uygulama noktasında herhangi bir sorun yaşarsanız aşağıdaki yorum panelini kullanarak iletişime geçmekten çekinmeyin lütfen. Teşekkürler.

Kaynak belirtilmeyen görseller @etasarim a aittir. / Pictures that don’t have any source belongs to @etasarim.
Posted from my blog with SteemPress : http://etasarim.cloudaccess.host/26/05/2019/dolunay-efekti-fullmoon-effect-tr-en-uygulamali-photoshop-dersleri/
Hi, @etasarim!
You just got a 2.57% upvote from SteemPlus!
To get higher upvotes, earn more SteemPlus Points (SPP). On your Steemit wallet, check your SPP balance and click on "How to earn SPP?" to find out all the ways to earn.
If you're not using SteemPlus yet, please check our last posts in here to see the many ways in which SteemPlus can improve your Steem experience on Steemit and Busy.
Trproje küratör ve projelerin önerdikleri Türkçe yazıları desteklemeye devam ediyor. Proje ekibi tarafından seçilen yazılar ayrıca edebiyat, gezi, trliste, hosgeldin ve C² küratörlerine oy için önerilmektedir.
Siz de beğendiğiniz yazıları oylama için önermek isterseniz Trproje discord sunucusuna buradan ulaşabilirsiniz.
Congratulations @etasarim! You have completed the following achievement on the Steem blockchain and have been rewarded with new badge(s) :
You can view your badges on your Steem Board and compare to others on the Steem Ranking
If you no longer want to receive notifications, reply to this comment with the word
STOPCongratulations @etasarim! You received a personal award!
You can view your badges on your Steem Board and compare to others on the Steem Ranking