How To Make .GIF Image With Photoshop
How To Make .GIF Image With Photoshop

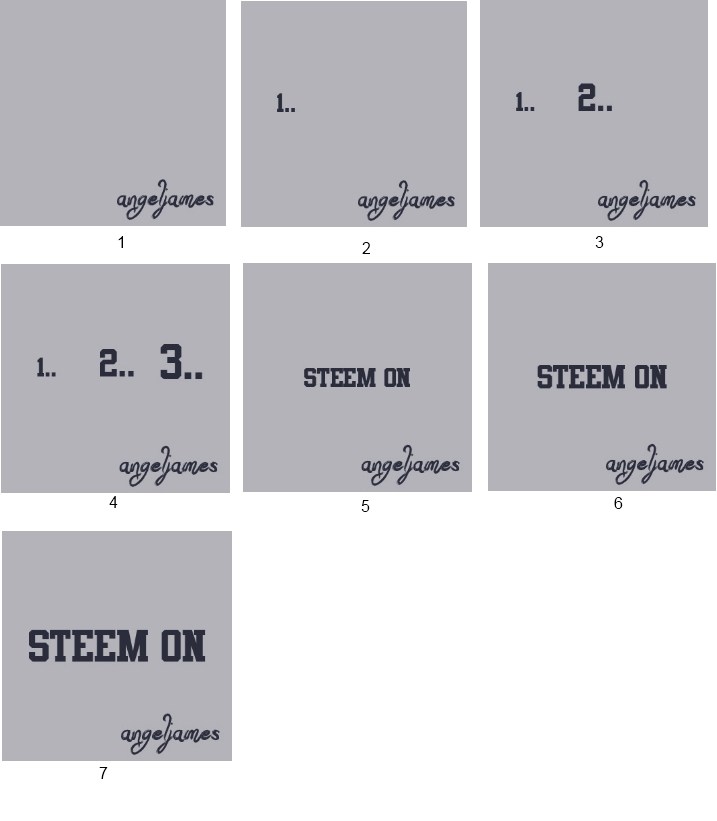
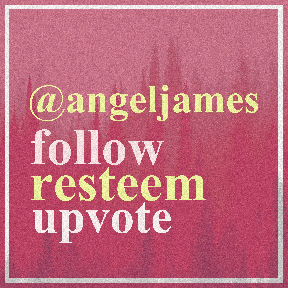
Hello everybody! Today I would like to share a little bit of my knowledge to you on how to create your own .gif images. As you can see on top, is a simple .gif image I make for this entry purpose. Lets start!
First of all, gif is made of strings of images to create image that moves. For the gif above, I've prepared 7 pages of images.
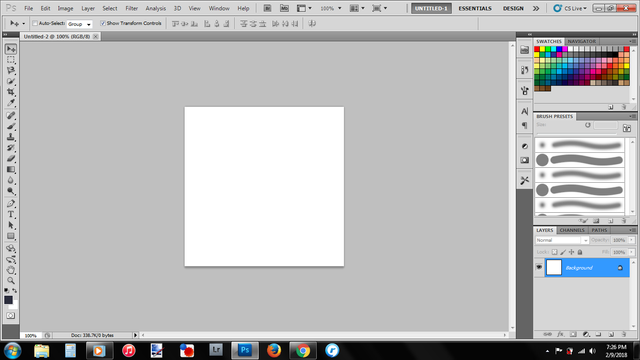
So next thing to do is to launch your photoshop. Me, I'm using Photoshop cs Live.
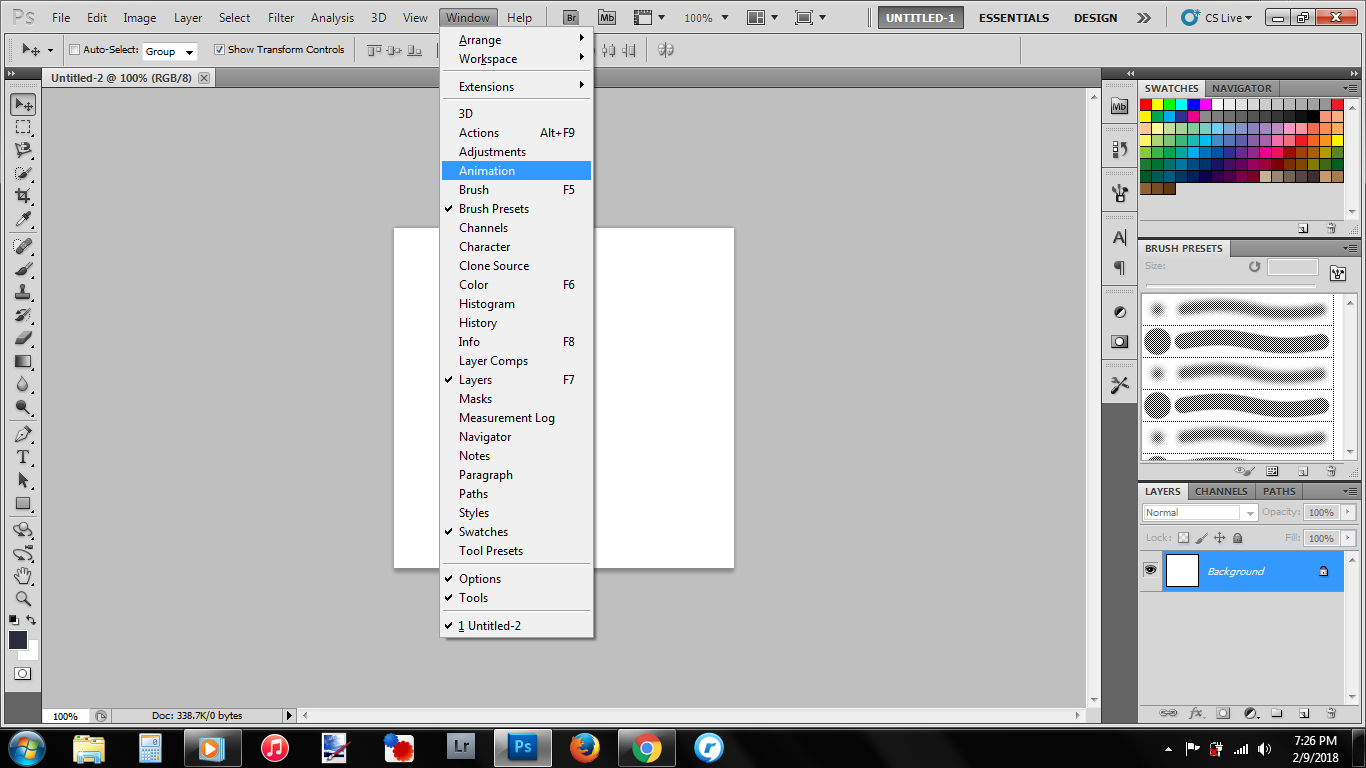
Go to Window > Animation to open the animation window
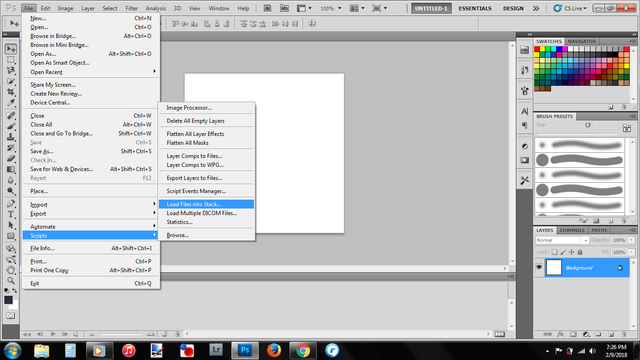
Once the animation window is open, you'll need to go to File > Scripts > Load Files Into Stacks
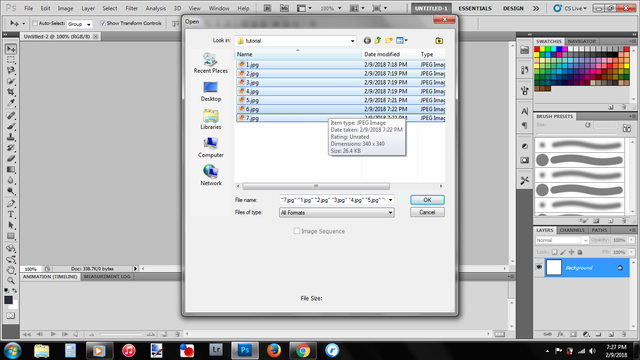
Then, Load Layers window will pop up, and all you need to do is to press browse and select all the images you want to use for your gif.
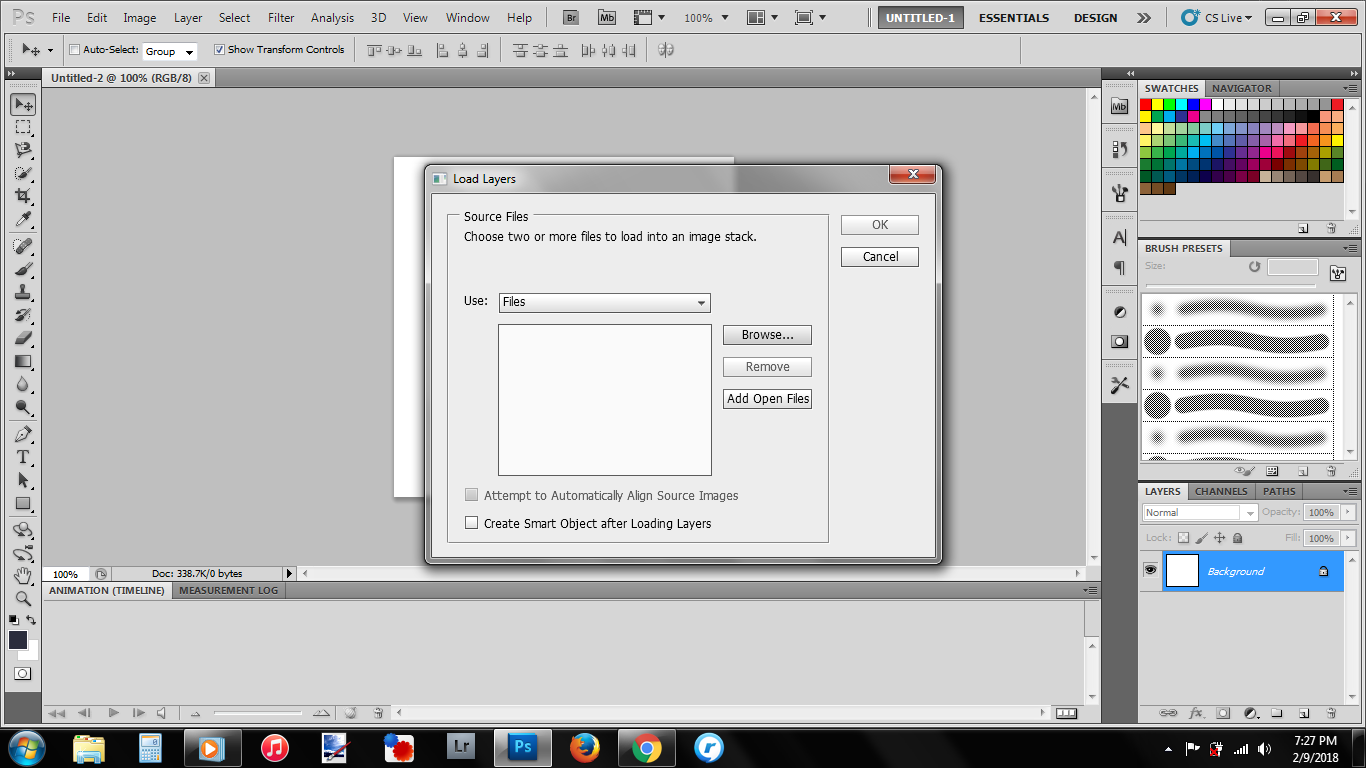
Select everything at once and left none.
Once you've done selecting, press ok and now we are ready to make our gif.

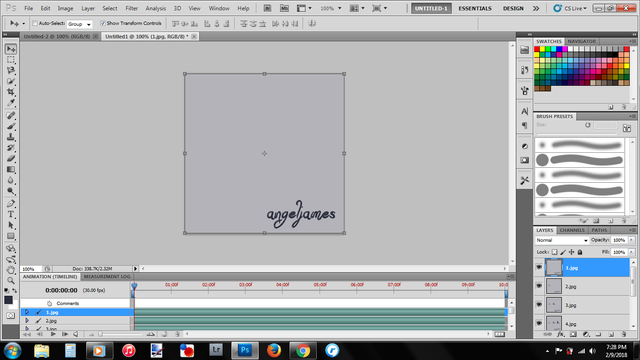
This is how it will look like before we begin. You'll have an animation window below and all images in the layers window that you need to combine to make a gif.
Now we need to make frames from our layers. To do this, you need to click the drop down icon on the top right of the animation window.
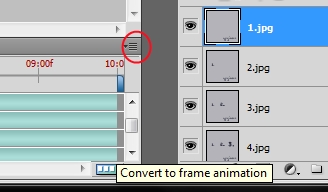
Red circle
Then click "Make Frames From Layers".

Now when you scroll your animation window, you noticed that all your layers are listed in.
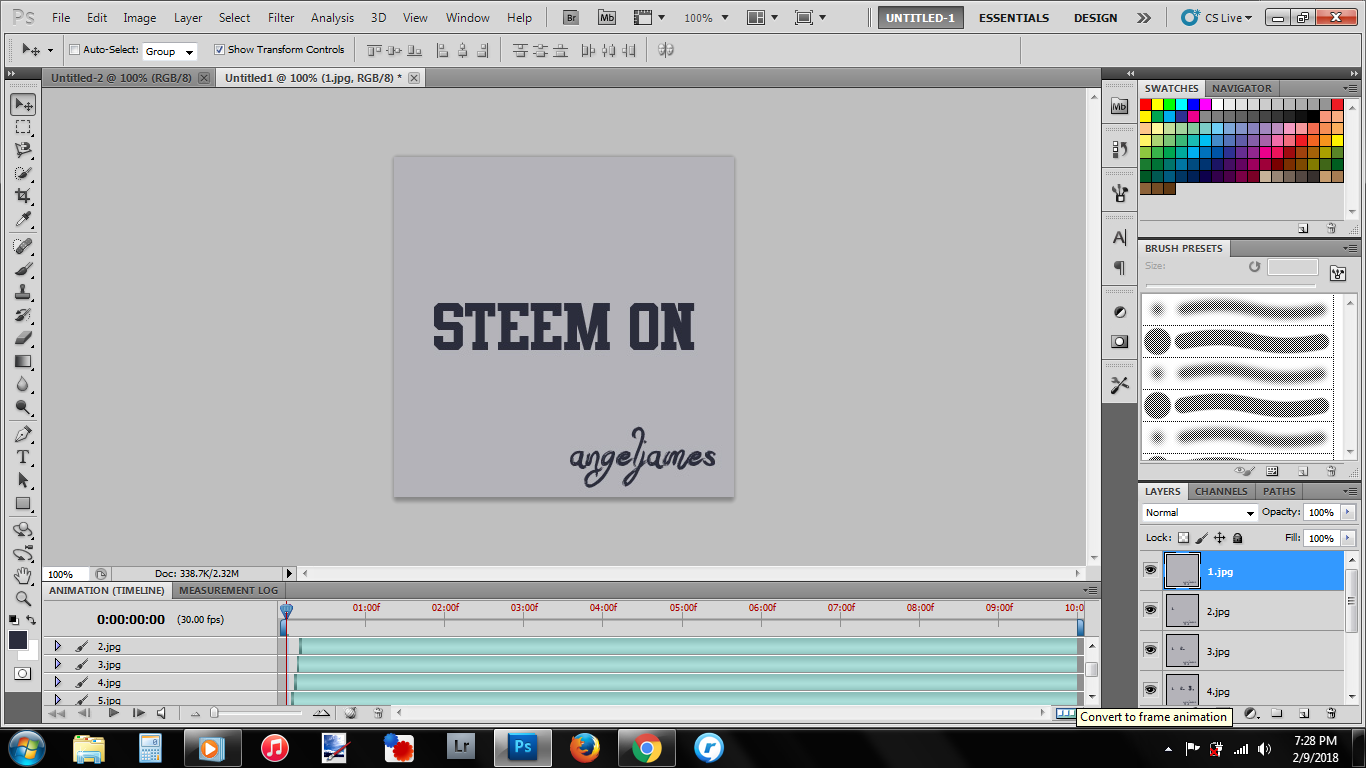
To make it easier for us to edit the frames and time, click on the icon on the lower right of the animation window to convert animation frame.
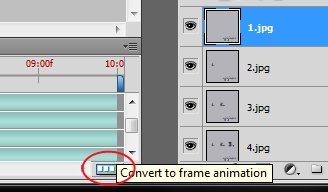
Red circle
Now, what I've noticed everytime I did this, my layers were stacks from last to the beginning. So all we need to do is just click and drag to rearrange the sequence of layers we want.
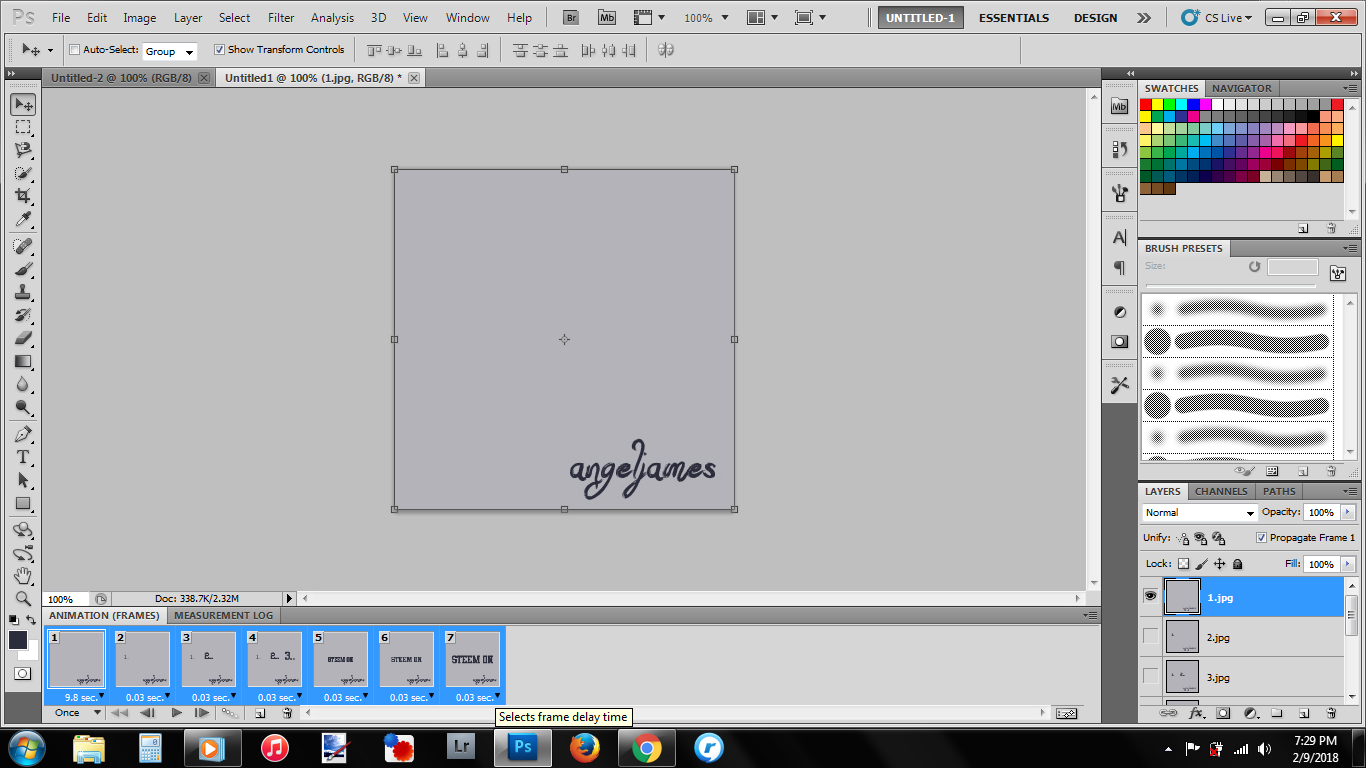
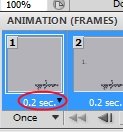
Adjust the timing of each frames, I usually go for 0.2 seconds. You can find this option under every frames. To make smooth transitions of images, make sure all frames has the same timing.
To make it plays in a loop, make sure to change the loop from "once" to "forever".
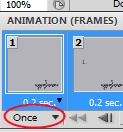
Red circle

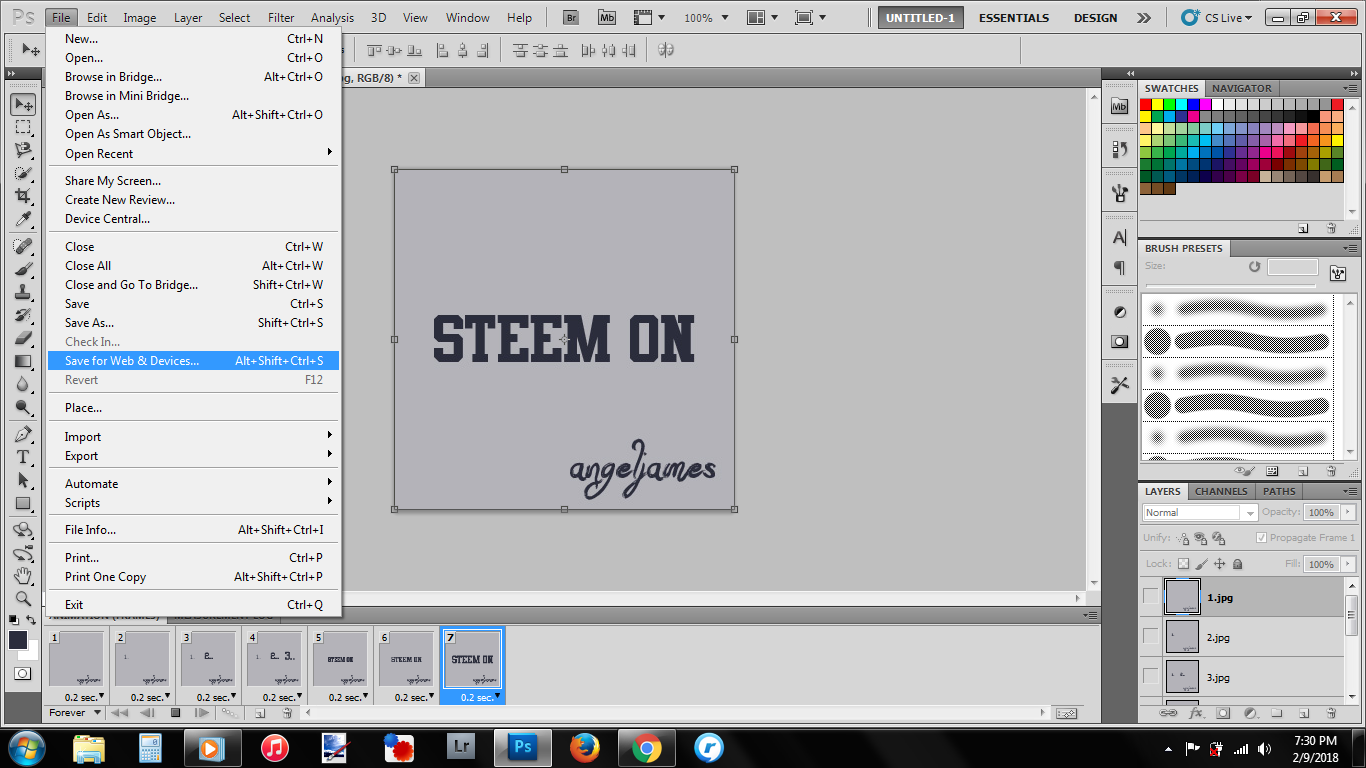
Once you;re satisfied with your gif, it's time to save and export it out. To do this go to File > Save for Web and Devices.
Save it and you're done!!
I hope this tutorial will help anyone in need. Have a good weekend ahead!
resteem and bookmarked.. thanks for the tutorial "insert thumbs up here"
you're welcome! Don't forget to try~
thats a very cool gif and tutorial as well!! maybe you can make a tutorial on changing gif color.
Thank you. I will try to make another tutorial next time.
That's so awesome!! I have always wanted to know how to make GIFs (I'm using GIMP though)
Never know it is so easy to make gifs with picture editor..
I think maybe GIMP is easier right? My friend is using GIMP too.. but for me, I'm too used to using ps, I can't use any other hahaha..
I'm scared of that too.. I've been telling myself "nah GIMP is just a temporary free software i use until it's logical for me to pay for Photoshop".. but im scared either i'll never make the jump or i'll feel like a retard again when im faced with Photoshop..
It's all a learning process i guess.. hahaha
Resteemed!
Nice tutorial @angeljames!
You explained it step-by-step with images which is easier for me to understand! I’ll try to make mine later. 👏🏻😋
ok! can't wait to see your gif! all the best!