How To Change Your Blogspot Template
This post is for the beginners that believe and know that their start in blogging is Google's Blogger.
So lets assume that, you already have a registered blogger account and address, and you want to change your template. If you are that guy, here is a simple tutorial of how to do it.
First you have to choose your theme. I usally go to MyBloggerThemes for that.
(But before that make a dummy blog for testing perposes. Dont harm your blog if you are not in the web design area!)
You can choose by topics, design, style etc. There is a lot of templates - most of the if not all free of charge.
(Hint):Use AdBlock for easier navigating thru pages. Also "Open In New Tab" is very useful as you won't be traped in a magic loop.
After you choose and downloaded the template you've liked, extract it in a separated folder. In that folder after the extraction you will find a file with .xml extension. This is the compiled code that you have to upload to your Blogger html editor. That's blogger.com, then in the left menu Theme. After this you will be on this page:
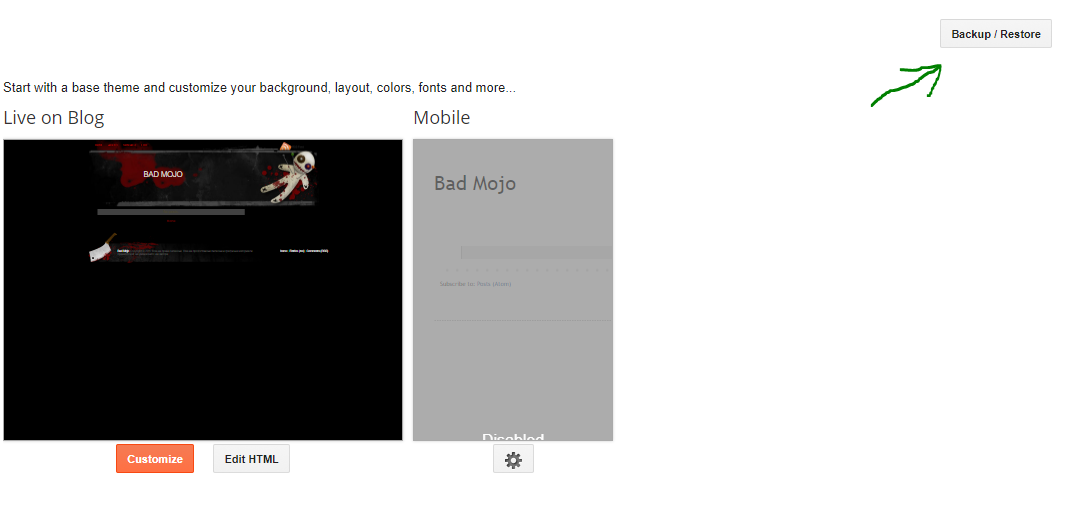
Navigate to the right where it says Backup/Restore. Click it and a new window will pop-up. Choose the .xml file from the folder which you extracted the template in earlier. Click open and you are Done!
The easy peasy part is done. Now its time to touch the code a little. Go to Edit HTML next to the Customize. So for better understanding what is what (again, I assume you are newbie with no web design skills) go and open the blog in a separate window. You can do this from the left menu in Blogger's homepage "View blog".
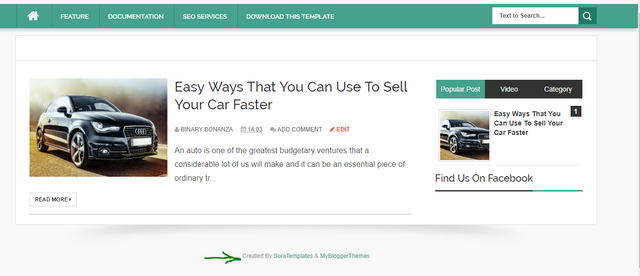
Now it's open in a separate window and the menu is by default, the layouts (the boxes for facebook fan badge, small twitter feed, Archive, Labels etc.) are also by default from the template.
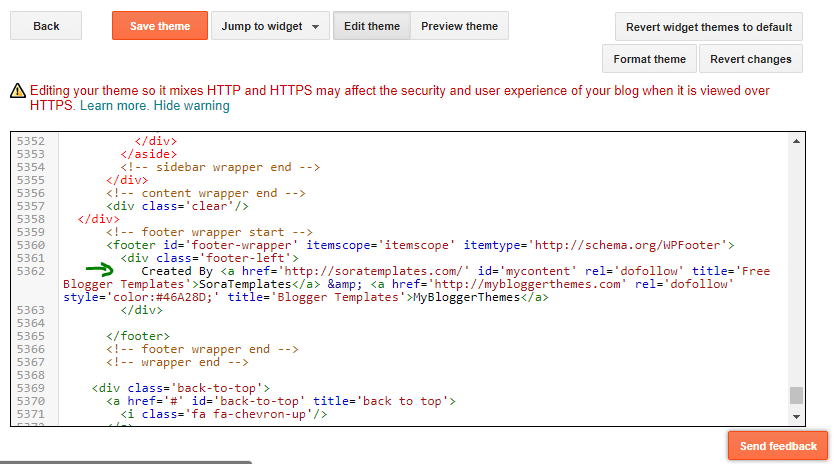
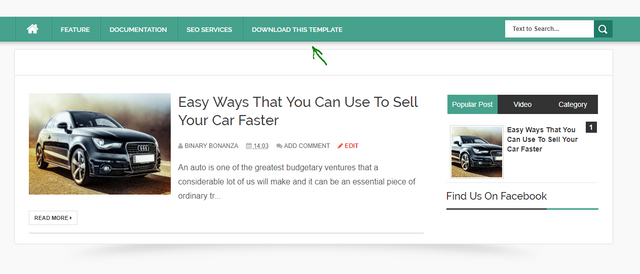
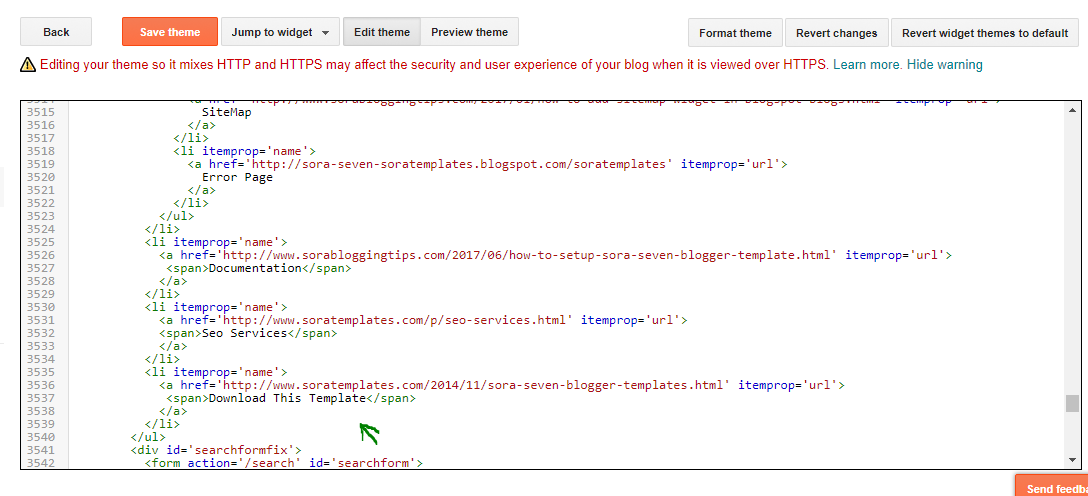
Now the fun part - you comparis from the blog what you want to rename or remove, then you go in the window with the HTML code and you are searching for it. For start scroll down to the bottom the blog and then scroll down the HTML code to the bottom in the other window. Look for something in the blog you want to rename ,for example the "Created By" section, and then search it in the HTML code. Try to find it in the HTML code by scrolling slowly upwards. Usually the text in black color is the represented word in the template.
Example:
1a.
1b.
2a.
2b.
(Note: Don't delete things! Especially the credits of the template. There is a section in the HTML code of almost every of the newer themes that detects if you delete the name of the creator from the bottom and then just not loading properly and redirects your visitors to the creator's blog. Just add something like "Design By" or leave it "Created By". Its not hurting anybody. Dont forget that you downloded it for free. :) Also instead of deleting a parts from the code, just mark it and "Cut" it (ctrl+x). Then save the changes and go to the window with the blog and refresh the page. Now the changes should appear. That way if something goes wrong, you can comeback to the code and press ctrl+z which is the combination for "Undo" or you can paste it again on the same or different spot.)