GIMP教程之"自定义笔刷" | GIMP tutorial -- Custom Brushes

Summary: This GIMP(version 2.8.22) tutorial shows how to create and install custom brushes.
Brush is important for a printing software, amazing brush can create awesome effects, and it can improve the efficiency. GIMP can custom brushes by itself, and it also compatible brush format of photoshop. so let's start.
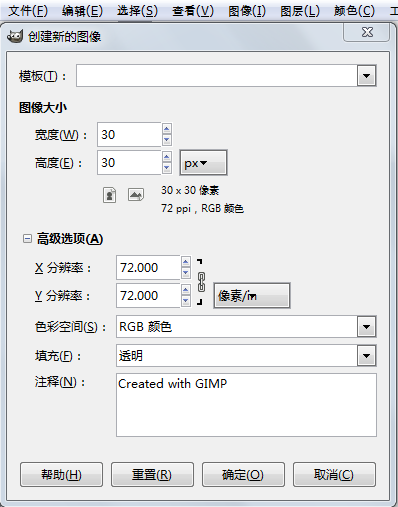
步骤1:创建一个30X30的空白文档,设置如下:
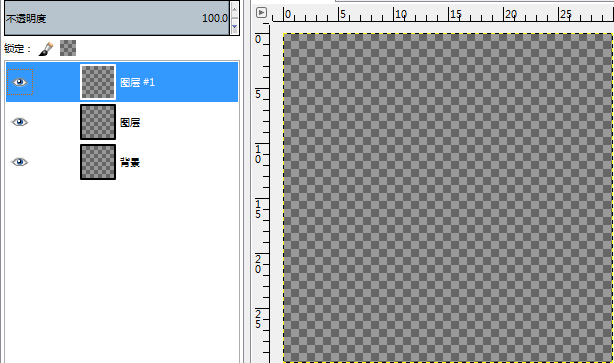
步骤2:然后再新建2个透明背景图层:
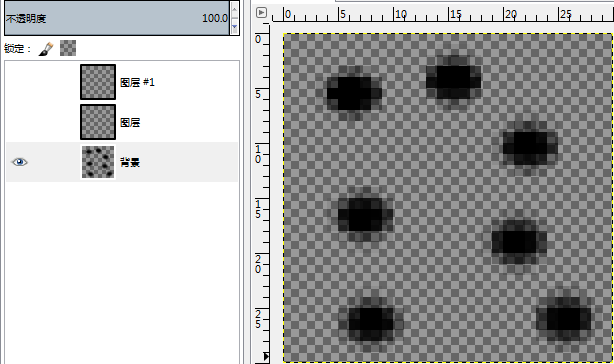
步骤3:隐藏图层和图层 #1,选择背景图层,并且在背景图层创建一些图像:
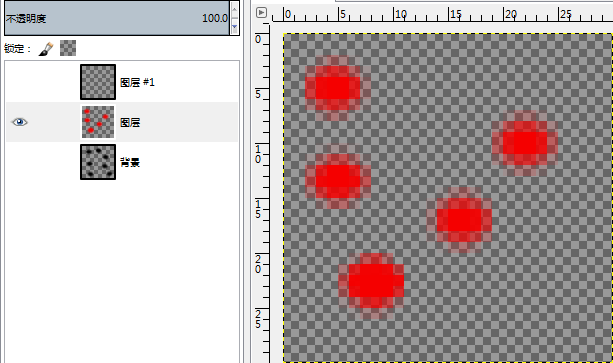
步骤4:选择图层,隐藏其它2个图层,创建另外一些图像:
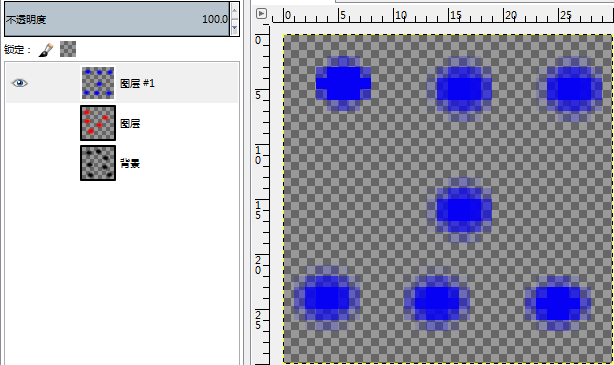
步骤5:选择图层 #1,隐藏其它2个图层,创建另外一些图像:
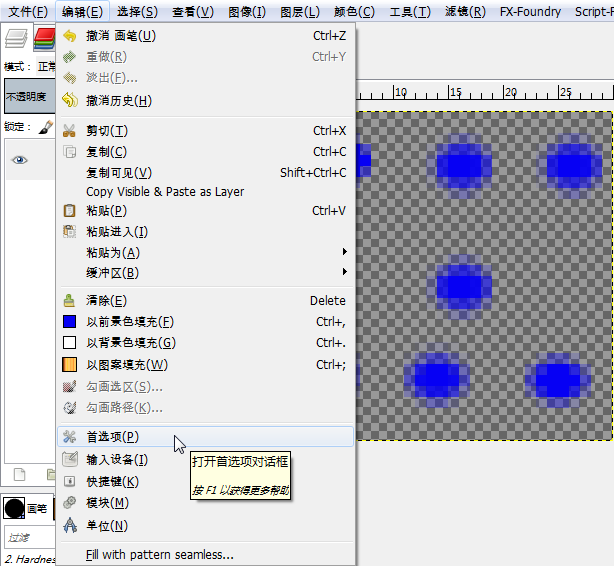
步骤6:打开首选项查看GIMP笔刷的读取位置
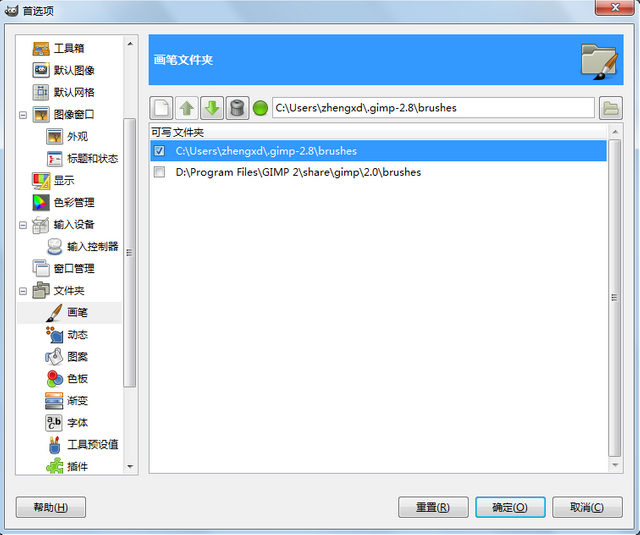
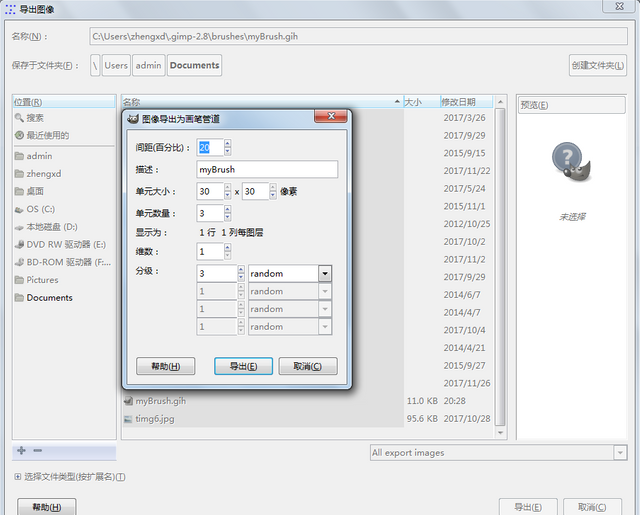
步骤7:将笔刷导出到GIMP读取笔刷的路径(如上图),选择扩展名为gih,设置分级为3(因为文档中有3个图层),随机出现。
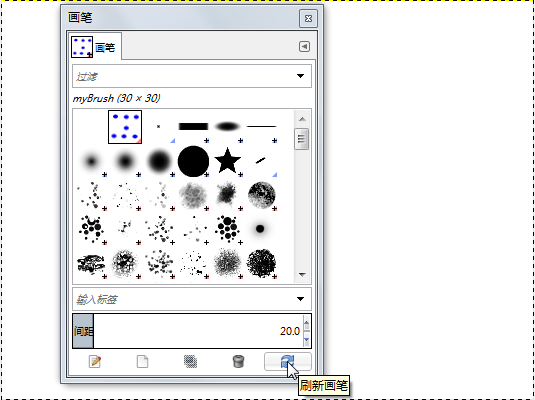
步骤8:创建一幅新图像测试刚才创建的笔刷,在笔刷工具栏上刷新笔刷更新笔刷列表:
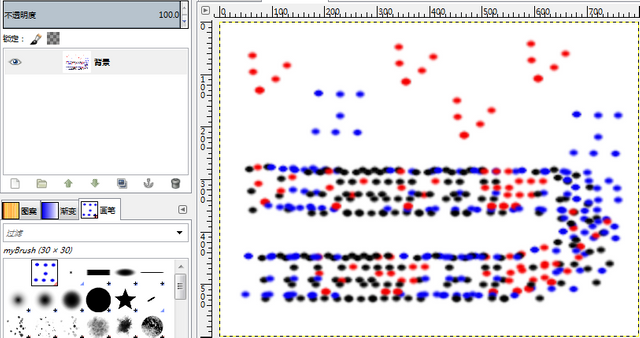
步骤9:在图像上点击或者拖动笔刷,会看到笔刷图案随机出现。
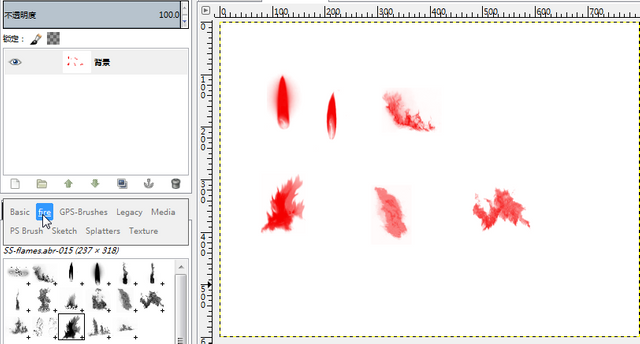
步骤10:安装Photoshop笔刷,将下载的笔刷放在步骤6首选项中出现的路径中,即安装笔刷。

刷新笔刷工具列表后,即可看到安装的笔刷出现在画笔工具列表中:
Posted on Utopian.io - Rewarding Open Source Contributors
Thank you for the contribution. It has been approved.
You can contact us on Discord.
[utopian-moderator]
@howo, thanks for reviewing!
Hey @alanzheng I am @utopian-io. I have just upvoted you!
Achievements
Suggestions
Get Noticed!
Community-Driven Witness!
I am the first and only Steem Community-Driven Witness. Participate on Discord. Lets GROW TOGETHER!
Up-vote this comment to grow my power and help Open Source contributions like this one. Want to chat? Join me on Discord https://discord.gg/Pc8HG9x