Tutorial How to Make a Mail Merge on LibreOffice

What Will I Learn?
- How to use Base Database LibreOffice
- How to make A Mail Merge
- How to use Writer Libreoffice
Requirements
Requirements
System Requirements
No special requirements.
OS Support
Microsoft Windows (IA-32 and x86-64), Linux (IA-32 and x86-64) and macOS (x86-64).
Requirements
Program Install Support: Install and Uninstall
Difficulty
Intermediate
Information
Website & Download: https://www.libreoffice.org/
Type : Office suite software
License : The LibreOffice project uses a dual LGPLv3 (or later) / MPL 2.0 license
Operating System : Linux, OS X, Microsoft Windows, Solaris
Platform : IA-32, x86-64, PowerPC, SPARC
for more information here
Difficulty
- Intermediate
Tutorial Contents
Mail Merge is a useful tool that allows you to generate multiple letters, labels, envelopes, name tags, and more using information stored in lists, databases, or spreadsheets. When utilizing Merge Mail, you need a Word document (you can start with an existing one or create a new one) and a list of recipients, which is usually an Excel workbook.
Source
And now i will teach libreoffice users how to create a good and correct mail merge. follow these steps to the end.
first, you should open the libreoffice application and select the base database to create a data or open a data you have created before.
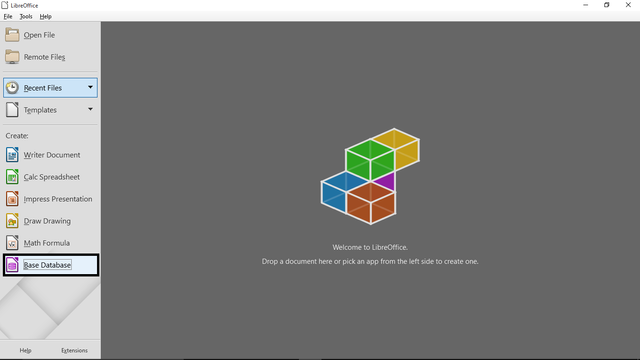
for example create a new data making it easier for users to start from first.
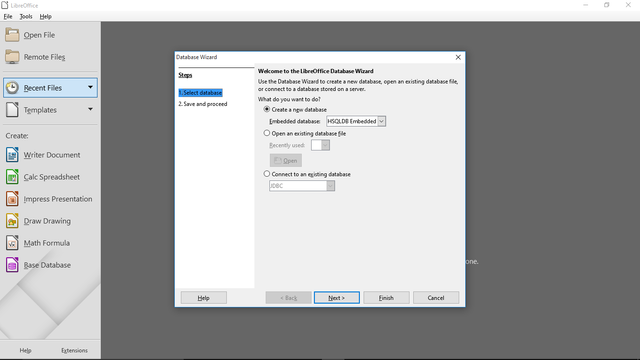
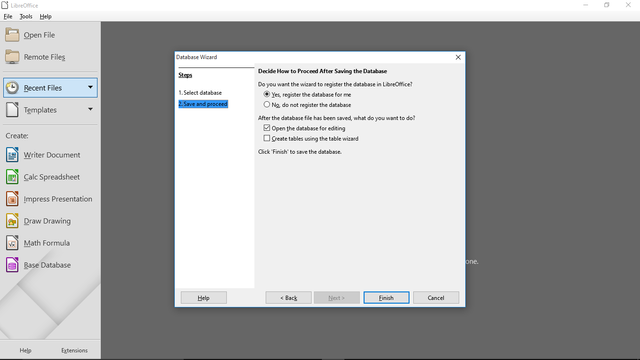
klik next and save
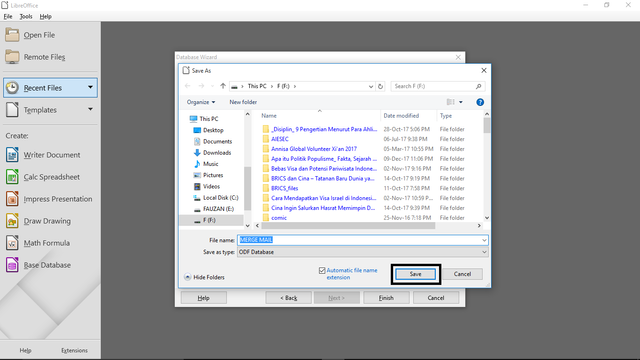
and i use merge mail name
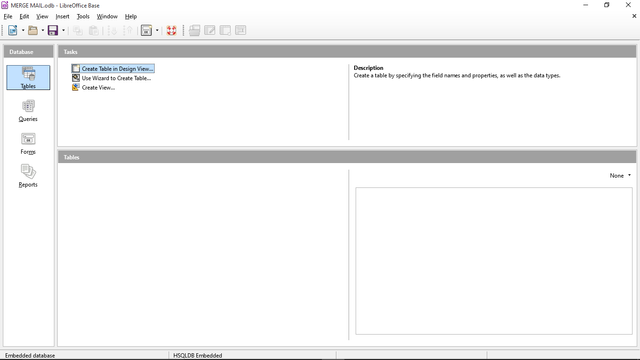
second, you click create in design view to create a data you want.
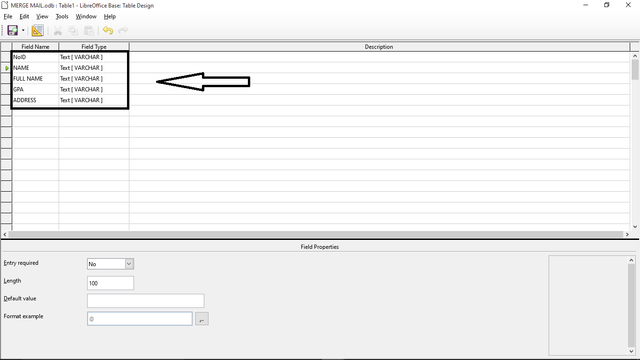
and fill in the available tables with names, addresses, and more. so as in the example below
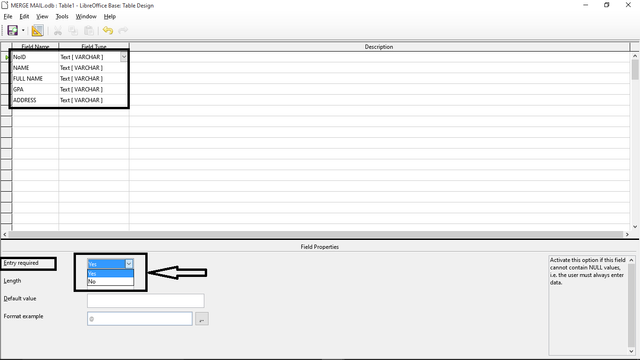
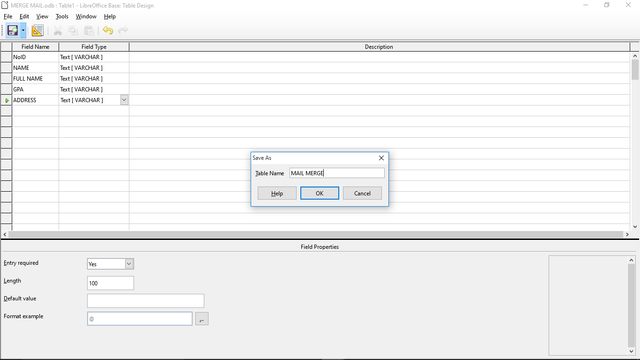
then change the entry required to yes, to make it easier for us to fill in the next table and then save the data.
thirdly, you should go back to the base database menu and fill in the table you created before. and save the data.
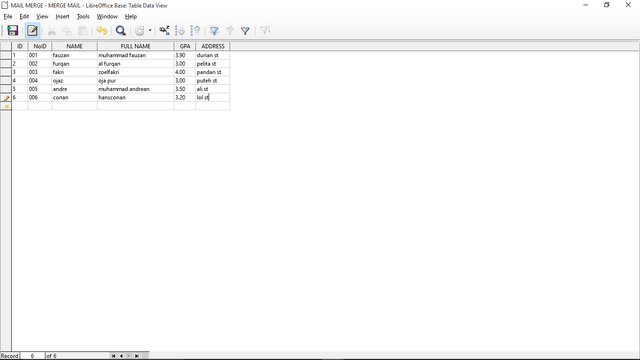
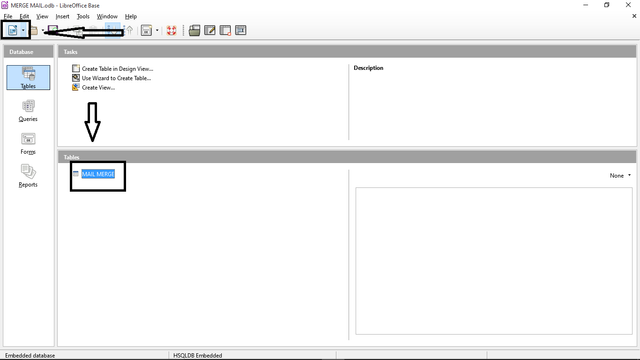
fourth, after you finish fill the data and save the data, you should open the Writer aplication to do merge mail.
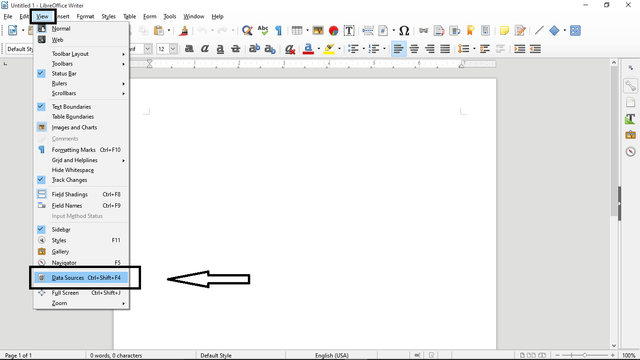
fifth, when the Writer application has opened you directly click on the view button and select the data source or you can press the CTRL + SHIFT + F4 key on your keyboard to open directly the data you have created.
then select the data you have saved before
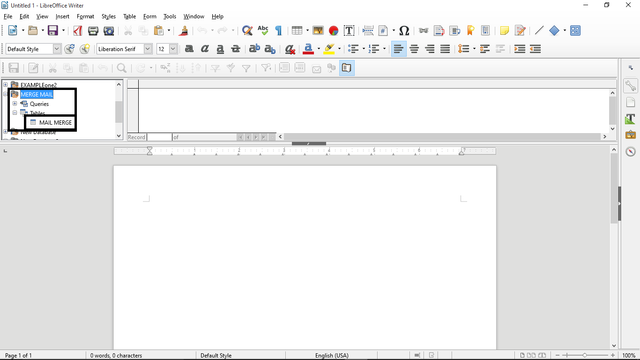
so out the data you have created
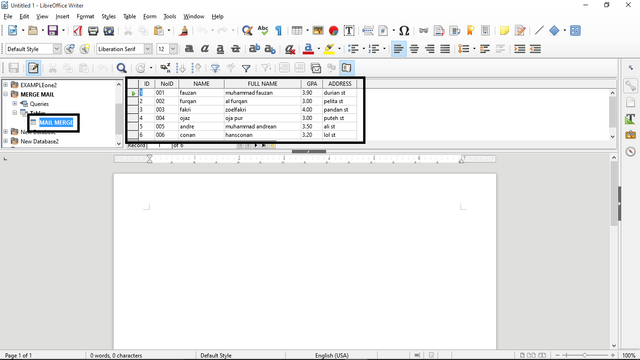
sixth, then you have to create a worksheet according to what you want to fill, the example I have done is below:
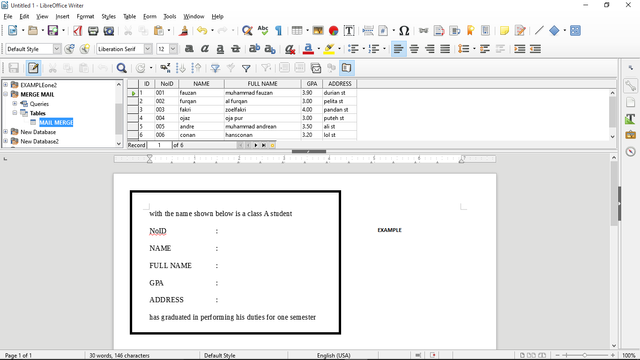
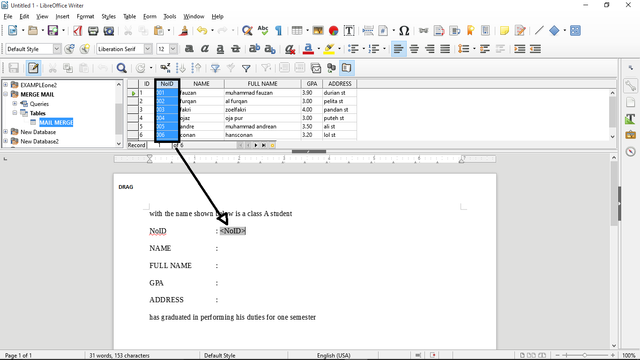
seventh, then drag the NoID you have created earlier and place it according to the worksheet you created
and do the same on the next data and fill in your worksheet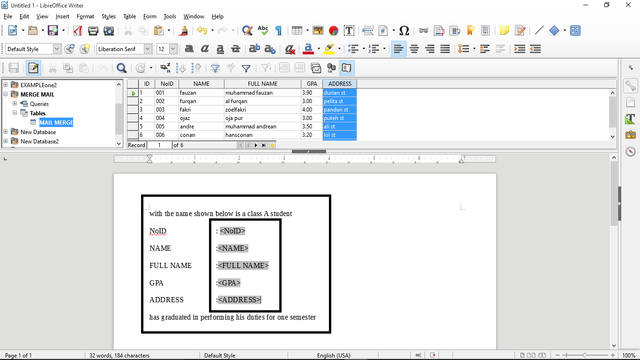
eighth, if you have filled your worksheet with the data you have written, then you should save it so you can see the result, which will automatically display the data you have created into your worksheet which already contains the name, NoID, etc.
how to save the data is to use the print menu on the toolbar file,
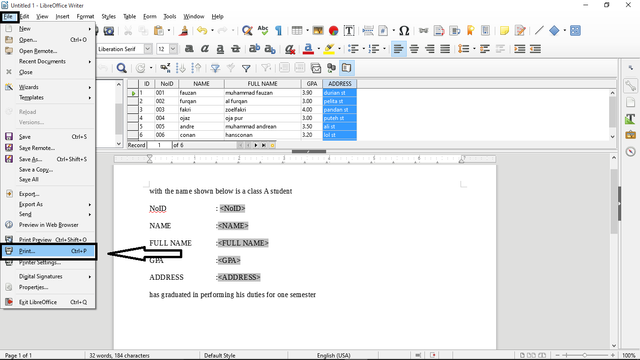
then you change the output from print command to file then choose save in PDF form
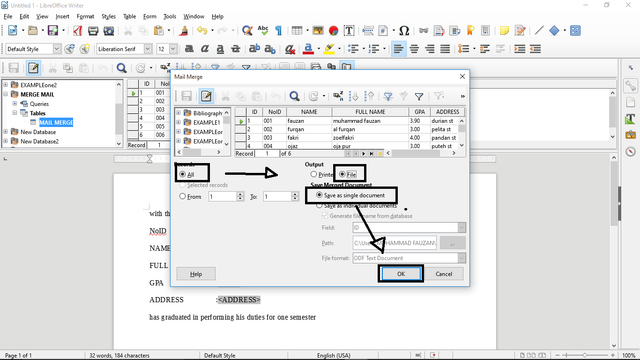
- Lastly, open the file that you have saved and which contains the merge mail that you created earlier. and the results are as follows:
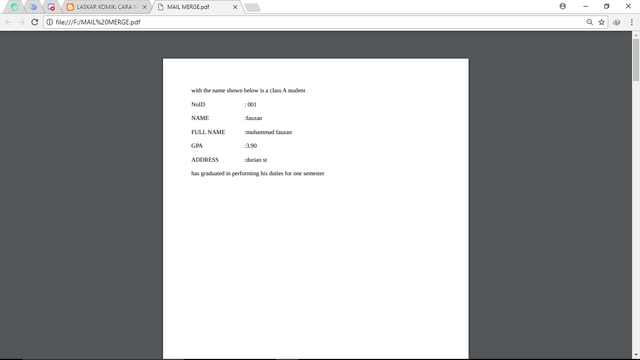
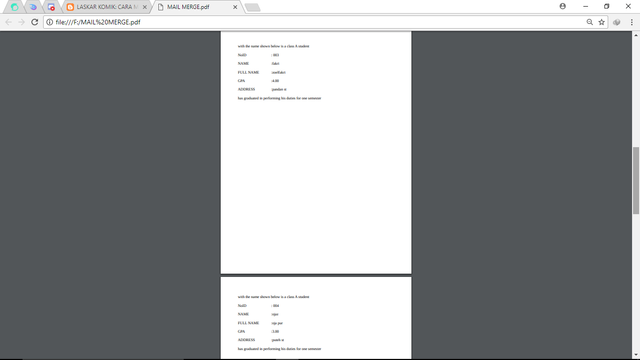
it will automatically fill in the form you have created with the data you have created as well
Curriculum
This is my second tutorial
Your contribution cannot be approved because it does not follow the Utopian Rules.
You can contact us on Discord.
[utopian-moderator]
Hey @redart, I just gave you a tip for your hard work on moderation. Upvote this comment to support the utopian moderators and increase your future rewards!