GIMP tutorial: Step-by-Step Tone Mapping and Shadow Recovery
GIMP (open source software): Tone Mapping and Shadow Recovery
One of the common issue designers face is how to lighten shadows and midtones of images while retaining the highlight details. This process is often referred to as 'Shadow recovery’or 'Tone Mapping’ although they are technically not the exact same thing.
Difference between Tone mapping and Shadow recovery:
Tone mapping is an image processing and computer graphics technique used to map out specific colors on an image to another in order to approximate the how the high-dynamic range images look in a medium of more limited dynamic range.
Shadow recovery is a popular image-editing technique used in magazine covers, photos, and digital media. It is a very delicate application of the 'Shadow/Highlight’ tool to recover shadows that were originally present in an image.
This tutorial will walk you through all the steps you need to take to correct and accurately edit your pictures using GIMP software.
We will use high-bit depth GIMP floating point Colours & Exposure operation to add positive exposure compensation to the midtones and shadows ad highlight details where necessary.
Using High Bit depth GIMP for Shadow Correction and Tone Mapping
This is one of the best ways to modify the tones of an image. We have been using GIMP as our primary editor for a couple of years and we discovered that the same technique can be used to lighten or darken parts of an image.
It is effective in keeping in check the effect of using a layer of mask. Unlike using curves, High bit depth GIMP floating point option for Colors/Exposure does not pin RGB values and it lets you modify your results by fine-tuning the layer of mask to give the most accurate tones.
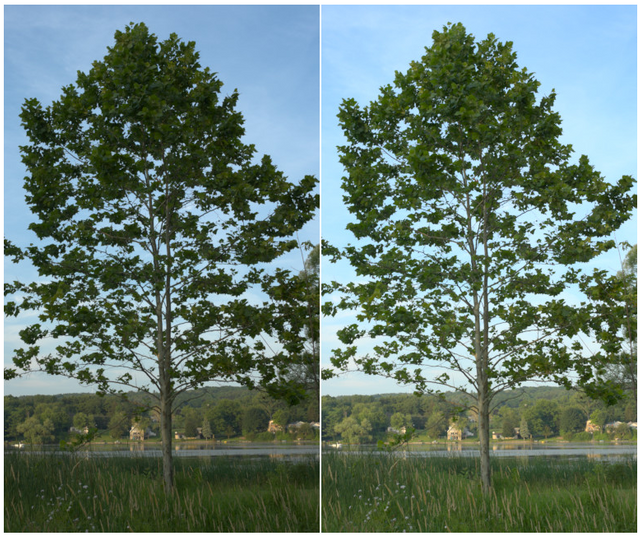
For example, notice the difference between these two trees, taken at noon:

You will see the effect to the tone mapping/shadow lightening.
Basic steps
Use the following steps to edit your pictures and you will achieve the desired effect:
· Download tree.png file. High Bit depth GIMP is just an image-editor so you can try editing your pictures in another workspace.
· Open Tree.png file using GIMP software and assign the sRGB profile of GIMP. Then convert the image to a floating linear precision of 32 Bits.
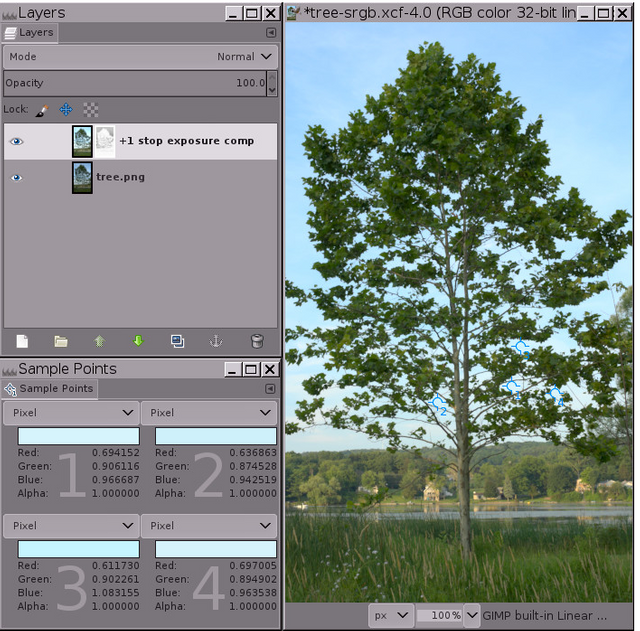
· Duplicate the Tree.png layer and name it '+1 Stop Comp’
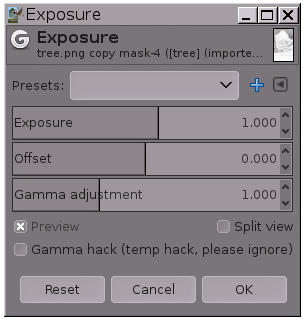
· Now use the 'Colors/Exposure’ option to add a positive exposure compensation’.
It should look something like this:

· Add a Mask to the Layer: Add an inverse gray layer mask to the image. You can do this by right-clicking on the Layer, selecting the option to 'Add a mask to the layer’. After the dialog box comes
up you need to choose the Greyscale option and tick 'Invert Mask’
· Click on Layer mask to edit it, then click 'Colors/Auto/Stretch Contrast.’ If you did this properly, it should give you a result like this:

And that is the basic way to use 'Colors/Exposure’ option to add positive compensation for your image shadows, without affecting the highlights negatively. Now you should try practicing more to get yourself more familiar with the technique, so it becomes second-nature.
You might want to make some more research on this topic and try out some other methods to work more efficiently. I hope you liked the tutorial ! bye!
Posted on Utopian.io - Rewarding Open Source Contributors
Thank you for the contribution. It has been approved.
You can contact us on Discord.
[utopian-moderator]
Hey @osblog I am @utopian-io. I have just upvoted you!
Achievements
Suggestions
Get Noticed!
Community-Driven Witness!
I am the first and only Steem Community-Driven Witness. Participate on Discord. Lets GROW TOGETHER!
Up-vote this comment to grow my power and help Open Source contributions like this one. Want to chat? Join me on Discord https://discord.gg/Pc8HG9x