Make Custom Layout forms
If you want develop the desktop application and replace the default windows form with your own custom layout. Here's the tutorial how to make a custom layout and make it as your template form.
First this custom layout using Microsoft Visual Studio Enterprise 2015 and Visual Basic.Net as programming language.
Installation
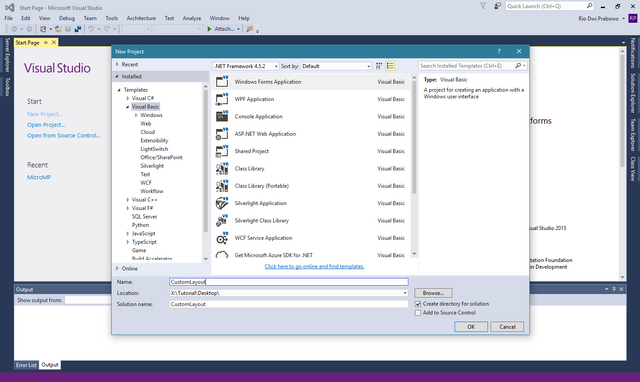
to make the custom layout we need a project, we can create new project on visual studio and put project folder anywhere on your drive. in this case I put the project folder to drive X:\Tutorial\Desktop\CustomLayout and CustomLayout as project solution name.
And now we have a project with a blank windows form.
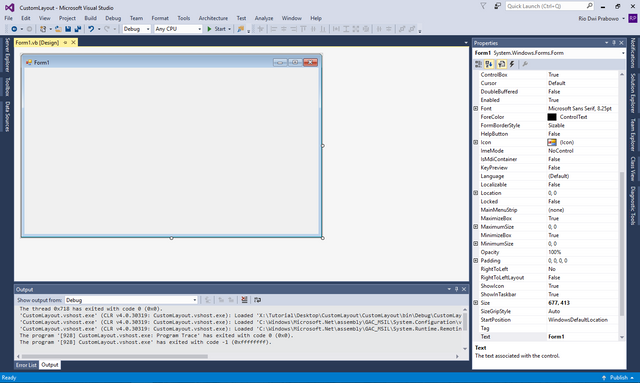
Here we start setting this blank windows form properties. you can see properties with right click on the blank windows form and then select properties. so, properties tab will be shown. in this properties we need disable default windows form layout. change BackColor to LightGray and change FormBorderStyle value to None
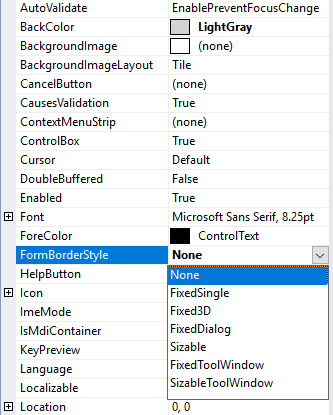
so, the border of windows form will be remove. and now we start customize the layout.
we need some toolbox:
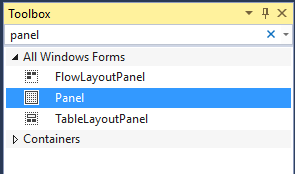
This panel will use as a header of windows form. we need config the properties in this case I change the BackColor to DimGray and you can resizing of size or another properties if you need. here's the panel toolbox.
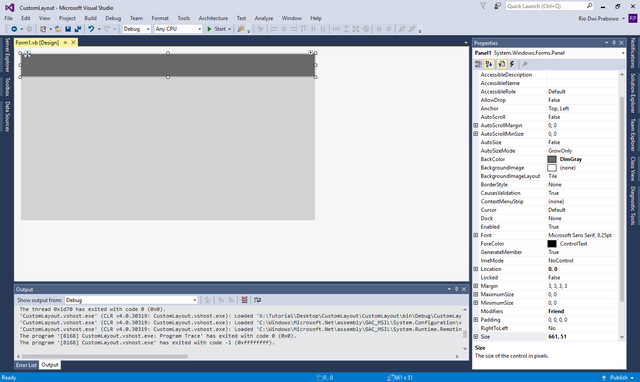 And we need config the Anchor to Top, Left, Right
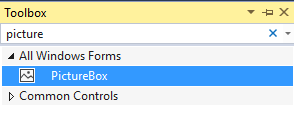
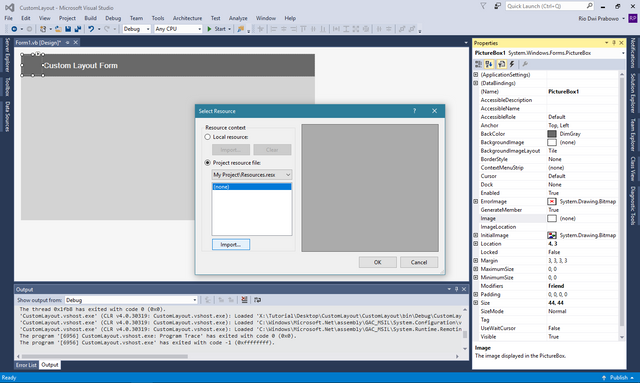
The PictureBox will be use to initialize an image or icon on layout form. Image can be upload from the picturebox properties. click button image on the properties to upload a image and we can import the image to the resource of project.
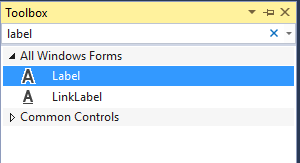
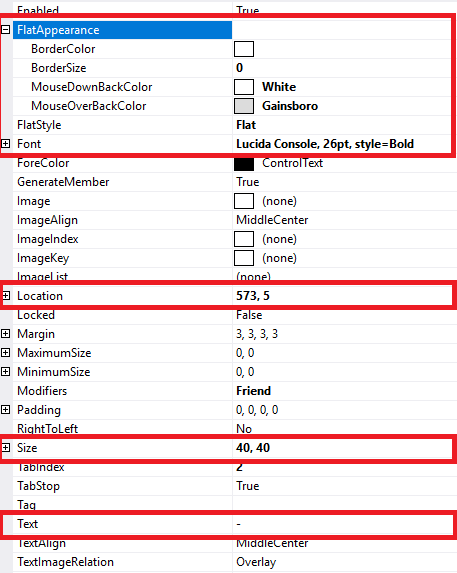
Button2 we initialize as maximize button and we config the properties like this:
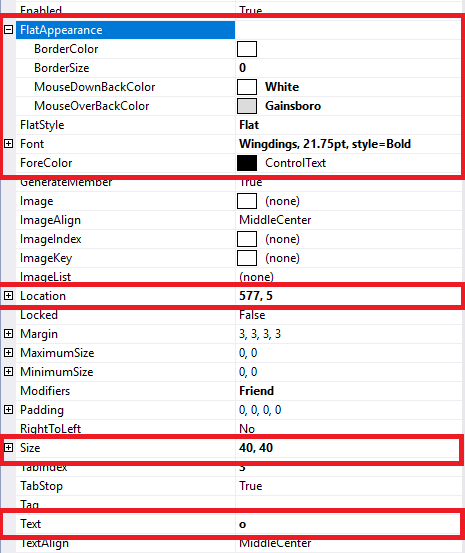
then Button3 we initialize as close button and we config like this:
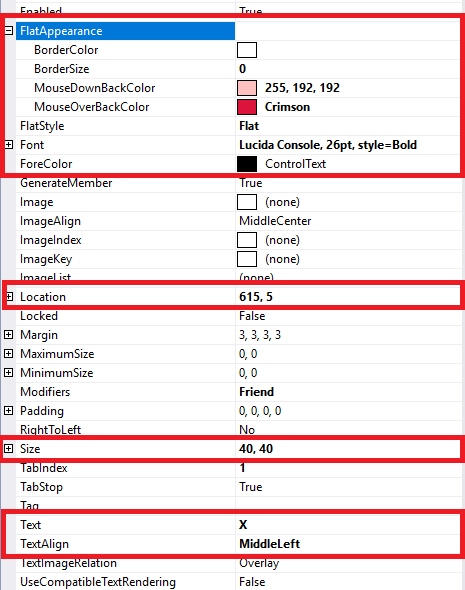
And we need config Button1, Button2, Button3 properties with the same config. change the Anchor value to Top,Right This configuration to make the button flexible when the form size changes

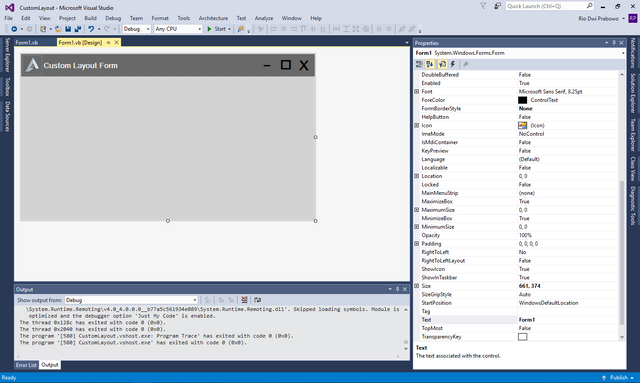
Okay, Now we can design the position of all toolbox with this design:
After design finish. now time to code every toolbox. On the design form right click and click view code or you can press F7 on your keyboard. First we need initialize public variable:
Public Class Form1
    Dim Xpos As New Integer
    Dim Ypos As New Integer
    Dim pos As New Point
End Class
Then we can make 2 function on Panel, PictureBox and Label to make form can move with click the header form.
Public Class Form1
    Dim Xpos As New Integer
    Dim Ypos As New Integer
    Dim pos As New Point


    Private Sub Panel1_MouseDown(sender As Object, e As MouseEventArgs) Handles Panel1.MouseDown, Label1.MouseDown, PictureBox1.MouseDown
        Xpos = Cursor.Position.X - Me.Location.X
        Ypos = Cursor.Position.Y - Me.Location.Y
    End Sub
    Private Sub Panel1_MouseMove(sender As Object, e As MouseEventArgs) Handles Panel1.MouseMove, Label1.MouseMove, PictureBox1.MouseMove
        If e.Button = MouseButtons.Left Then
            pos = MousePosition
            pos.X = pos.X - Xpos
            pos.Y = pos.Y - Ypos
            Me.Location = pos
        End If
    End Sub
End Class
And then we need code to minimize, maximize and close button. Here's fully structure code:
Public Class Form1
    Dim Xpos As New Integer
    Dim Ypos As New Integer
    Dim pos As New Point


    Private Sub Panel1_MouseDown(sender As Object, e As MouseEventArgs) Handles Panel1.MouseDown, Label1.MouseDown, PictureBox1.MouseDown
        Xpos = Cursor.Position.X - Me.Location.X
        Ypos = Cursor.Position.Y - Me.Location.Y
    End Sub


    Private Sub Panel1_MouseMove(sender As Object, e As MouseEventArgs) Handles Panel1.MouseMove, Label1.MouseMove, PictureBox1.MouseMove
        If e.Button = MouseButtons.Left Then
            pos = MousePosition
            pos.X = pos.X - Xpos
            pos.Y = pos.Y - Ypos
            Me.Location = pos
        End If
    End Sub


    Private Sub Button1_Click(sender As Object, e As EventArgs) Handles Button1.Click
        Me.WindowState = FormWindowState.Minimized
    End Sub


    Private Sub Button2_Click(sender As Object, e As EventArgs) Handles Button2.Click
        If Me.WindowState = FormWindowState.Normal Then
            Me.WindowState = FormWindowState.Maximized
        Else
            Me.WindowState = FormWindowState.Normal
        End If
    End Sub


    Private Sub Button3_Click(sender As Object, e As EventArgs) Handles Button3.Click
        Me.Close()
    End Sub
End Class
Final Words We are finish the customize layout form. This custom layout can reused to another form, you can more explore to customize the layout form as you prefers. the best thing to do is just to play around. If you want download this repository check Here
Regards
@riyo.s94
Posted on Utopian.io - Rewarding Open Source Contributors
Your contribution cannot be approved because it does not refer to or relate to an open-source repository. See here for a definition of "open-source."
You can contact us on Discord.
[utopian-moderator]
Hi! I am a robot. I just upvoted you! I found similar content that readers might be interested in:
https://stackoverflow.com/questions/30903206/panel-events-stop-after-mousedown-event-on-lineshape