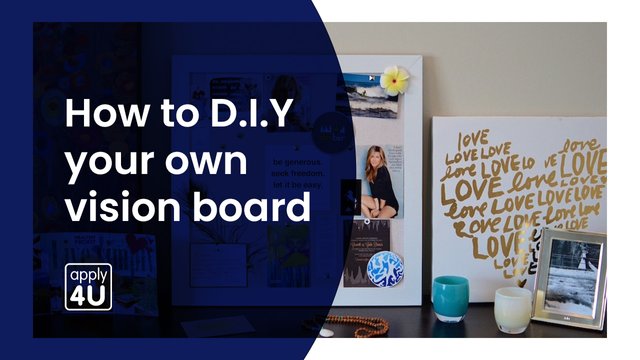
How to DIY your own vision board
Article Posted by: Apply4U

With it being the New Year, you probably already have a few goals in mind that you want to be hitting. We recommend the best way of making those goals happen is through a vision board.
What is a Vision Board?
A vision board is a collage of images and words that represent your goals and dreams to help keep you inspired.
Research suggests that vision boarding can increase our chances of reaching our goals. This is probably aligned with how we gain self awareness and self reflection on what’s important to us through vision boarding.
Different types of vision boards:
Clear and concise
You know exactly what you want to manifest and you’re clear on what areas you want to focus on improving.
Theme based
This is ideal for when you want to focus on a specific part of your life e.g. your career.
Inner reflection
This is great for when you aren’t exactly sure what you desire, need a bit of cheering up, are a bit uncertain or you’re just not sure how to begin.
Paper-based
This is a tangible kind of vision boarding with printed out pictures, magazine cutouts, scrapbook paper and of course your handy dandy Pritt stick.
Digital
This is the complete opposite of paper-based vision boarding as you’ll need images from your camera roll or the internet and it will all be carefully arranged into a document but a huge plus is there’s no mess to clean up once completed.
How to make your own?
- Decide what kind of vision board you want to make. You can see the different types of vision boards above.
- Once you’ve completed the 1st step open a word doc and fill it with all your favourite images, whether it’s images from your own camera roll, or from Google images. If you’re working completely from old photographs or magazines then you can just start cutting shapes and images out.
By now you should have all your images printed and cut out so that you can move on to planning the placement of your images.
Once you know where you want your images to go now you can get sticking.
Last step you can decorate the rest of your vision board with whatever you want whether it’s drawing your own illustrations, with words, etc.
What you’ll need
Digital vision boarding:
• A digital app
• The internet
Paper-based:
• Scrap paper
• Magazines
• Printed images
• A pair of Scissors
• A Glue stick
• A board or surface to display your vision on
Examples of vision boards:
If you’re in need of some inspiration to help get you started here are some great examples to use to fuel your creativity.
If you want to switch it up some experts also recommend doing a personal past year review to be able to better prep for the next year. Have a look through the below to read a bit more about how you could do it.
https://tim.blog/2021/12/27/past-year-review/
FOR THE LATEST JOBS CLICK ME 👇
https://www.apply4u.co.uk/company-jobs/1744425?utm_source=google&utm_medium=news&utm_campaign=ARIF&utm_id=071944
UPLOAD YOUR CV HERE 👇
https://www.apply4u.co.uk/search-jobs?utm_source=ARIF&utm_medium=AK&utm_id=071944
FOR MORE DETAILS VISIT OUR WEBSITE 👇
https://www.apply4u.co.uk/?utm_source=google&utm_medium=news&utm_campaign=ARIF&utm_id=071944
Written by Amber Scott from the Apply4U team.