BUILDING A TWO PERSON DESK
.png)
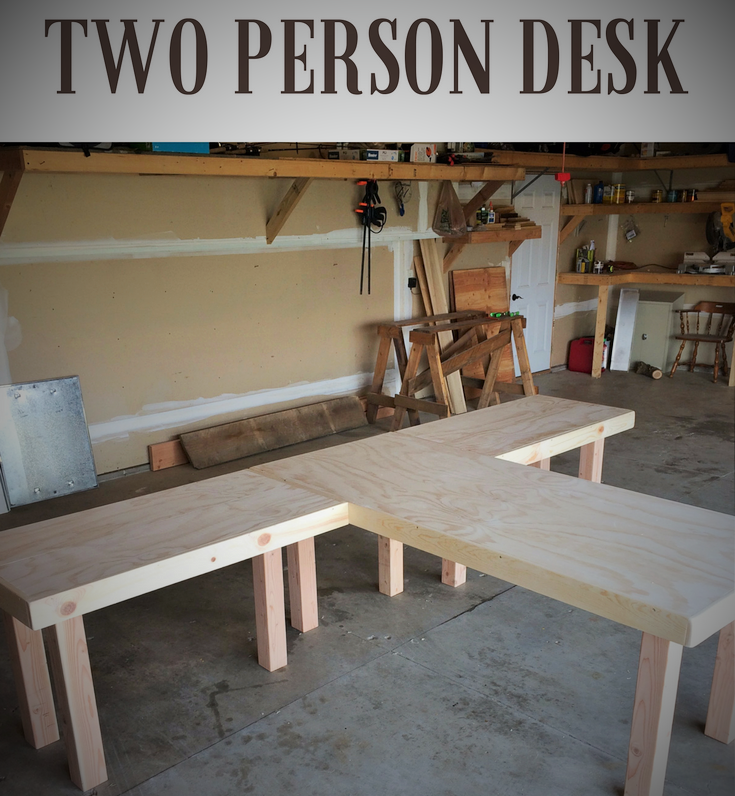
BUILDING A TWO PERSON DESK
Recently my husband and I have been playing with the idea of building a desk…until the idea progressed into us wanting a desk that we could both at together. This resulted in us making a customized two person desk! The great thing about the desk we designed is that it can be used in multiple different ways such as; a two person desk, an L-Shape desk or a regular desk-table.
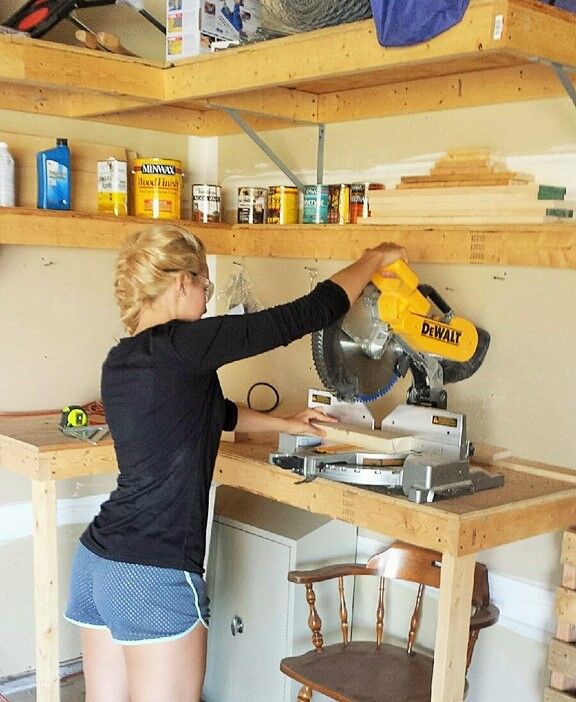
We first started with cutting everything to size. We used a DeWalt Miter saw that was perfect for cutting the thicker pieces of wood, especially in a straight line!
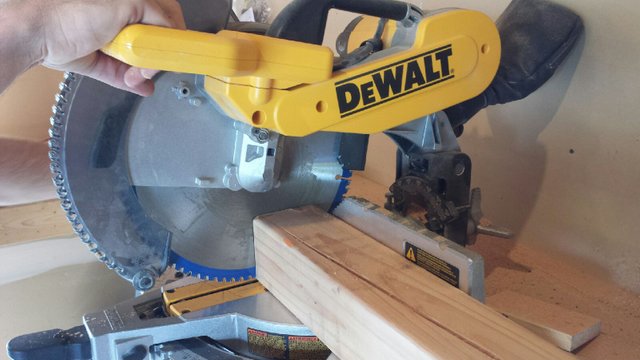
I would highly recommend it, or something that would do the same thing. I used it for the first time and at first it was intimidating but shortly became really fun!
.JPG)
Once we had everything cut, we laid out the plan just for fun and to give us a solid idea of how it would look.
Then sanded EVERYTHING and I mean everything. That was probably the longest part of the whole project, but was worth it in the end!

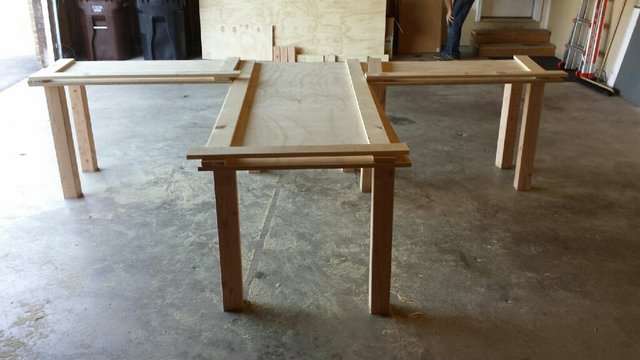
After the sanding was all done, next came the assembly part. Using the 2x4s we cut to size, we placed those underneath the table to give the legs and center of the table support.
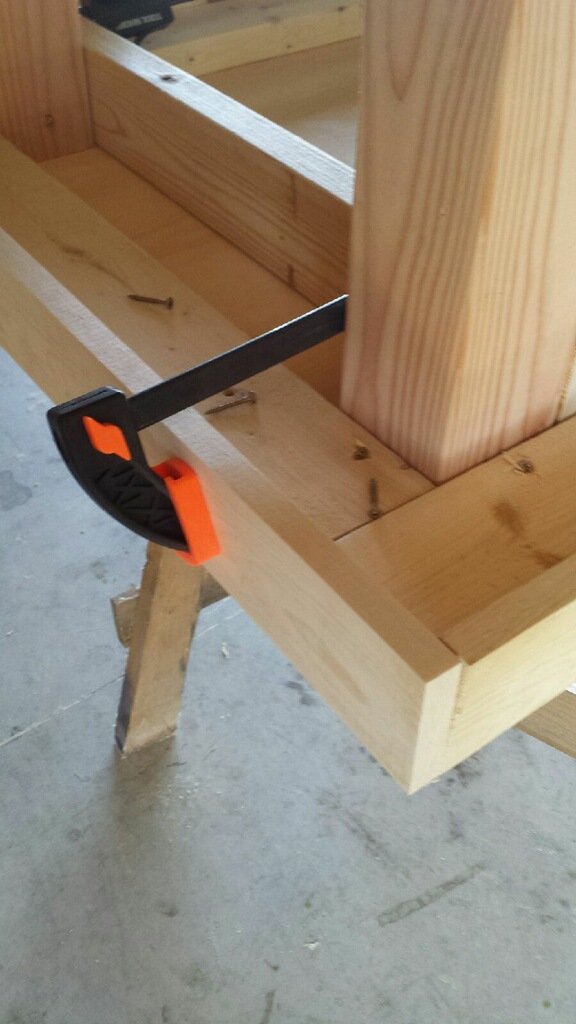
Looking at the image below, you can see that we had the standard amount of legs on the center table, but with the two side tables we chose to go with three. Two on the far ends and one that was on the opposite side in the center, that way it wouldn’t be in the way of our knees.
After we assemble the legs and supports, we added the trim around the table. We added trim along the outside of the table to meet the top edge, so it wouldn’t hit our knees when we sit.
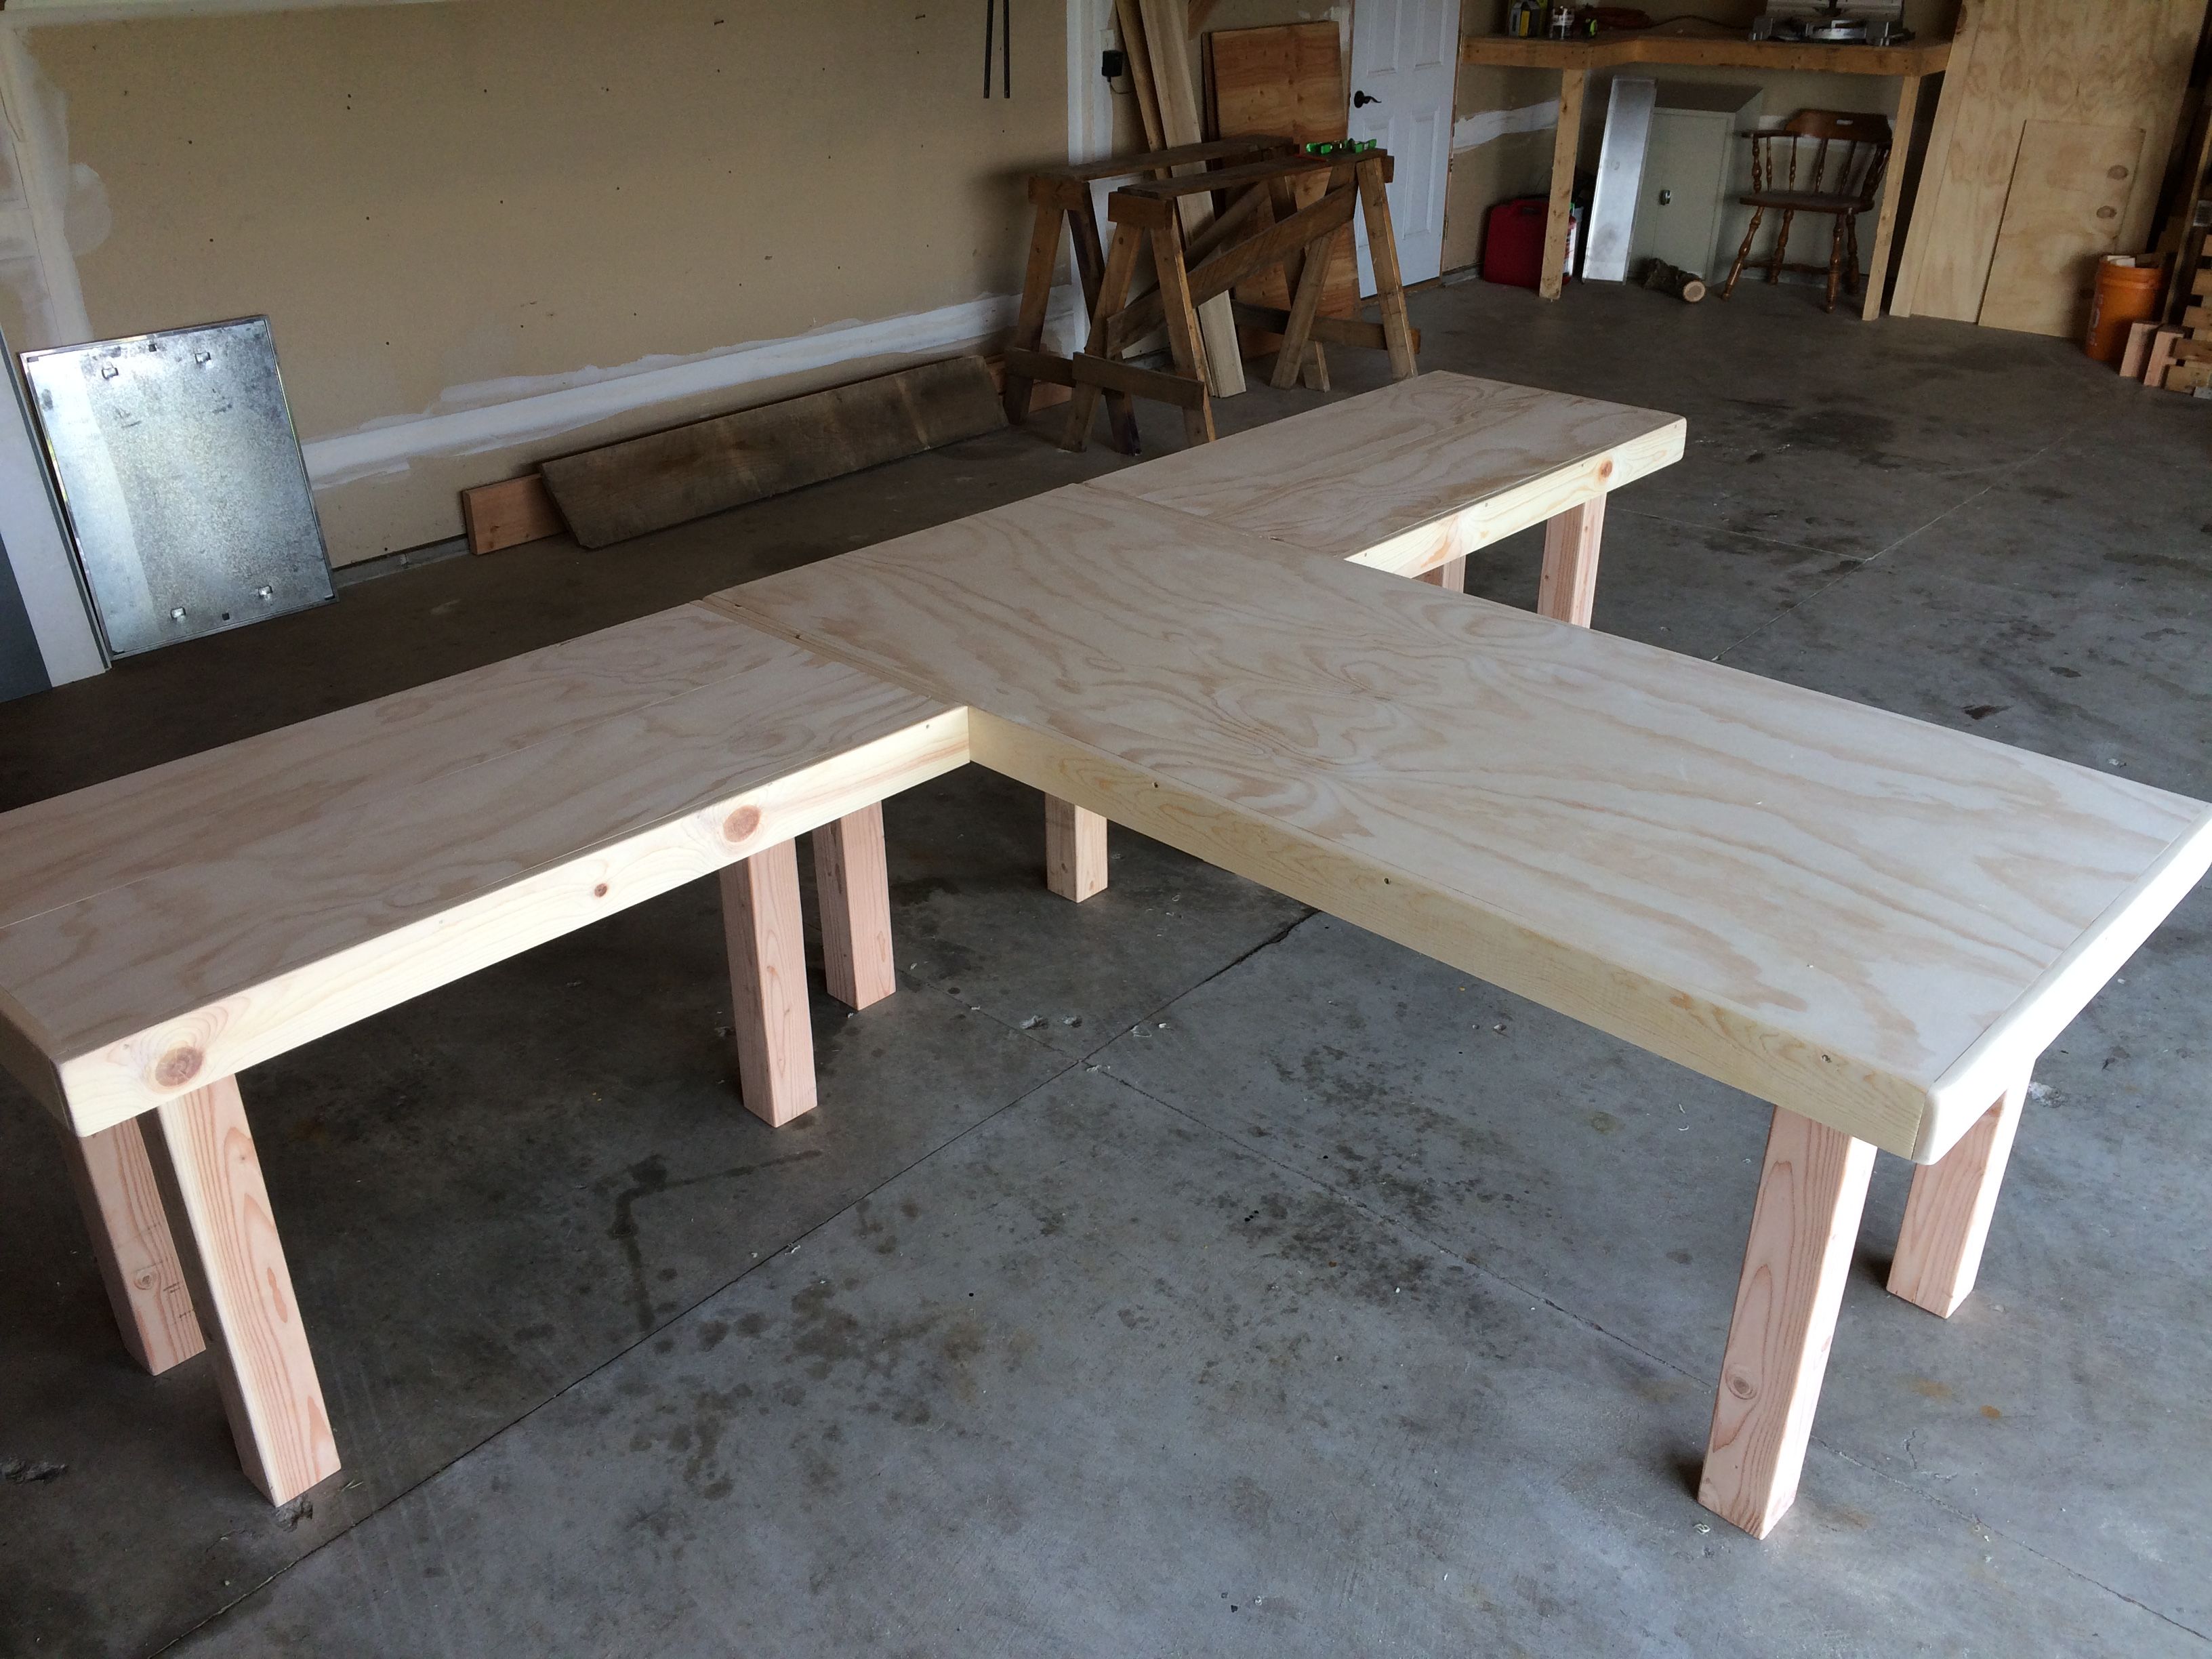
Now you have three tables that can be joined together to create multiple arrangements to fit your room!

Once we have the three separate tables brought into the room where it is going, we are then going to screw in the side tables to the center table. This will allow it to have more support. You can do this by using the 2×4 supports underneath the table so you don’t see them!
Stay tuned if you would like to see the staining process and to see the final product! Feel free to comment or ask any questions you may have about this project.
If you would like to read more about the measurements and how we build the desk in more detail you can visit my website for the full process
http://twenty-fourcarat.com/2017/08/22/how-to-build-a-two-person-desk/
Thanks for reading!
Congratulations @twenty-fourcarat!
Your post was mentioned in the hit parade in the following category:
Awesome! :)
This is a great project. We need something like this in my house in the worst way. I have, ahem, limited woodworking skills, but you've made it look like maybe...if I'm very careful...I could do it.
Good post, and I'll be following along.
Thanks @cristof! This was one of my first times building something this big...of course I had help as well! I think you can do it!
Very cool. I did something like this but it was a built in.
Nice work!
Nice! A build in would be awesome!
Yeah its cool, Im actually typing from it right now.
How long did it take you to build your desk?
It looks very nice from the pics.
Nice! It took one whole Saturday to finish the desk. We bought the materials on Friday and then started building Saturday morning. Thanks! I and working on staining it this week. How long did it take you for your built in desk?
Thats pretty good! Good luck with the staining (In my opinion its the easier part).
It took me a day to cut out the template for the desk itself, and then two days to poly and stain (1 coat each day).
Its cool to see other people doing projects like this. Cant wait to see how it turns out.
I agree, it was much easier! That's pretty good as well!